Step-by-Step Character Illustration: Ever-Hungry Skull | Splinterlands Art Contest Week 351
Hello everyone, welcome back to my post!
Today, I’m going to walk you through a step-by-step tutorial on how I created a character illustration based on one of the cards from Splinterlands.
The card is Ever-Hungry Skull—a terrifying skeleton that looks like it’s ready to devour its prey.
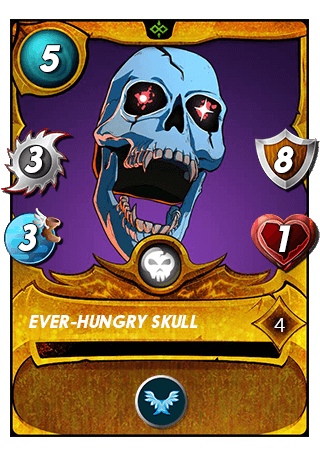
I decided to draw it in my own style. I got inspired by a reference model I found through a link : cartoon-skull-head
(you can also look for references if you’re trying to create your own character or artwork!).
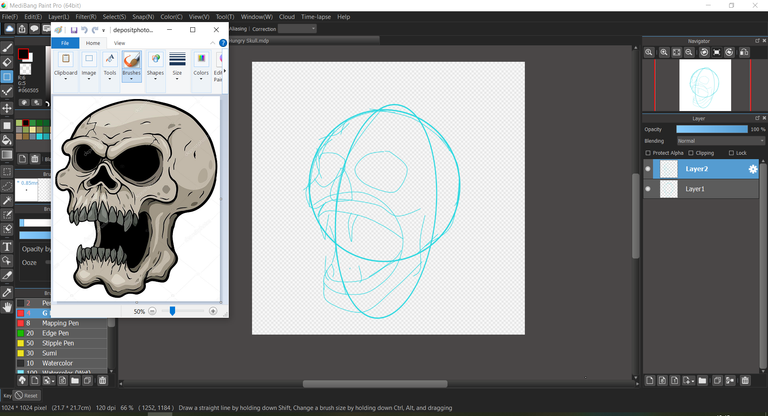
For this project, I used MediBang Paint Pro on desktop.
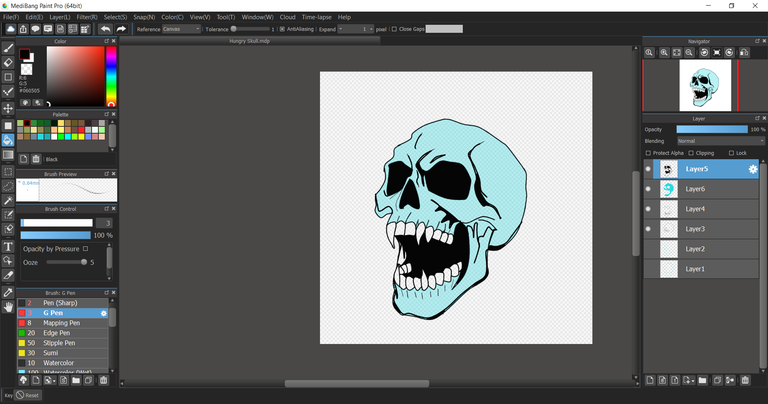
I started by designing the basic shape of the skull. I used a simple circle as the base and drew guidelines to find the center—this helps with placing the nose and the eye sockets properly.
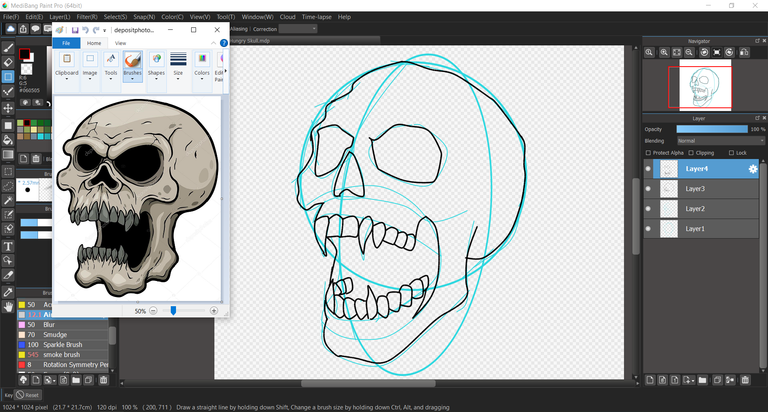
After that, I added more defined lines to build the skull structure, following my reference. I made my version a bit sharper and gave it a slimmer jawline to make it look even more menacing.
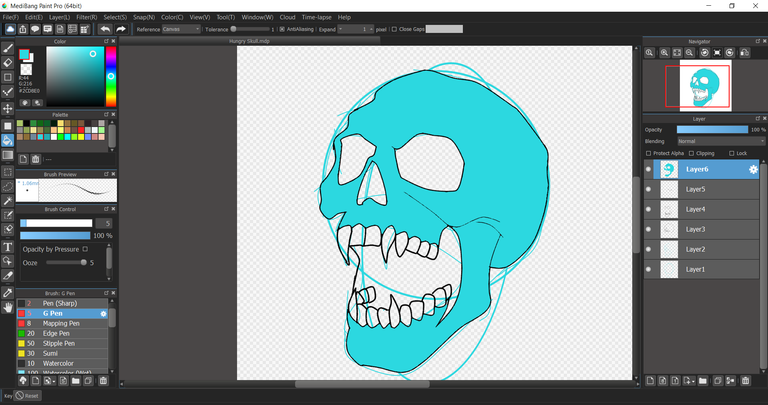
Once the line art was done, I added a light blue base color, staying true to the original card’s color scheme.
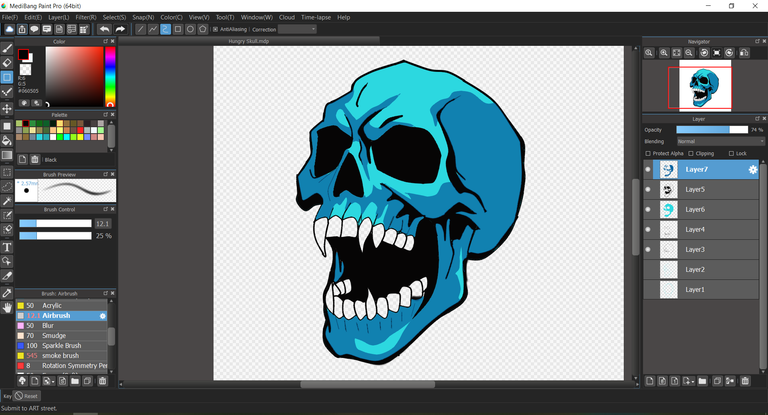
Then, I started adding shadows using darker tones and black in a new layer above the base color. This helped bring out more depth and detail to the artwork.
I added darker blue shades to give the illusion of shadow and texture on the skull’s surface. This made it look wrinkled and uneven—adding a touch of realism.
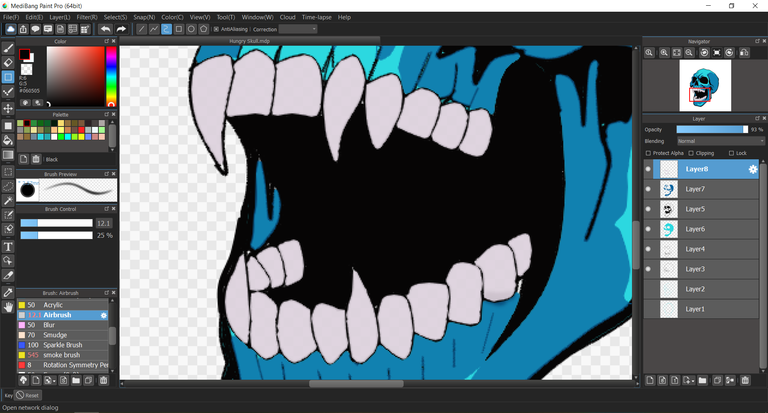
Next, I focused on the teeth. At first, they looked too neat and close together. So, I adjusted them to appear more uneven and spaced out—this gave it a more “neglected” and eerie look.
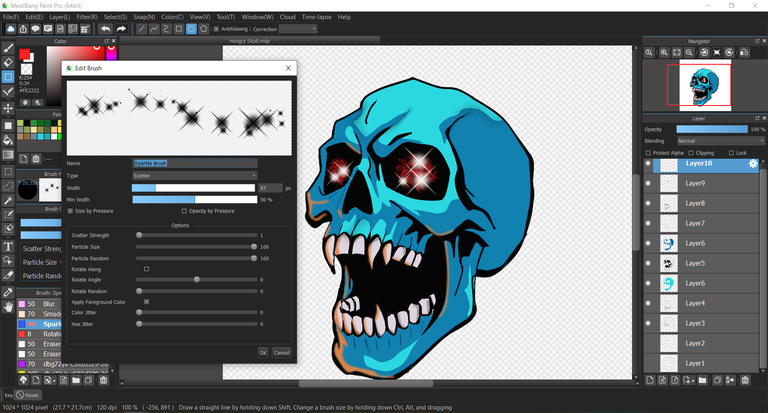
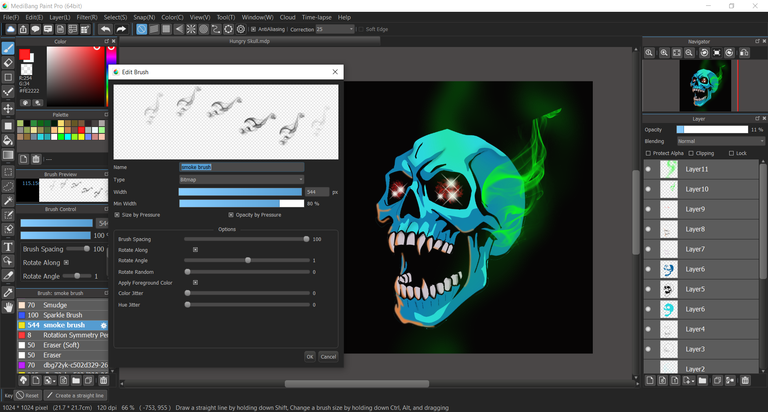
After that, I moved on to the eyes. I used the Sparkle Brush to create a glowing light effect in the eye sockets. I adjusted the brush size and values to get the effect just right.
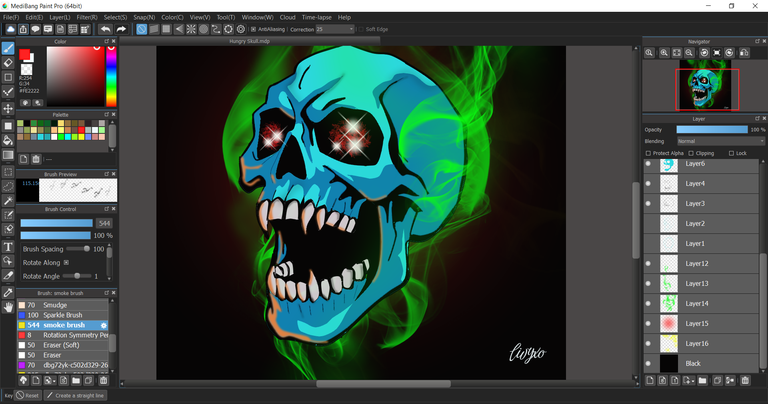
I added a black background to make the character pop. Then, I drew in green smoke to give it a toxic, dangerous vibe. Green mist usually suggests poison, right? I used a special Smoke Brush for this and drew smoke around the skull on several layers.
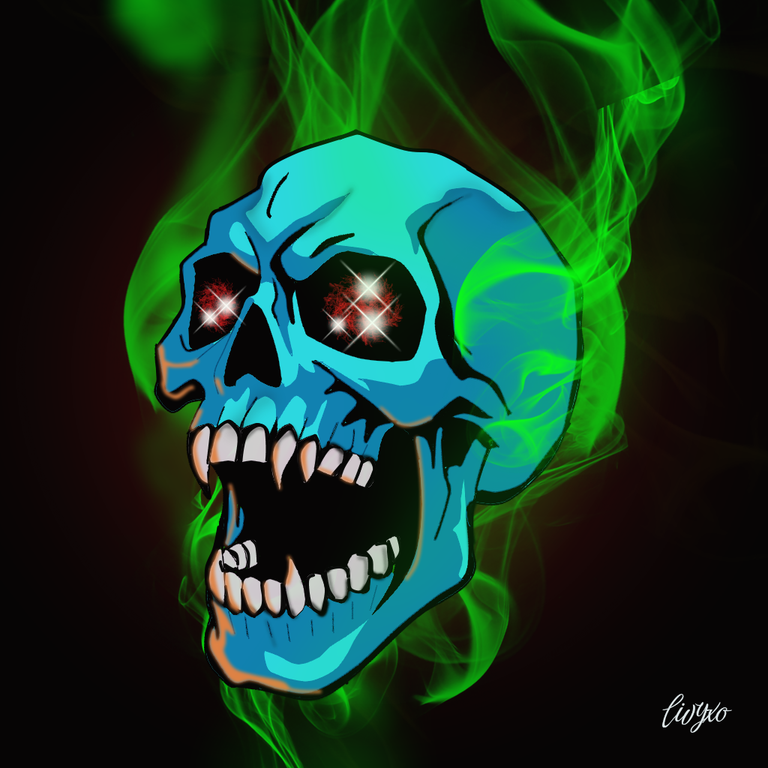
I transformed and resized the smoke layers to get the look I wanted. Finally, I added a blurred red glow in the background to enhance the glowing, intense feel of the artwork.
And here it is—the final result!
I hope you all enjoy it and maybe even feel inspired to try creating your own character art in MediBang Paint Pro.
That’s all for now. Hopefully, this work sparks creativity for Splinterlands fans out there.
Thank you for your support!
You highlighted this character very well, giving it these elements with such striking colors and effects.
It looks amazing, I love the style.
Congratulations @rulivyxo! You have completed the following achievement on the Hive blockchain And have been rewarded with New badge(s)
Your next target is to reach 1500 upvotes.
You can view your badges on your board and compare yourself to others in the Ranking
If you no longer want to receive notifications, reply to this comment with the word
STOPCheck out our last posts: