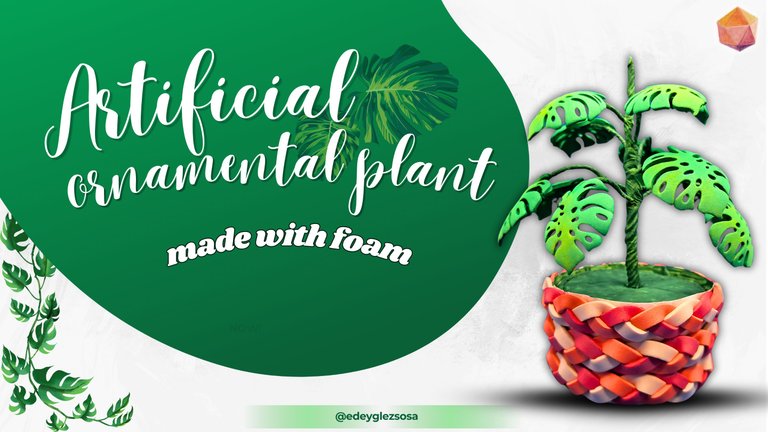
DIY: Artificial ornamental plant made with foam. [ENG+ESP]
Greetings, beautiful community. I am here again sharing with you another of my creations and this time I have brought you a very instructive tutorial in which I will show you how to make your own artificial decorative plant. And yes, it's just as you read. Today I will show you that if you are a person with little time to take care of a plant, but you still want to have one, it is possible to do it with an artificial plant.
But we are not talking about just any plant, it will be a small little plant made with your own hands, using simple materials. This ornament will be perfect for decorating a workspace, study or home. So if I have already aroused your curiosity, I invite you to join me in the following tutorial, which will begin after getting to know the materials.
Saludos, hermosa comunidad. Estoy nuevamente por acá compartiéndoles otra de mis creaciones y esta vez les he traído un tutorial muy instructivo en el cual les mostraré cómo elaborar su propia planta decorativa artificial. Y sí, es tal y como leyeron. Hoy les demostraré que si eres una persona con poco tiempo para atender una planta, pero aun así deseas tener una, es posible hacerlo con una planta artificial.
Pero no estamos hablando de una planta cualquiera, sino que será una pequeña plantita hecha con sus propias manos, utilizando materiales simples. Este adorno será perfecto para decorar un espacio de trabajo, estudio u hogar. Así que si ya te he despertado la curiosidad, te invito a acompañarme en el siguiente tutorial, el cual dará comienzo luego de conocer los materiales.
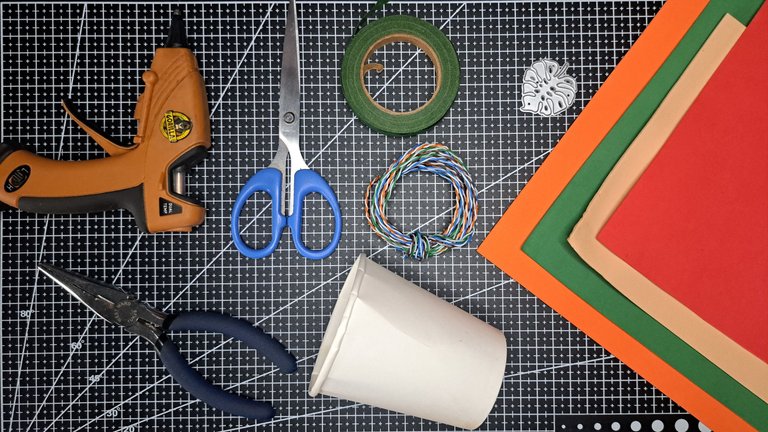
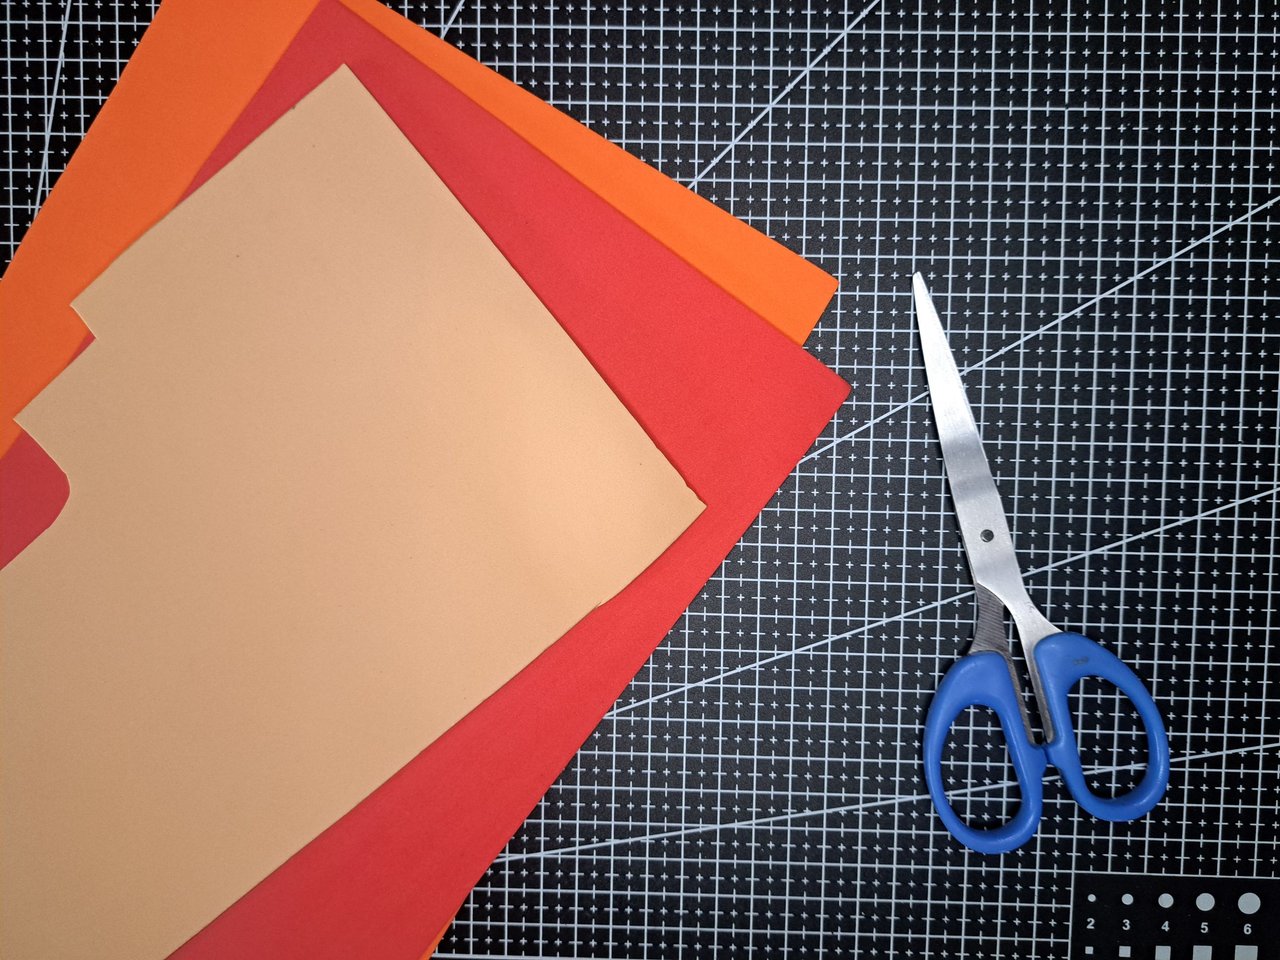
Materials // Materiales
| ✔️ Green, orange, red and skin colored Fomi | ✔️ Fomi verde, naranja, rojo y color piel |
| ✔️ RJ-45 wire | ✔️ Alambre RJ-45 |
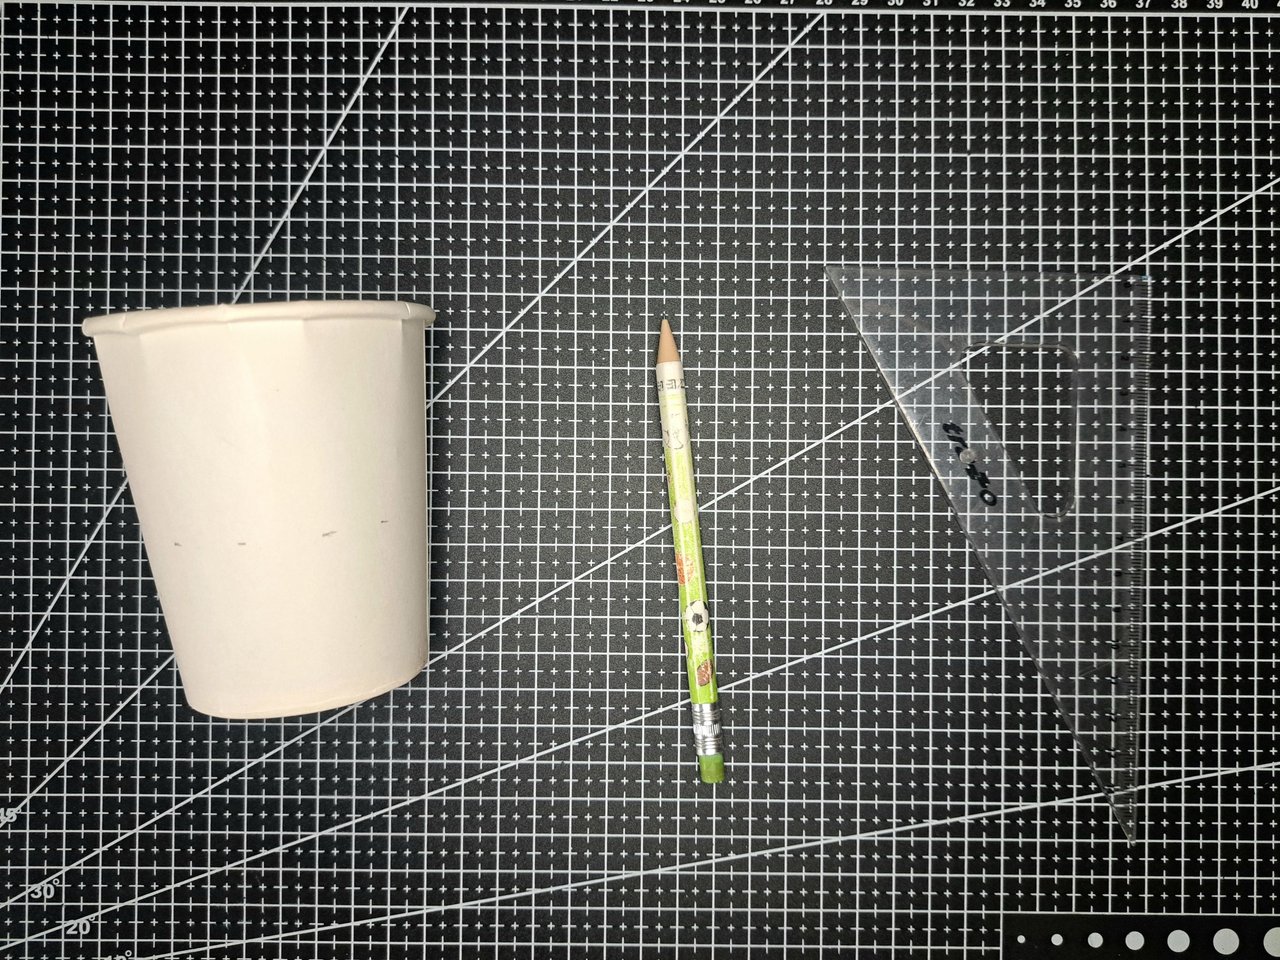
| ✔️ Paper cup | ✔️ Vaso de papel |
| ✔️ Paper cup | ✔️ Cinta floral verde |
| ✔️ Metal cutting die in the shape of leaves | ✔️ Troquel metálico de corte con forma de hoja |
| ✔️ Scissors and tweezers | ✔️ Tijeras y pinza |
| ✔️ Hot silicone | ✔️ Silicona caliente |
Step by step // Paso a paso
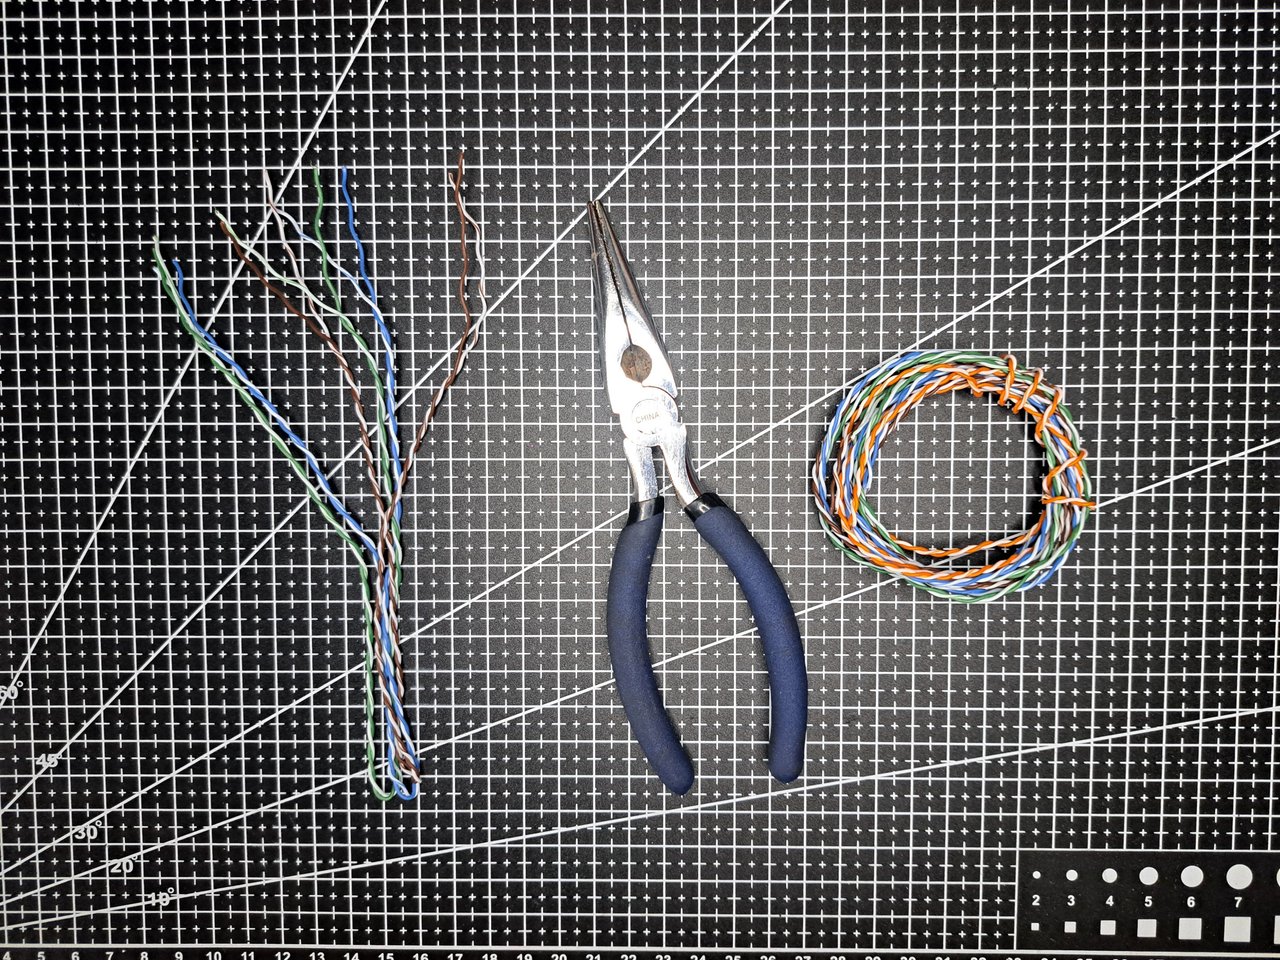
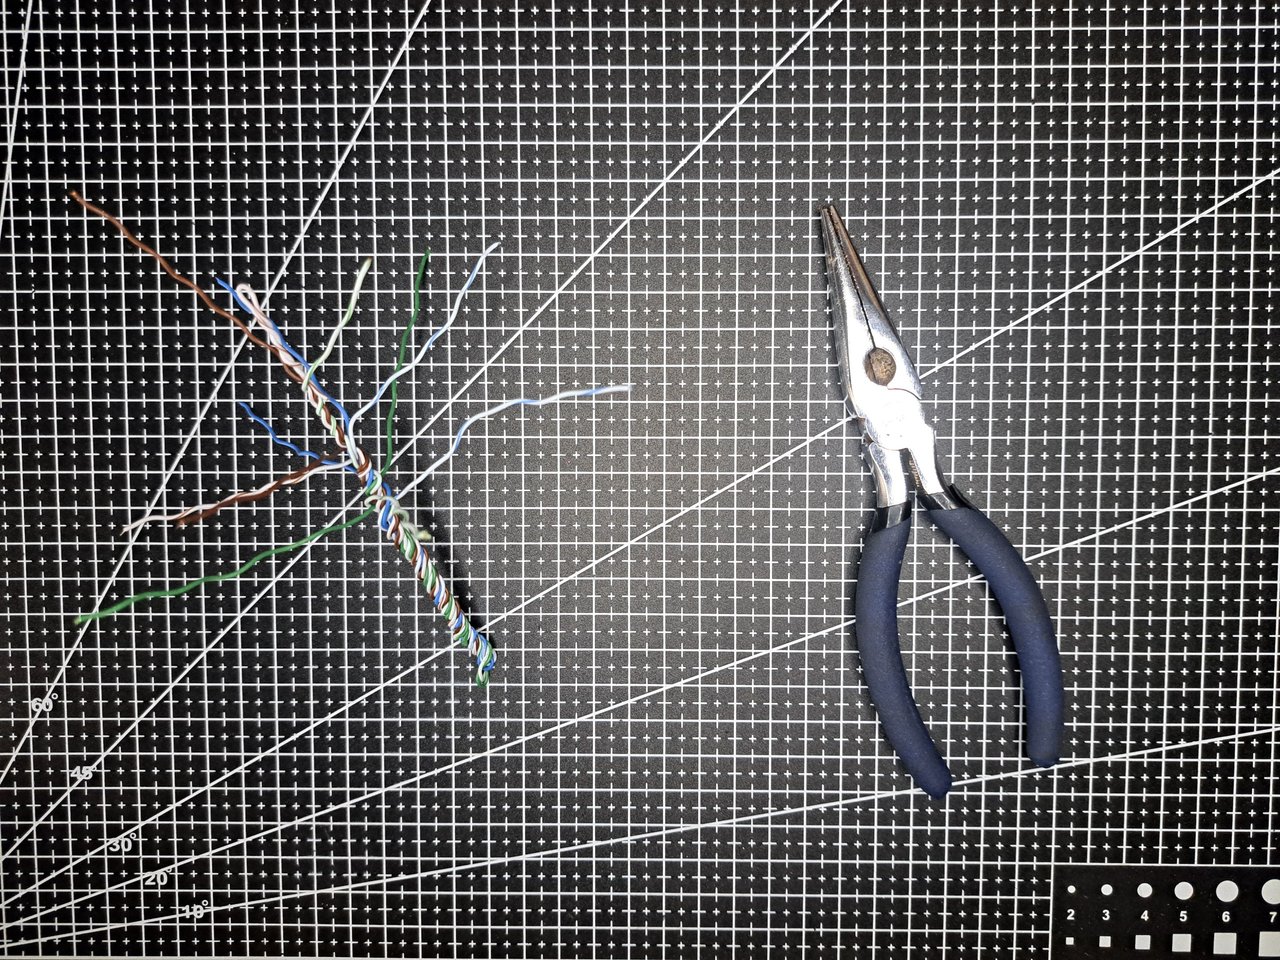
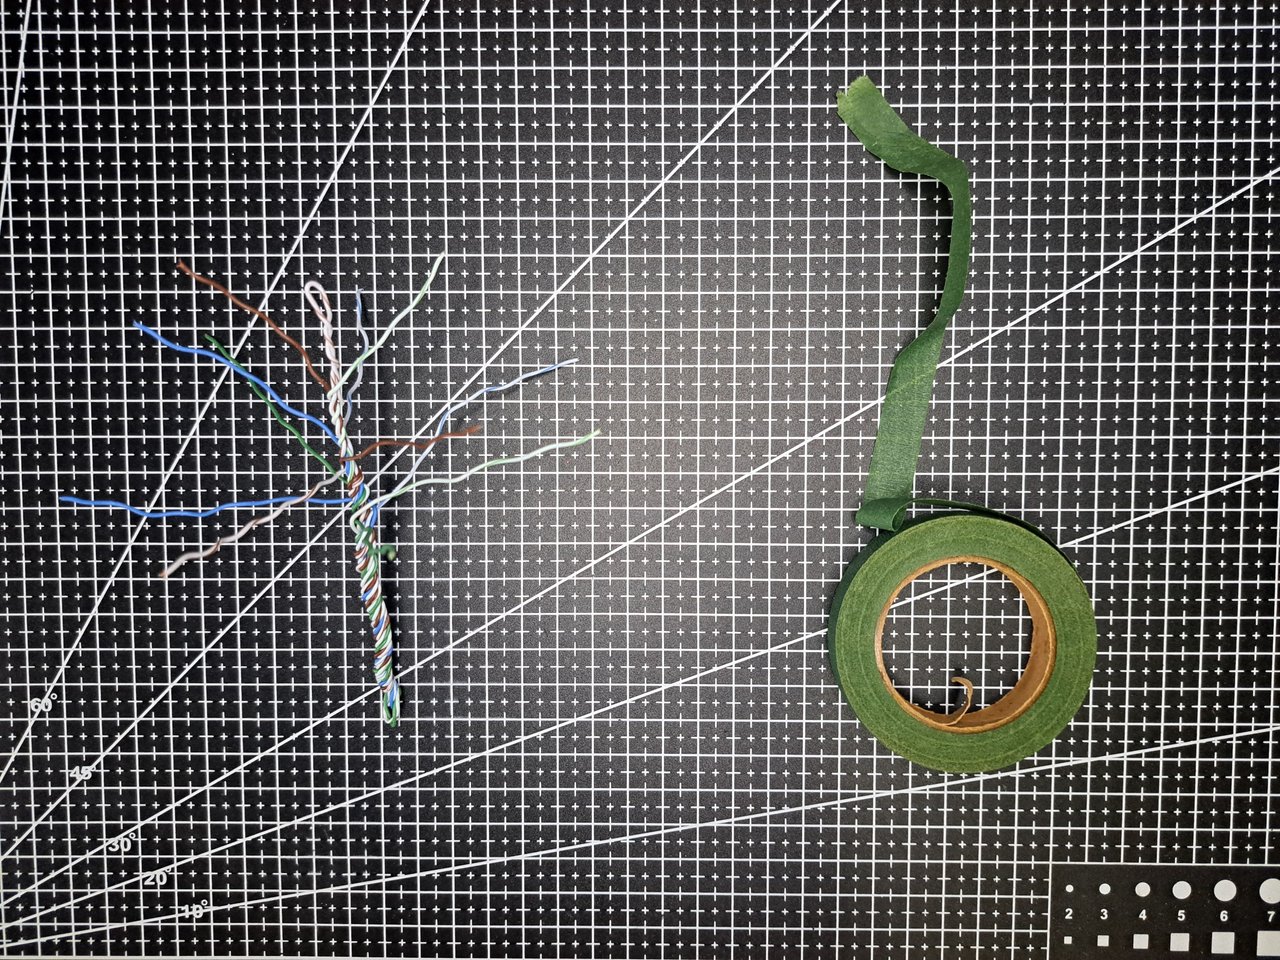
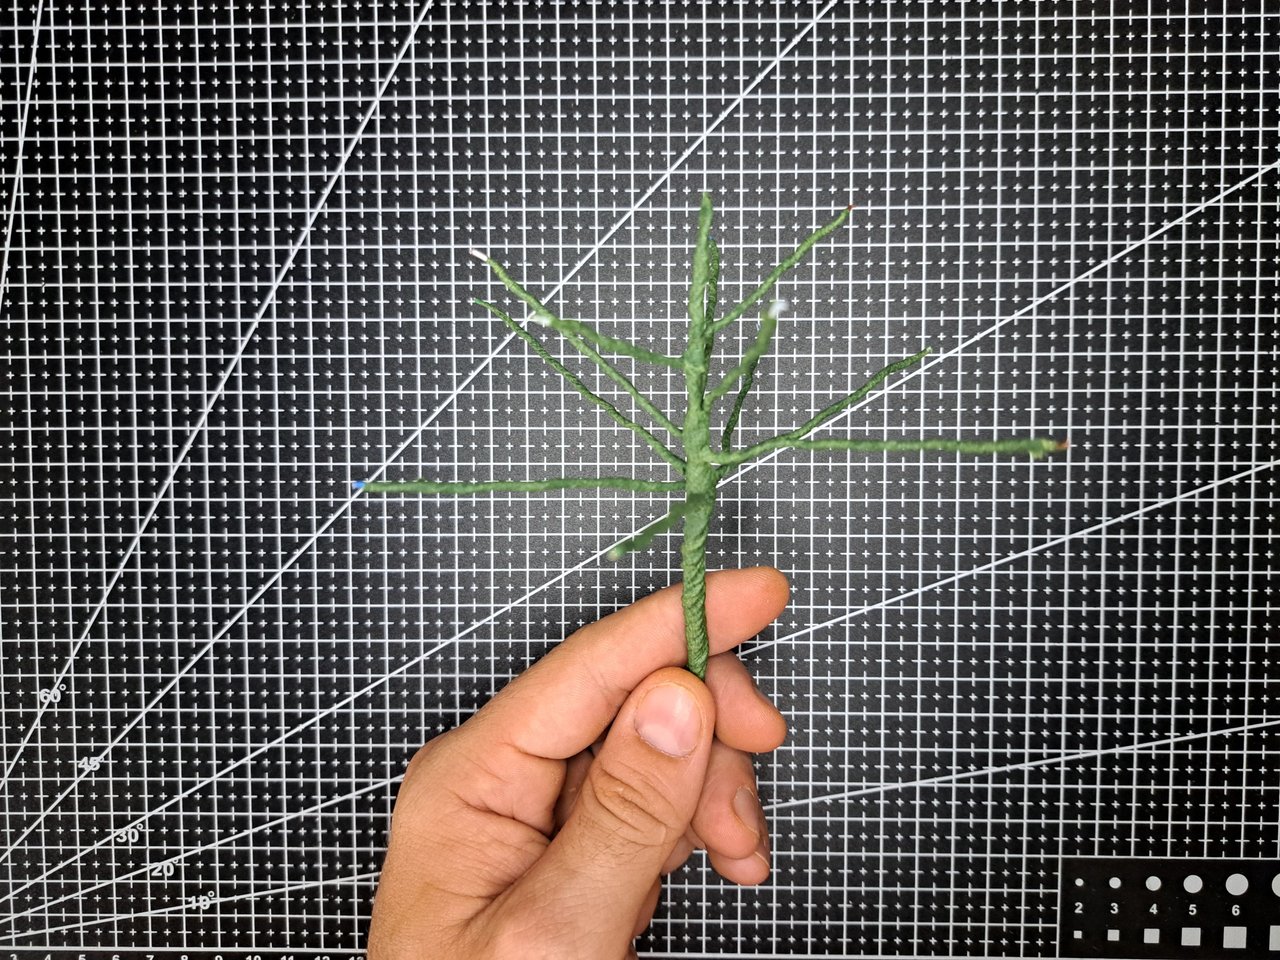
1️⃣ Unlike in other tutorials, this time I will start at the top of the plant. I will use a pliers to cut 7 pairs of wires and then wrap them around one end, leaving the 14 ends separated at different heights. With green floral tape I wrap the entire wire stem and also each of the branches.
A diferencia de en otros tutoriales, esta vez empezaré por la parte superior de la planta. Utilizaré una pinza para cortar 7 pares de cables y luego enrollarlos por un extremo, dejando las 14 puntas separadas a distintas alturas. Con cinta floral verde envuelvo todo el tallo de alambre y también cada una de las ramas.
 |
 |
 |
 |
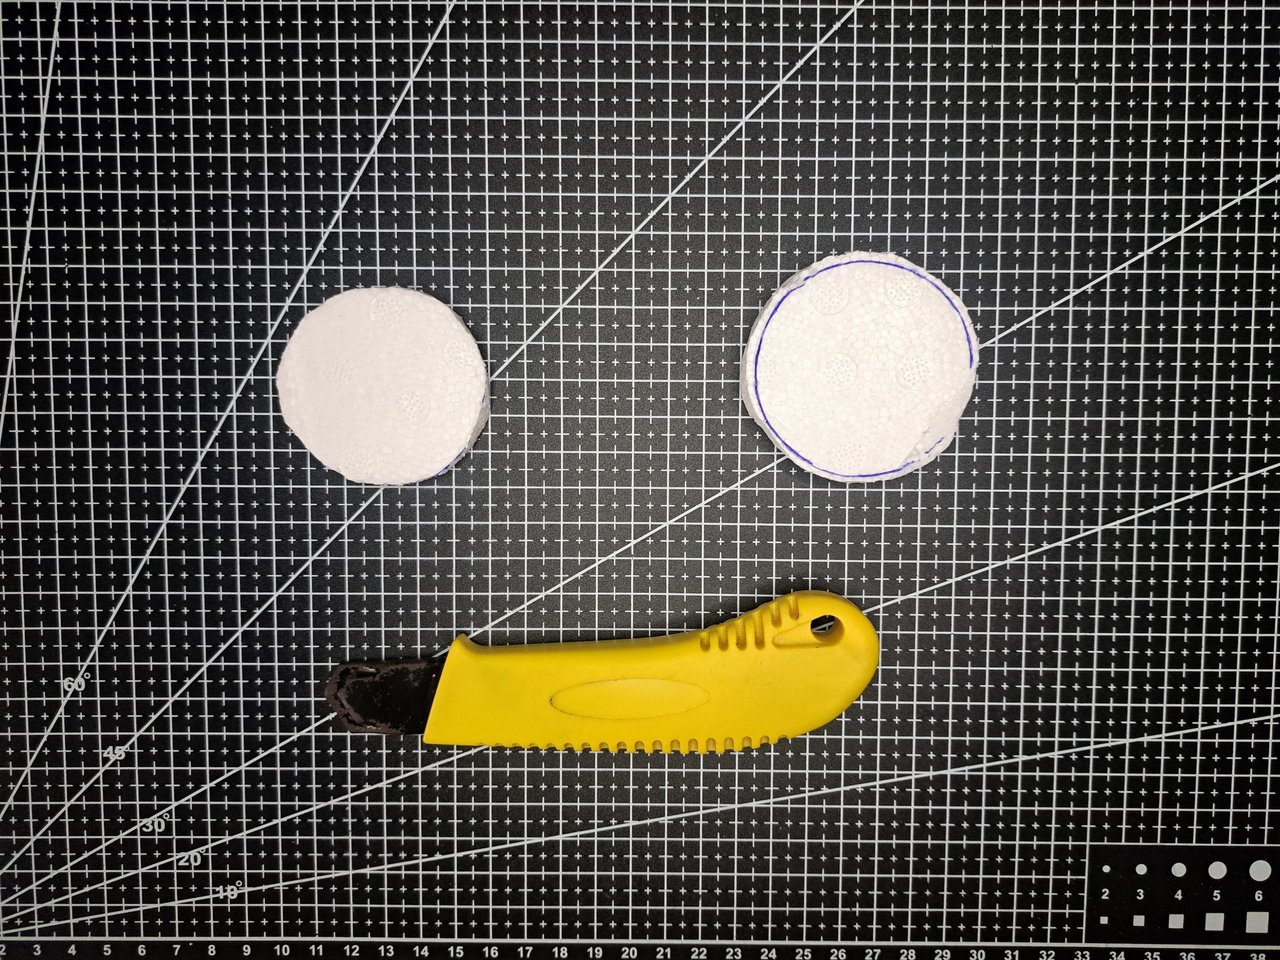
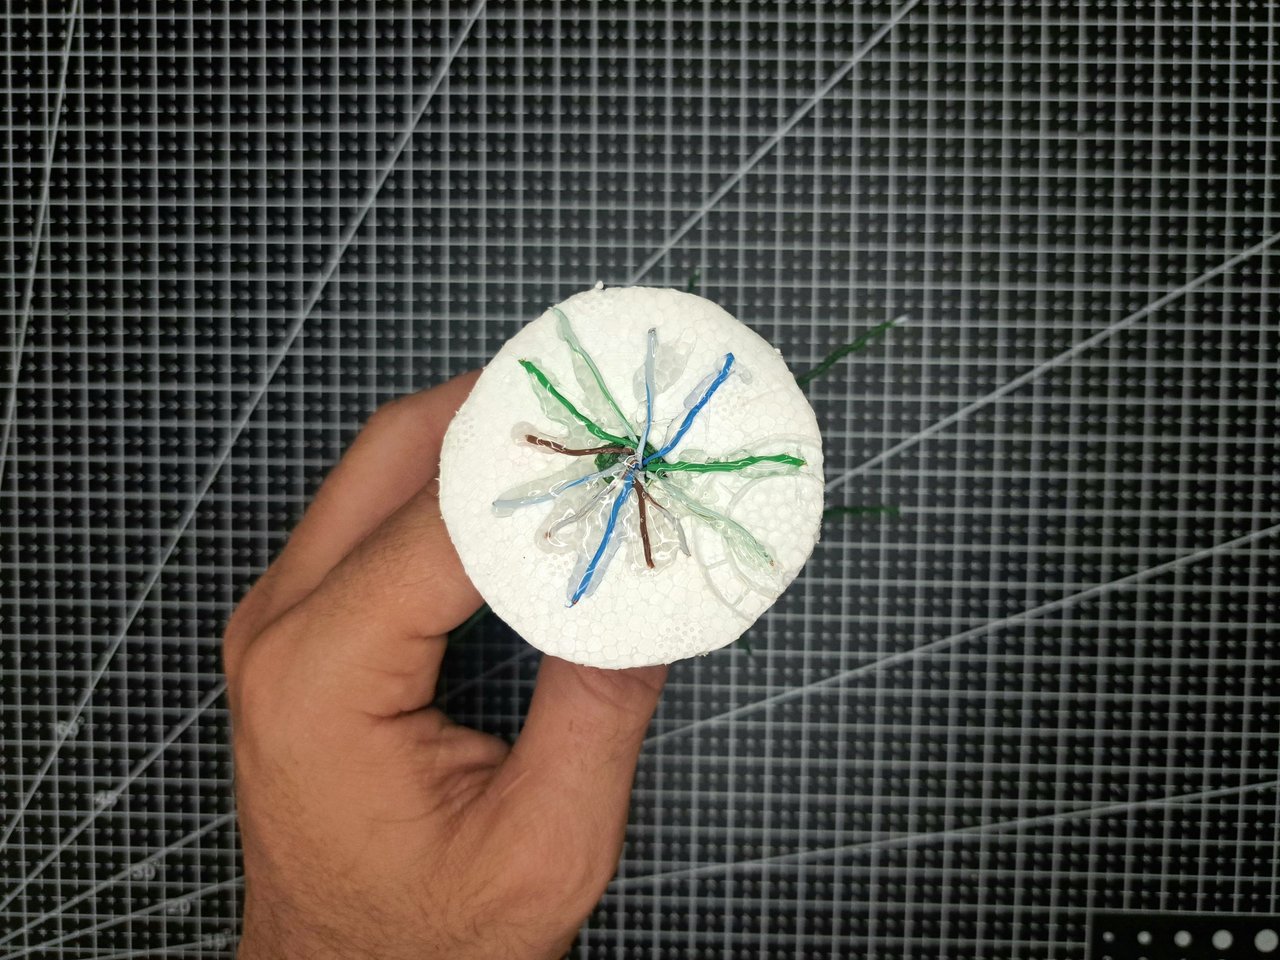
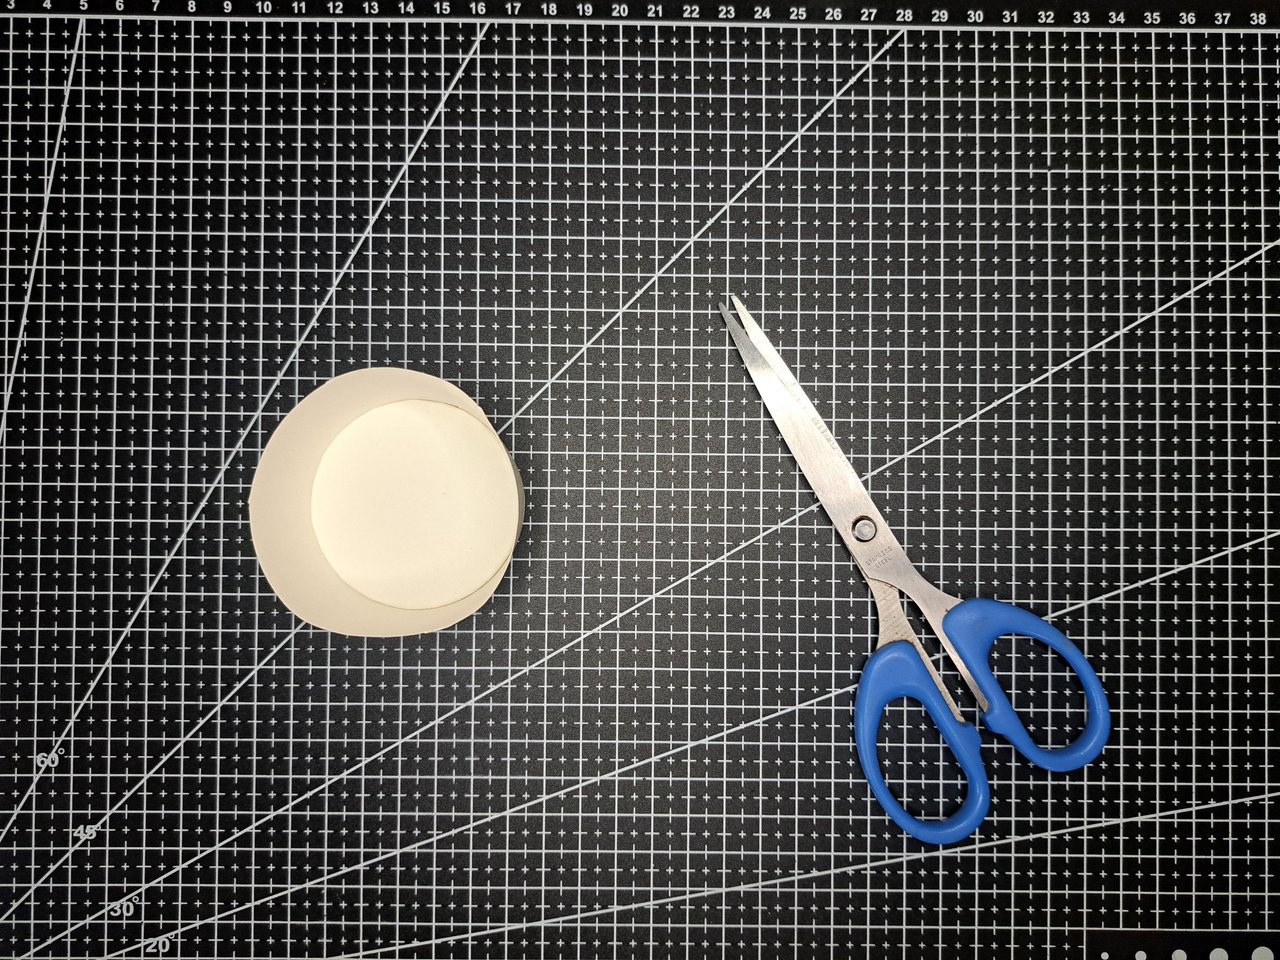
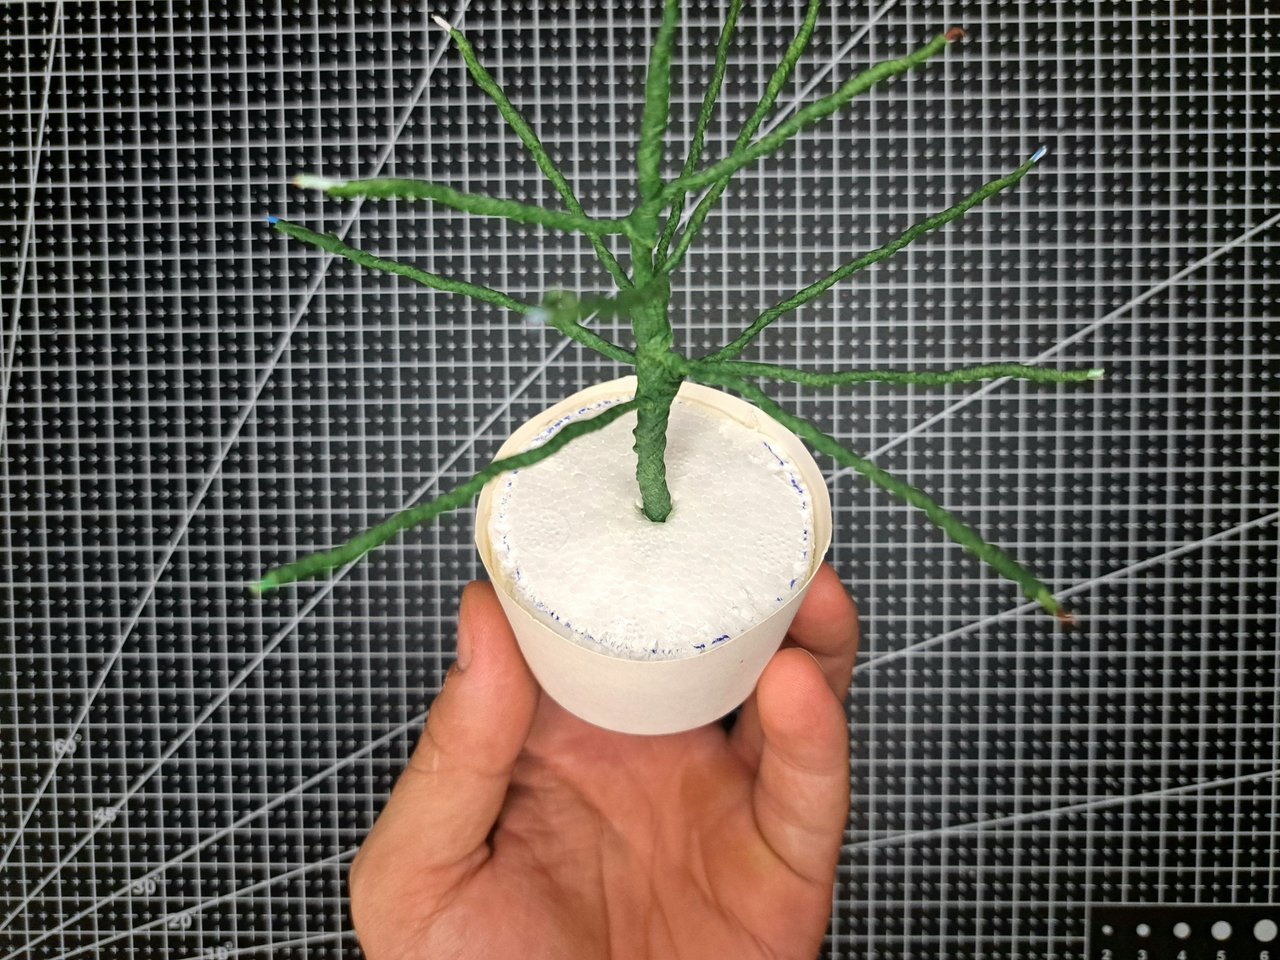
2️⃣ On a piece of polystyrene I will draw two circles with a diameter equal to that of the base of the paper cup. With a cutter I will cut the circles and to one of them I will introduce the wire stem to glue the rooting on the back.
En un pedazo de poliestireno dibujaré dos circunferencias con un diámetro igual al de la base del vaso de papel. Con un cúter recortaré las circunferencias y a una de ellas le introduciré el tallo de alambre para pegarle el enraizado en la parte posterior.
 |
 |
 |
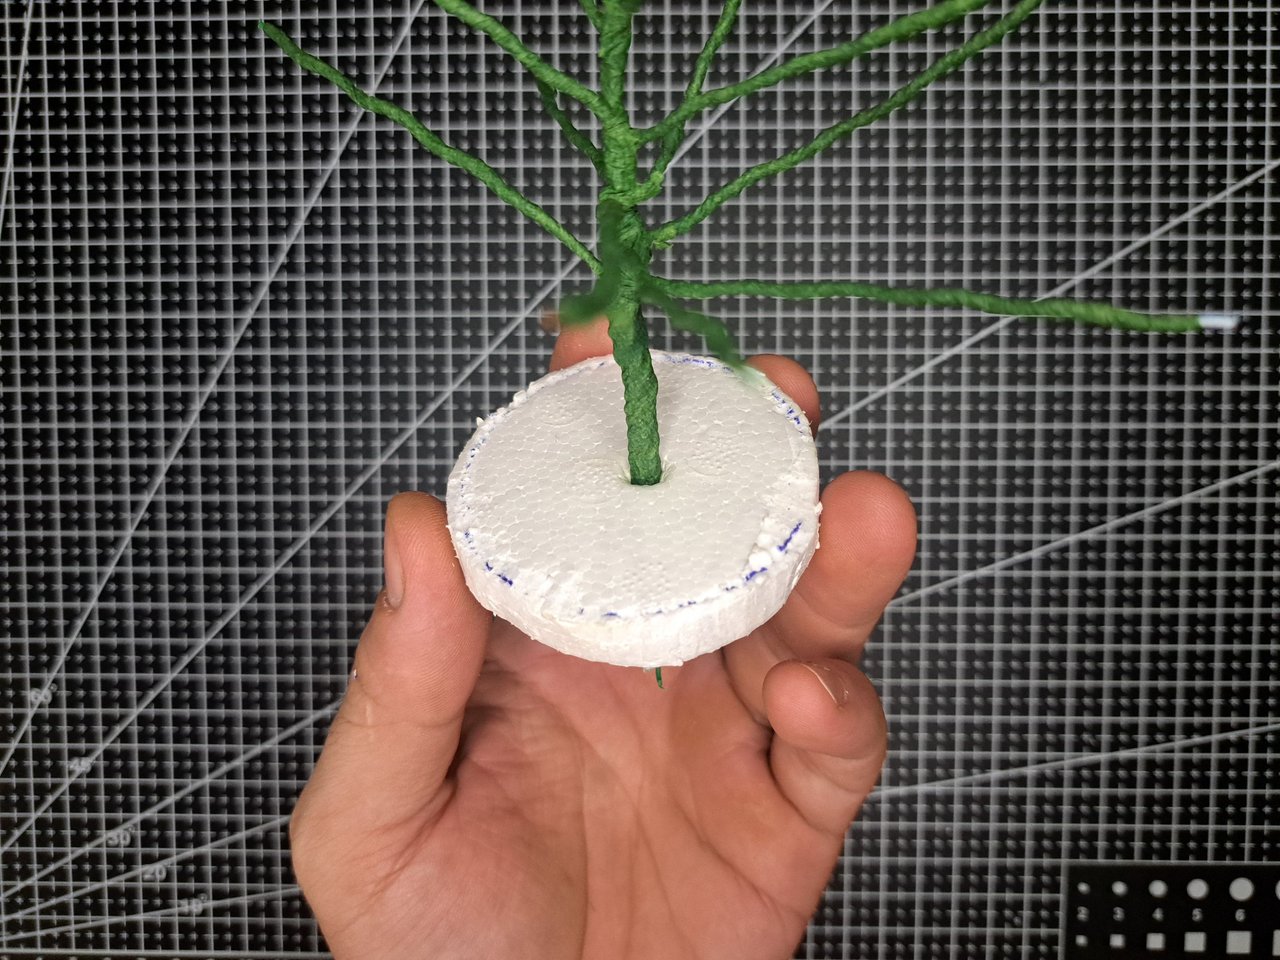 |
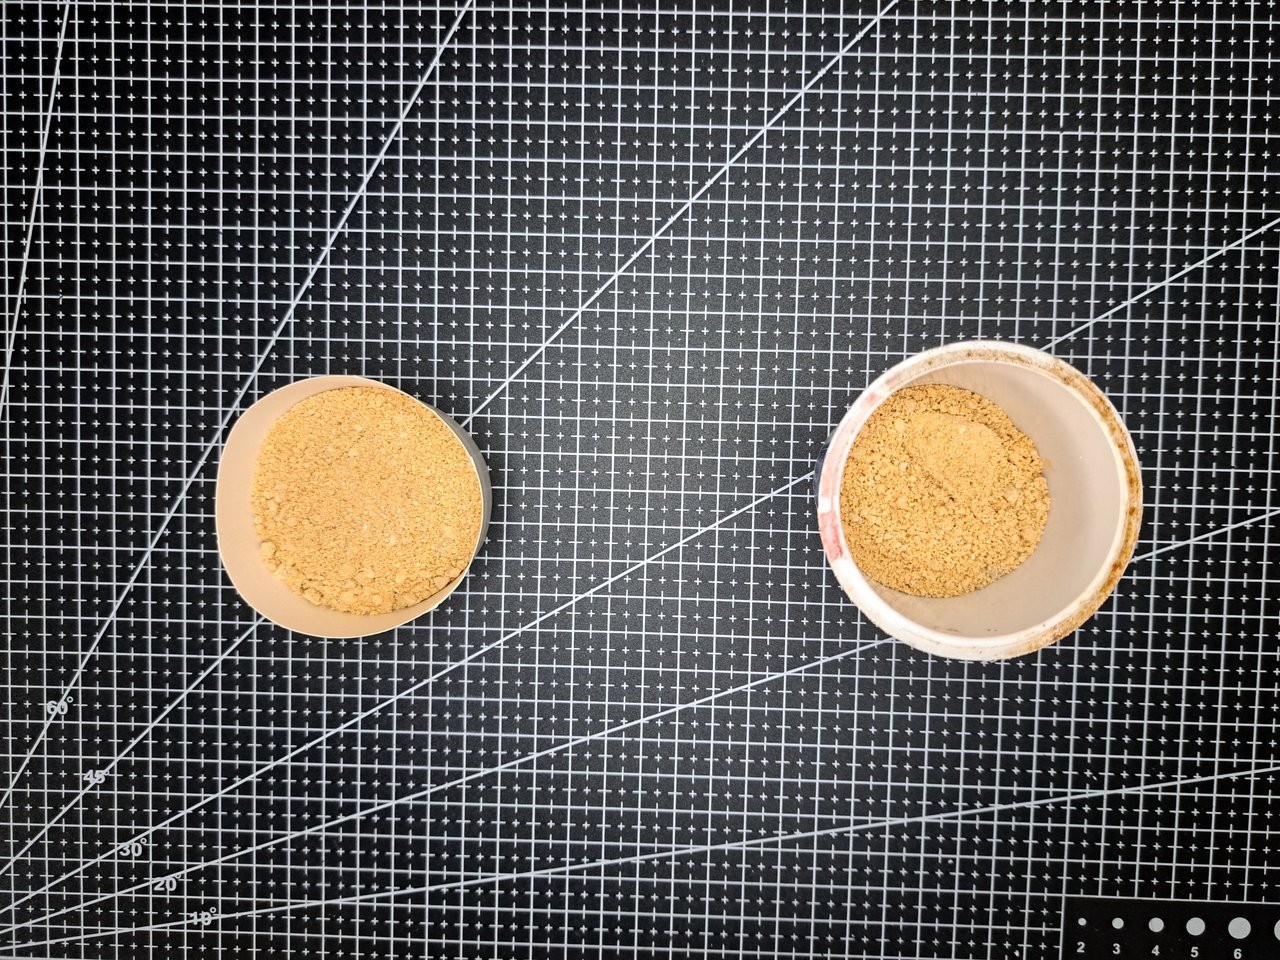
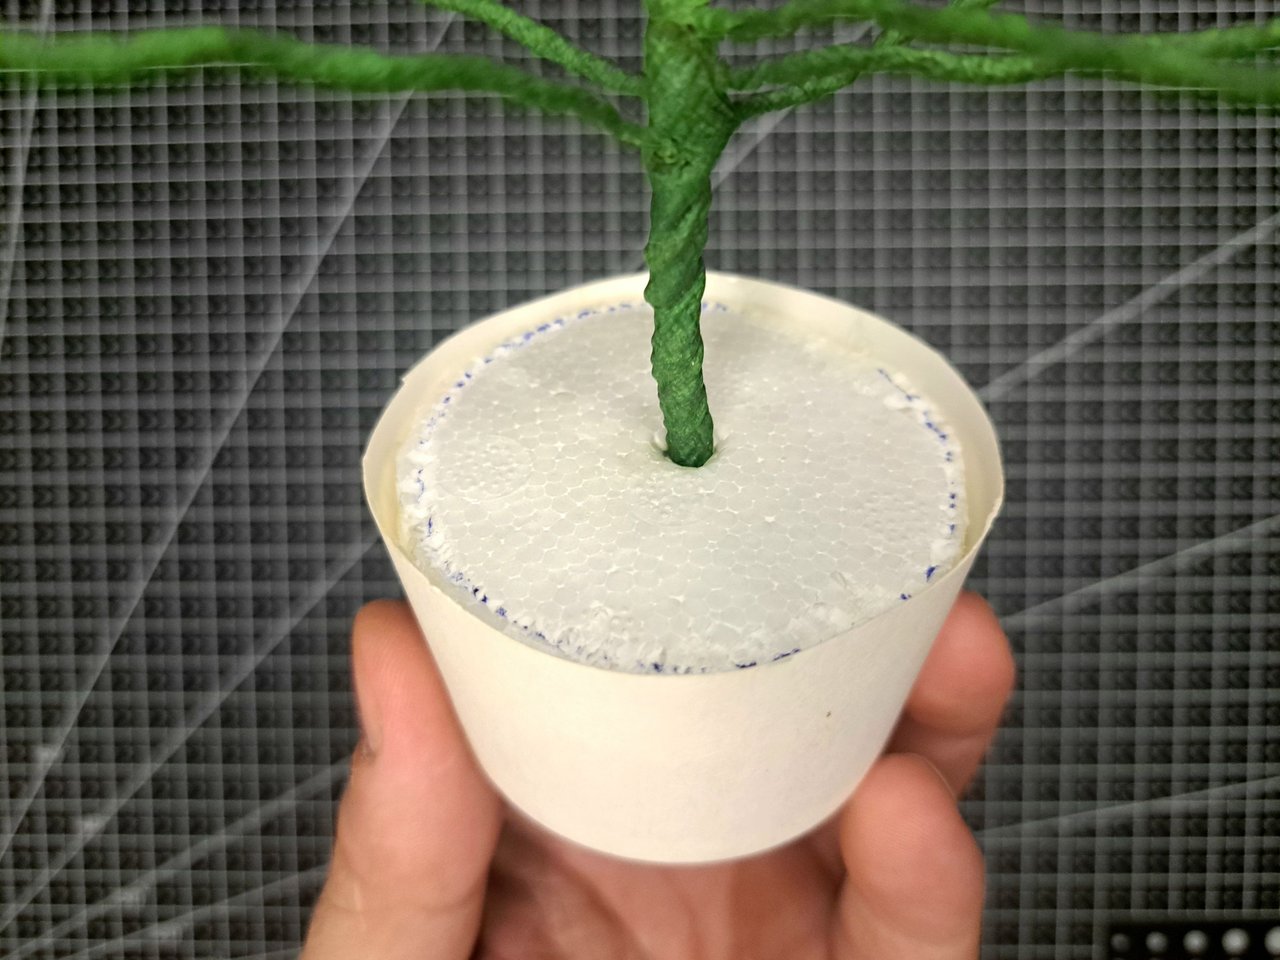
3️⃣ On the paper cup I will make a series of marks around a height of 4 cm and cut out the entire upper part. I will glue the first circumference, fill it with sand and on top I will glue the second circumference that has the wire stem attached to it.
En el vaso de papel haré una serie de marcas alrededor de una altura de 4 cm y recortaré toda la parte superior. Pegaré la primera circunferencia, la rellenaré con arena y encima pegaré la segunda circunferencia que tiene sujetado el tallo de alambre.
 |
 |
 |
 |
 |
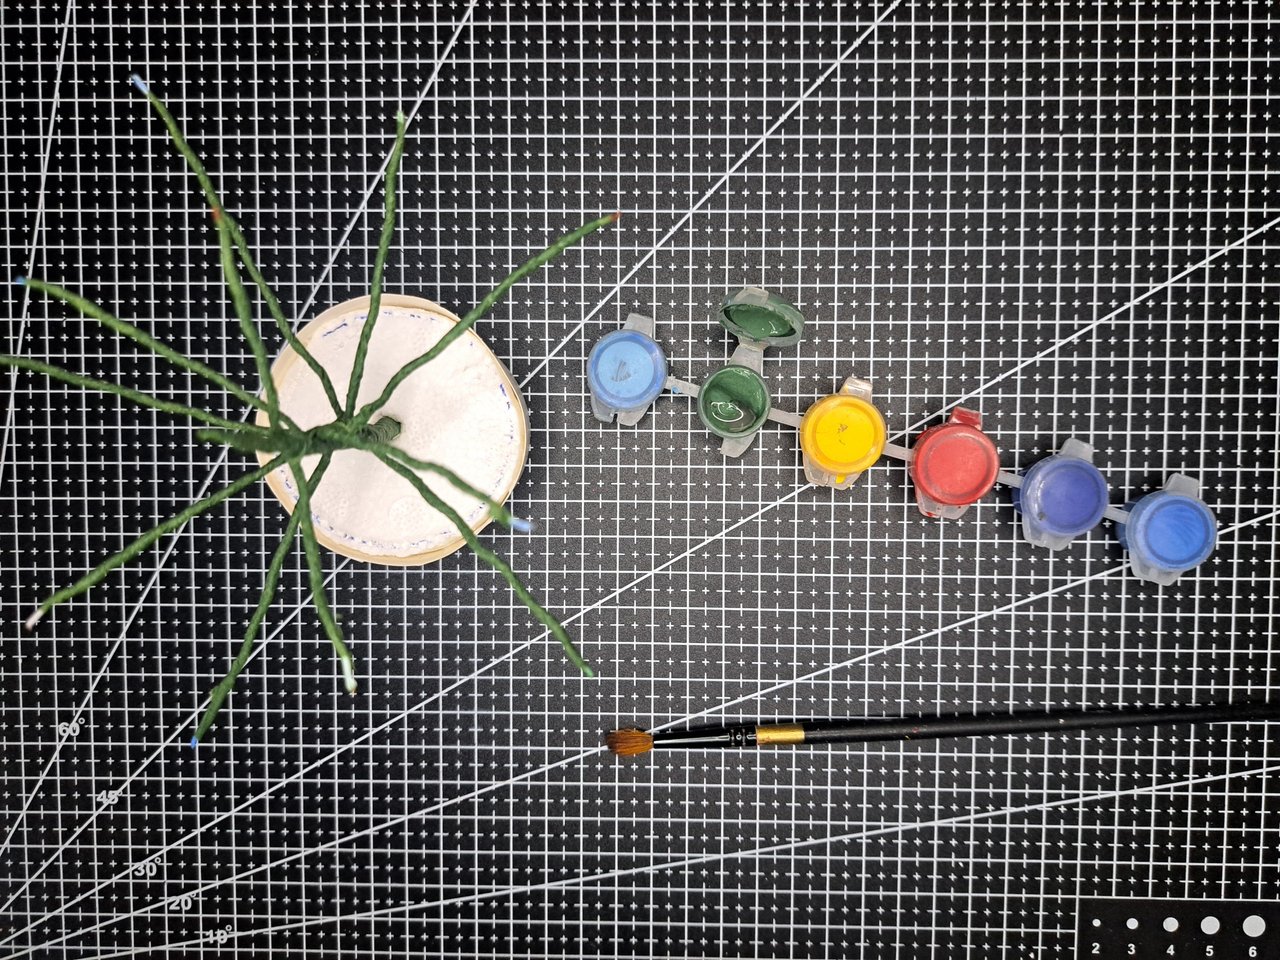
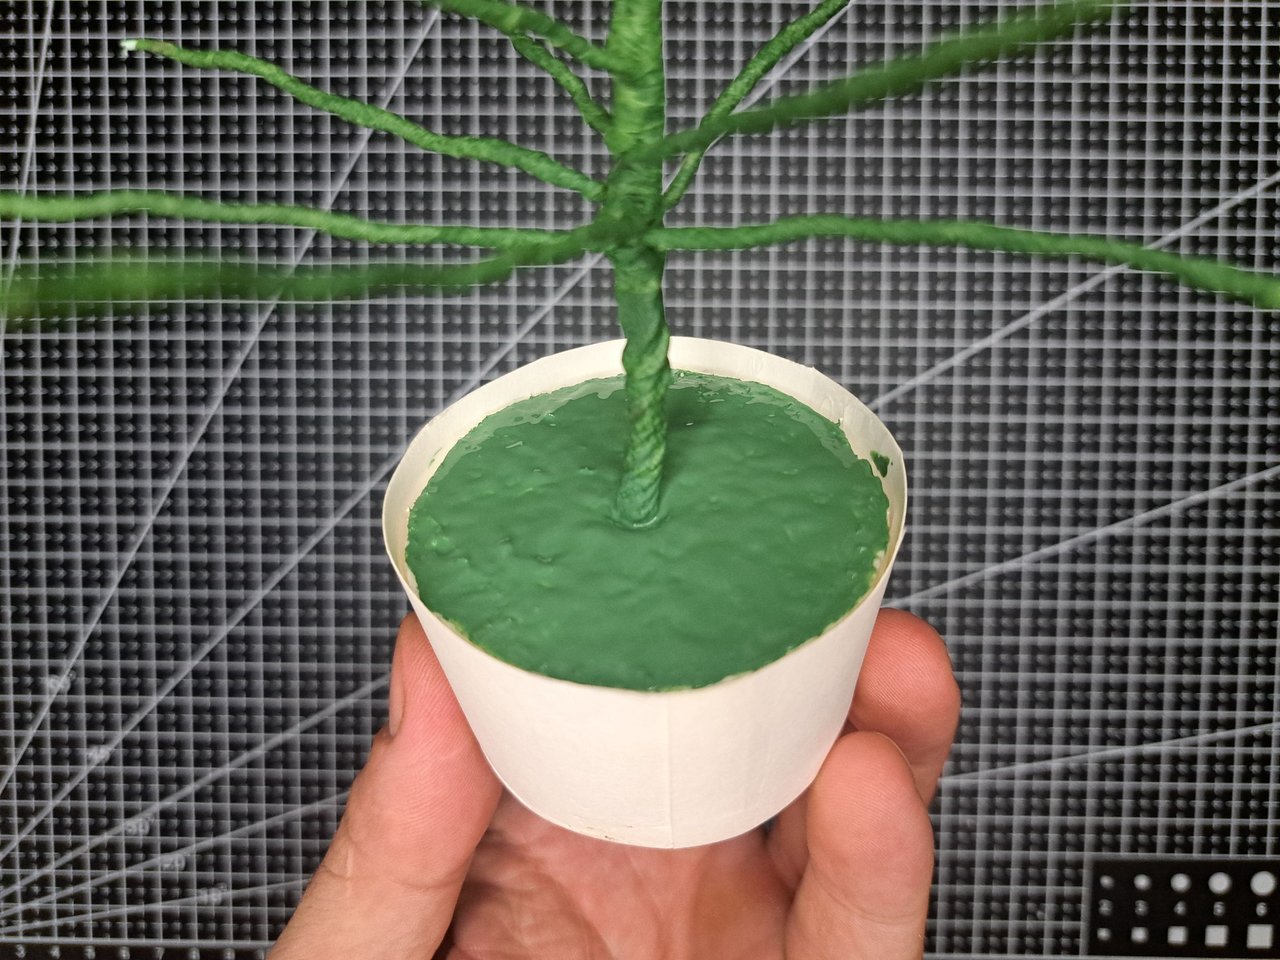
4️⃣ With some green paint and a paintbrush I will paint the top of the exposed polystyrene pot. Here you could have used scraps of green fomi to make fake grass, but you have to save a little. 😅
Con un poco de pintura verde y un pincel pintaré la parte superior del poliestireno de la maceta que queda expuesta. Aquí se pudo haber empleado retazos de fomi verde para hacer hierba falsa, pero hay que ahorrar un poco. 😅
 |
 |
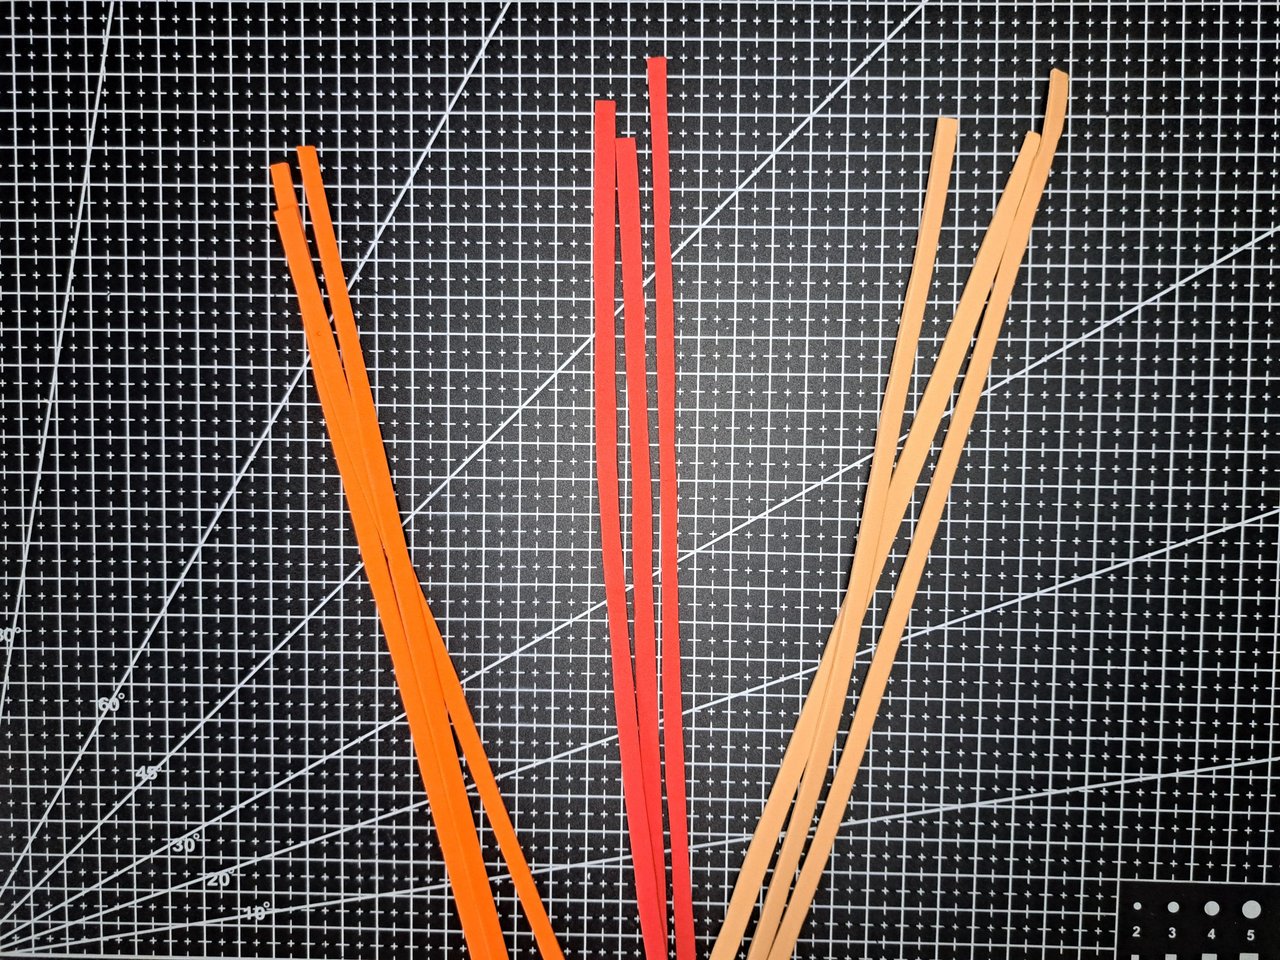
5️⃣ While the paint dries, I will cut thin strips of red, orange and skin colored fomi. Each strip will be approximately 5 cm wide and as long as possible. Joining the strips at one end, I will create long braids without tightening them too much so that they are not too thin.
En lo que seca la pintura, recortaré tiras finas de fomi rojo, naranja y color piel. Cada tira tendrá aproximadamente 5 cm de ancho y todo el largo posible. Uniendo las tiras por uno de sus extremos, crearé trenzas largas sin apretarlas mucho para que no queden finas.
 |
 |
 |
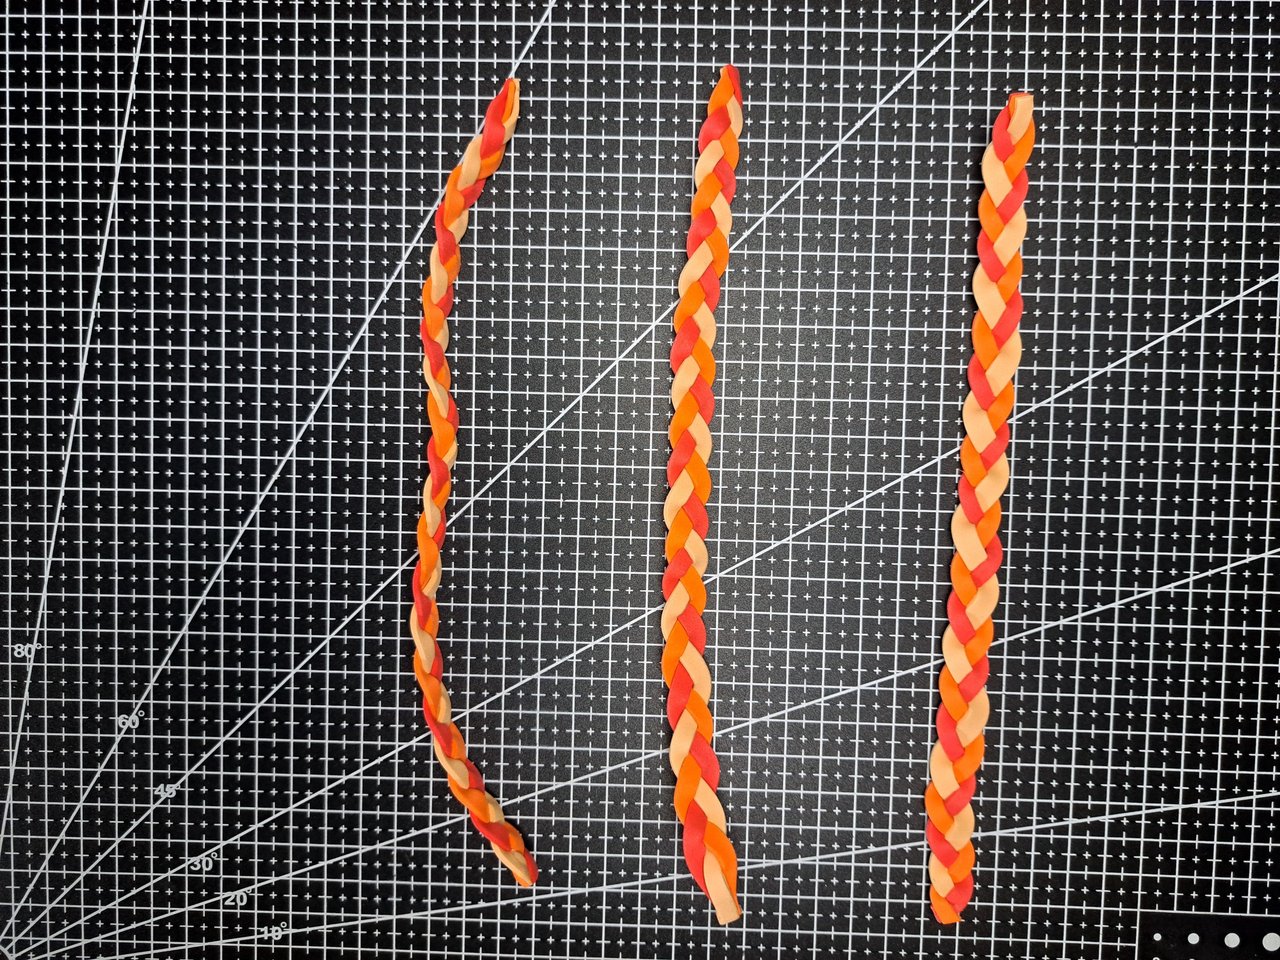 |
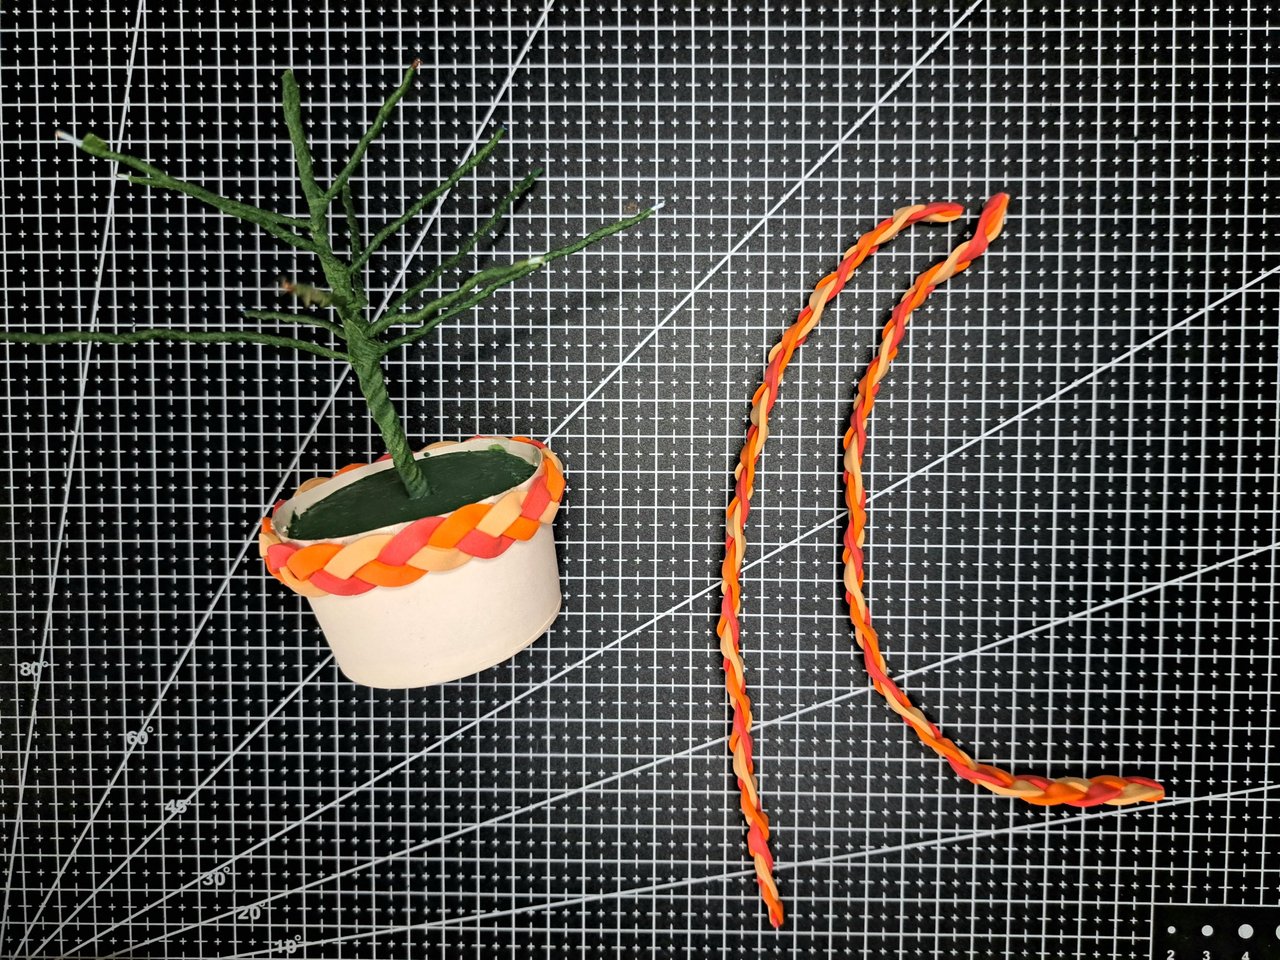
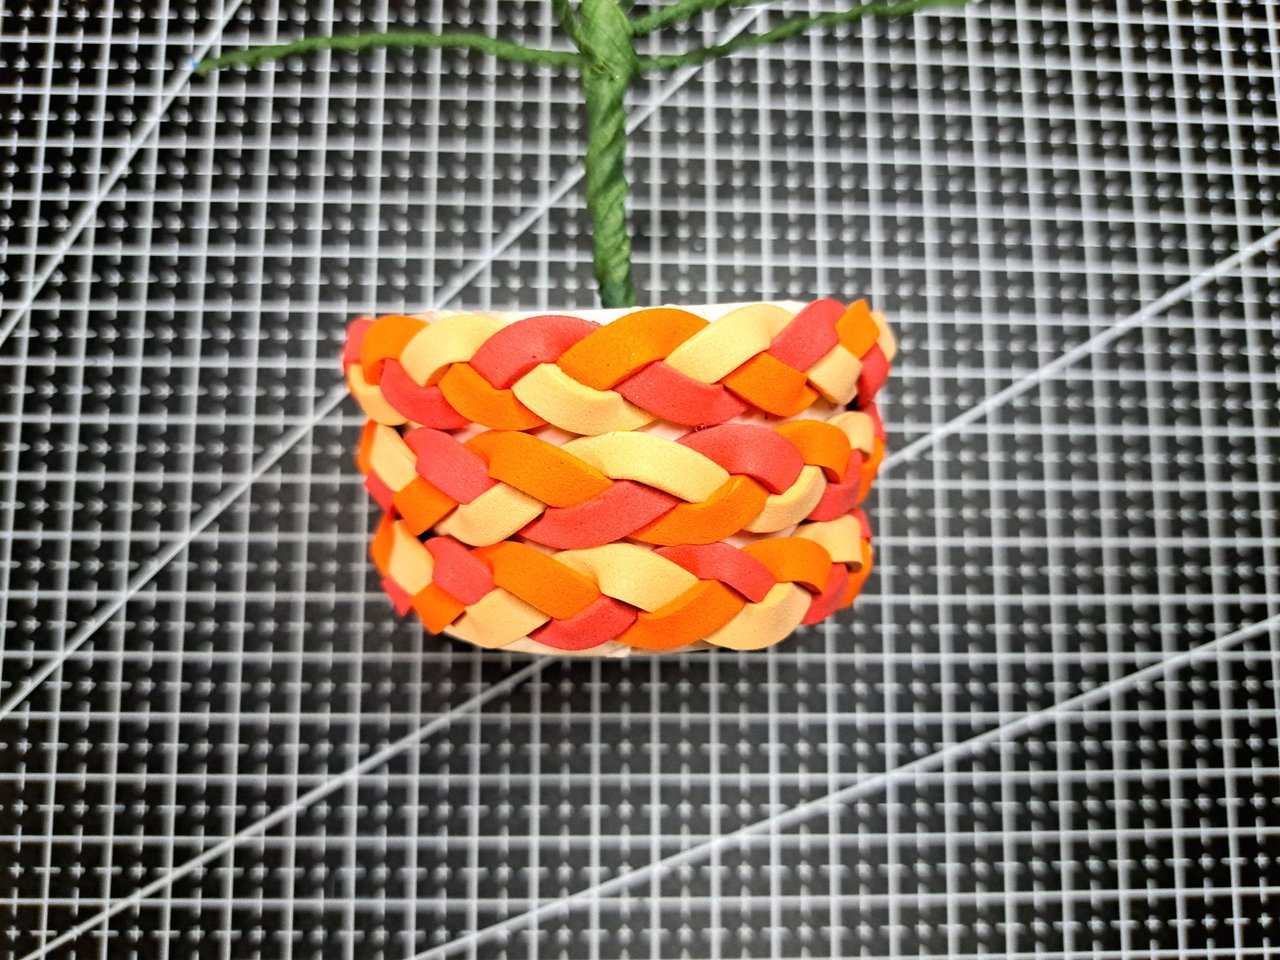
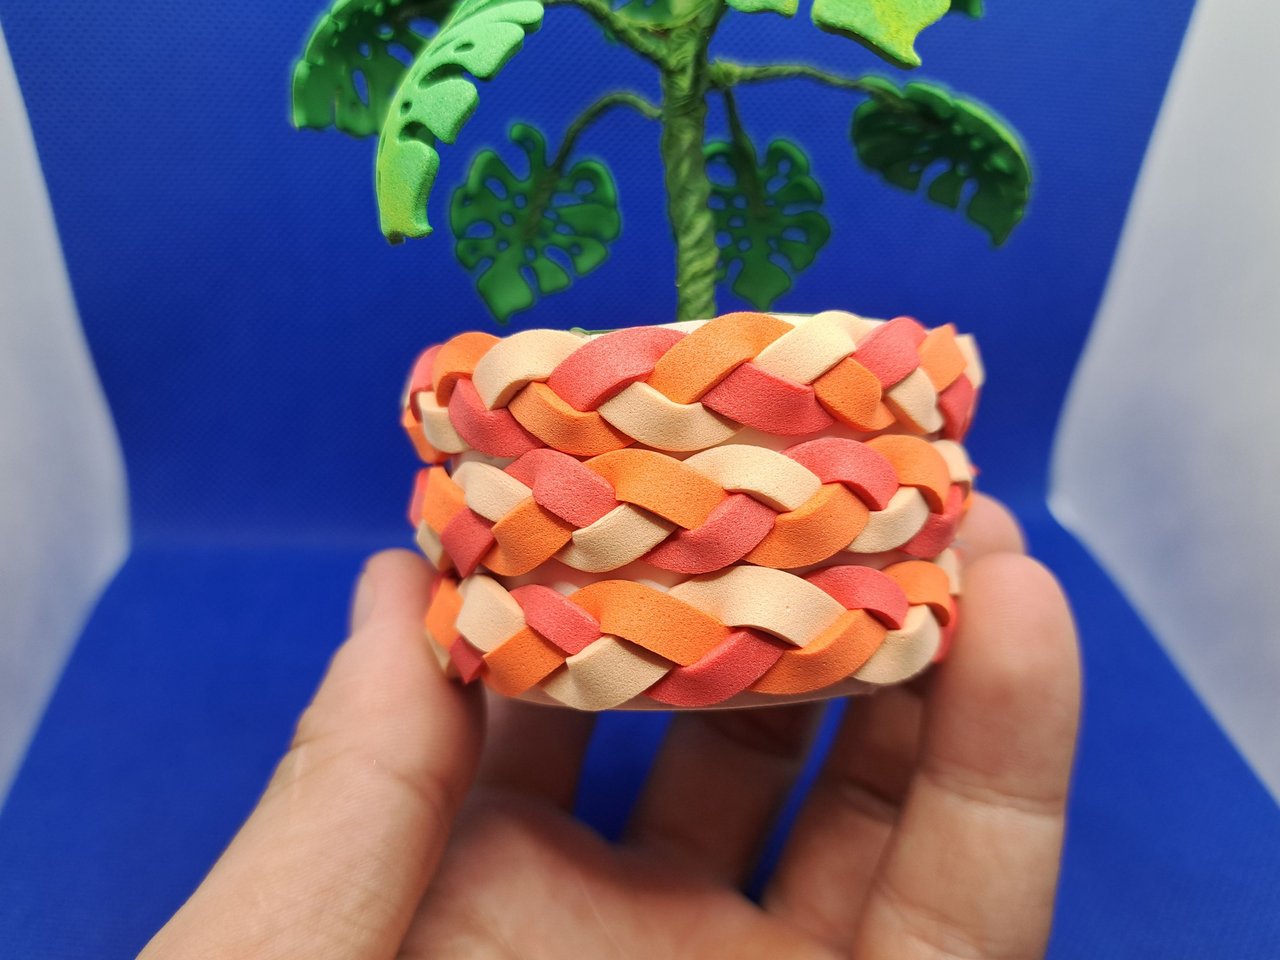
6️⃣ I will glue each of the fomi braids all around the rim of the pot. If the measurements have matched so far, only three braids will be needed. You can alternate the design and colors of the braids to create fun patterns on the outside of the pot.
Cada una de las trenzas de fomi las pegaré por todo el borde de la maceta. Si las medidas han coincidido hasta ahora, solo serán necesarias tres trenzas. Se puede alternar el diseño y colores de las trenzas para crear divertidos patrones en el exterior de la maceta.
 |
 |
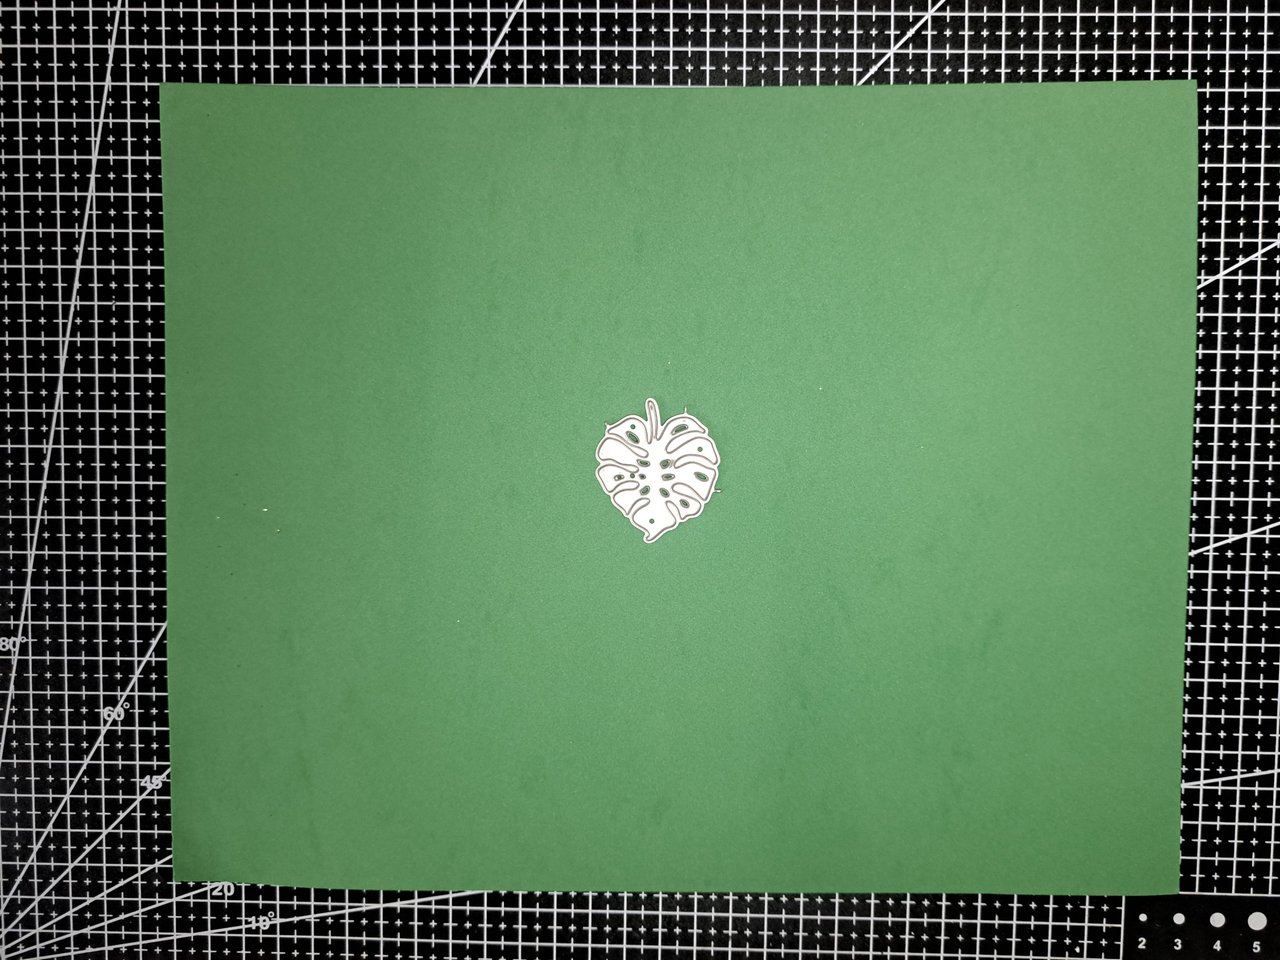
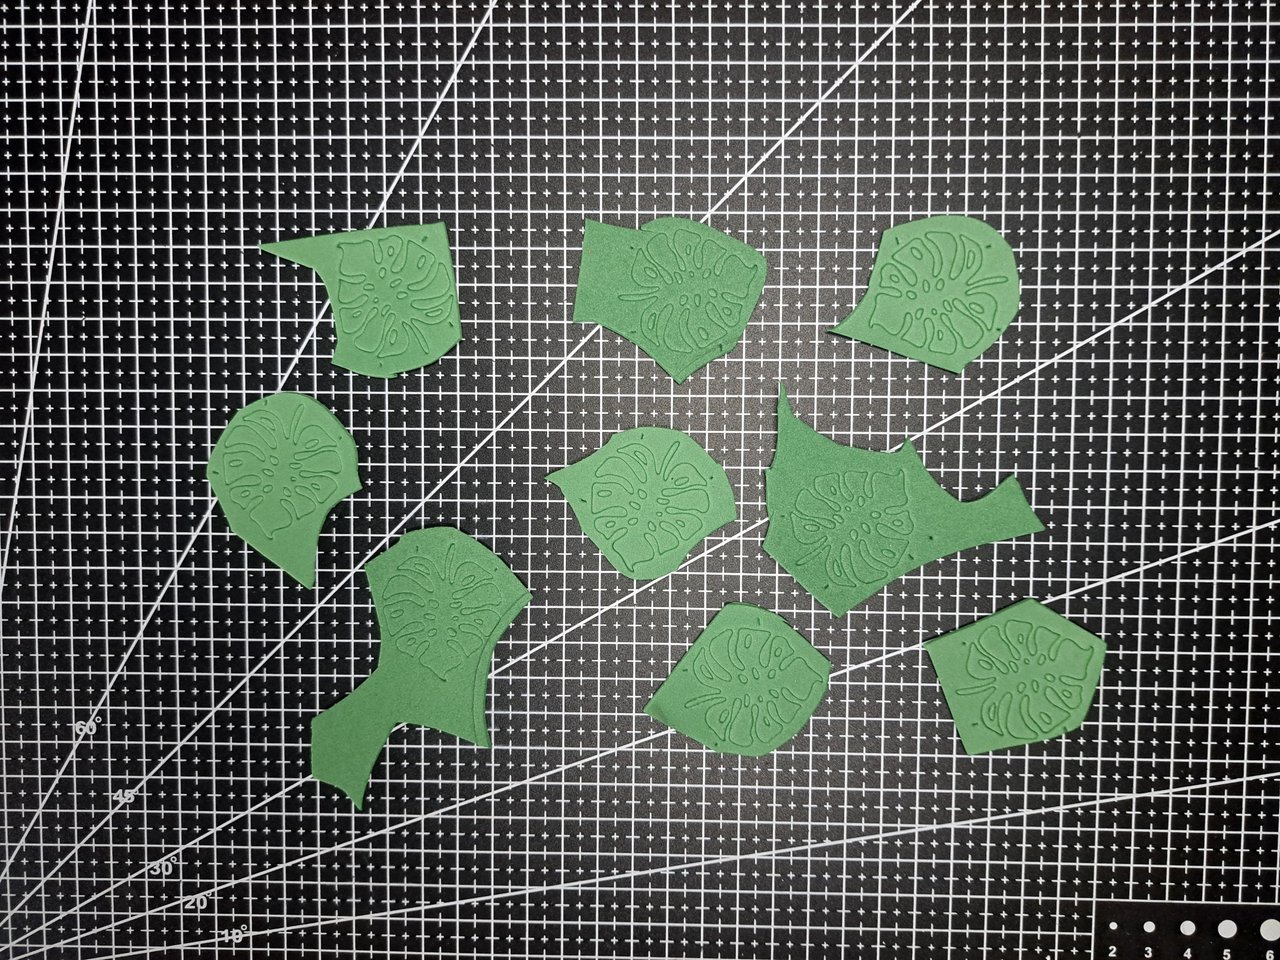
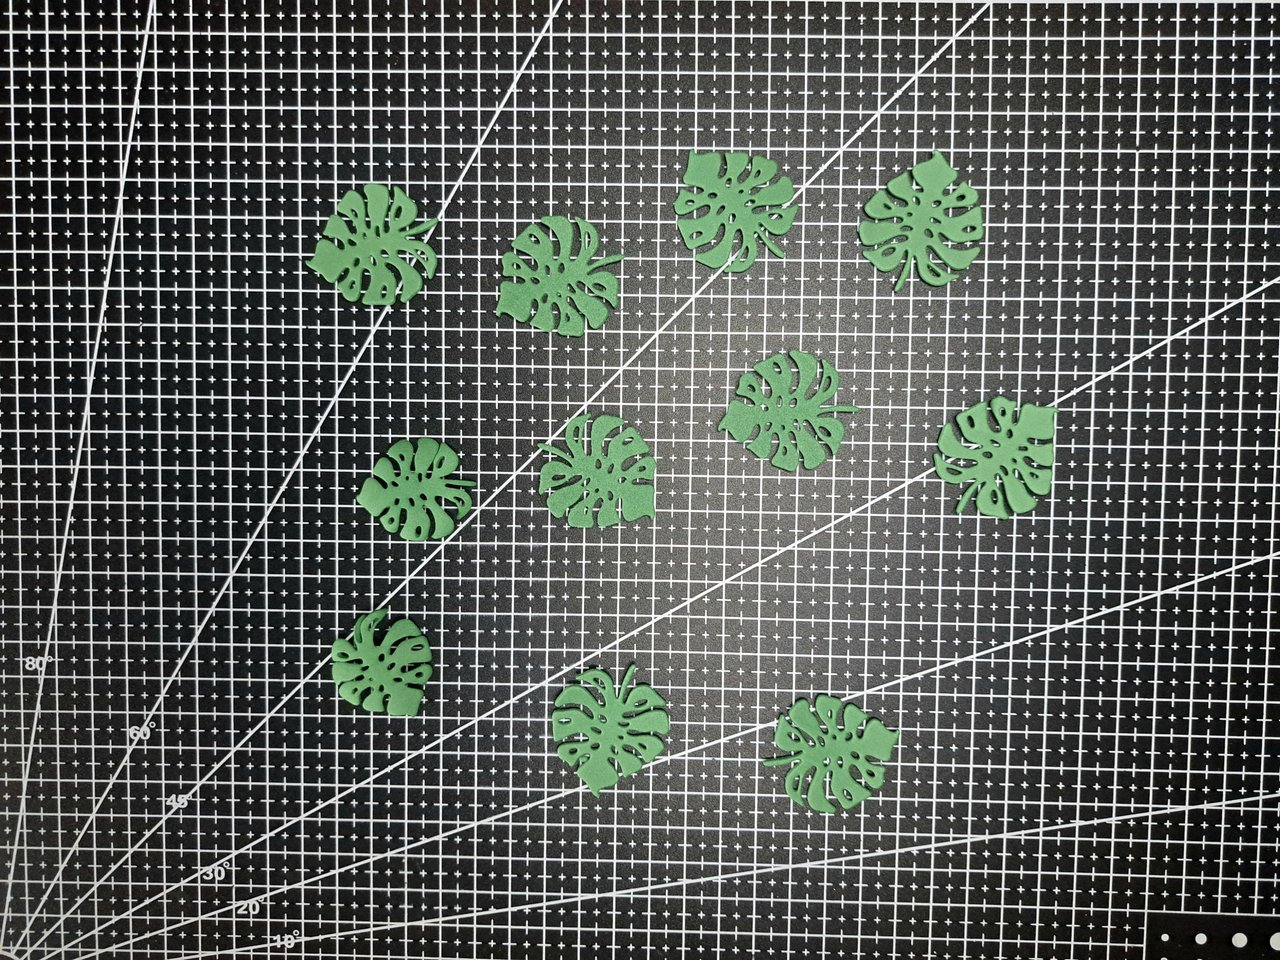
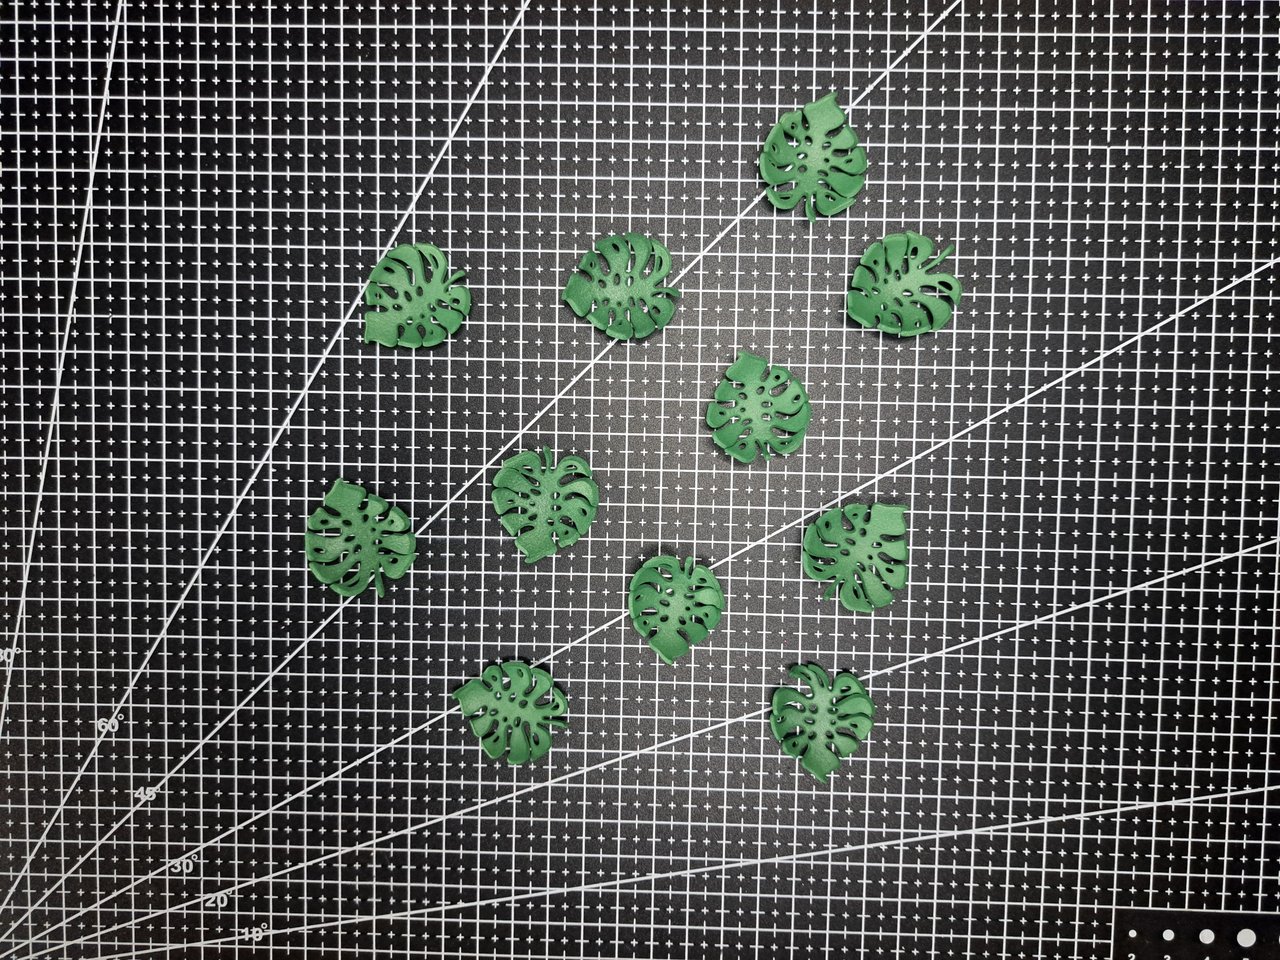
7️⃣ With the help of a metal cutting die, I will mark and cut out each of the green fomi leaves that I will glue on the branches of the plant. Before gluing the leaves, I subject them to a thermo-forming process to arch them a little and make the fomi, by contracting, become more resistant and less malleable.
Con ayuda de un troquel metálico de corte, marcaré y recortaré cada una de las hojas de fomi verde que pegaré en las ramas de la planta. Antes de pegar las hojas, las someto a un proceso de termo-formación para arquearlas un poco y hacer que el fomi, al contraerse, se vuelva más resistente y menos maleable.
 |
 |
 |
 |
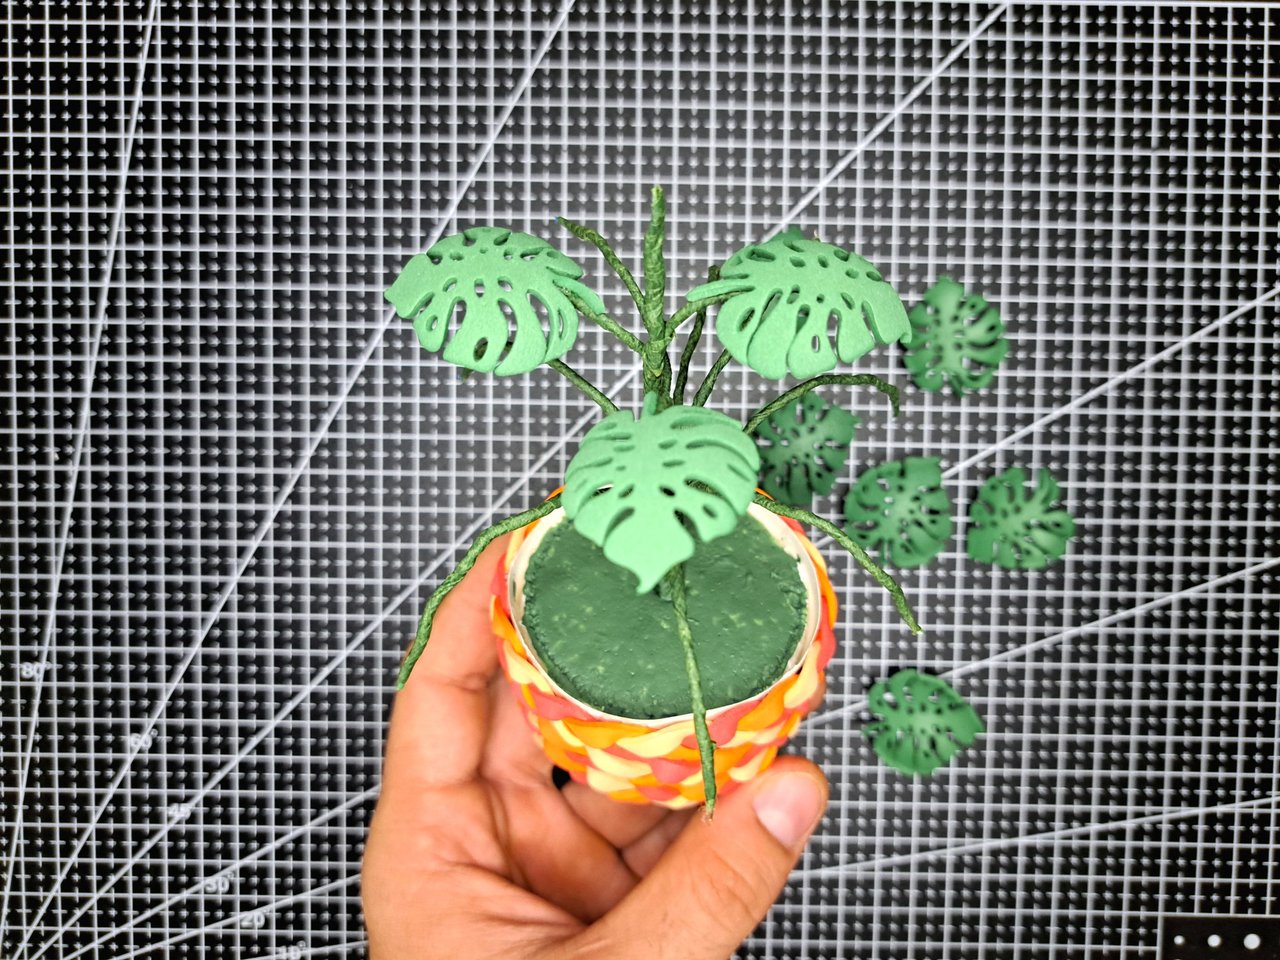
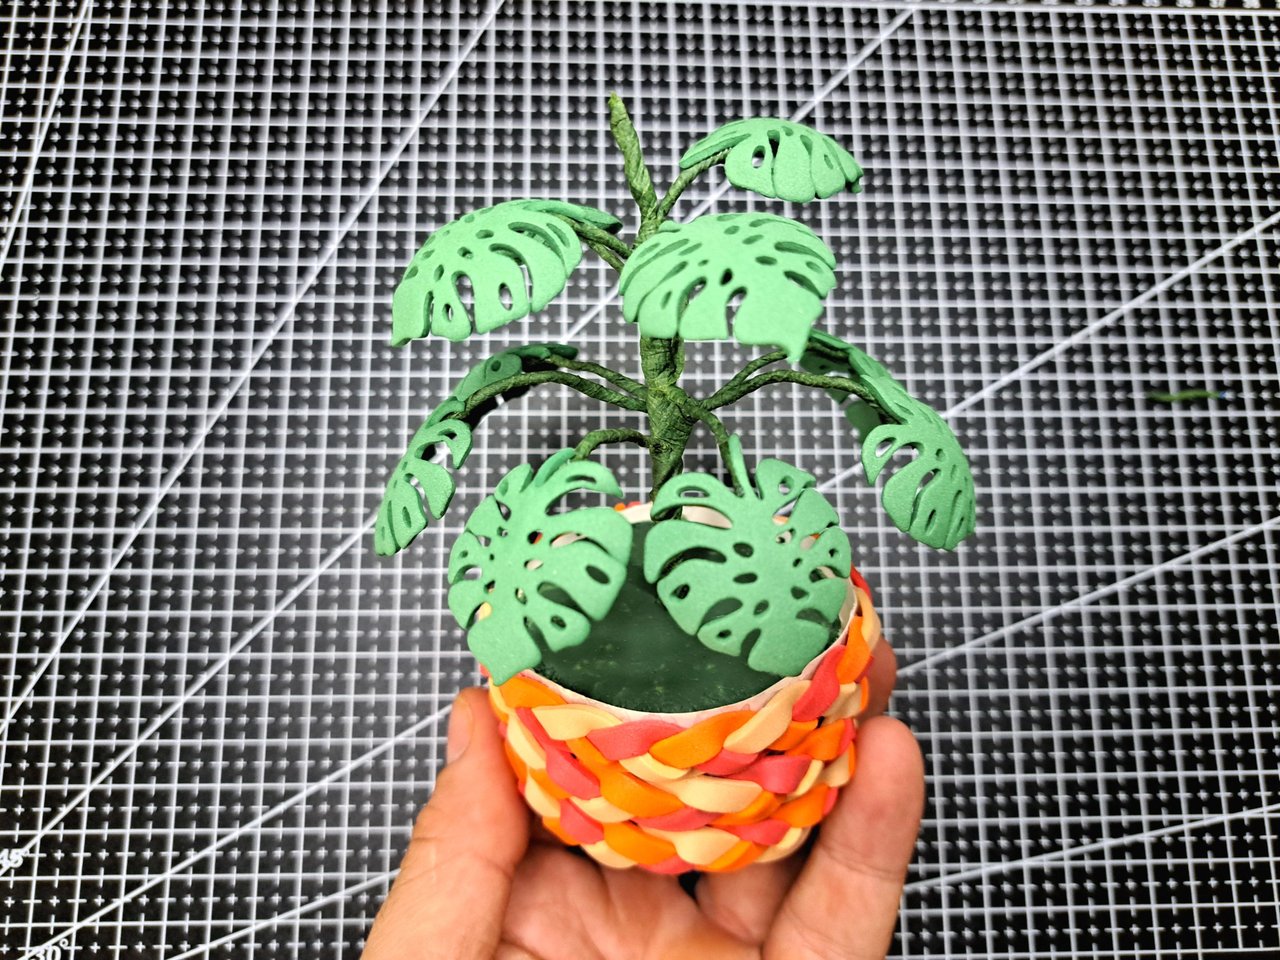
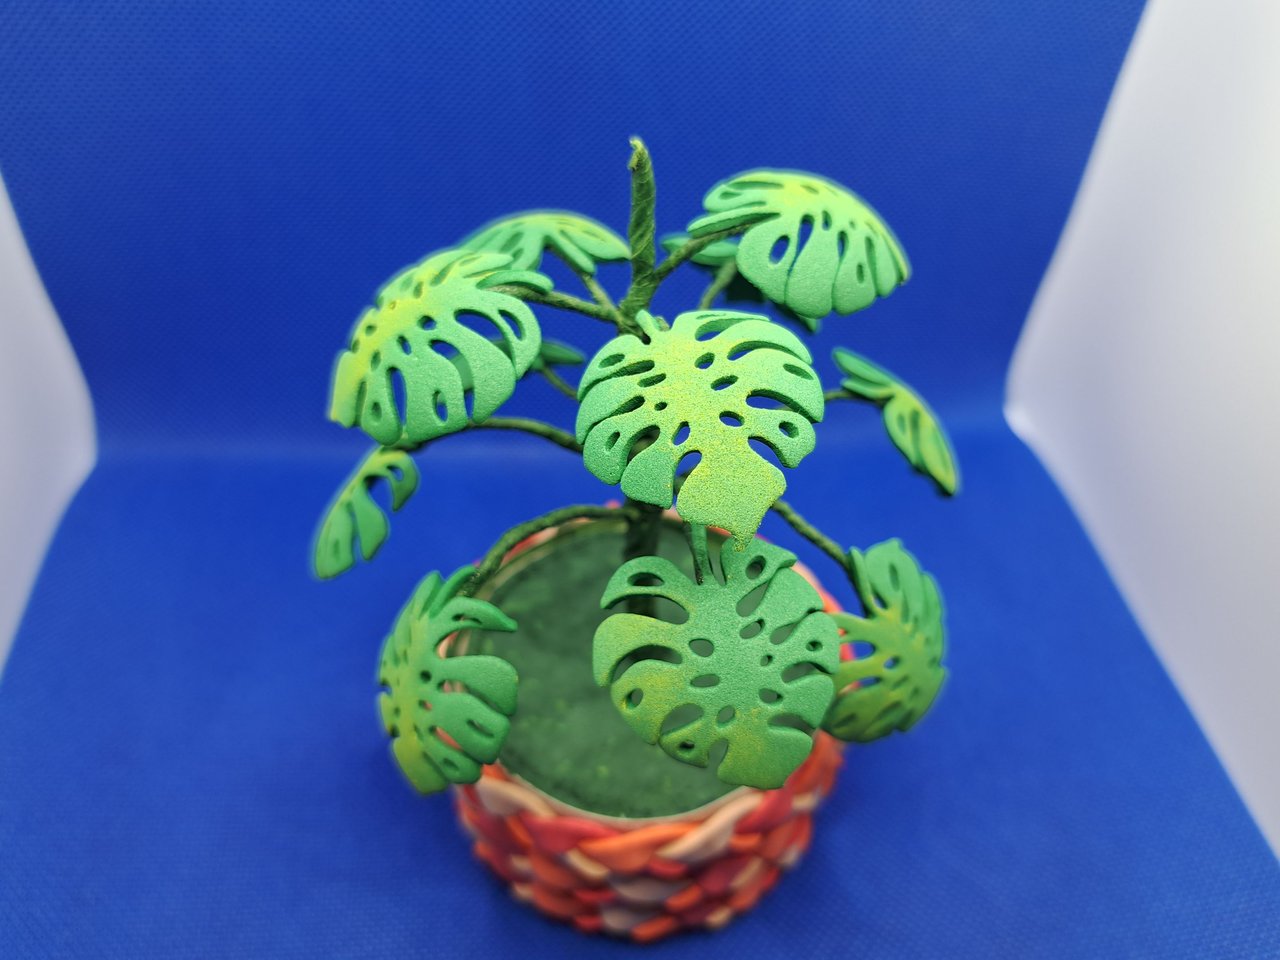
8️⃣ Last but not least, I will put each of the thermoformed sheets in place. I will start from top to bottom, gluing first the leaves that received the most heat and, consequently, are more arched. After gluing each of the leaves, I will use the tweezers to rearrange some of the branches.
Por último, pero no menos importante, colocaré cada una de las hojas termoformadas en su lugar. Empezaré de arriba hacia abajo, pegando primero las hojas que más calor recibieron y, por consecuencia, están más arqueadas. Luego de pegar cada una de las hojas, utilizaré la pinza para reacomodar algunas de las ramas.
 |
 |
 |
 |
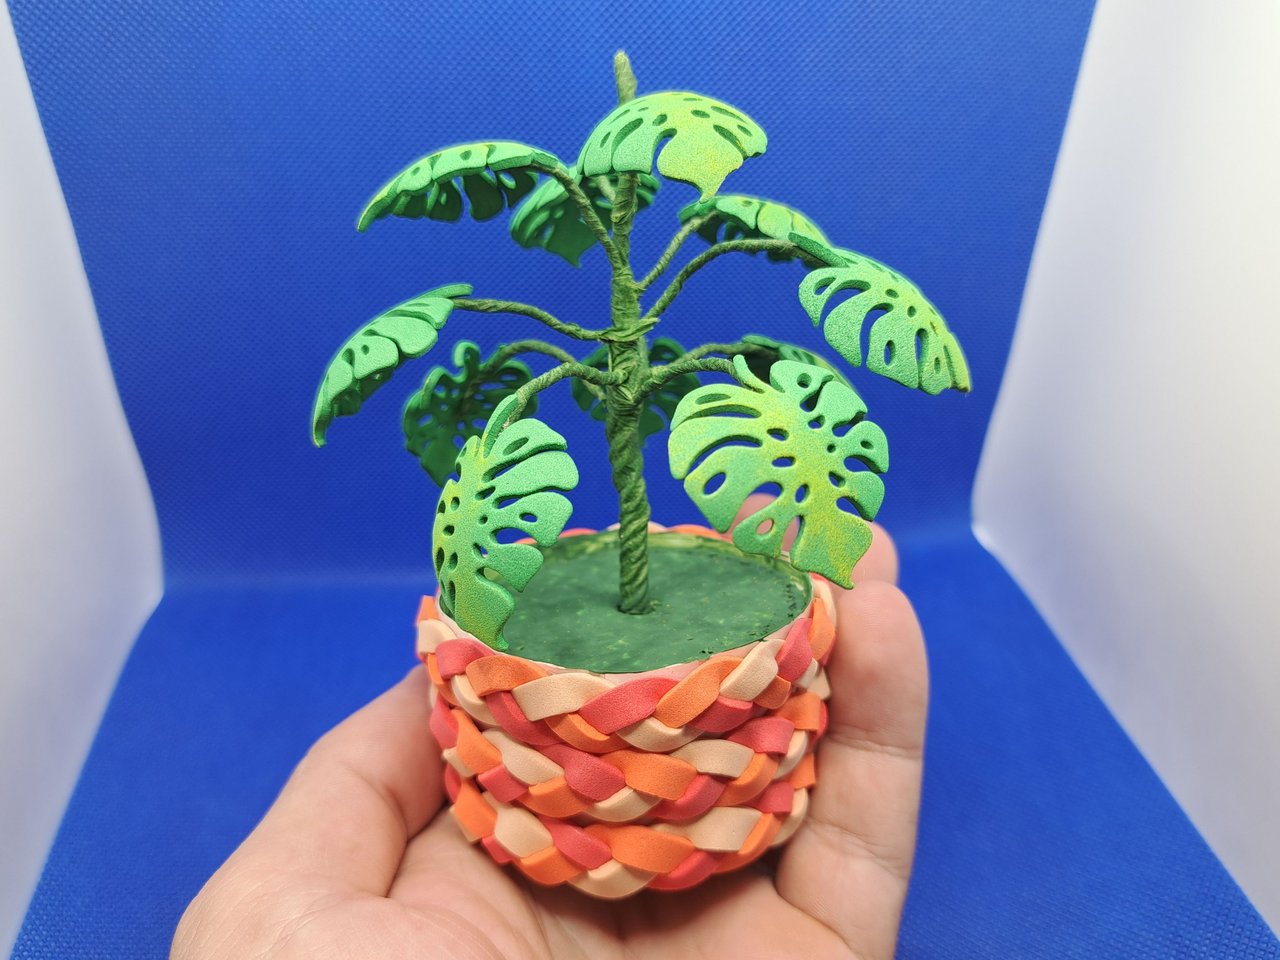
Finished Work // Trabajo Terminado
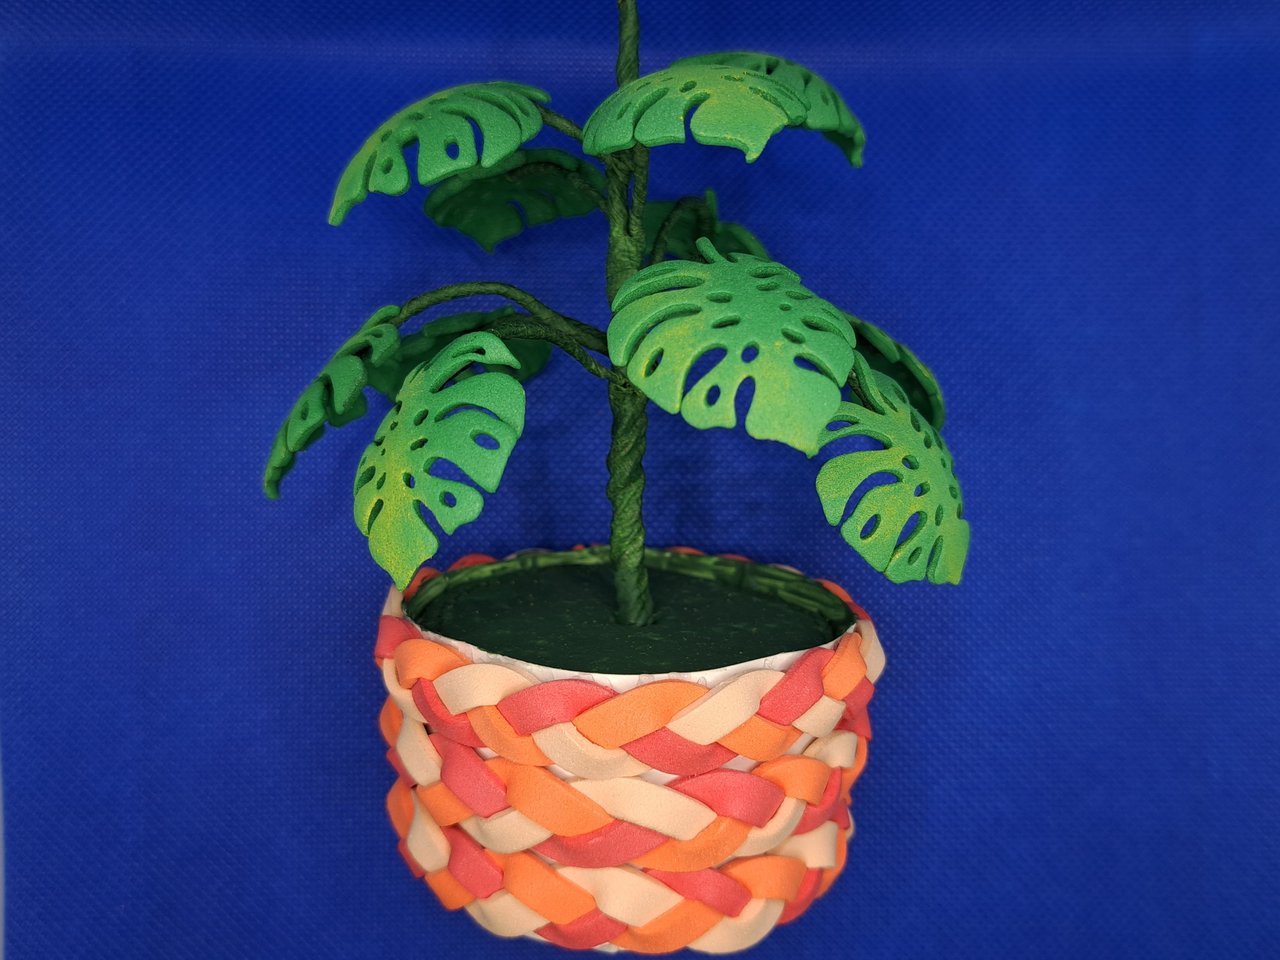
And that's all for today. I hope you liked this little craft and that it has become clear to you that there are no excuses to have a plant decorating our workspace or home. Without further ado, I bid you farewell until next time.
Y esto sería todo por hoy. Espero que les haya gustado esta pequeña manualidad y que de paso les haya quedado claro que no hay excusas para tener una planta adornando nuestro espacio de trabajo u hogar. Sin más que agregar, me despido hasta una próxima ocasión.
 |
 |
 |
 |

Credits and Resources // Créditos y Recursos
Cover page created in Canva
Translated by DeepL
Images captured with my Samsung Galaxy A53

Your presence in DIYHub Community will always be synonymous with success, style, beauty and elegance. An example to follow for everyone here. Thanks for sharing this artificial ornamental plant made with foam, it really looks great!
selected by @jesuslnrs
Thank you very much. It will always be a pleasure for me to share my creations with the community.
Sending you Ecency curation votes.😉

Thanks for the support 🫂
Que bonito quedo este adorno, luce muy bonito y diamativo. Sin dudas sería un bonito remplazo para adornar el interior de la casa
Así mismo. Gracias por comentar.
This is totally superb and wonderfully made, you totally nailed it Friend and it's really beautiful. Well done
Thank you very much. I'm glad to hear you liked it. Thanks for commenting.
Que bello matero! me encanto la forma de la planta con sus hojas de corazon, ideal para colocarlo en el sitio de trabajo, muy decorativo, ✨️🍃✨️🍃✨️
Muchas gracias amiga. Si tamaño la hace perfecta para varios lugares y al ser artificial no requieren de cuidados específicos.
Tus trabajos de representaciones de plantas y flores con foami siempre son impresionantes ✨ te quedó increíble esta plantita, una decoración perfecta para embellecer cualquier espacio☺️
Quiero hacer uno, Pero de mayor tamaño... necesito conseguir está plantilla... Felicidades te quedó genial
Qué lindo me encanta, y esa herramienta para hacer las formas, es maravillosa.
Su planta luce bastante bien, perdone usted mi atrevimiento: pero sí puede darle unos toques con aerógrafo, de seguro que mejorara aún más el acabado final.