Splinterlands Art Contest 357 - Nectar Queen Fan Art Wood carved necklace [ENG-ESP*
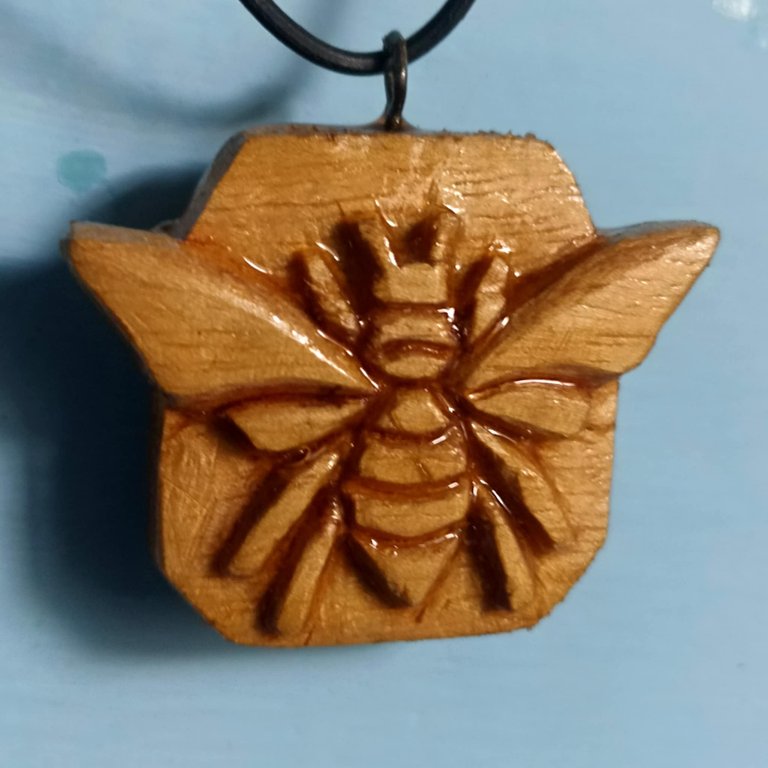
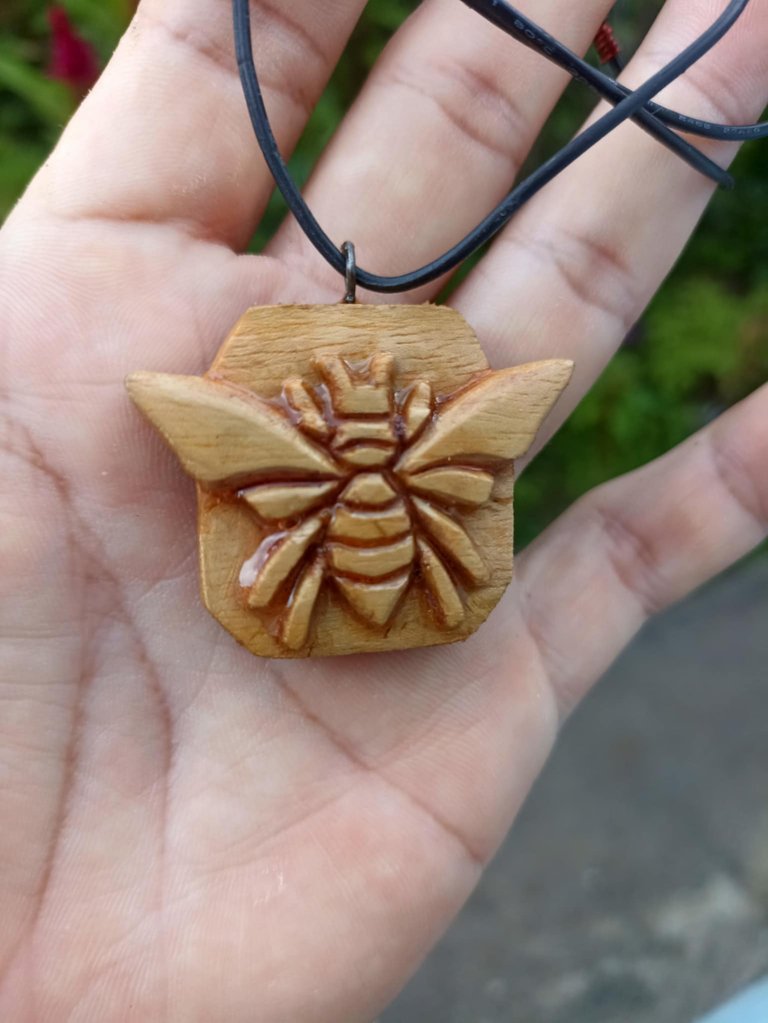
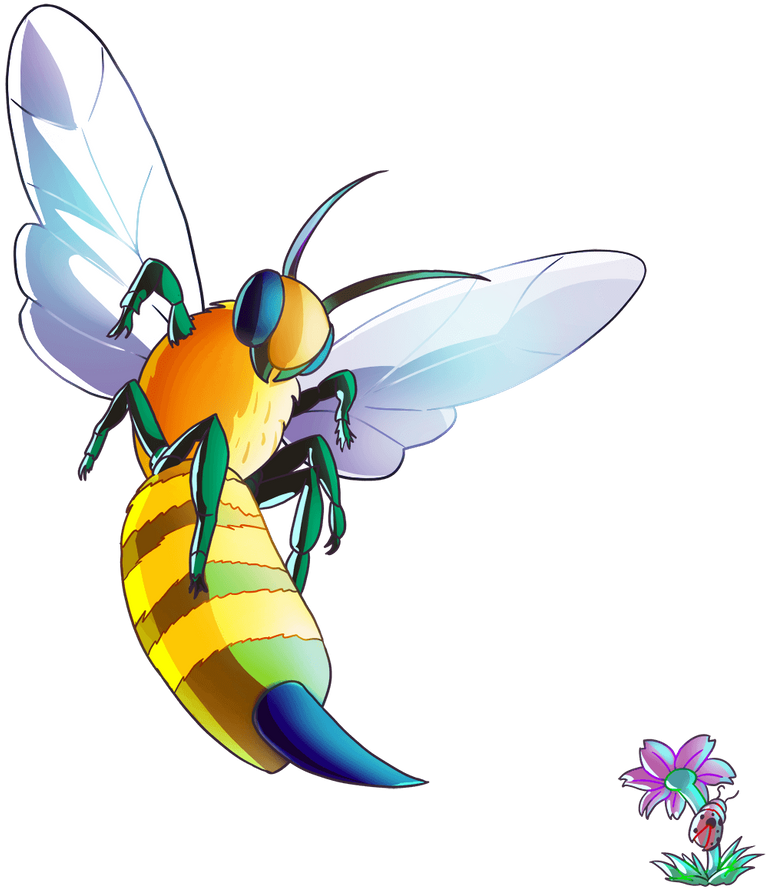
Hello dear friends, I send my greetings to all those who make life in this beautiful Jewelry community, and also to all the people who participate in the weekly Splinterlands contest. For me it is a challenge to come back every week with a new idea, whether it be a craft or a drawing. For this opportunity, my participation is for a necklace made of carved wood, with the figure of the character Nectar Queen, whom I have already had the opportunity to make previously in a drawn version, now it is her turn in the form of a necklace. This figure was made of pine wood, a very beautiful color that this kind of wood has that I really like, below I will show you step by step how I did it, I hope you like it.
Hola queridos amigos, envío mis saludos para todos aquellos que hacen vida en esta hermosa comunidad de Jewelry, y también para todas las personas que participan en el concurso semanal de Splinterlands, para mi es todo un desafío volver cada semana con una nueva idea, ya sea de algún trabajo manual o algún dibujo. Para esta oportunidad mi participación trata de un collar realizado en madera de forma tallada, con la figura del personaje Nectar Queen, a quien ya he tenido la oportunidad de hacer anteriormente en una versión dibujada, ahora le toca en forma de collar. Esta figura fue realizada en madera de pino, un color muy bonito posee esta clase de madera que me gusta mucho, a continuación mostraré paso a paso como lo hice, espero les guste.

 |  |  |
|---|---|---|
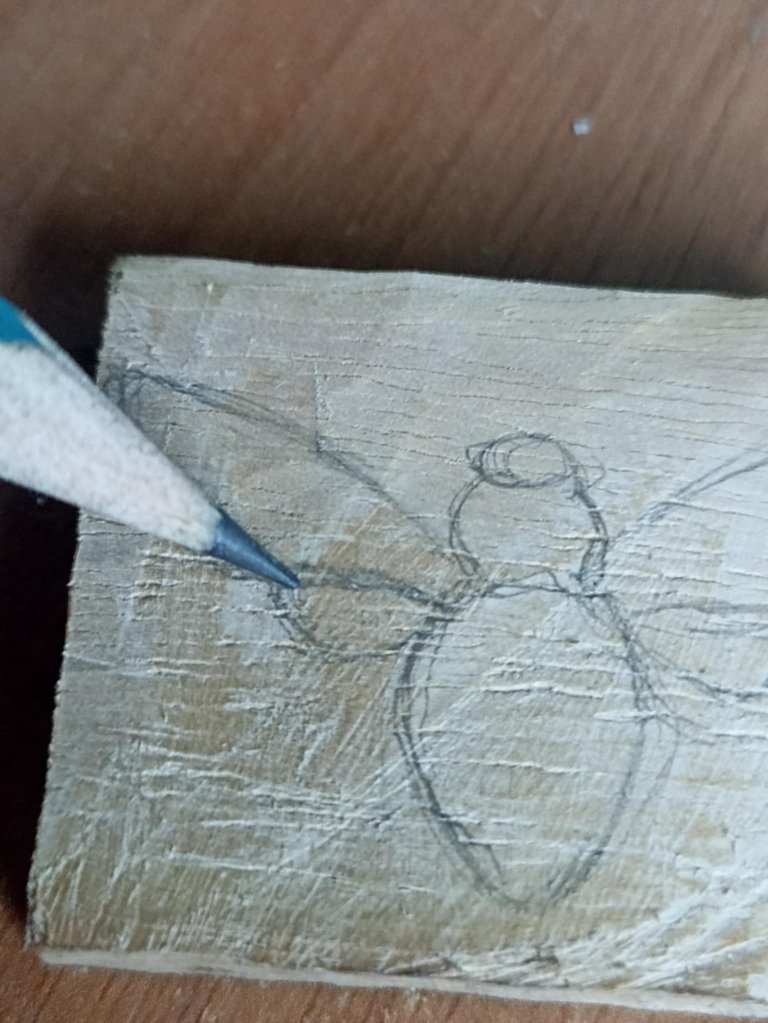 | 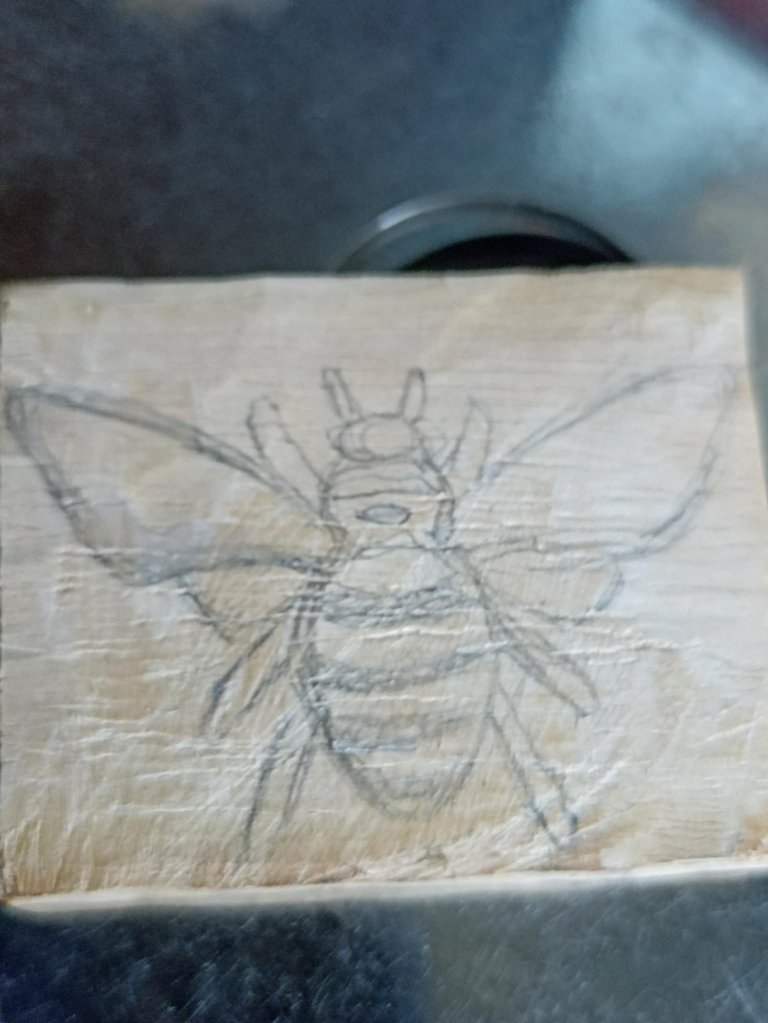 | 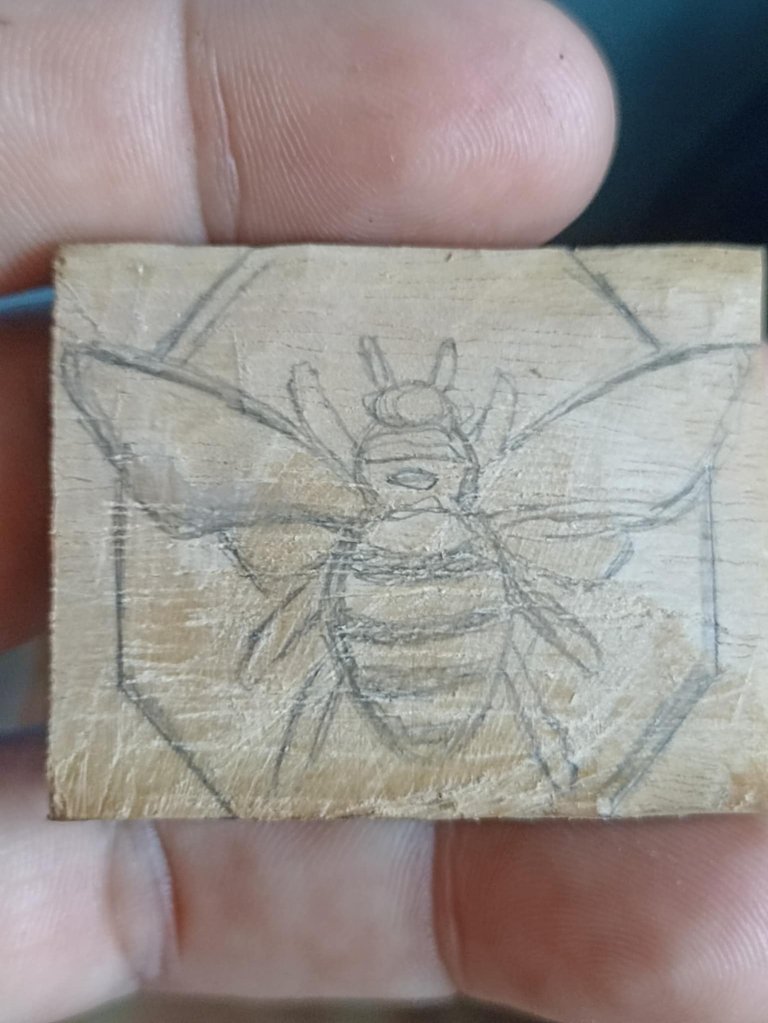 |
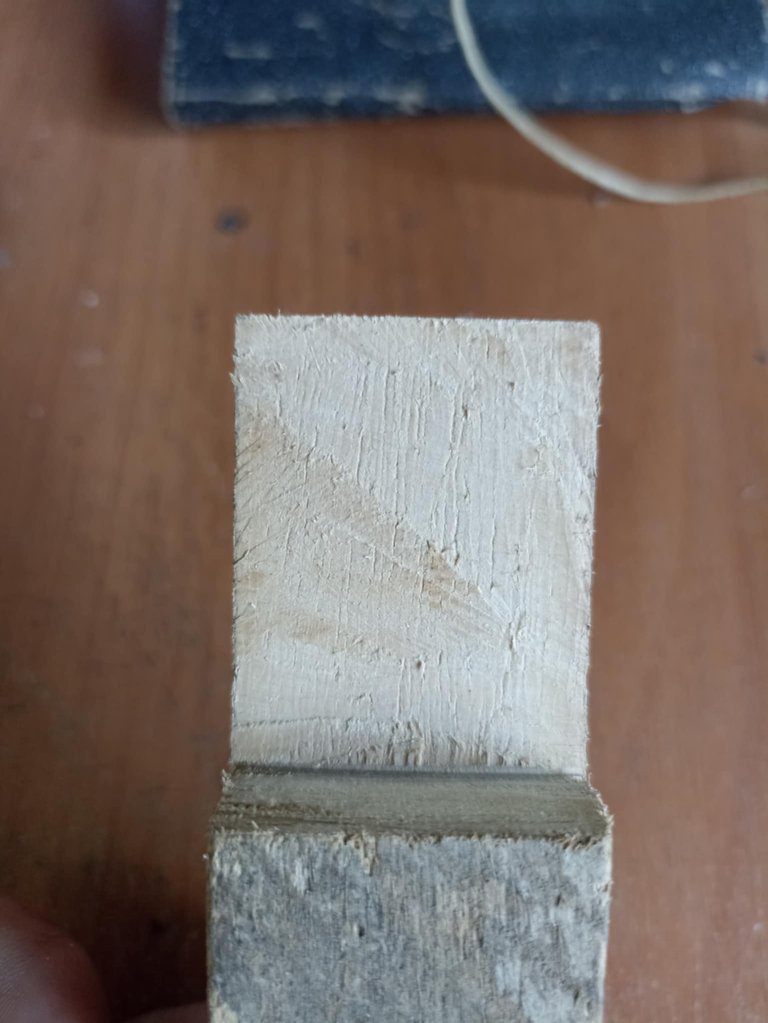
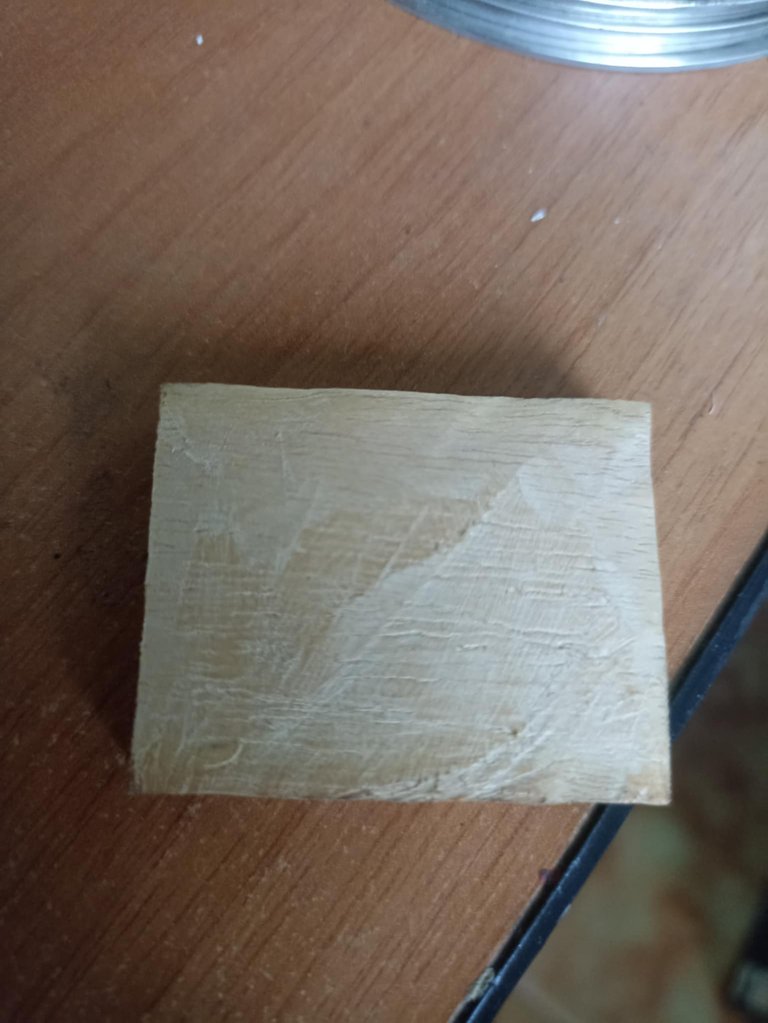
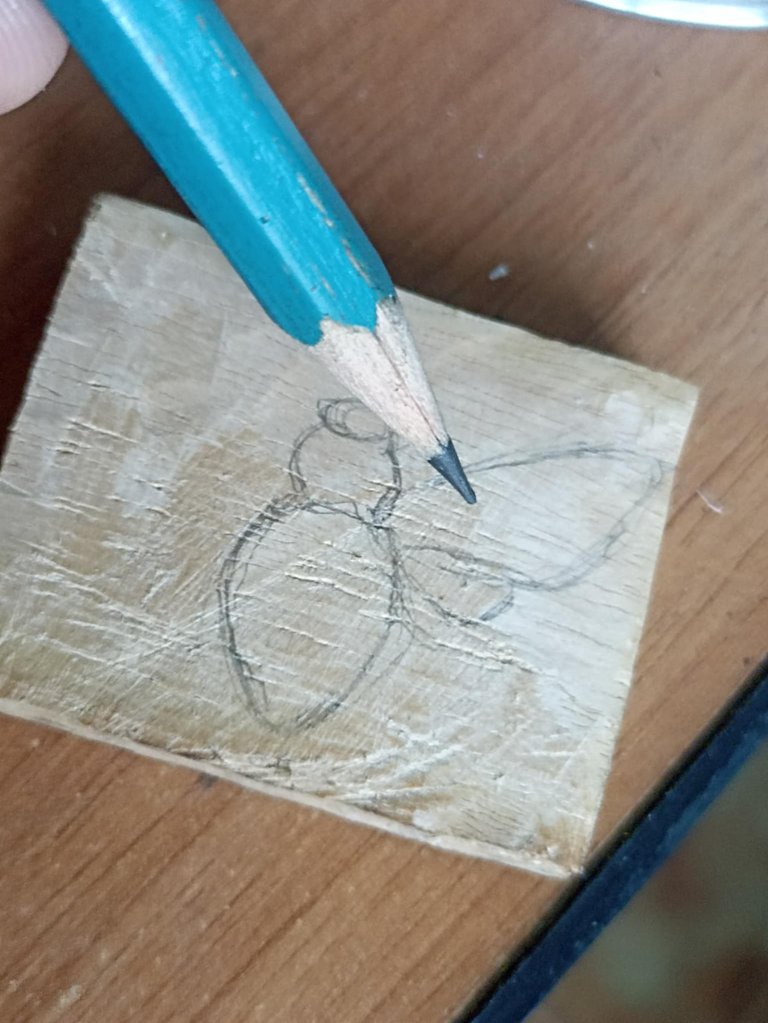
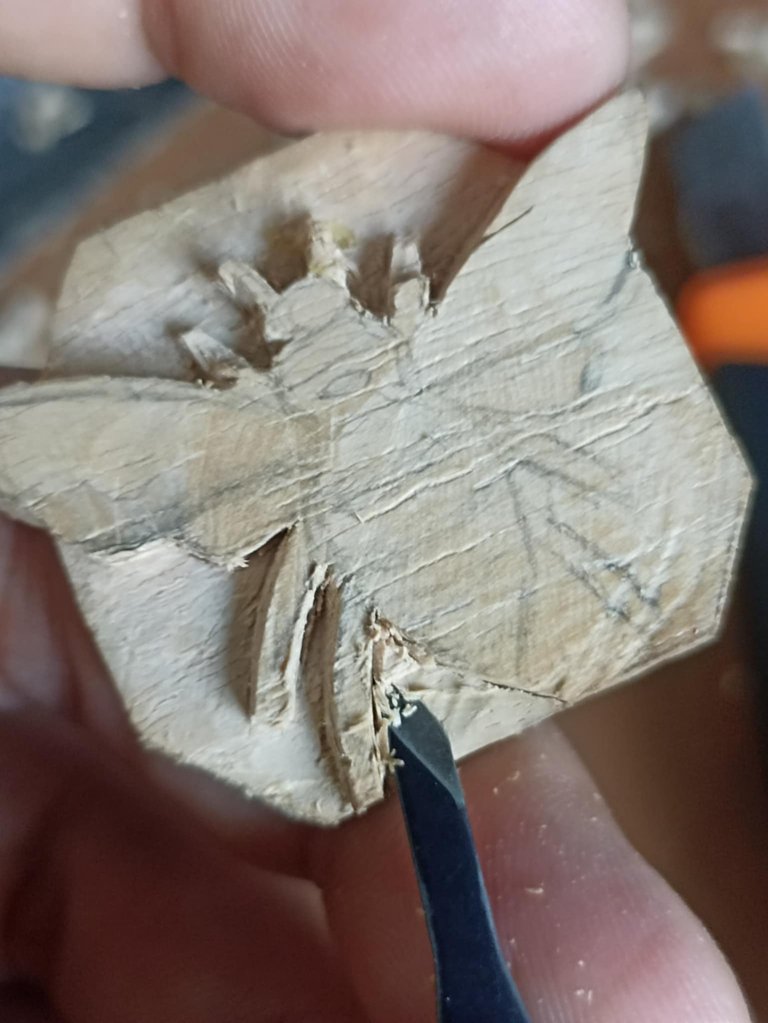
I began the process by selecting the wood. I used scraps of pine I had salvaged from old shipping pallets. From these pieces, I cut a small square approximately 3 centimeters on each side. After carefully sanding it to remove any imperfections, I prepared the surface for the drawing. Using a pencil, I traced the shape of the Nectar Queen on one side of the square and then began carving the wood to make her silhouette stand out.
Inicié el proceso seleccionando la madera. Utilicé retazos de pino que había recuperado de antiguos palets de carga. Con estas piezas, corté un pequeño cuadrado de aproximadamente 3 centímetros por lado. Después de pulirlo cuidadosamente para eliminar cualquier imperfección, preparé la superficie para el dibujo. Con un lápiz, tracé la figura de la Nectar Queen en una de las caras del cuadrado y, a continuación, comencé a tallar la madera para que su silueta sobresaliera.

 |  |  |
|---|---|---|
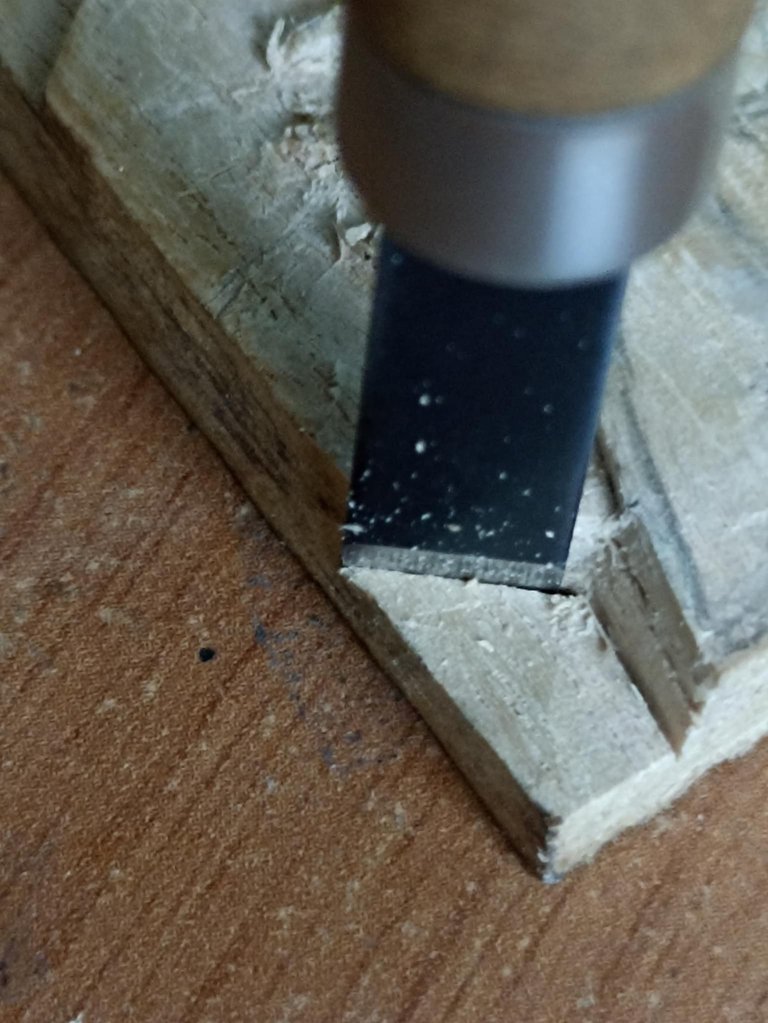 | 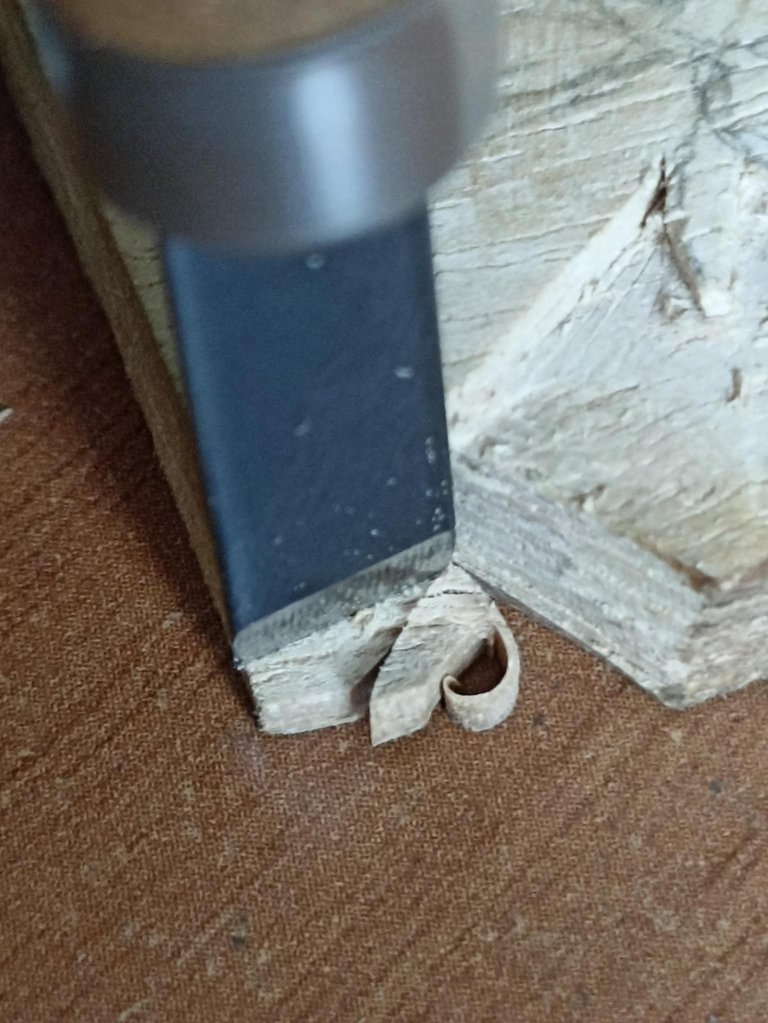 | 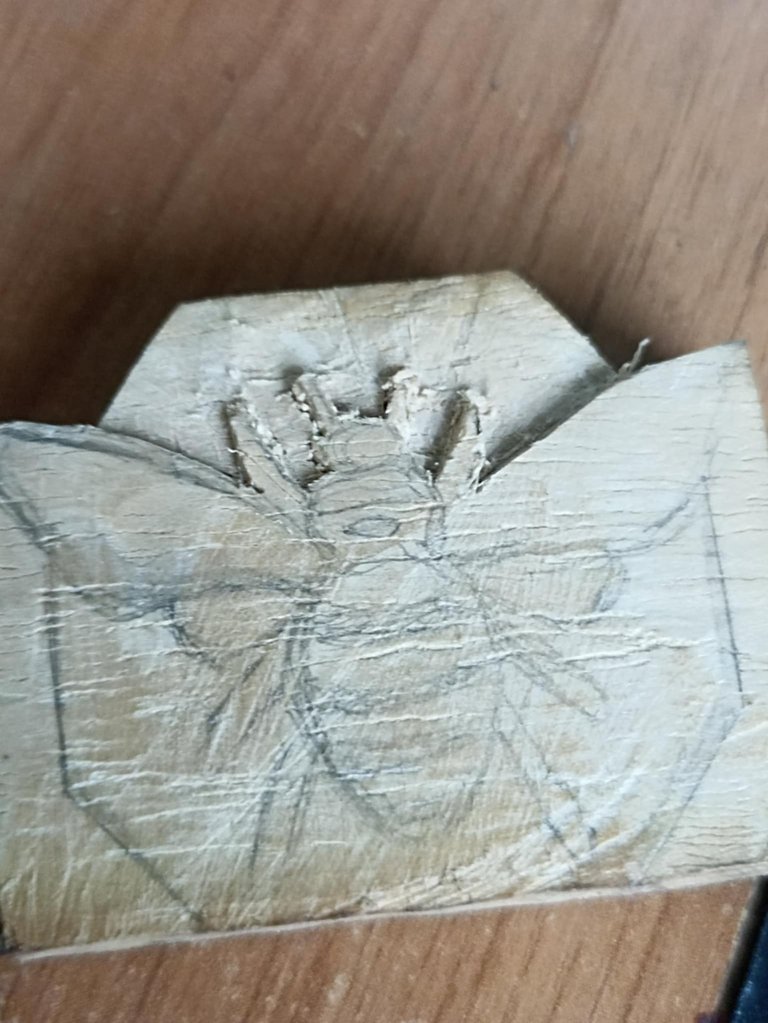 |
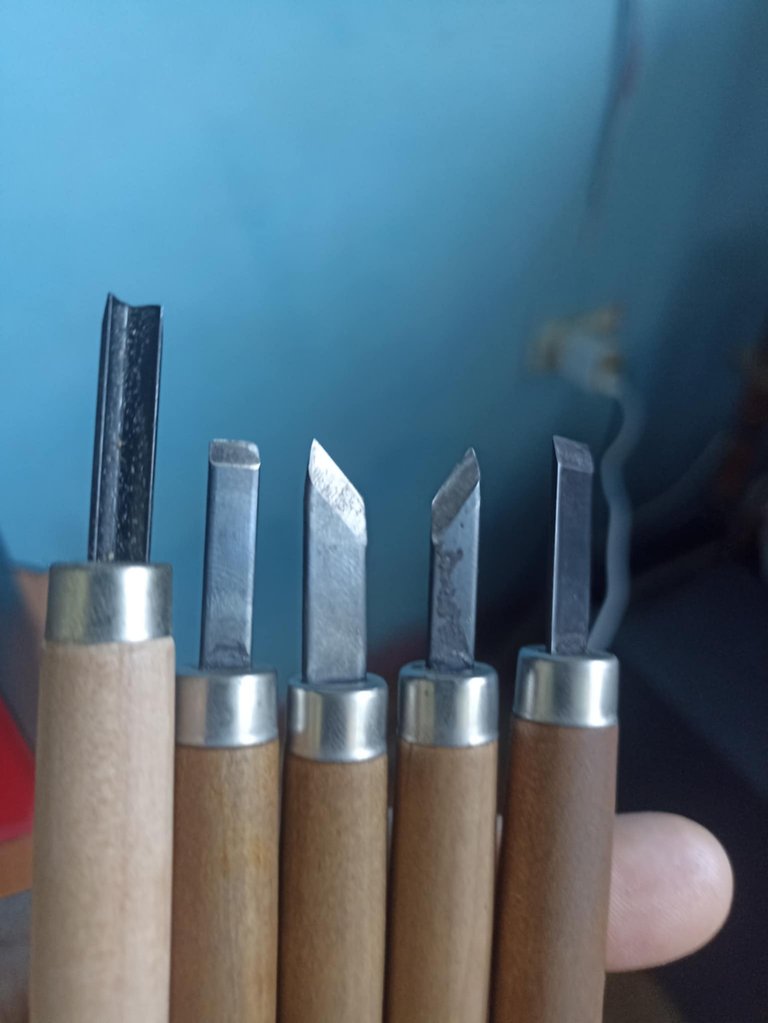
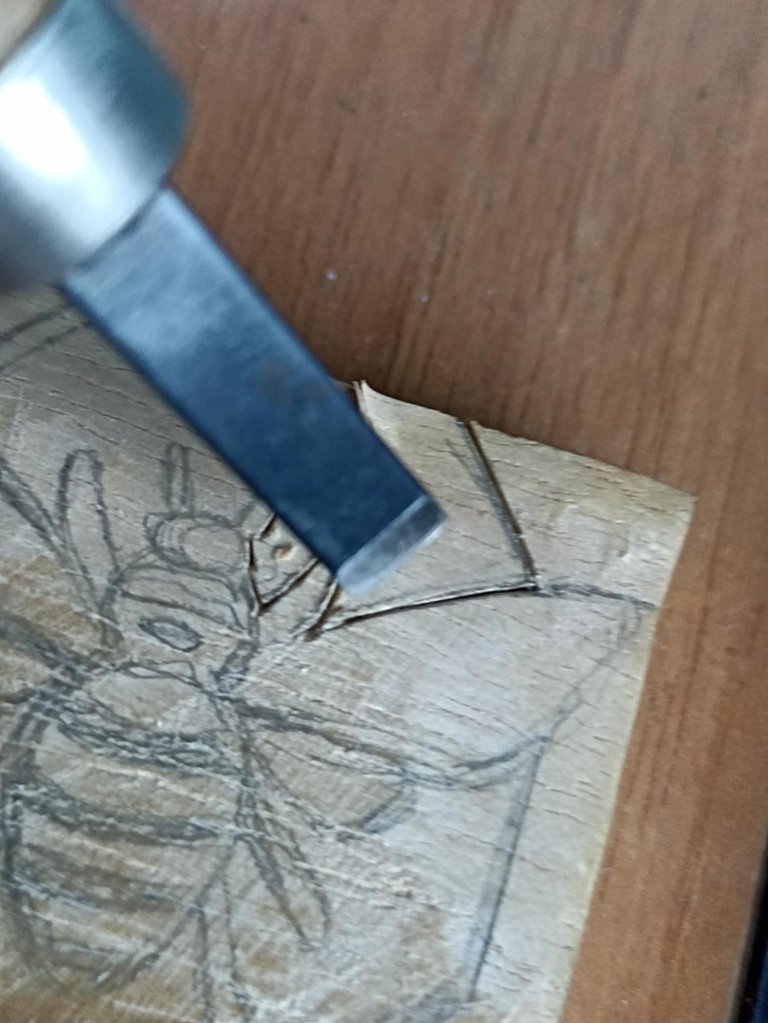
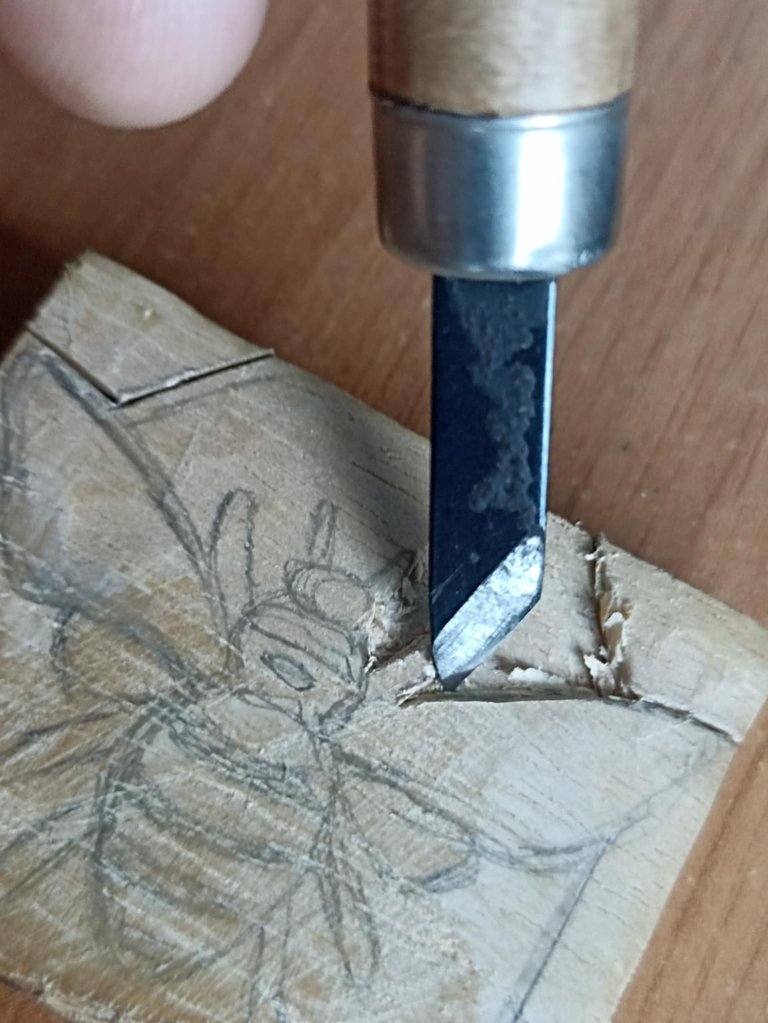
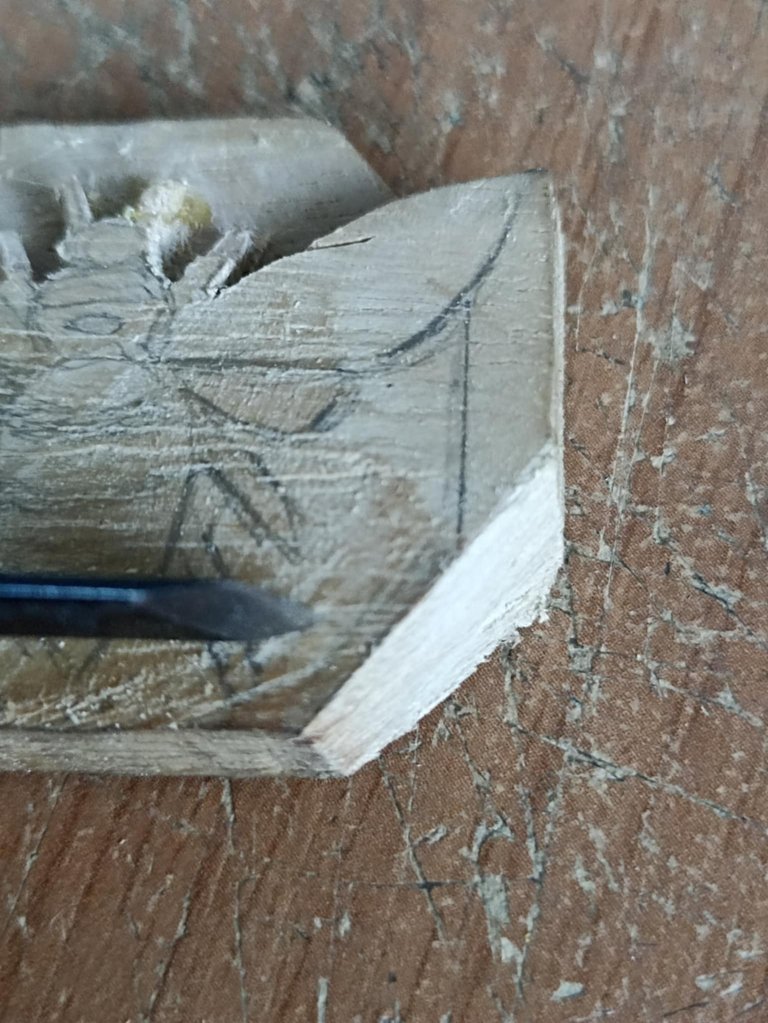
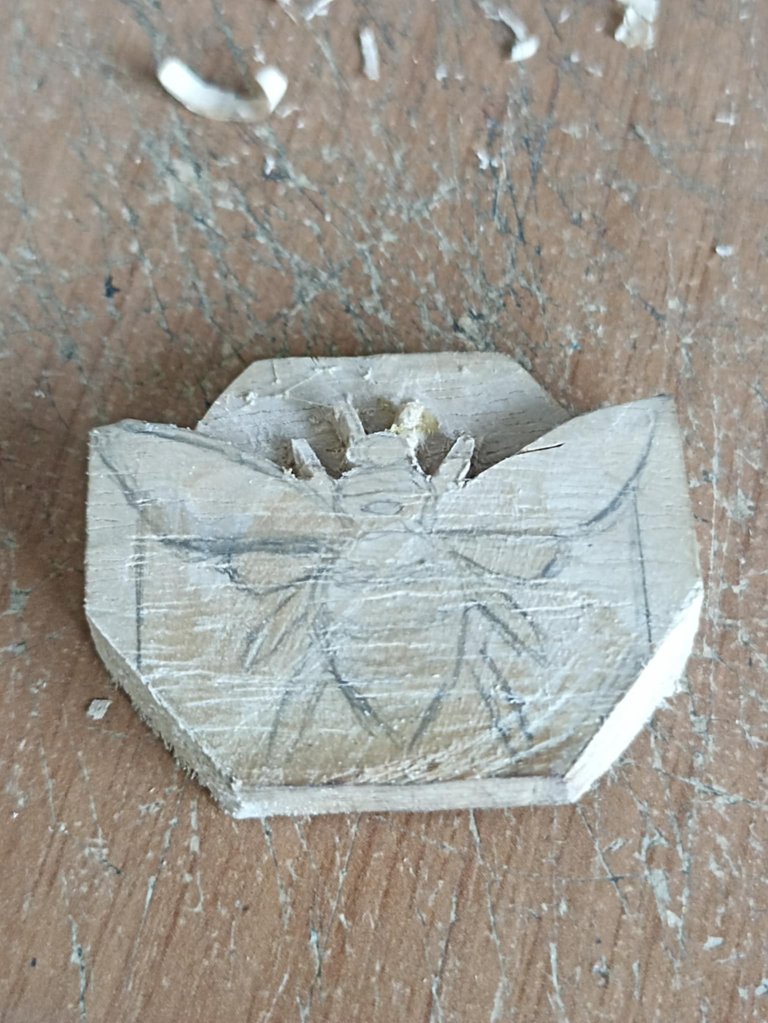
I used some of my wood carving knives, one for removing large cuts of wood and the other for cutting and making small details. The process is as follows: Nectar Queen is drawn on top of an 8-sided geometric figure, so I'll remove the wood to allow the geometric figure to be seen while I begin carving the Nectar Queen drawing on its upper part, that is, its head and larger wings.
Utilicé algunas de mis cuchillas para tallar madera, unas de ellas son para retirar grandes cortes de madera y otra son para cortar y hacer pequeños detalles. El proceso es el siguiente, Nectar Queen esta dibujada encima de una figura geométrica de 8 lados, entonces, retiraré la madera que permita que se pueda observar la figura geométrica mientras que comienzo a tallar el dibujo de Nectar Queen por su parte superior, es decir la cabeza y sus alas más grandes.

 |  |  |
|---|---|---|
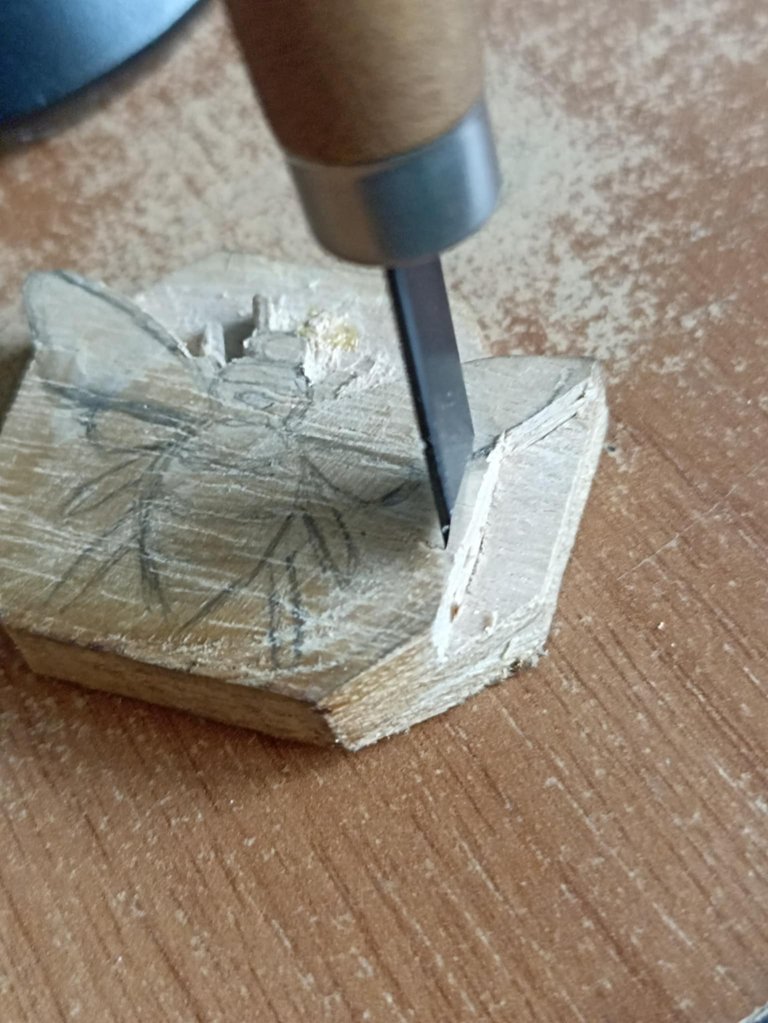 | 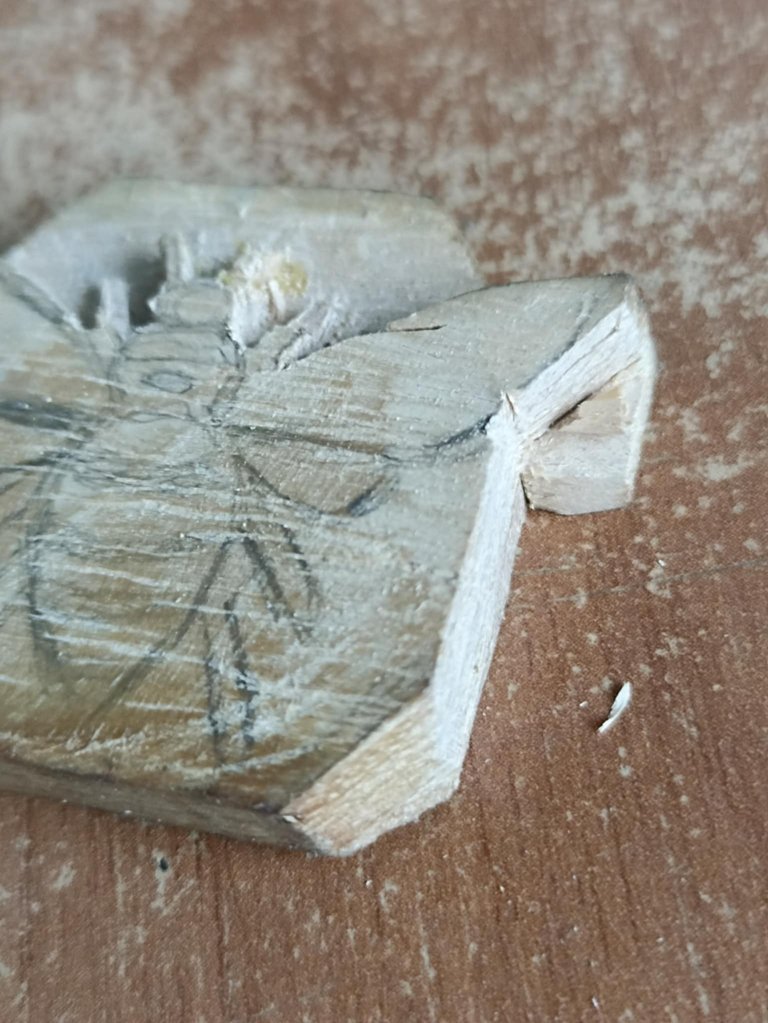 | 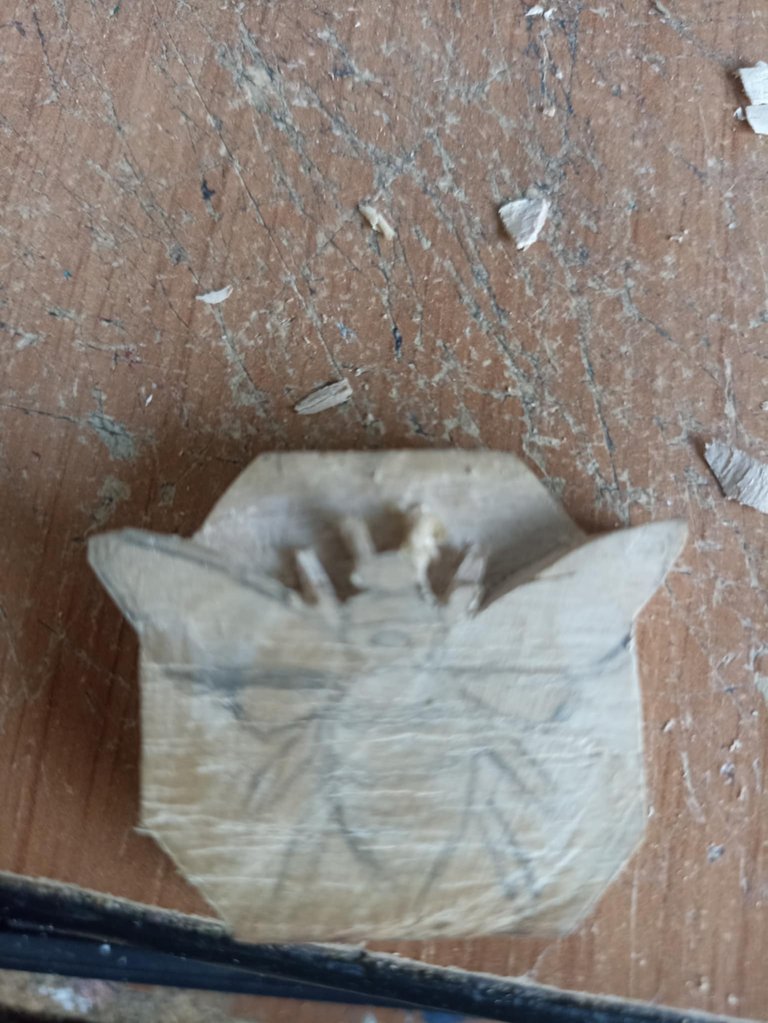 |
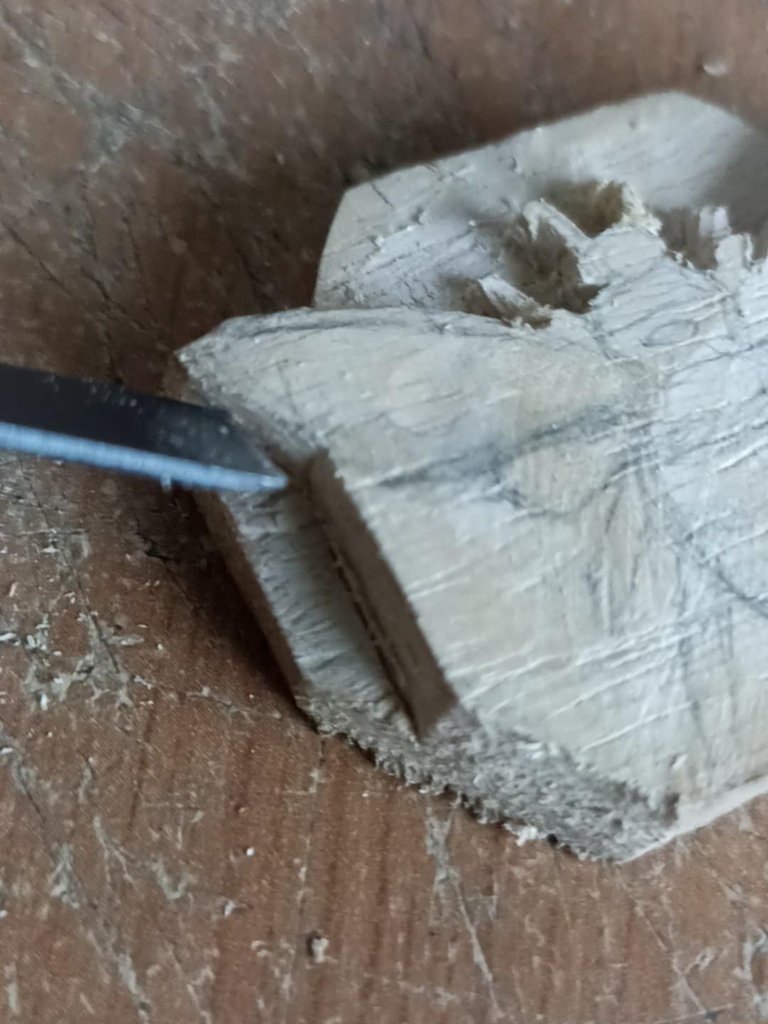
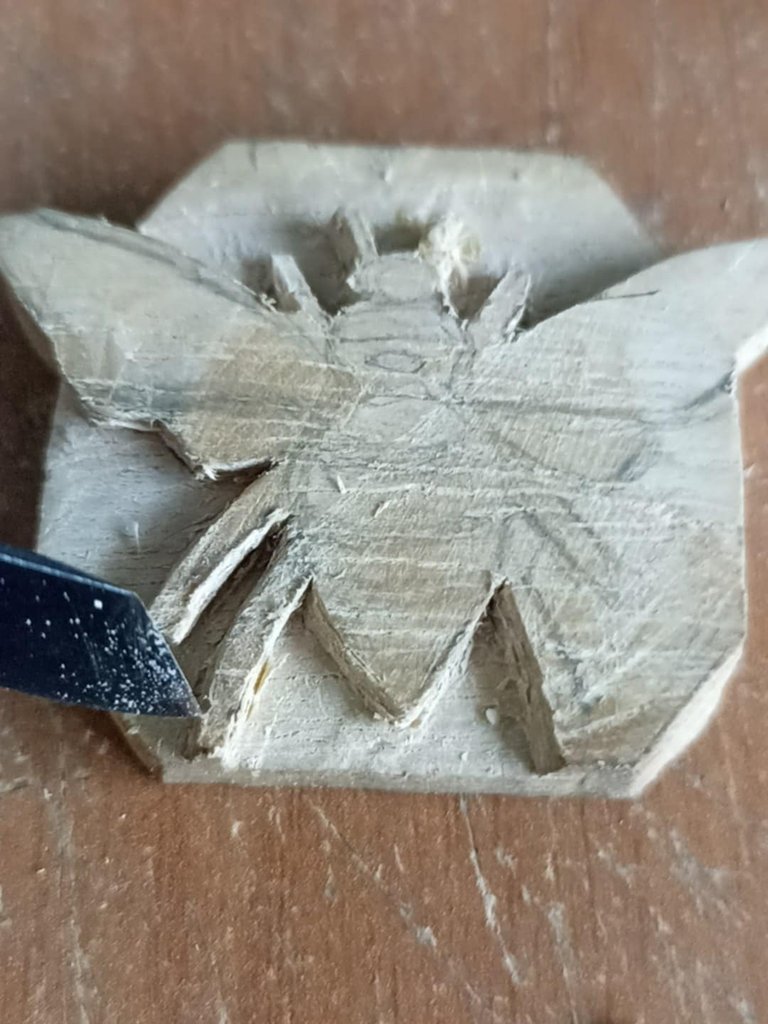
Next, on the sides, I also begin removing the excess wood so you can better appreciate how it's coming together. An important detail is that Nectar Queen's larger wings stick out from the overall carved figure; I thought it was very nice. Here, I also trimmed the angles of the lower corners. This is where you can better appreciate how the figure is coming together and the purpose of my idea.
Seguidamente en la parte de los lados laterales también comienzo a retirar la madera que sobra y así puede apreciarse mejor como va quedando. Un detalle importante es que las alas más grandes de Nectar Queen quedan sobresaliendo de la figura total que está tallada, se me hizo muy lindo. Aquí fui recortando también los ángulos de las esquinas inferiores, aquí si puede apreciarse mejor como va la figura y el propósito de mi idea.

 |  |  |
|---|---|---|
 |  | 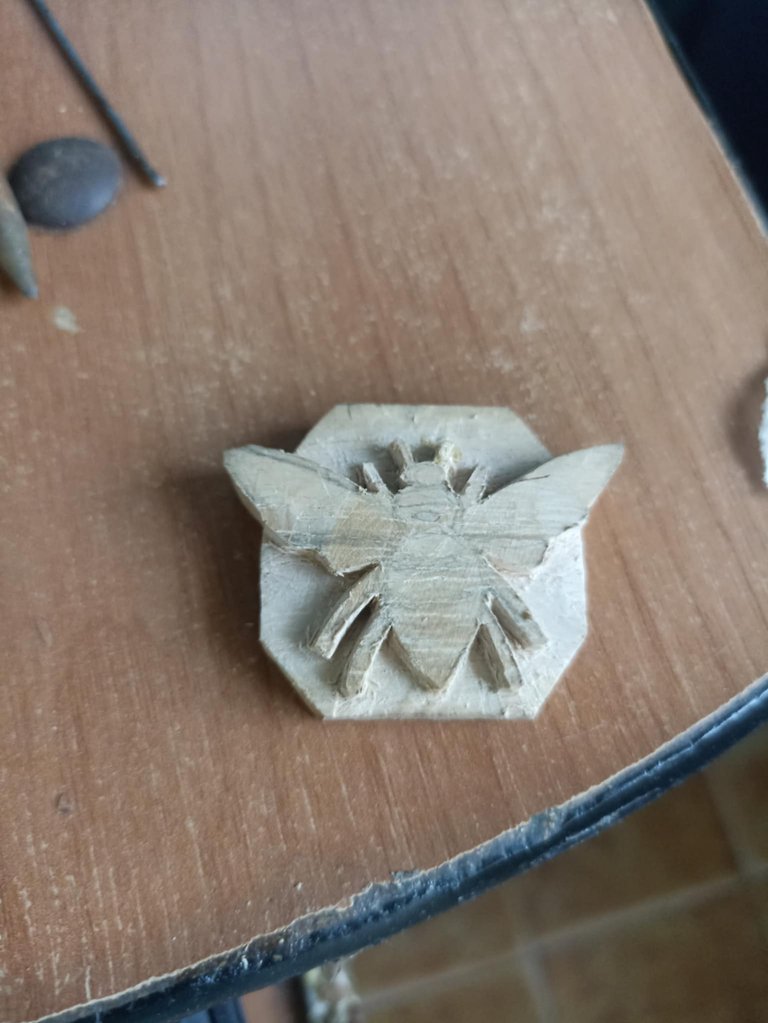 |
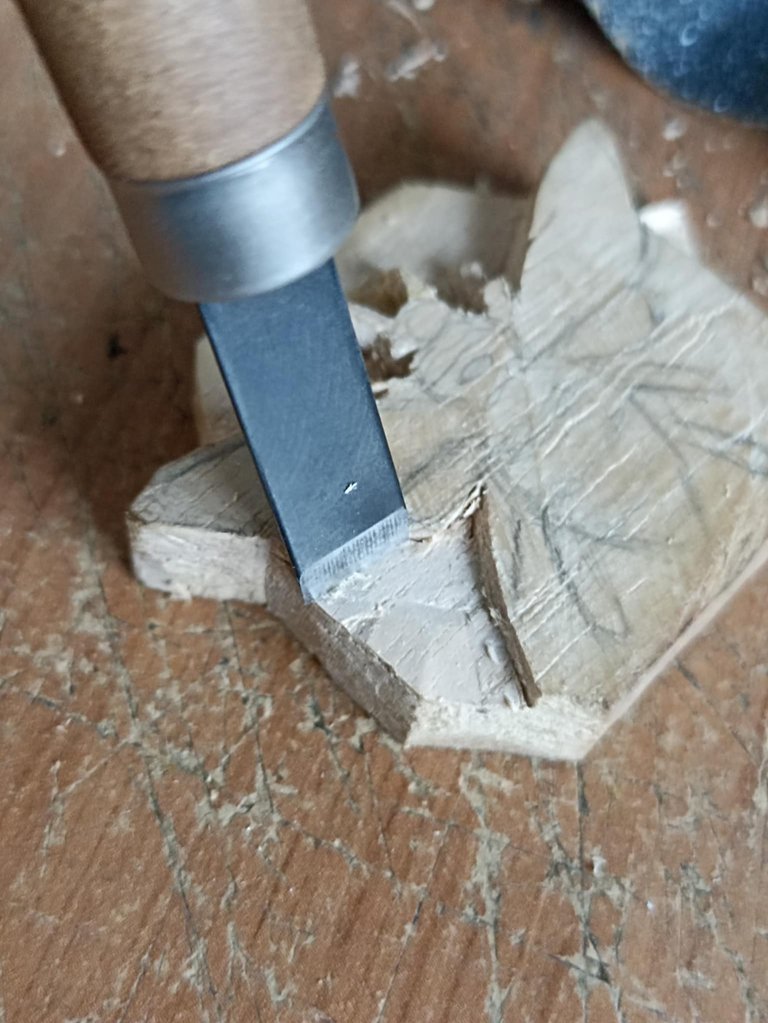
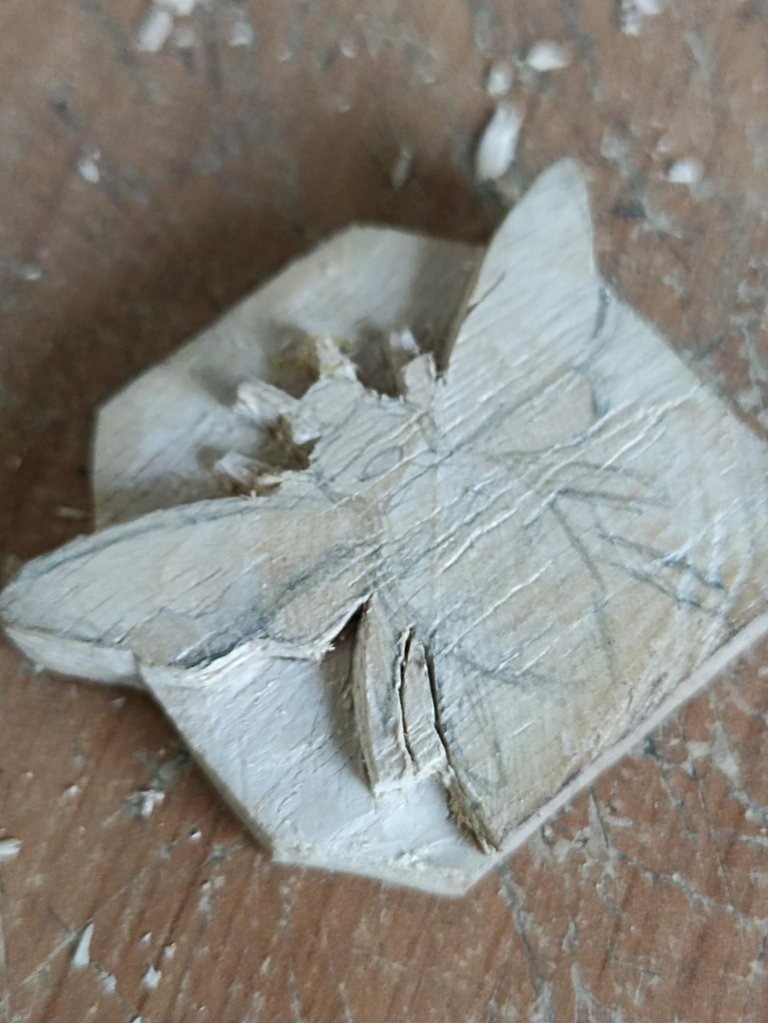
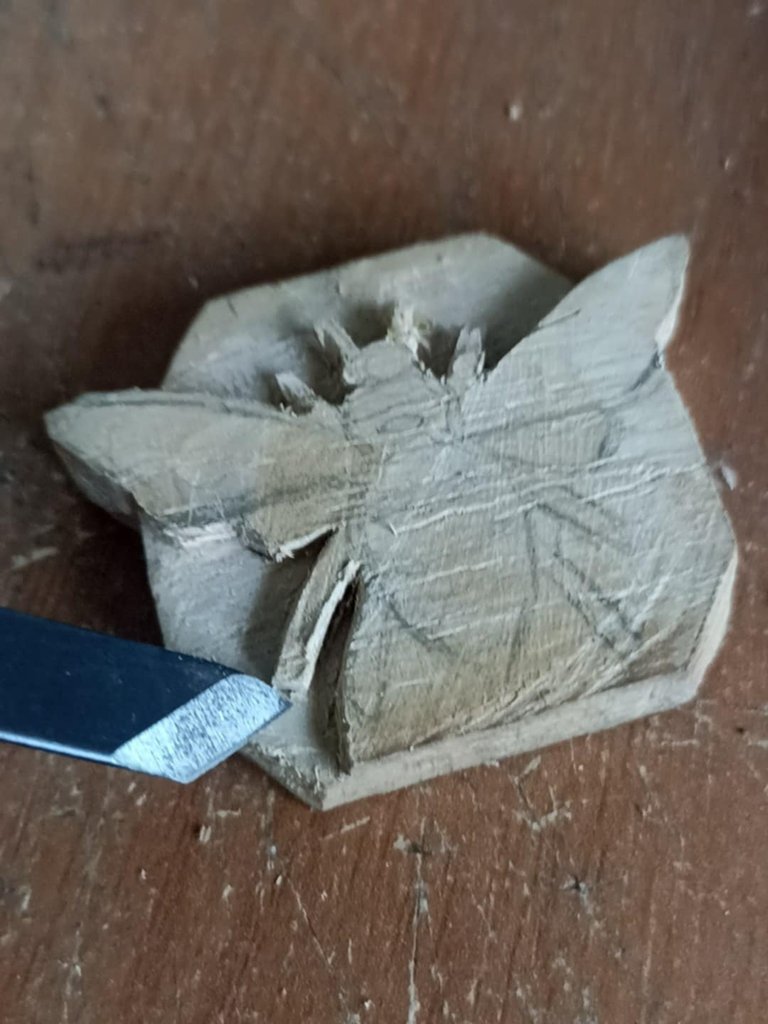
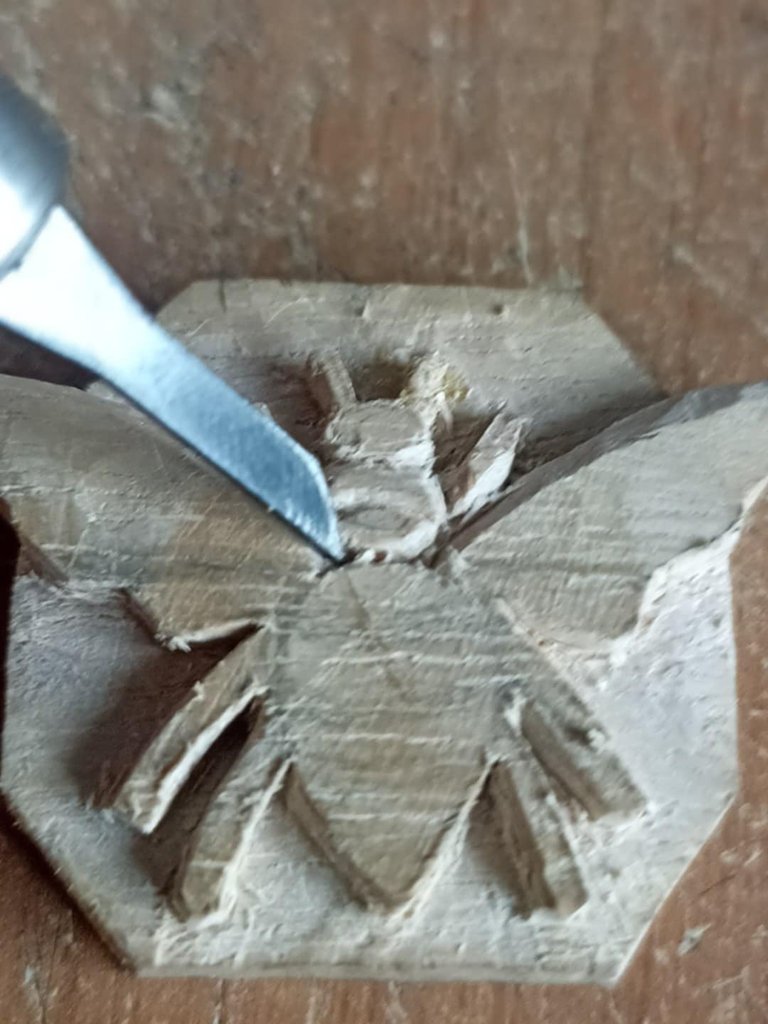
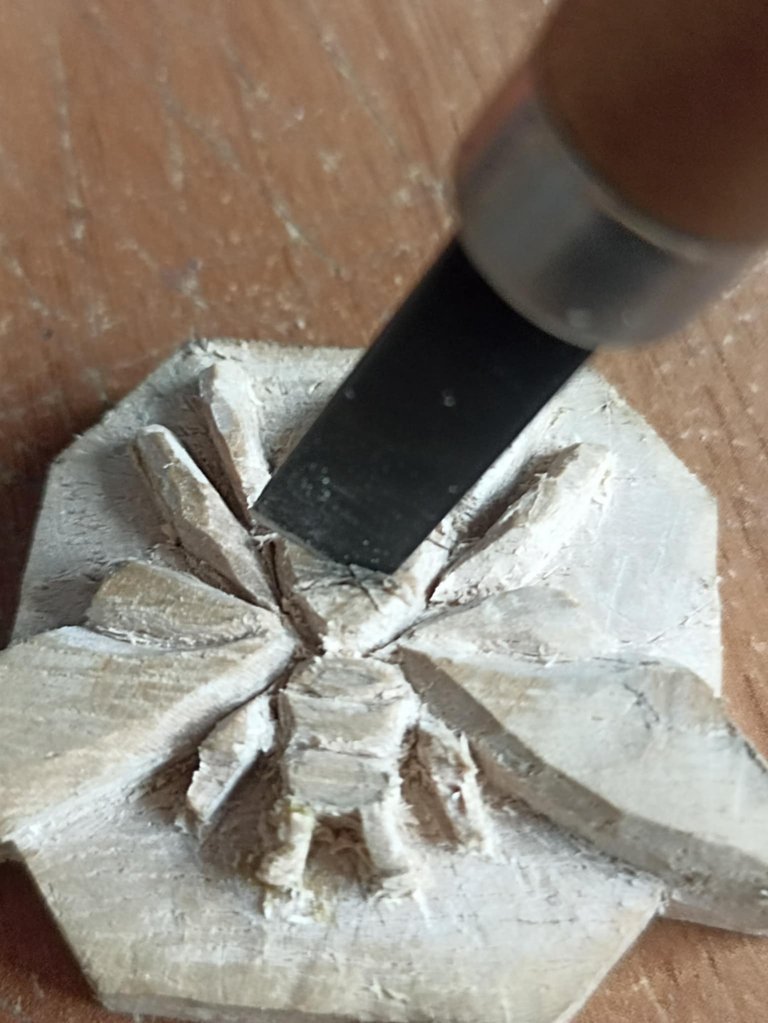
After creating the geometric shape that would serve as a sort of background for Nectar Queen, I begin to gradually carve its parts. Using the smallest and sharpest blades, I begin carving its limbs and shaping its wings. It's important to carve deeply, a few millimeters deep, so the figure's relief can be better appreciated. I then gradually carve its larger hind limbs.1.
Despues de hacer la figura geométrica que vendría a ser como una especie de fondo para Nectar Queen comienzo a tallar poco a poco sus partes. Utilizando las cuchillas más pequeñas y afiladas comienzo a tallar sus extremidades y darle forma a sus alas. Es importante hacer un tallado profundo, de algunos milimetros, de esta manera puede apreciarse mejor el relieve de la figura. Asi voy tallando poco a poco sus extremidades traseras que son más grandes.

 |  | |
|---|---|---|
 | 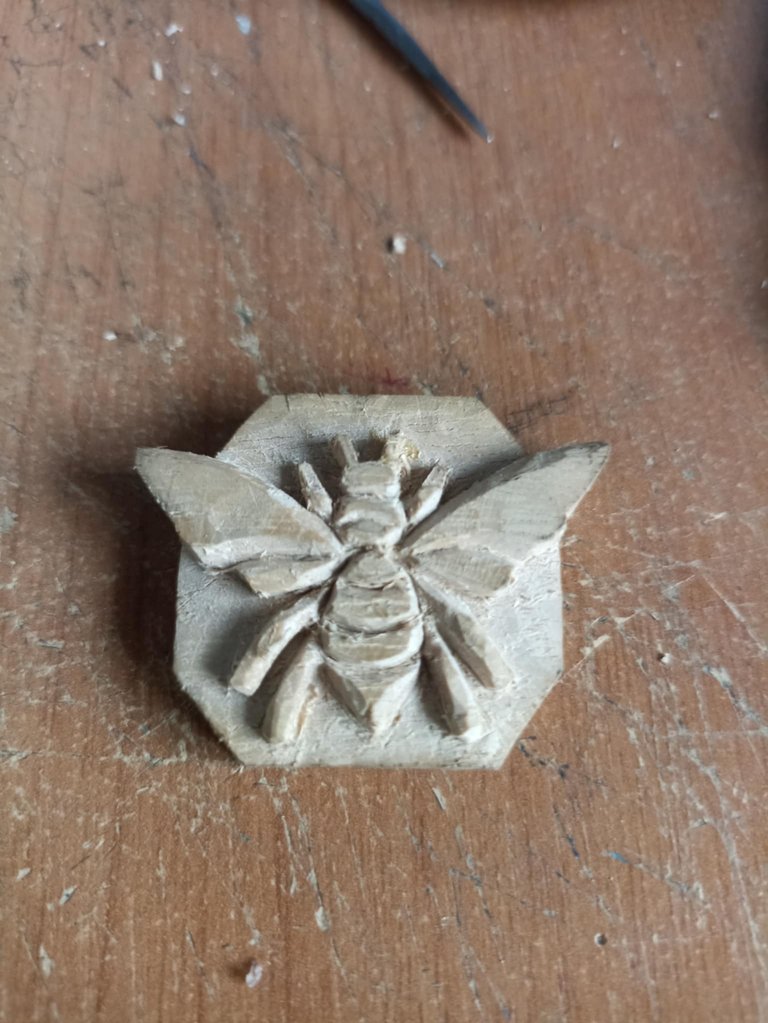 |
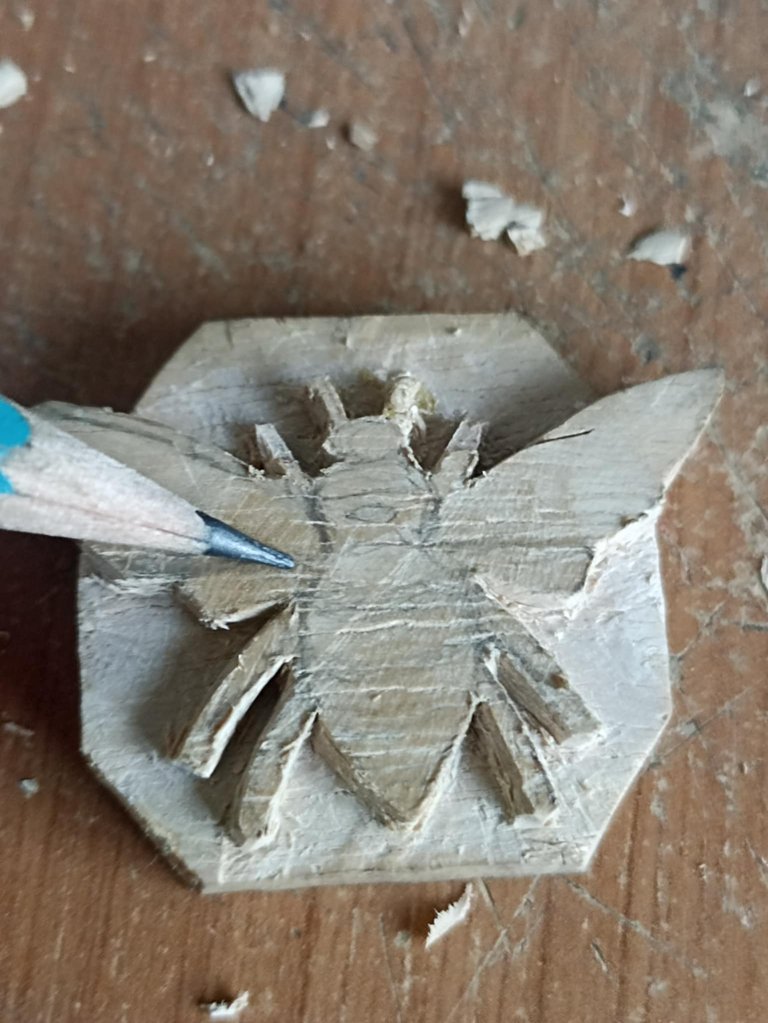
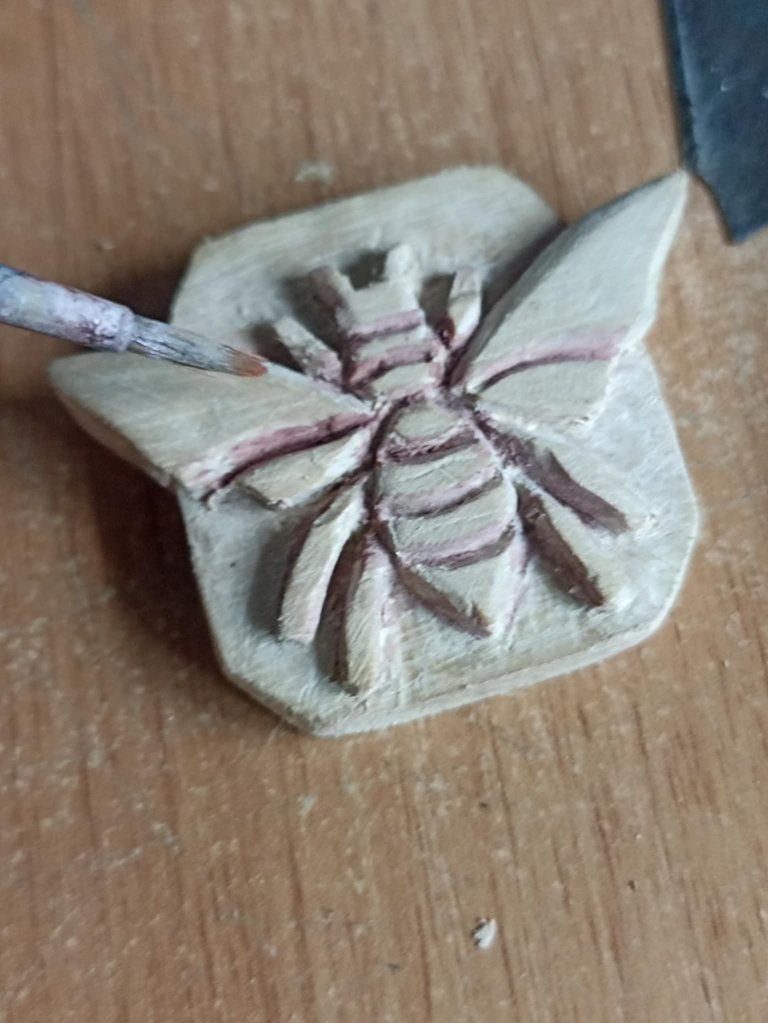
The figure isn't just carved up to this point; it would simply look like a wooden stamp. So from here on, my goal is to work on the small details. Since the figure is facing the viewer head-on, I need to make the small divisions that help detail each of its parts. So, with the sharpest, very fine-pointed blades, similar to a needle, I make cuts in the wings to give them an oval shape, as well as with the entire body, including the parts. If you look closely at the image, you can see how Nectar Queen appears to be simply perched on a surface.
La figura no solo queda tallada hasta este punto, sino quedaría simplemente como un sello de madera, así que de aquí en adelante mi objetivo es hacer los pequeños detalles y como la figura queda mirando hacia el expectador de frente, hay que hacer las pequeñas divisiones que ayuden a detallar cada una de sus partes. Así que con las cuchillas más afiladas y de punta muy fina, semejante a una aguja voy haciendo cortes en las alas para darle una forma ovalada, así también con todo el cuerpo, incluyendo las actividades. Si observan bien la imagen podran ver como Nectar Queen parece que esta simplemente posada sobr euna superficie.

 |  | |
|---|---|---|
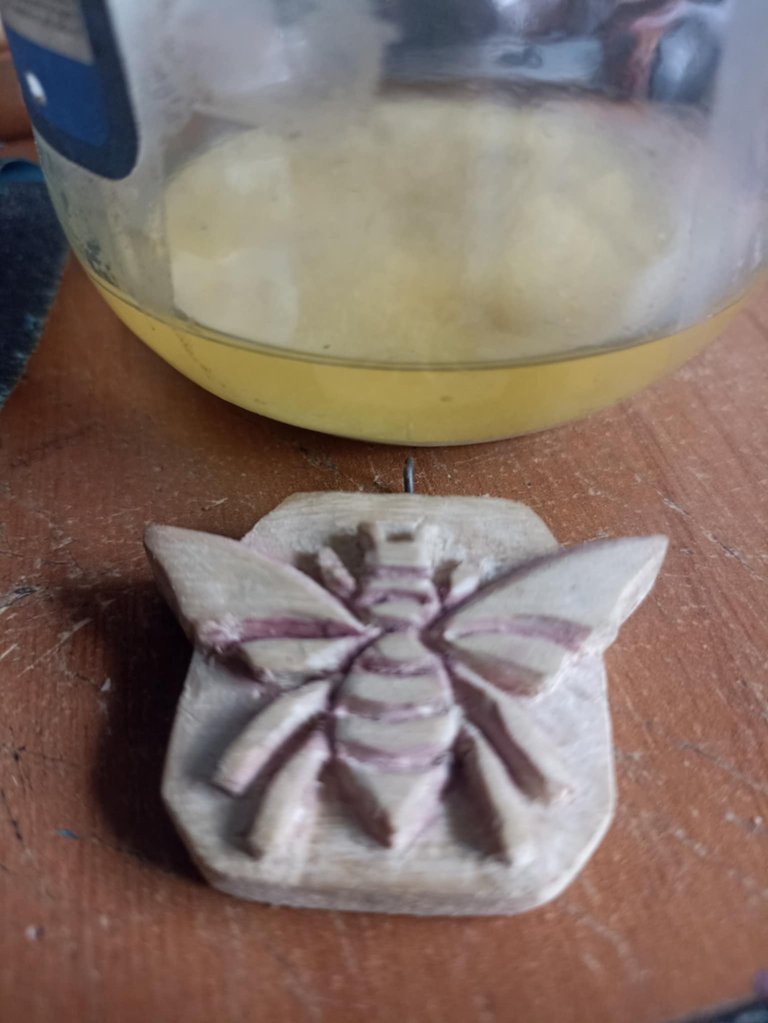 | 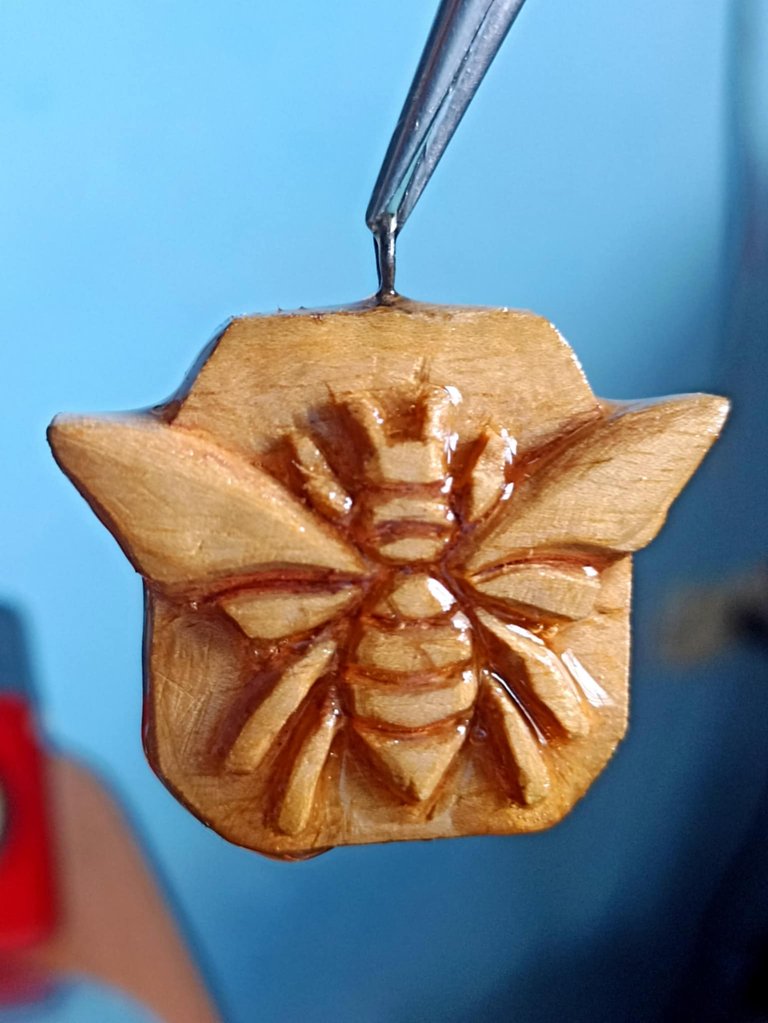 |
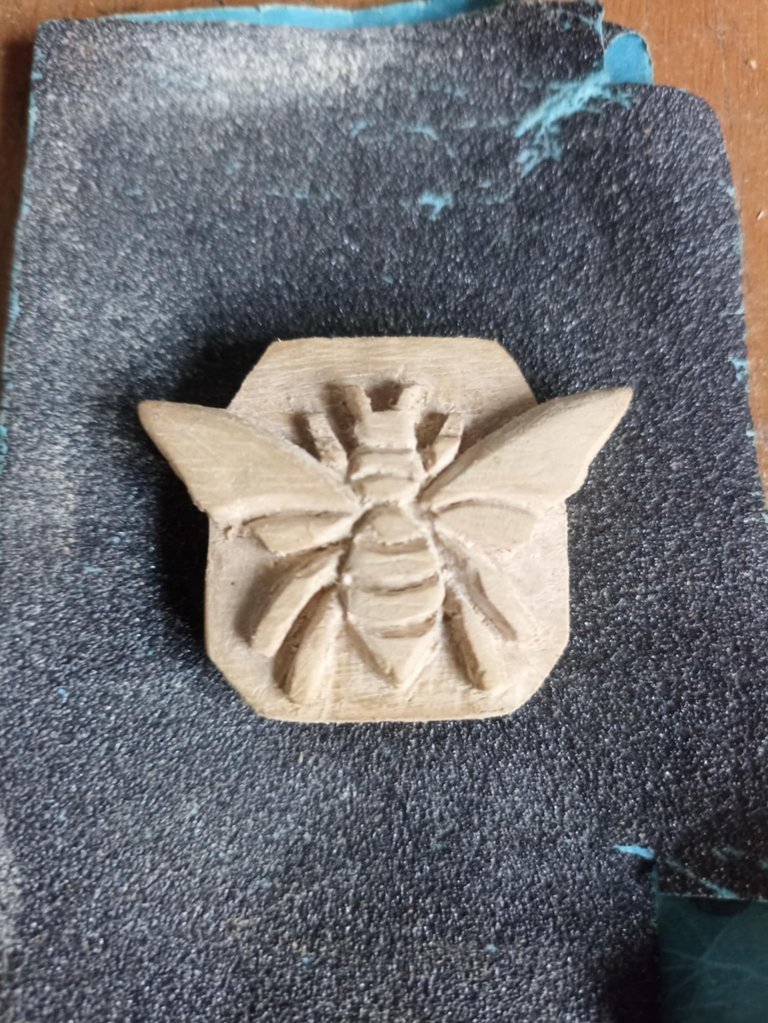
The work doesn't end there, now it's time to sand the entire piece, and since it's a small piece, it has to be done carefully since there are gaps in the wood that are very difficult to polish. So, it's best to make small cuts with sandpaper and use tweezers to clean those areas. All of this is done until the piece is very clean and smooth. Something that occurred to me at the last minute was to paint a light coat of paint over the carving. Since epipine wood is light in color, it's sometimes hard to see. The entire area is painted with a little acrylic paint softened in water and a fine brush. Finally, a coat of clear varnish is included to give it a more beautiful and long-lasting finish.
EL trabajoi no termina ahí, ahopra toca lijar toda la pieza, y como es algo pequeño hay que lijar con cuidado ya que hay divisiones en la madera que es muy dificil pulir, así que lo mejor es hacer pequeños recortes de lija y ayudarse con una pinza para poder limpair esas zonas. Todo esto s ehacve hasta que la pieza quede muy limpia y suave, algo que se me ocurrió en último momento fue pintar una capa suave de pintura encima del tallado, como la madera d epino es clara a veces no se aprecia bien, con un poco de pintura acrílica suavizada en agua y un pincel fino se pinta toda esa zona. Por último se incluye un baño de barniz transparente para darle un acabado más hermoso y duradero.


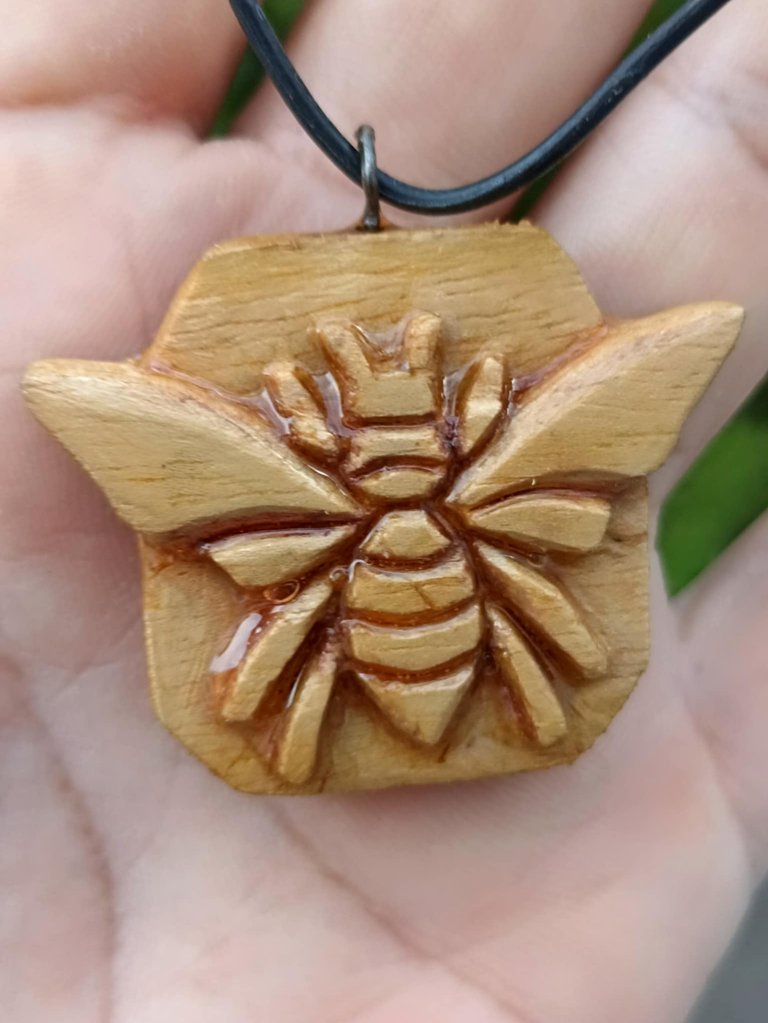
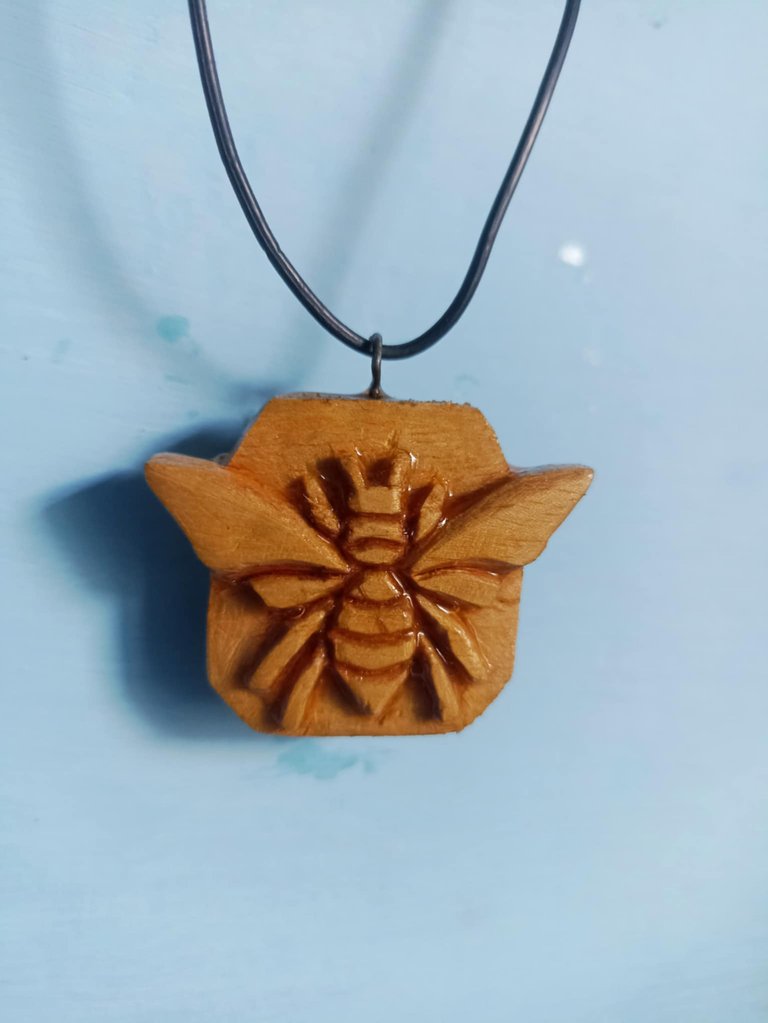
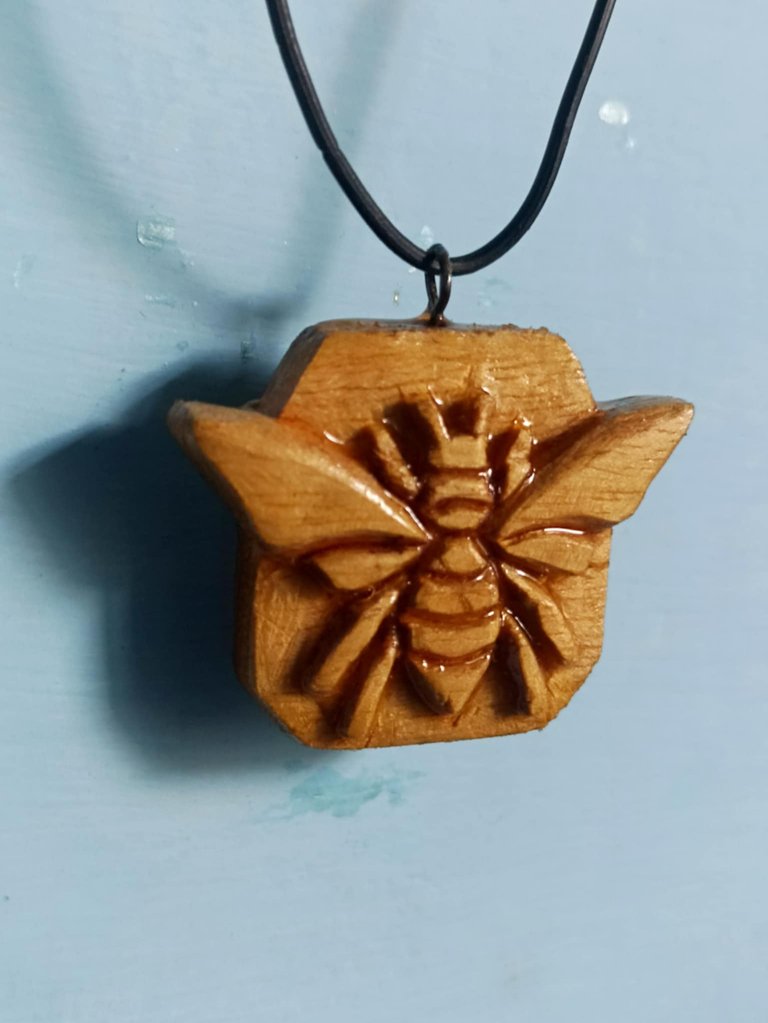
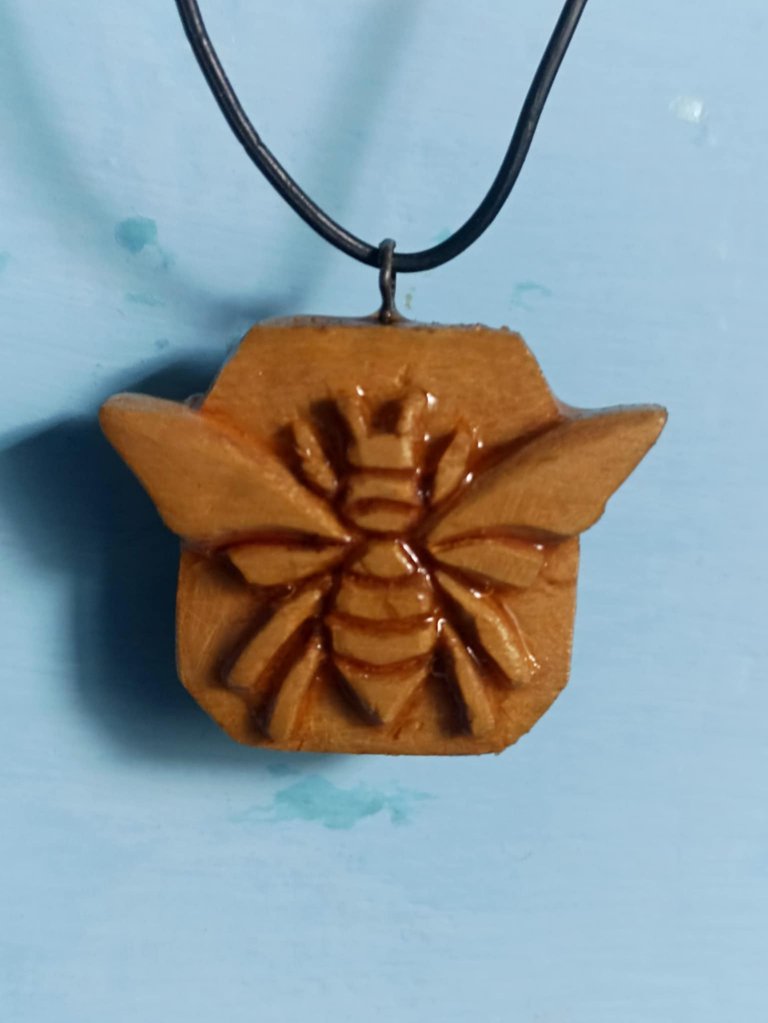
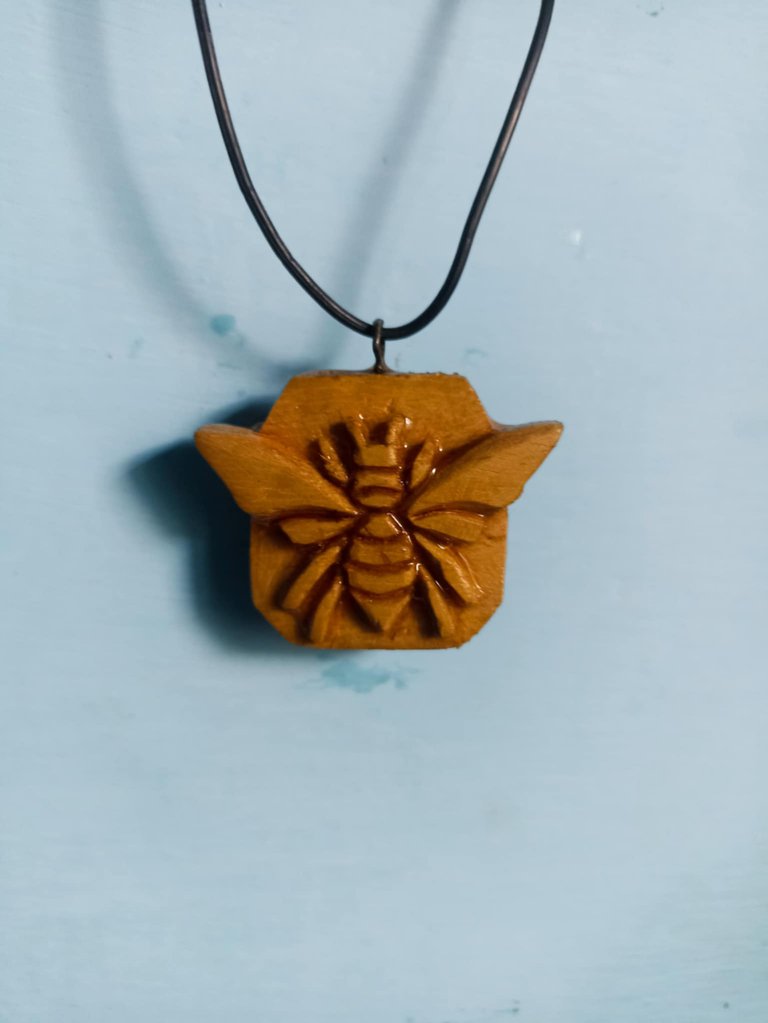
What did you think of the final piece? The carving really helped achieve a 3D effect throughout the wood. I think the wood color selection is the best. The Nectar Queen figure could have been painted in its original colors, but I think that would have taken away the artisanal touch from the piece. That's why I left it as is, with the only addition of light paint along the gaps. Otherwise, I think it looks wonderful. But let me know what you think, whether you liked the piece or not. For now, I'm saying goodbye. I wish everyone the best of luck in the contest. See you soon, friends!
Que les ha parecido el final? El tallado ayudo mucho para lograr un efecto de 3D en toda la madera, creo que la selección del color de la madera es el mejor. LA figura de Nectar Queen se podría haber pintado con sus colores originales pero pienso que eso le habría quitado ese toque artesanal a la pieza, por eso la dejé tal cual, con el único agregado de la pintura suave por las divisiones, por lo demás creop mque luce maravillosa. Pero déjame saber tu apreciación, si te gustó la pieza o no, por ahora me despido, deseo a todos que le svaya muy bien en el concurso. Hasta pronto amigos!
Very nice work, you are skilled!
Hello, thank you very much!
Pine wood is a very noble wood to work with, and you have done so perfectly. I have always liked works made from this material because they symbolise warmth. The carving of the figure with the different chisels or wood knives has turned out really well; you have worked them perfectly, and I like that you have made a base for the queen bee.
The finishing touches, such as sanding and smoothing the entire design, are a task that cannot be underestimated and takes time. The smooth coat of paint gives it a special touch and the varnish makes the piece beautiful. A pendant not only for this competition but for the whole Hive. Very good work, very good quality. Thank you very much!
I have picked this post on behalf of the @OurPick project! Check out our Reading Suggestions posts!
Please consider voting for our Liotes HIVE Witness. Thank you!
Since I started woodcarving, I've used various types of wood, some better than others. But pine is one of my favorites; I really like its tone and density. So far, it's the wood I've found best, and in this project, it helped me a lot because I needed a lot of detail. Thanks to its density, I was able to do it without any problem, although I was very careful not to damage it. I'm so glad you liked how it turned out.
You did a great job, congratulations! Keep it up!🤗
El tallado en madera de pino quedó perfecto, es increíble lo que lograste con unos cinceles, me encanta lo hábil que eres para trabajar la madera, el tallado quedo perfecto para mi, excelente trabajo como siempre amigo 😉
Gracias a Dios he aprendido mucho, aun me falta probar con piezas más grandes solo que es dificil conseguir madera buena y de mayor tamaño. Gracias querida amiga por tus lindas palabras.
Quedó muy bonita, se requiere de habilidades y precisión para obtener un resultado como este, felicitaciones por tan buen trabajo 👏🏽✨
El hecho de haber aprendido a dibujar me ayudó mucho para saber cómo manejar las gubias y hacer los cortes. Aún me falta más por aprender.
Me encantó el resultado, sencillamente se ve espectacular. Eres muy detallista y trabajas muy bien con la madera.
Muchas gracias, tenía razón pensando en esta pieza hasta que pude conseguir la mejor madera para realizarla.
Siempre con tu trabajo geniales en madera ....gran talento
Gracias a ti que siempre estás pendiente de mis aportes y los valoras con tus palabras. 😊😊
Te quedó muy lindo 🥰. Esta es una de mis cartas favoritas para hacer fanart. Como siempre un trabajo impecable amigo. Te felicito
!LUV
!PIZZA 🍕
La mía también, además que es un personaje muy familiar a Hive por eso es tan genial.
$PIZZA slices delivered:
@chacald.dcymt(1/5) tipped @fixie
Come get MOONed!
Thanks for sharing! - @cieliss

Se está luciendo bien con sus obras en madera, amigo, le felicito por eso.
Alto experto 👌😉
Gracias hermano, aplicando lo del dibujo a la madera!
Justo tengo varios días pensando en abejas como inspiración para algunas creación y veo tu trabajo y me ha encantado✨ siempre me impresiona el nivel de detalles que logras alcanzar con tus tallas en madera☺️
Genial que te inspires en la abeja, espero puedas encontrar algo muy bueno que te ayude a explotar tu creatividad con algo grandioso!