Steppe Stalker | Splinterlands Art Contest 348
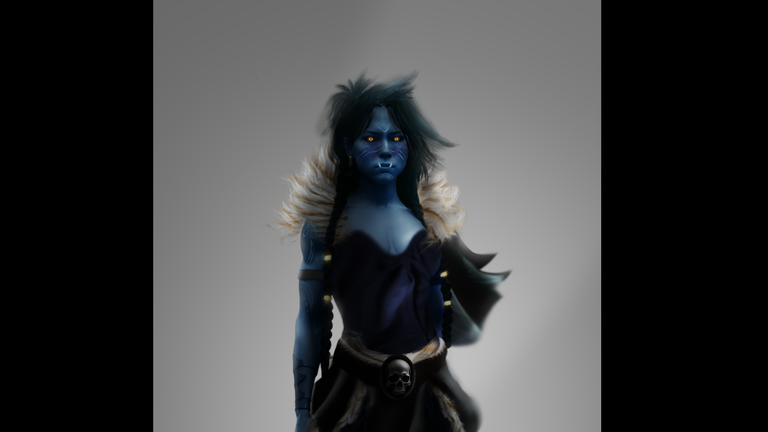
Hello Alien Art and Splinterlands community! New week, new entry! This time I went for a slightly rushed creation, using a simple technique that still stands out from my previous designs. It’s not overly complex, but it adds a unique touch to the final result.
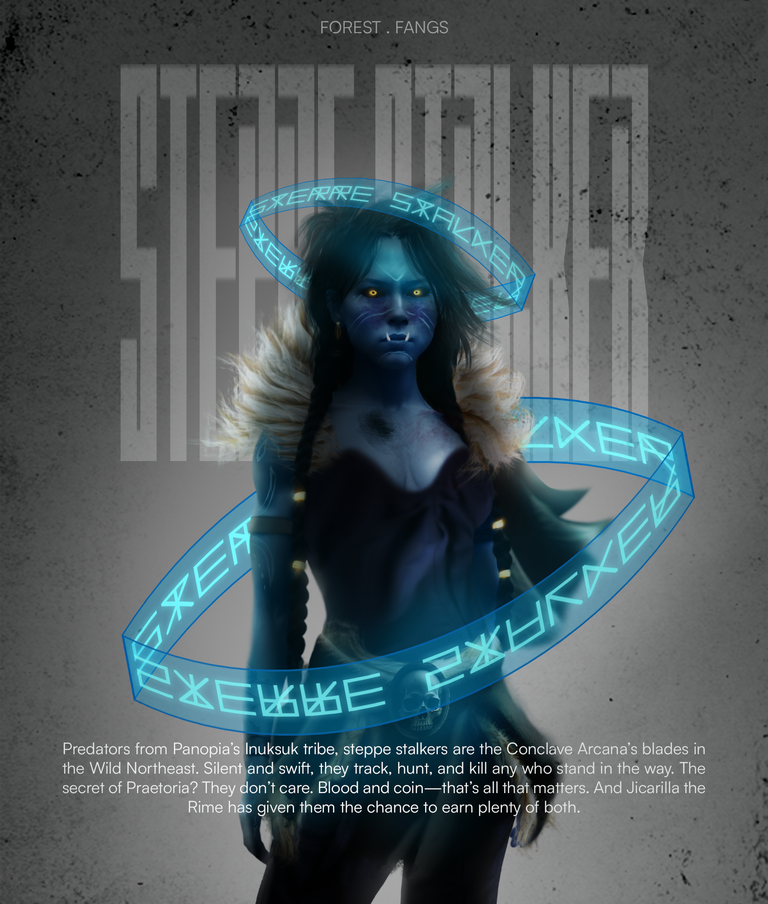
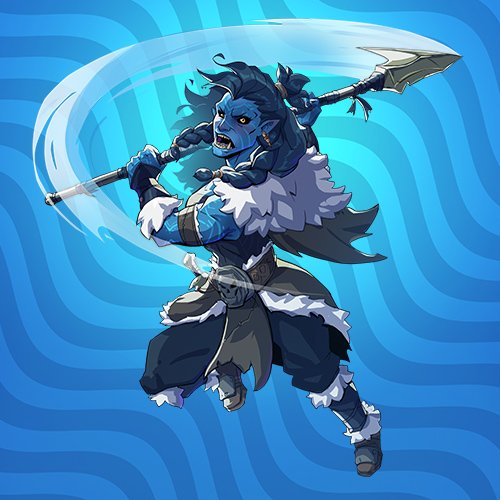
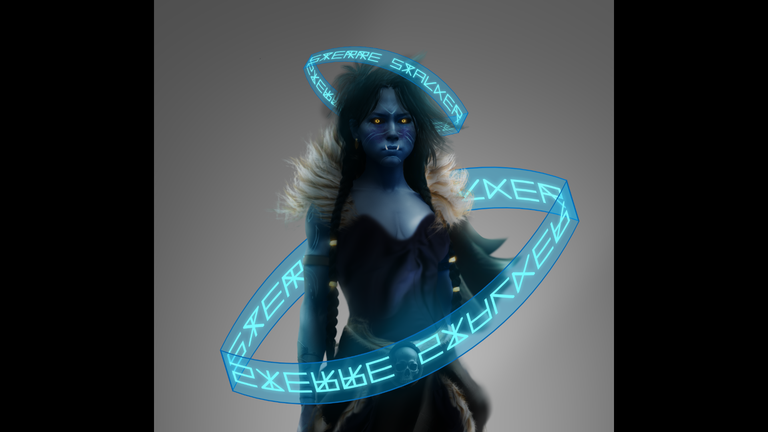
I decided to portray this female orc with my own interpretation, moving a bit away from the original concept to give her a more passive energy. I surrounded her with shadows and glows, using circular shapes to mimic "magical runes." Let’s check out the screenshots to dive deeper into the process.
Hola comunidad de Alien Art y Splinterlands. ¡Nueva semana, nueva participación! Esta vez me animé a crear algo un poco más apresurado, pero con una técnica simple que logra diferenciarse de mis diseños anteriores. No es una gran elaboración, pero sí un aporte visual interesante al resultado final.
Decidí representar a esta orco femenina con mi propia interpretación, alejándome un poco de su concepto original para transmitir una energía más pasiva. La rodeé con sombras y resplandores, utilizando círculos que la encierran como si fueran runas mágicas. Acompañame a ver las capturas para conocer más en detalle el proceso.
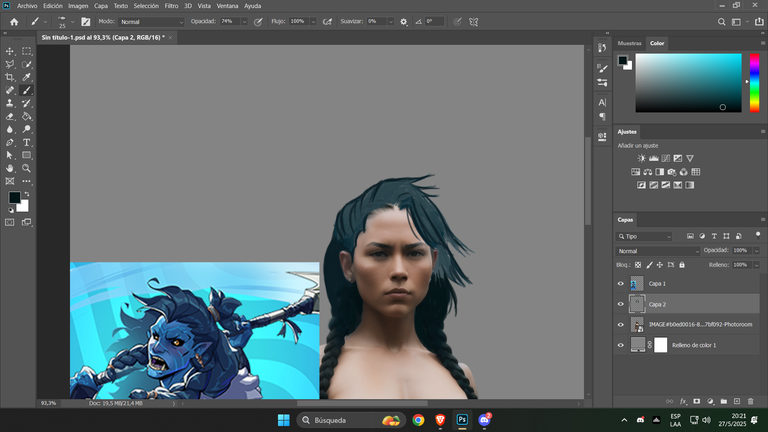
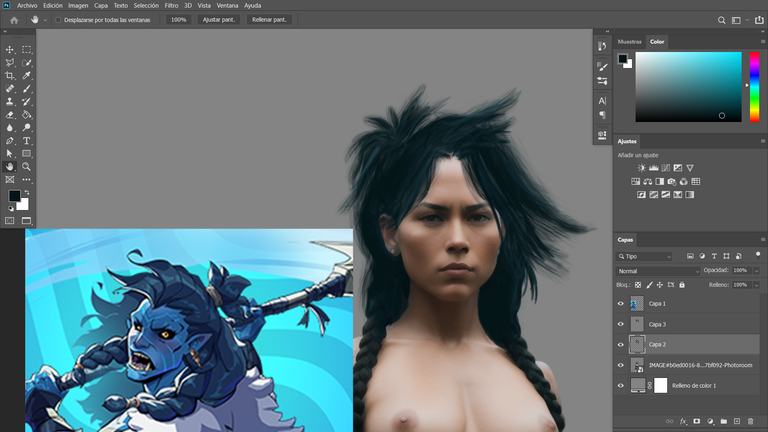
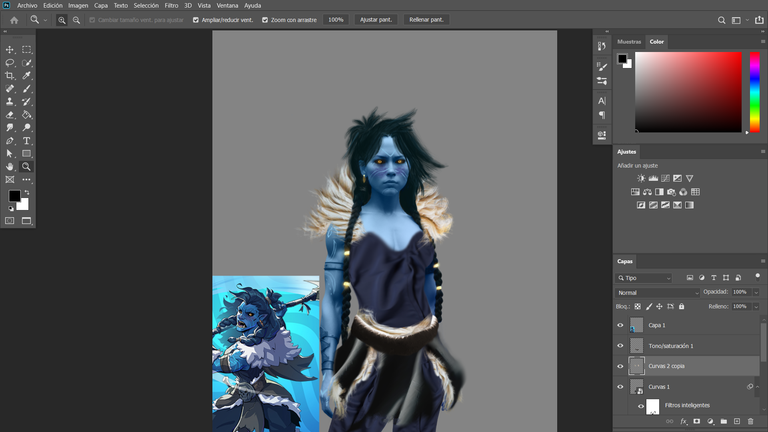
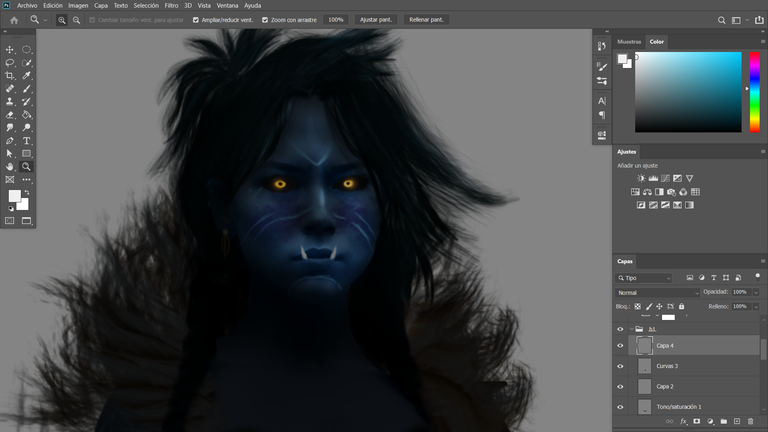
The images were generated beforehand, and from them I built each layer—such as her clothing—shaping the design to resemble the character as closely as possible. With help from my partner, who sketched out the hairstyle for me, I continued working on the hair details using specific brushes to better capture the style, since creating "hair" isn't my strongest skill.
Once that step was complete, I applied a gradient map to her skin to gradually match the right tone. I wrapped up this first stage by painting her eyes in their signature color and enlarging the surrounding area with black to enhance the expression.
Las imágenes fueron generadas previamente, y a partir de ellas construí cada capa, incluyendo su vestimenta, dándole forma al diseño para que se asemejara lo más posible al personaje. Con la ayuda de mi pareja, que me dejó un boceto de la forma del cabello, continué con los detalles usando pinceles específicos para acercarme a su estilo, ya que no se me da muy bien crear "cabello".
Una vez terminado ese paso, apliqué un mapa de degradado sobre su piel para ir aproximándome al tono adecuado. Finalmente, cerré esta primera etapa pintando sus ojos con ese color característico y ampliando su contorno con negro para reforzar la expresión.
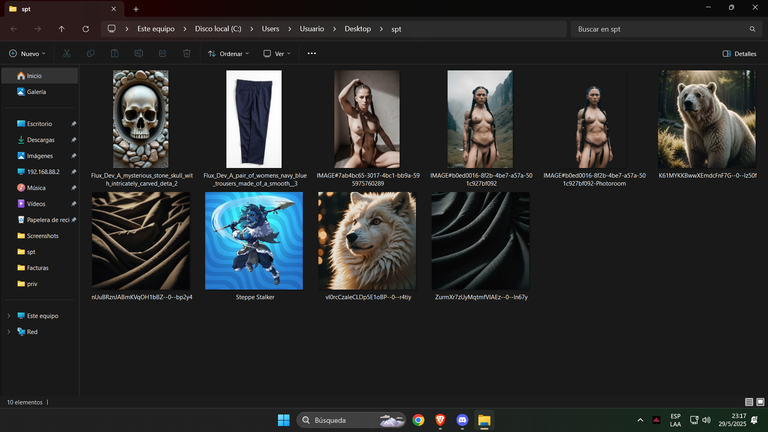

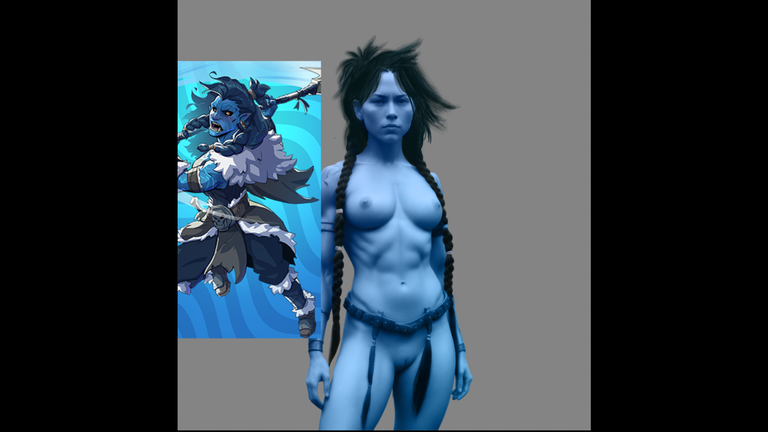
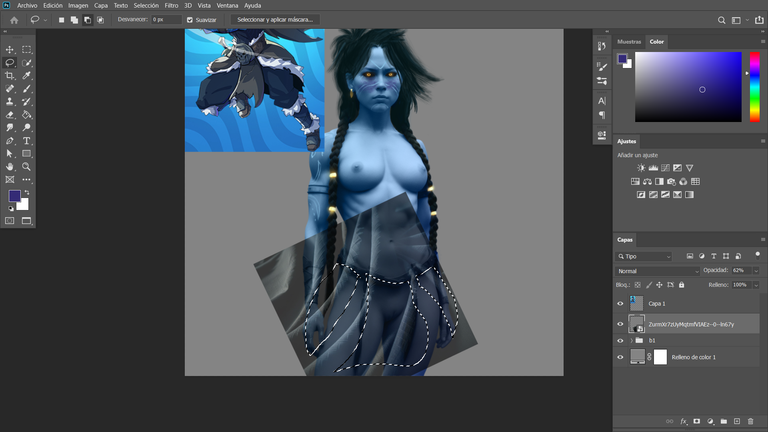
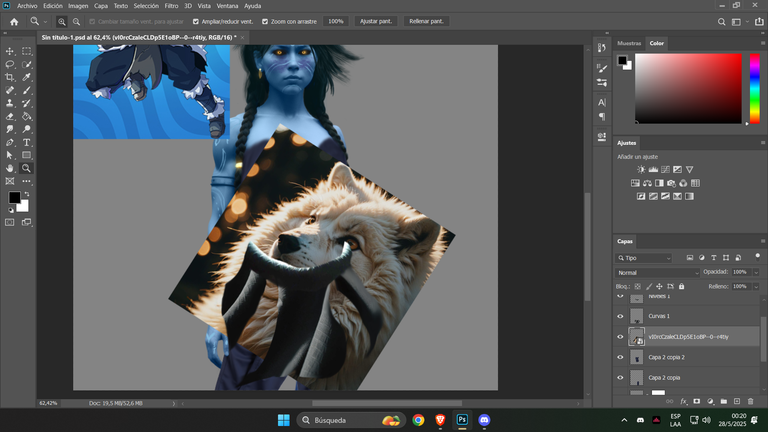
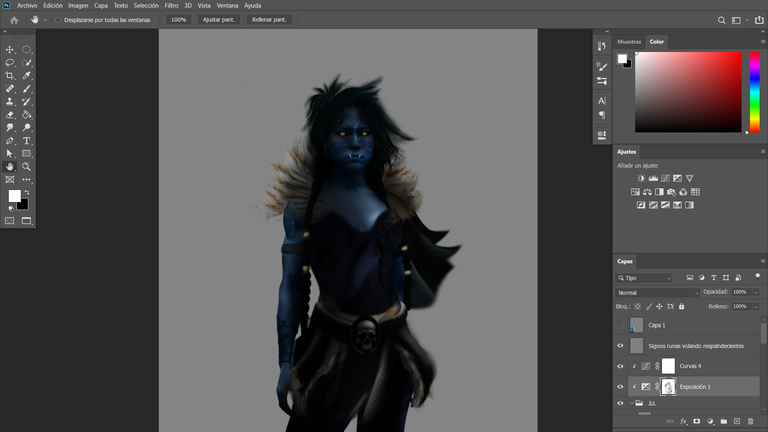
This stage focuses on the composition of elements, where I use fabrics and fur-like materials, cutting them with the lasso tool to shape and, above all, add texture to each character’s clothing in my designs. In the following screenshots, you’ll see the process and the elements used, up until I incorporated a blue pair of pants that became the base of the outfit. I then applied my favorite techniques to bring depth and realism to the overall design.
Esta parte corresponde a la composición de elementos, donde utilizo telas y materiales con textura de pelaje, que son recortados con la herramienta lazo para dar forma y, sobre todo, textura a la vestimenta de cada personaje en mis diseños. En las siguientes capturas podrás ver el proceso y los elementos utilizados, hasta llegar a un pantalón azul que me permitió construir toda su vestimenta. Luego apliqué las técnicas que más disfruto para aportar profundidad y realismo a todo el diseño.

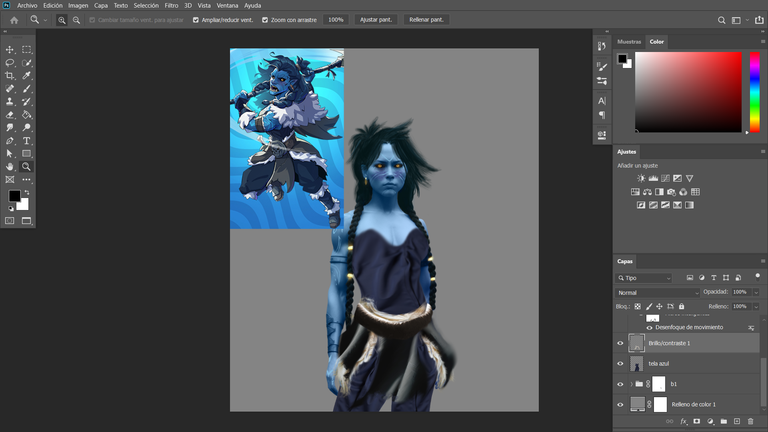
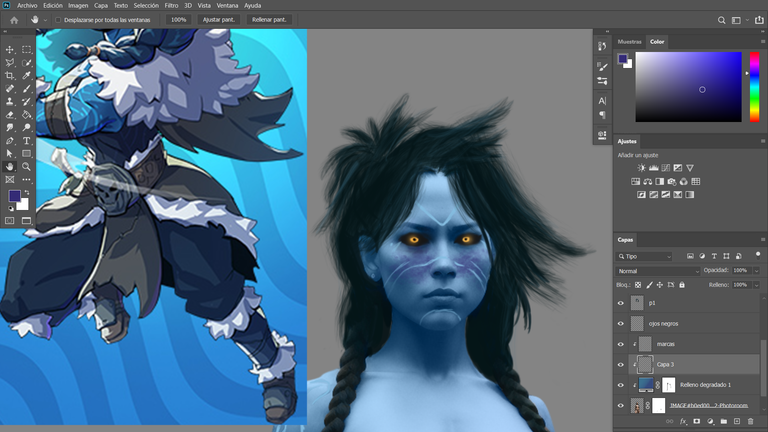
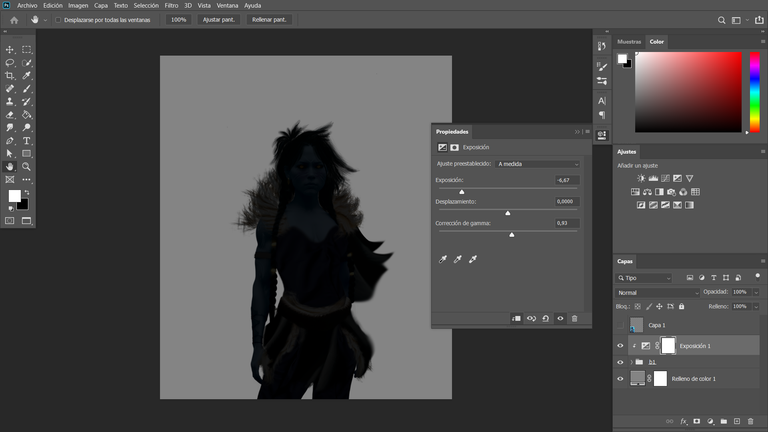
Lighting adjustments are one of the parts I enjoy the most, as they completely transform the composition. By imagining where the light source is coming from, I can build all the glow and visibility that will define the design. At this point, I had already added facial scars and fangs. I used opacity layers to remove certain shadows, and applied exposure, curves, and levels to enhance the base colors and highlight the blue tones.
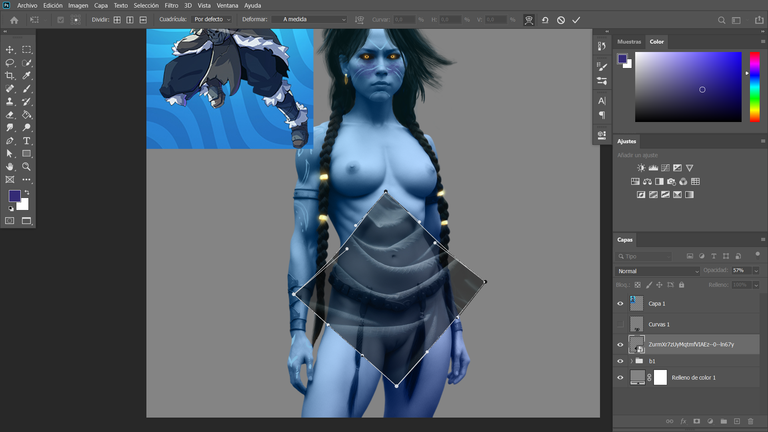
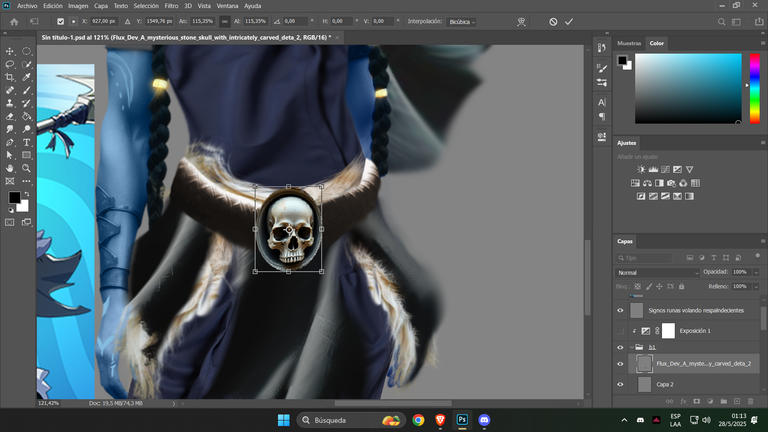
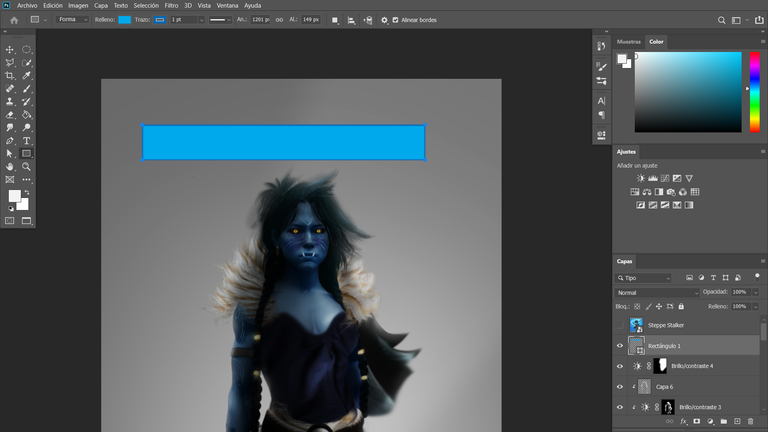
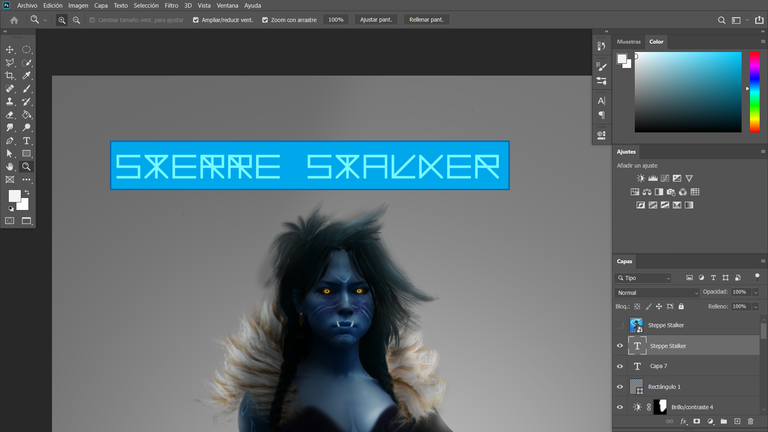
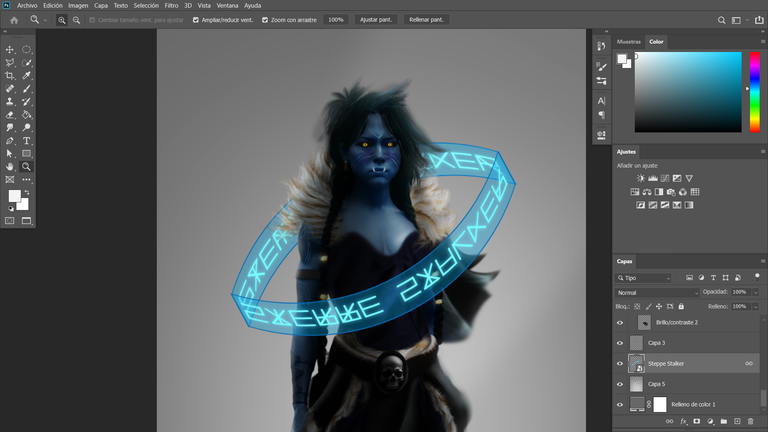
To create the rings that surround her like runic letters, I started with a circular shape and layered a text over it. Then, I merged both layers and converted them into a smart object. After that, I warped the shape and created a duplicate to form a full ring, placing it behind the character so that it visually passes through her without interference.
Los retoques de luz son una de las partes que más disfruto, ya que transforman por completo la composición. Si imaginamos desde dónde entra la luz, podemos construir todo el resplandor y la visibilidad que se le va a dar al diseño. En esta etapa, ya había creado cicatrices en su rostro y colmillos. Con la capa de opacidad eliminé algunas sombras, y utilicé exposición, curvas y niveles para mejorar el color del diseño base y resaltar el tono azul.
Para crear los círculos que la rodean como si fueran letras rúnicas, utilicé una forma circular y escribí un texto superpuesto. Luego fusioné ambas capas y las convertí en un objeto inteligente. A partir de ahí, deformé la forma y creé una copia para formar el círculo completo, ubicándolo en una capa detrás del personaje para que lo atraviese visualmente sin dificultad.


<3 cuando unas clases?, muy lindos diseños haces
!PIZZA
https://x.com/AlienArtHive/status/1929896666372493409
Have you heard about the new Splinterlands Community PRAETORIA?
Give it a tour and check out the community for real Splinterlands conversation, ideas, feedback & creativity from Praetoria’s citizens.
$PIZZA slices delivered:
@tatu8052(5/5) tipped @forest-fangs
Come get MOONed!
Congratulations @forest-fangs! You received a personal badge!
You can view your badges on your board and compare yourself to others in the Ranking
Check out our last posts: