🎨💀 Splinterlands Art Contest Week 344: MITICA Headhunter 🌈🖌️ENG/ESP
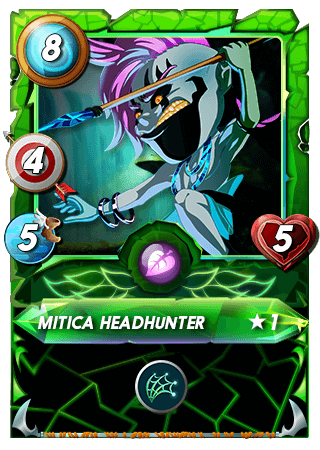
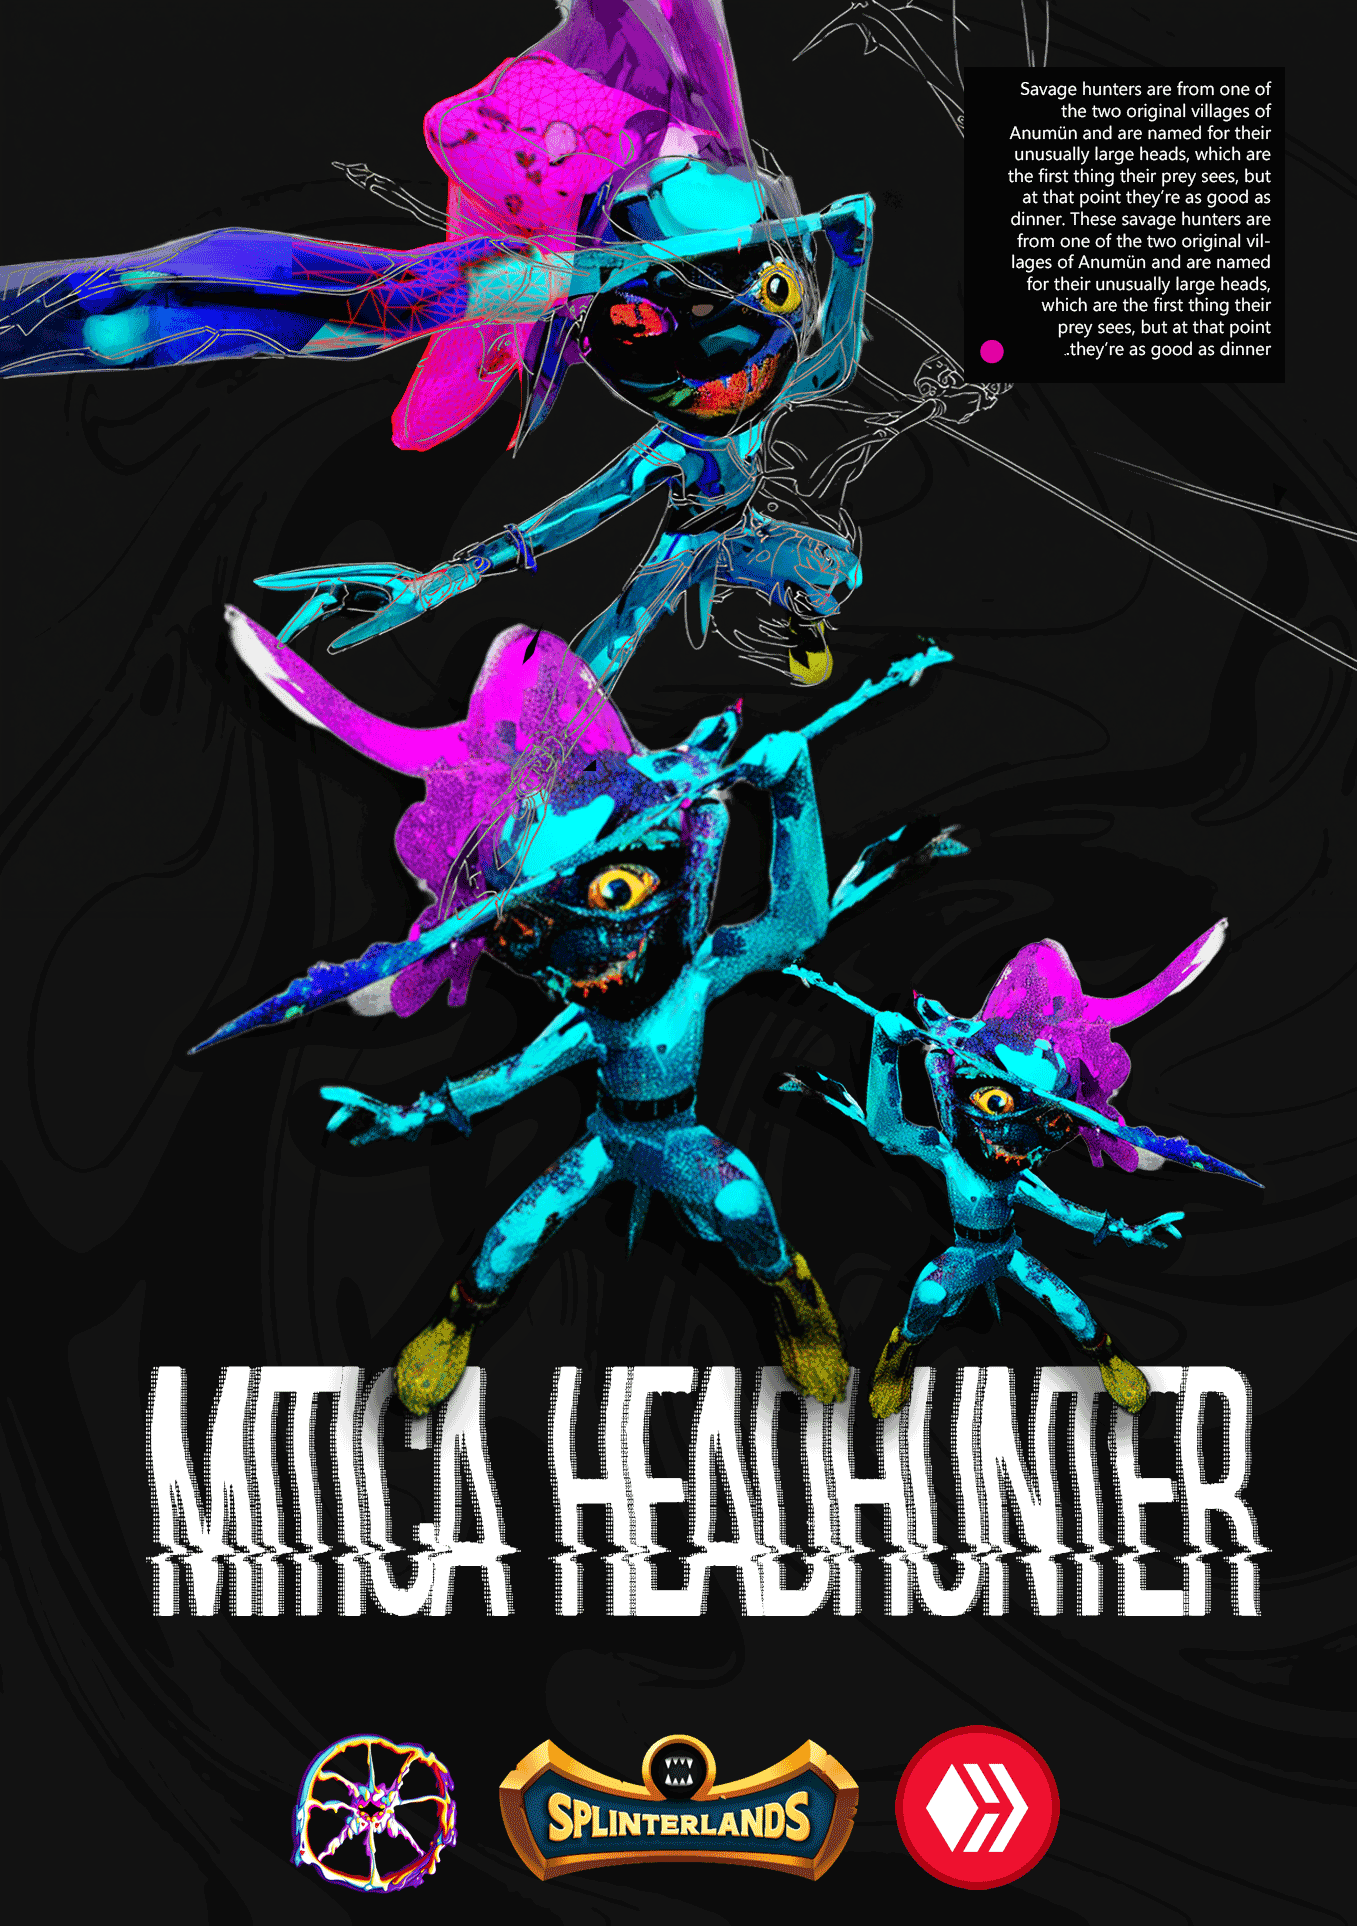
These savage hunters are from one of the two original villages of Anumün and are named for their unusually large heads, which are the first thing their prey sees, but at that point they’re as good as dinner.
Hey there, everyone! 🎉 I want to share an exciting adventure I've embarked on: creating a 3D asset of MITICA HEADHUNTER. From the moment I started, it has been a journey full of discoveries and learning.
First, I dove into exploring different programs to sculpt this little friend. I began with SculptGL (check it out here: SculptGL), which turned out to be a pretty handy tool for getting started. The interface is quite user-friendly and allowed me to experiment with shapes and details. However, what really surprised me was finding a hidden tool in HYPER3D. If I’m not mistaken, it’s in HYPER3D, and it was a real game changer. It helped me refine the sculpture in ways I didn’t expect. 🛠️
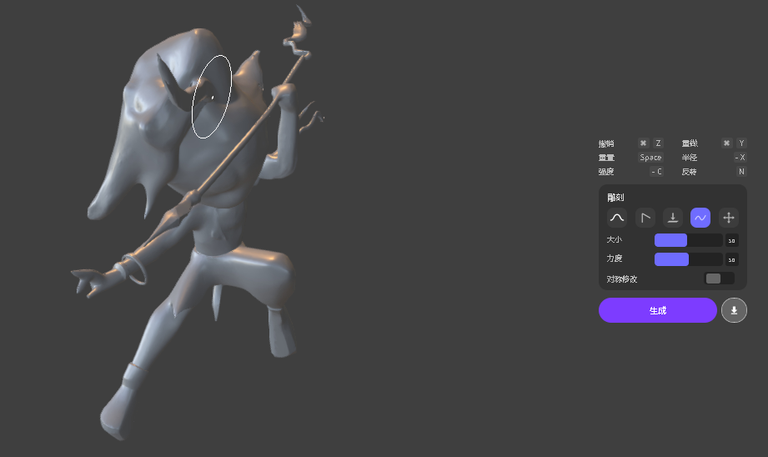
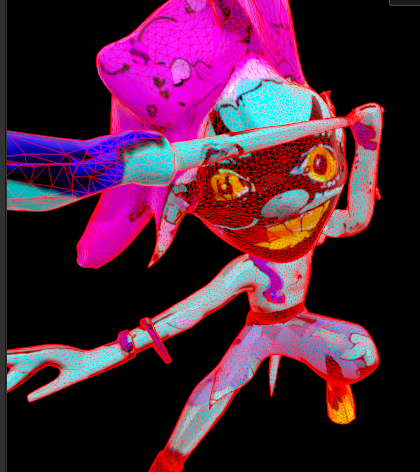
Here I am in HYPER3D, using the card reference and then heading to the editor to start correcting errors and shaping this little demon. Haha 🤣
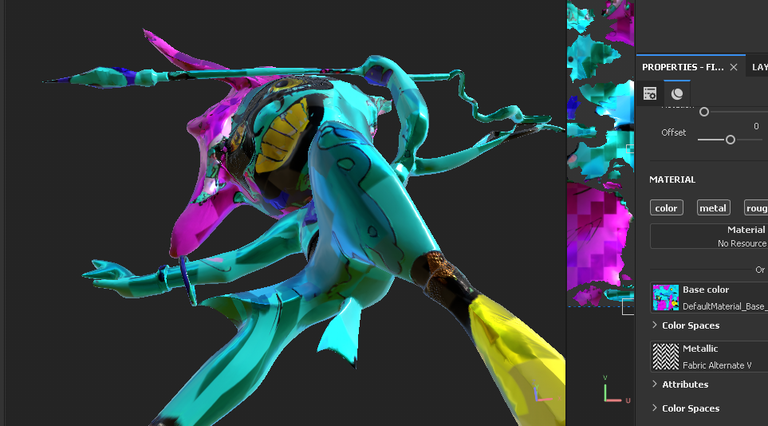
After playing around with those tools, I decided to take the next step and moved on to Adobe Painter. This is where the real magic began to happen. Painting and texturing the 3D model was an incredibly rewarding process. Each brushstroke brought MITICA HEADHUNTER to life, and watching it take shape was a very exciting experience. 🎨✨
Throughout this journey, I’ve learned a ton about the 3D creation process, from the initial sculpting to the final painting. It’s been a long and sometimes challenging road, but every step has been worth it. I’m eager to share with you all the things I’ve been creating and the different approaches I’ve taken at each stage. So stay tuned, because I’ll be showing you the entire process and the final results! I hope you like it as much as I do! 😄
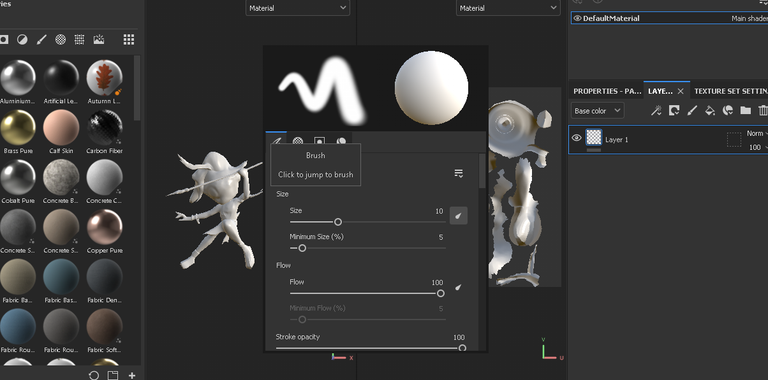
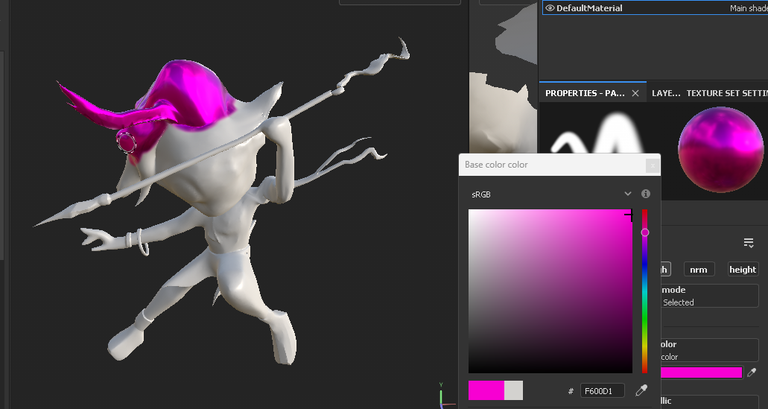
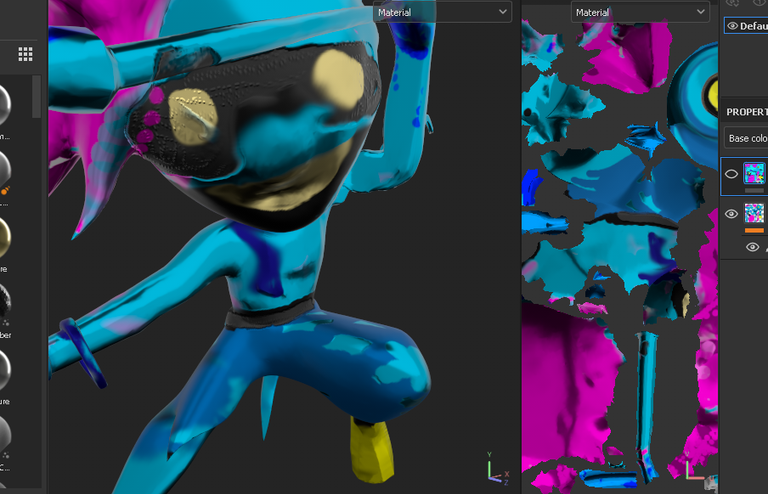
In Adobe Substance Painter 3d, there are two things I still need to understand: the difference between material and color. I started painting with a metallic finish, but then I realized I had chosen another corrugated asset, and it looked like a hardware store render. Lol! A pretty weird @splinterland. 🛠️
After painting it, I extracted the texture and took it to perfect the eyes and make the texture more my style.
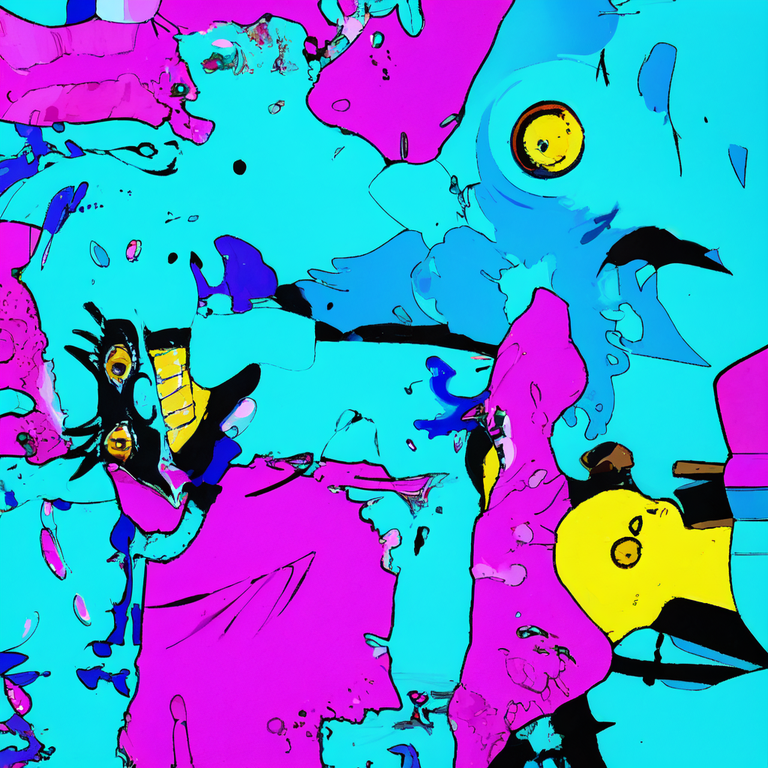
I took the texture to Krita, as you all know me! 😂 I applied the base color using this:
Then, the fun really began! With the camera in hand, I started to visualize the scenario in my mind and began bringing the rendered images into the powerful AI tool in Krita, Stable Diffusion.
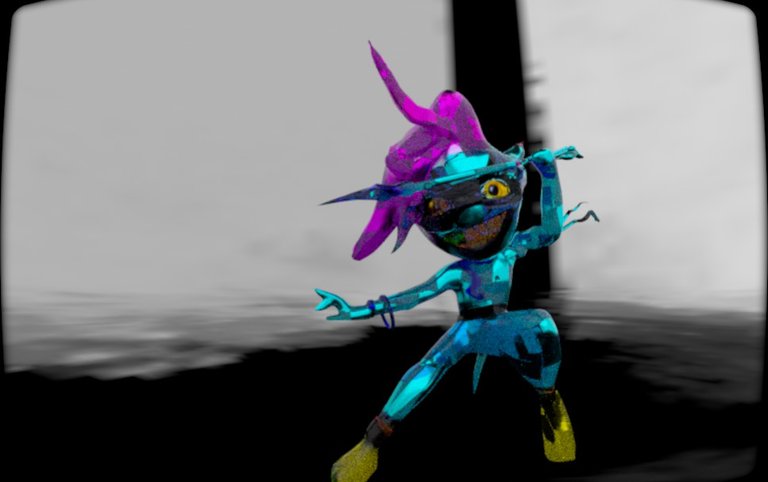
I added a simple background that I had in the environment, and I really liked these poses. Then, with the AI, things took a darker turn.
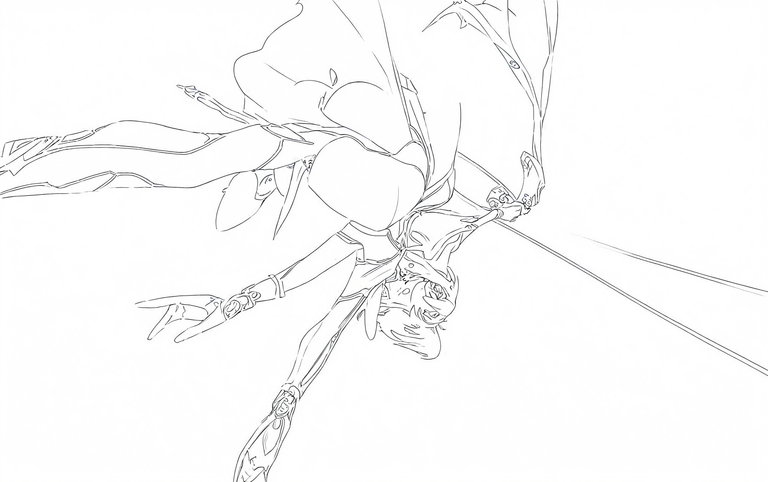
I generated a line art and several curious little creatures, but I ended up sticking with these and started assembling them in Photoshop. I’ll also show you the other generated ones:
 This one turned out a bit sickly.
 This one wanted to be a camera, lol! I always choose the best from the AI, as I use very few because otherwise, it gets out of control regarding what I want to project.
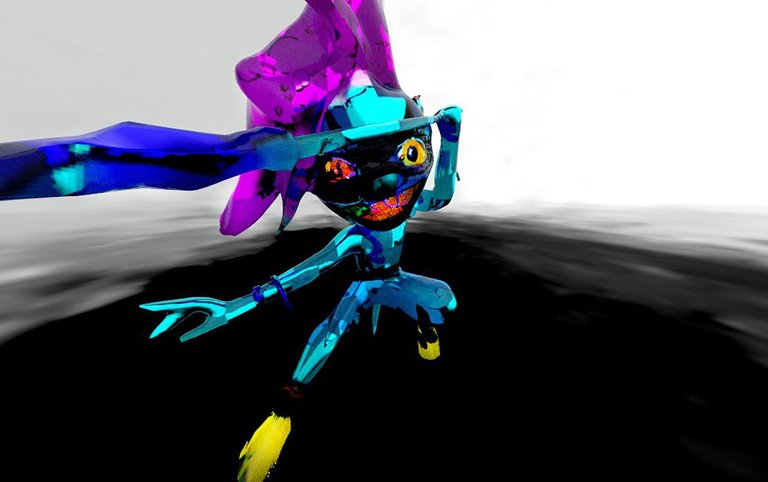
Some interesting ones came out, like this, but it was a bit too much:

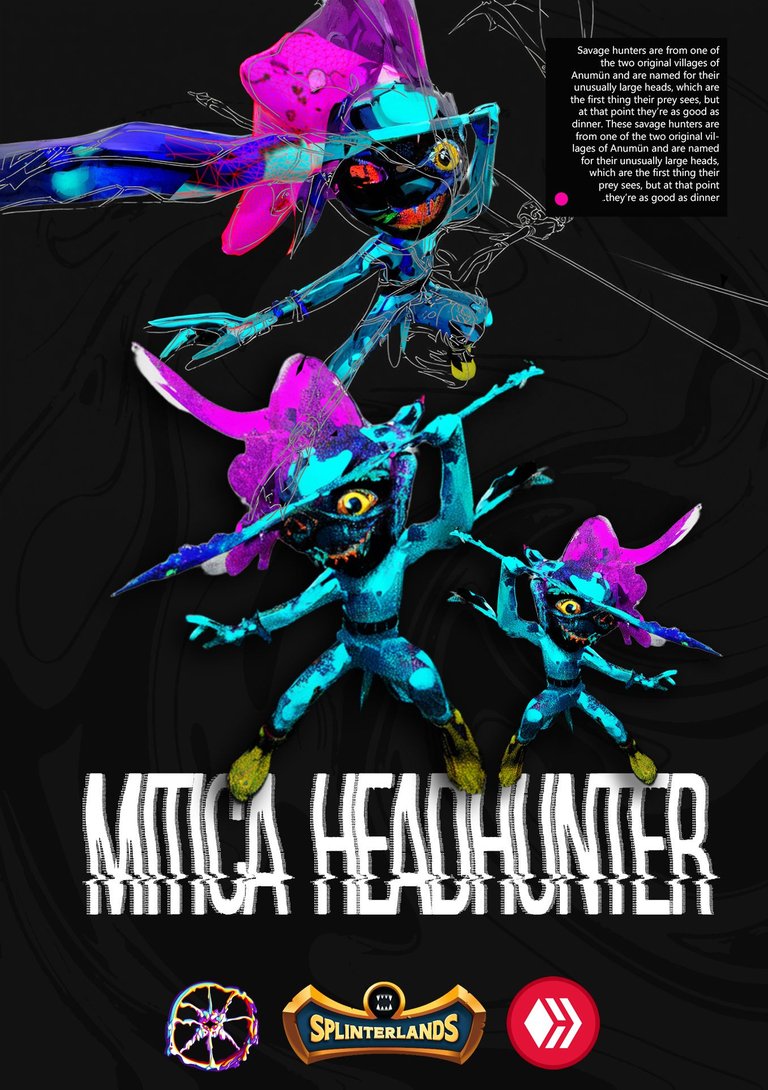
In the end, I selected the coolest little creatures and the most fitting cameras, and I created my card in Photoshop. Here’s the final result:
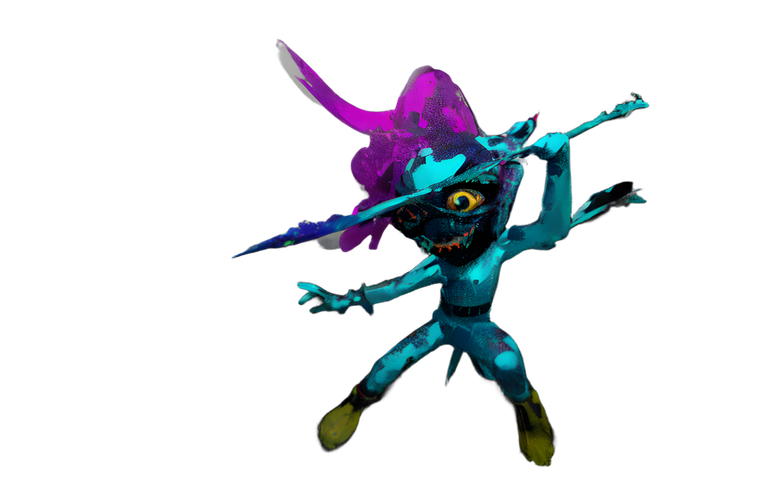
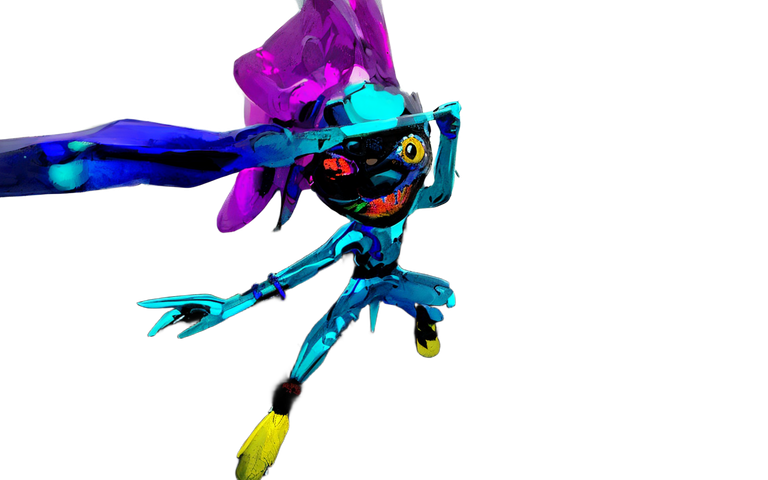
Final Result:
A little Animation
ESP:
Estos cazadores salvajes provienen de una de las dos aldeas originales de Anumün y reciben su nombre por sus cabezas inusualmente grandes, que son lo primero que su presa ve, aunque para ese momento ya están servidos como cena.
¡Hola a todos! 🎉 Quiero compartir una aventura emocionante en la que me embarqué: crear un asset 3D del MITICA HEADHUNTER. Desde el momento en que comencé, ha sido un viaje lleno de descubrimientos y aprendizaje.
Primero, me lancé a explorar diferentes programas para esculpir a este pequeño amigo. Comencé con SculptGL (échale un vistazo aquí: SculptGL), que resultó ser una herramienta bastante útil para comenzar. La interfaz es bastante amigable y me permitió experimentar con formas y detalles. Sin embargo, lo que realmente me sorprendió fue encontrar una herramienta oculta en HYPER3D. Si no me equivoco, está en HYPER3D, y fue un verdadero cambio de juego. Me ayudó a refinar la escultura de maneras que no esperaba. 🛠️
Aquí estoy en HYPER3D, usando la referencia de la carta y luego yendo al editor para comenzar a corregir errores y dar forma a este pequeño demonio. Jajaja 🤣
Después de jugar con esas herramientas, decidí dar el siguiente paso y me pasé a Adobe Painter. Aquí fue donde comenzó la verdadera magia. Pintar y texturizar el modelo 3D fue un proceso increíblemente gratificante. Cada pincelada dio vida al MITICA HEADHUNTER, y verlo tomar forma fue una experiencia muy emocionante. 🎨✨
Durante este recorrido, he aprendido muchísimo sobre el proceso de creación 3D, desde la escultura inicial hasta la pintura final. Ha sido un camino largo y a veces desafiante, pero cada paso ha valido la pena. Estoy ansioso por compartir con ustedes todo lo que he estado creando y los diferentes enfoques que he tomado en cada etapa. ¡Así que estén atentos, porque les voy a mostrar todo el proceso y los resultados finales! ¡Espero que les guste tanto como a mí! 😄
En Adobe Substance Painter 3D, hay dos cosas que aún necesito comprender: la diferencia entre material y color. Comencé pintando con un acabado metálico, pero luego me di cuenta de que había elegido otro asset corrugado, ¡y parecía una maqueta de ferretería! ¡Jajaja! Un @splinterland bastante raro. 🛠️
Después de pintarlo, extraje la textura y la llevé para perfeccionar los ojos y hacer la textura más a mi estilo.
Llevé la textura a Krita, ¡como ya me conocen! 😂 Apliqué el color base usando esto:
¡Y entonces comenzó la verdadera diversión! Con la cámara en mano, empecé a visualizar el escenario en mi mente y comencé a llevar las imágenes renderizadas a la poderosa herramienta de IA en Krita, Stable Diffusion.
Agregué un fondo simple que ya tenía en el entorno, y realmente me gustaron esas poses. Luego, con la IA, la cosa tomó un giro más oscuro.
Generé un arte lineal y varias criaturitas curiosas, pero terminé quedándome con estas y comencé a armarlas en Photoshop. También les mostraré las otras que se generaron:
Una salió un poco enfermiza.
Otra quería ser una cámara, ¡jajaja! Siempre elijo lo mejor de la IA, ya que uso muy pocas porque, si no, se descontrola lo que quiero proyectar.
Salieron algunas interesantes, como esta, pero era un poco demasiado.
Al final, seleccioné las criaturitas más geniales y las cámaras que mejor encajaban, y creé mi carta en Photoshop. Aquí está el resultado final:
Resultado Final:

From the bottom of my heart, I’m grateful to those who have always believed in me and in what I do: @Curangel, @OCD, @appreciator, @acidyo and each one of you who takes the time to comment, vote, share, or simply enjoy my creative madness.
This is just the beginning! Let’s keep creating, dreaming, and sharing together.

Thanks for sharing! - @isaria
