[ESP-ING] Earcuff by Endura Brune || Splinterlands Art Contest Week 284
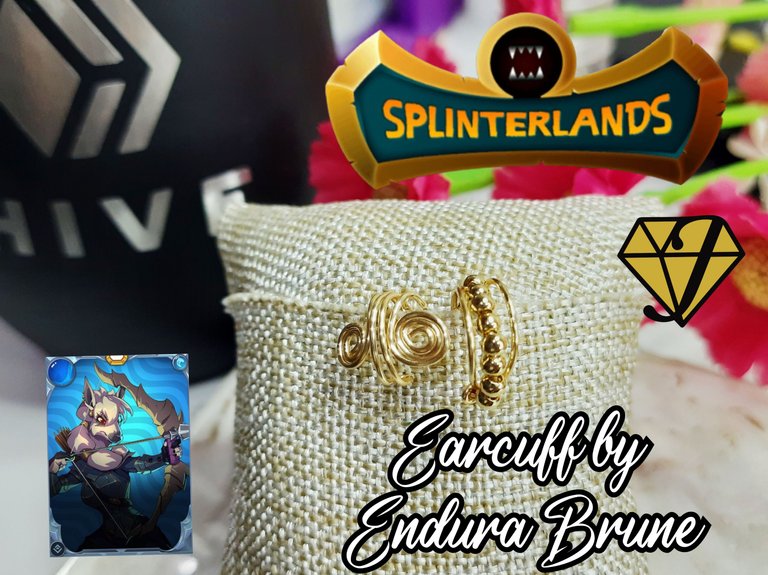


Un saludo, mi gente maravillosa de @jewelry hoy vengo a participar en el concurso #284 de Splinterlands, para ello realice unos "Earcuff", inspirado en los accesorios que lleva el personaje de nombre "Endura Brune" este fan art lleva varios earcuff en sus orejas los cuales están muy de moda.
Endura Brune, es una carta muy poderosa, con habilidades para debilitar los ataques enemigos, esta carta pertenece al elemento Agua y cuesta 9 maná para usarla en batallas, su tipo de ataque es a distancia, pero no tiene una estadística de ataque llamativa.
Durante su nivel 1, esta carta de monstruo obtiene 2 ataques a distancia a 3 de velocidad con 2 de armadura y 10 de salud y también obtiene la habilidad Amplificar desde su nivel inicial.
Para este Fan Art utilice una técnica de alambrismo, ahora les invito a ver el paso a paso de este dije que realicé, espero sea de su agrado, manos a la obra mis queridos creativos.

Greetings, my wonderful people of @jewelry today I come to participate in the contest #284 of Splinterlands, for this I made some "Earcuff ", inspired by the accessories worn by the character named "Endura Brune " this fan art wears several earcuff in his ears which are very fashionable.
Endura Brune, is a very powerful card, with abilities to weaken enemy attacks, this card belongs to the Water element and costs 9 mana to use it in battles, its attack type is ranged, but it doesn't have a striking attack stat.
During its level 1, this monster card gets 2 ranged attacks at 3 speed with 2 armor and 10 health and also gets the Amplify ability from its initial level.
For this Fan Art I used a wiring technique, now I invite you to see the step by step of this I made, I hope you like it, let's get to work my dear creatives.

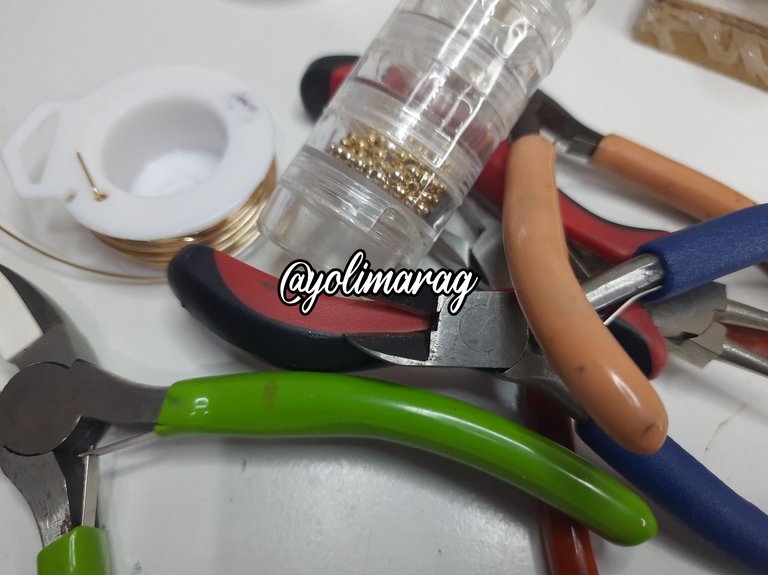
Materiales:
✅️ Alambre #20
✅️ Pinzas de Bisutería
✅️ Balines
Materials
✅️ Wire #20
✅️ Jewelry Clamps
✅️ Balines

Paso a Paso / Step by Step

 |  |
|---|
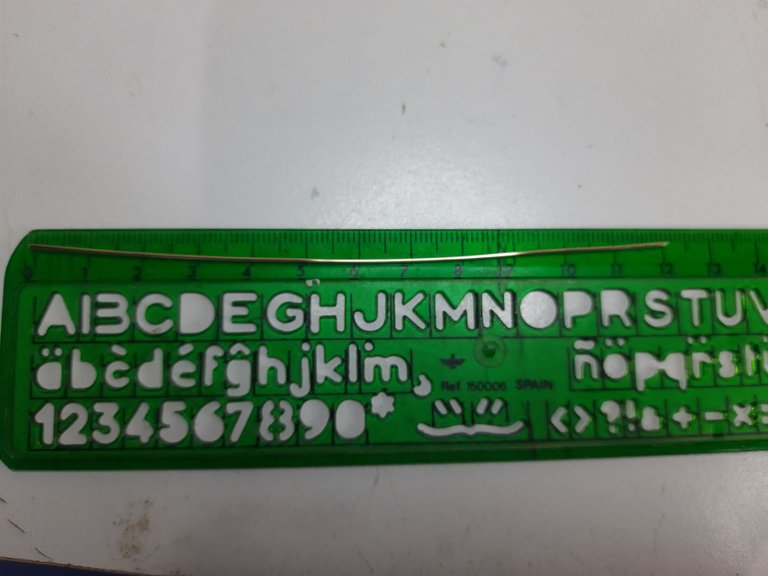
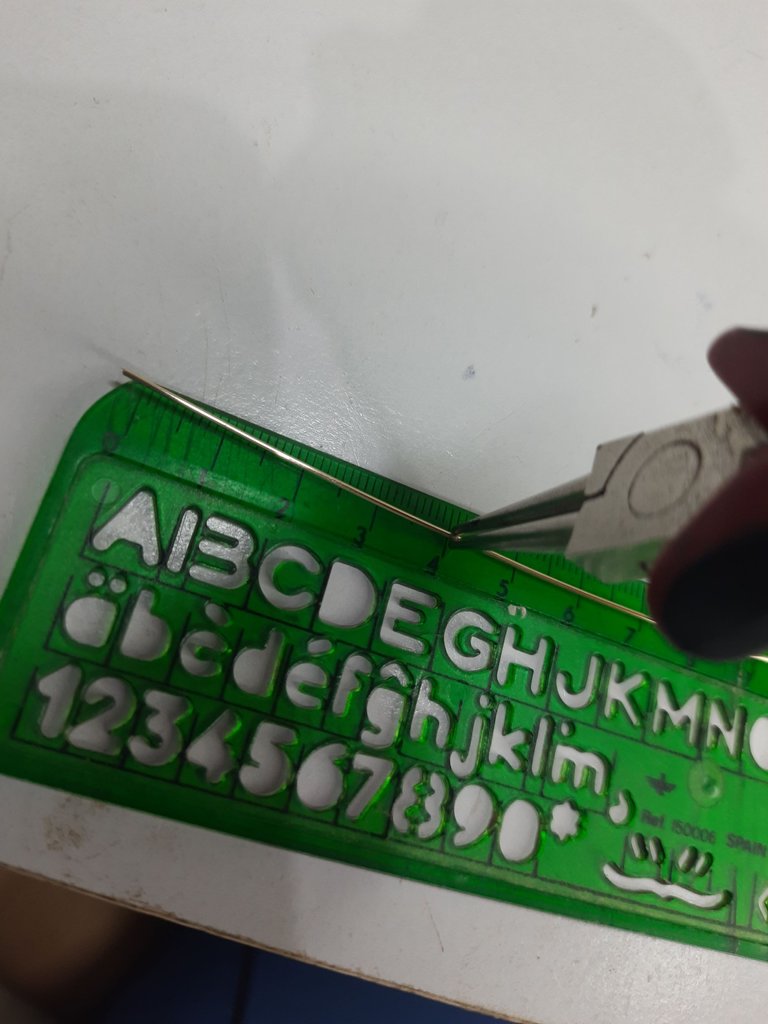
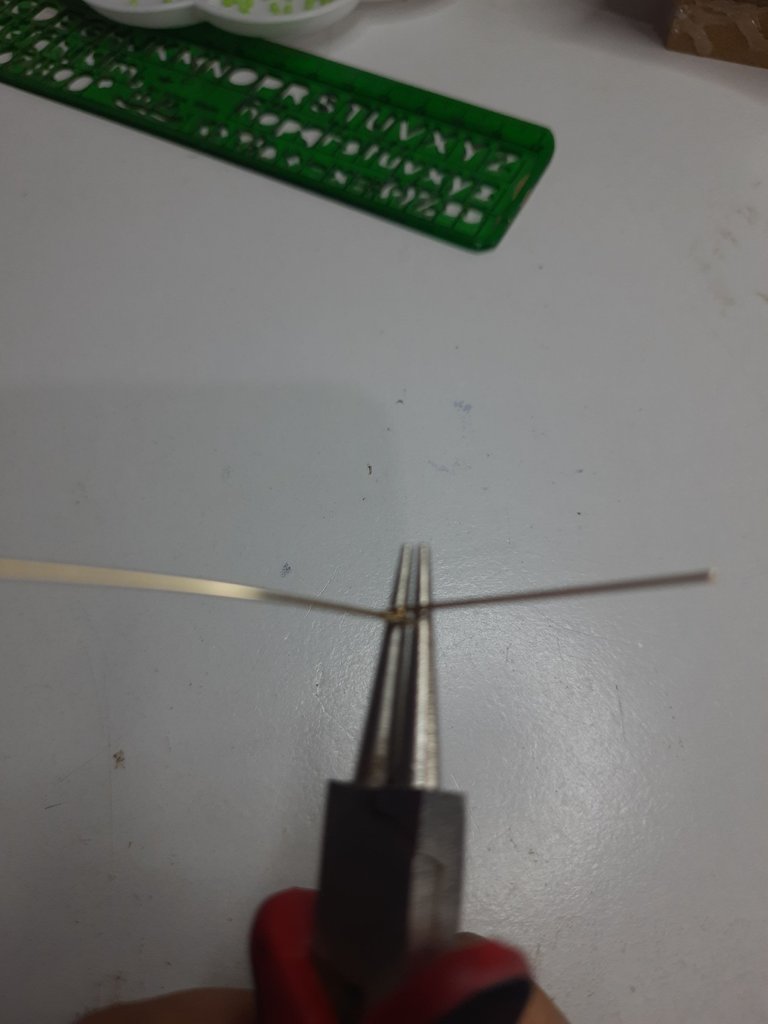
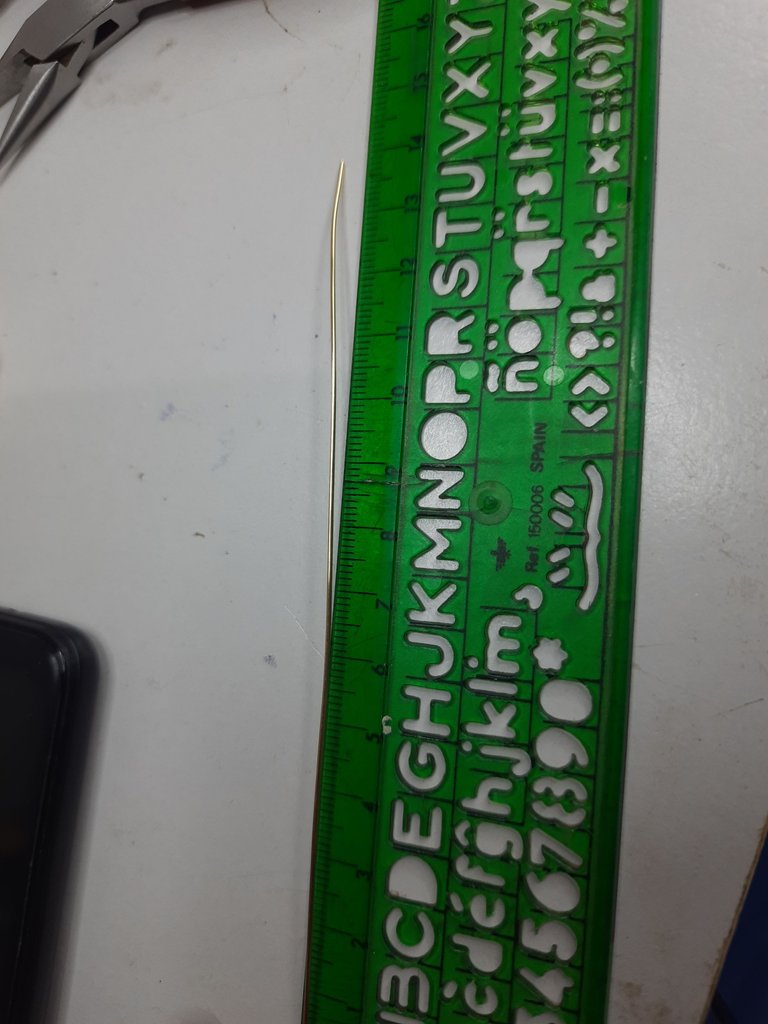
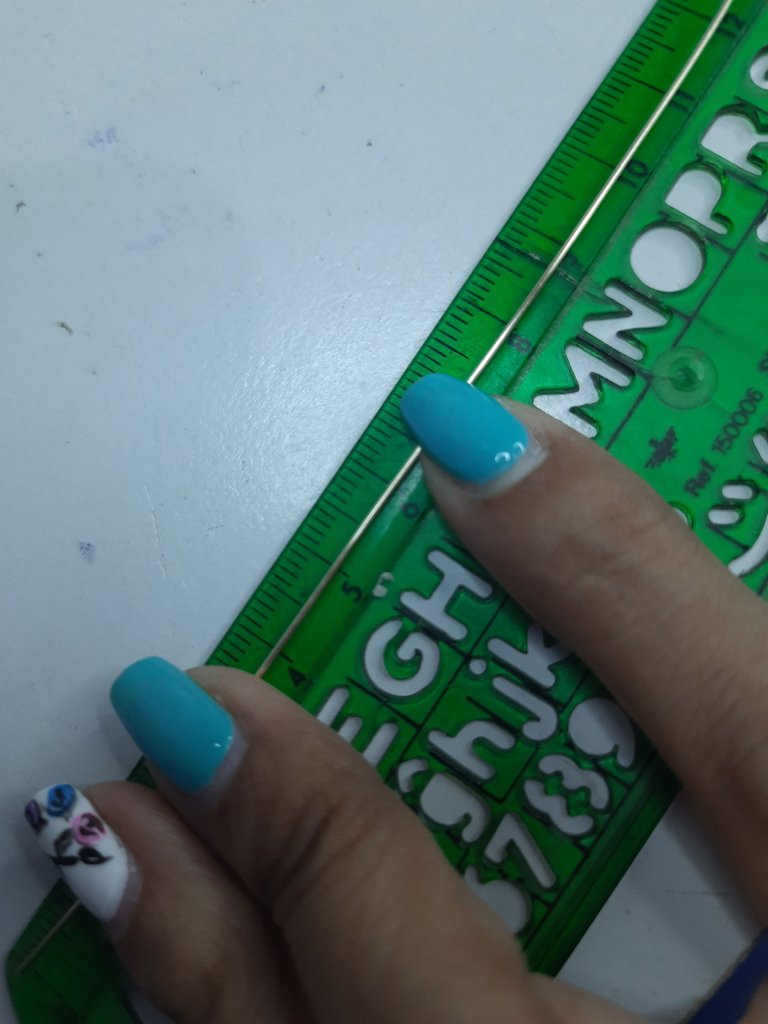
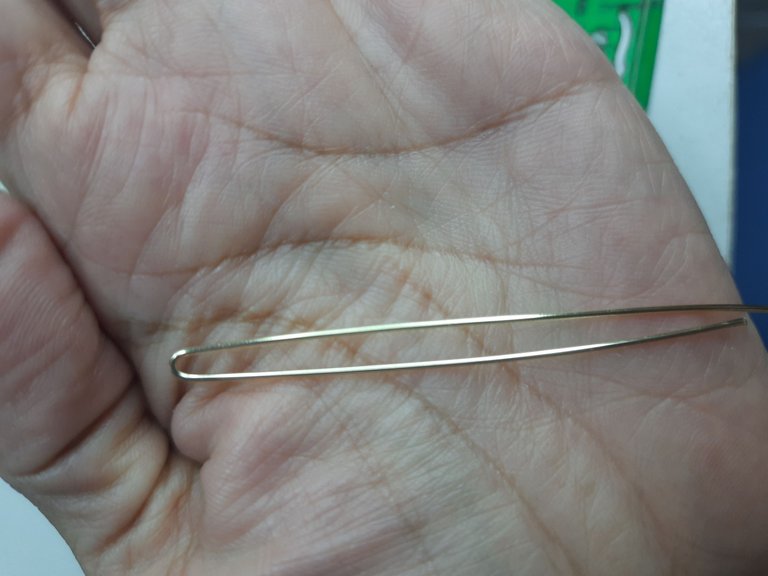
Lo primero que haremos será cortar el alambre número 20 a 12 cm, luego vamos a doblar a 4cmc com nuestra pinza redonda.
The first thing we will do is to cut the wire number 20 to 12cm, then we will bend it to 4cmc with our round pliers.

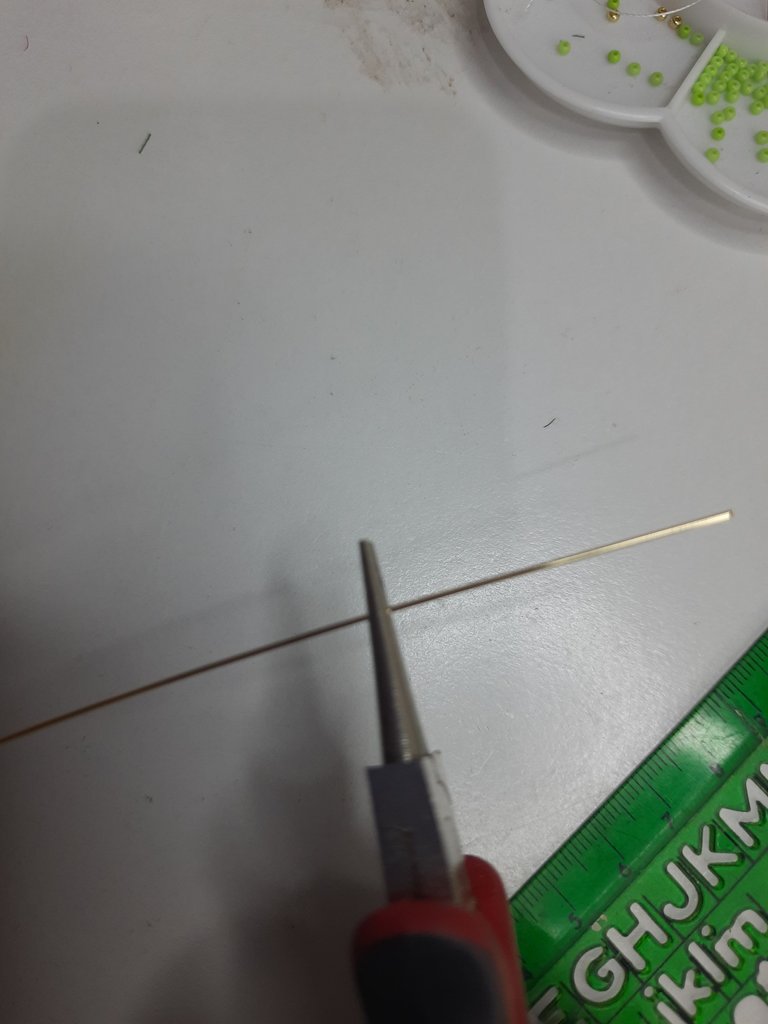 |  |  |
|---|
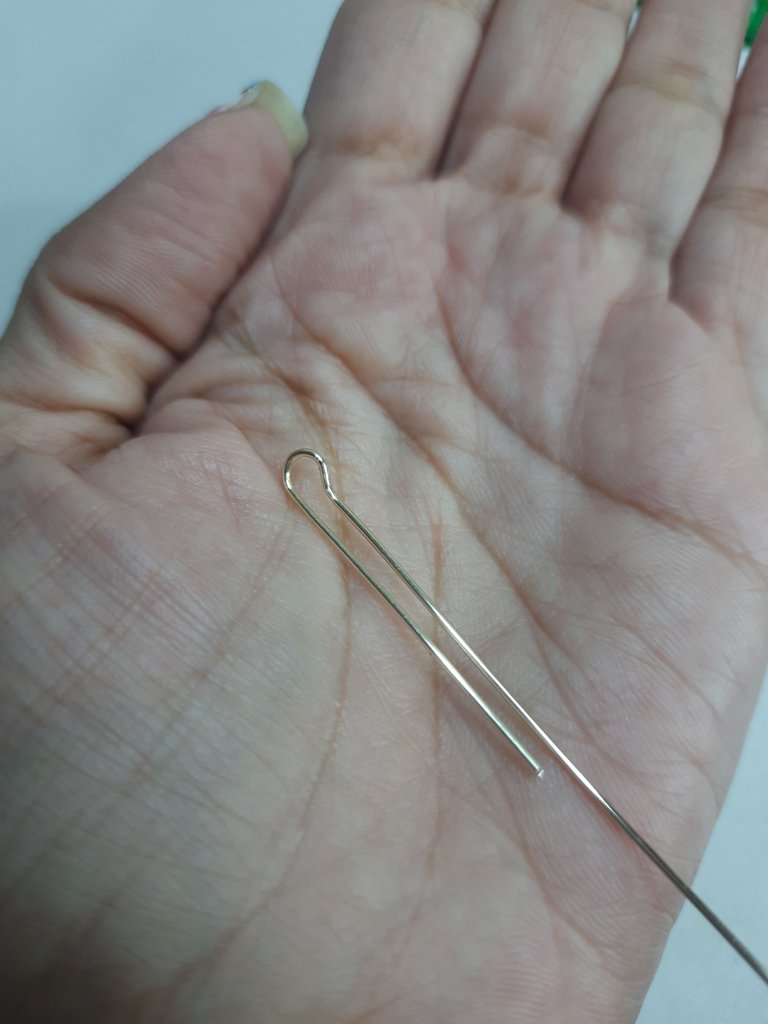
Tomaremos nuestro alambre y doblaremos a 4 cm y luego vamos a hacer un pequeño quiebre.
We will take our wire and bend it to 4 cm and then we will make a small break.

 |  |
|---|
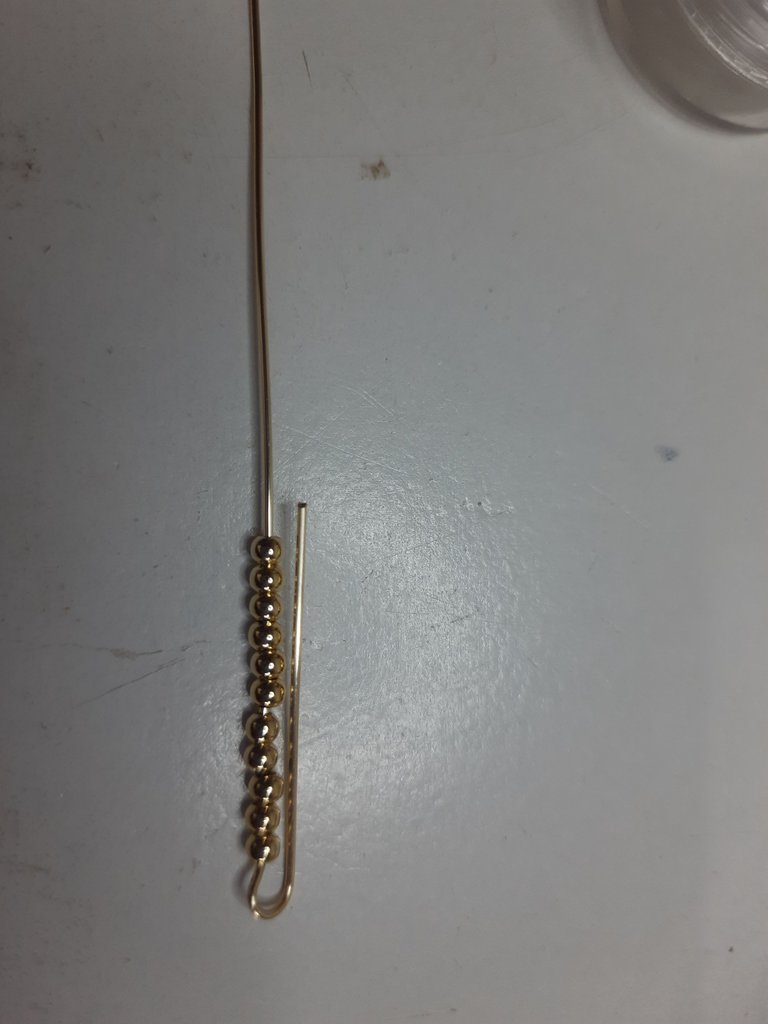
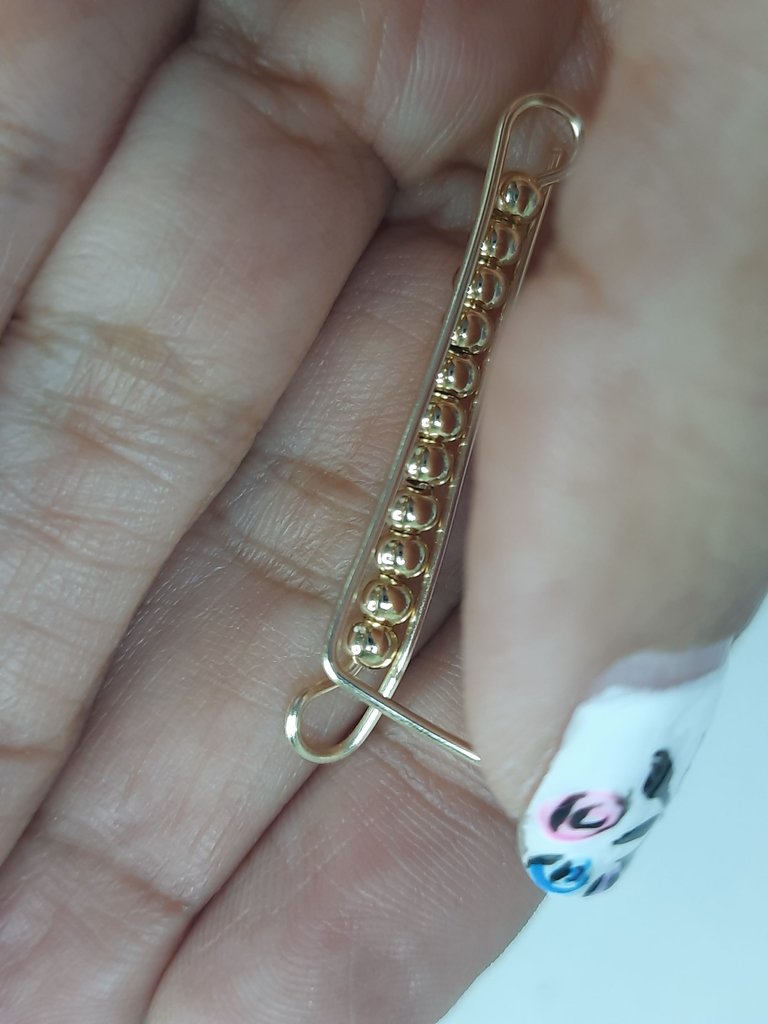
Vamos a colocar unos balines y vamos a cerrar doblando hacia abajo, para formar como una especie de canal en el medio con los balines.
We are going to place some pellets and we are going to close by bending downwards, to form a kind of channel in the middle with the pellets.

 |  |  |
|---|
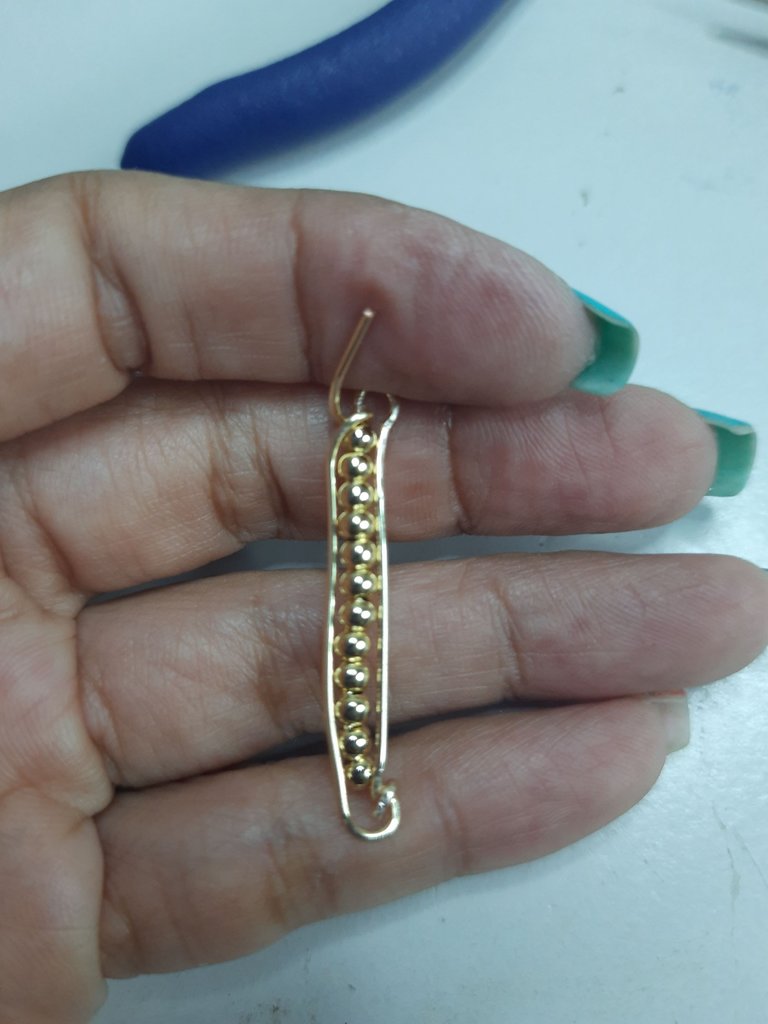
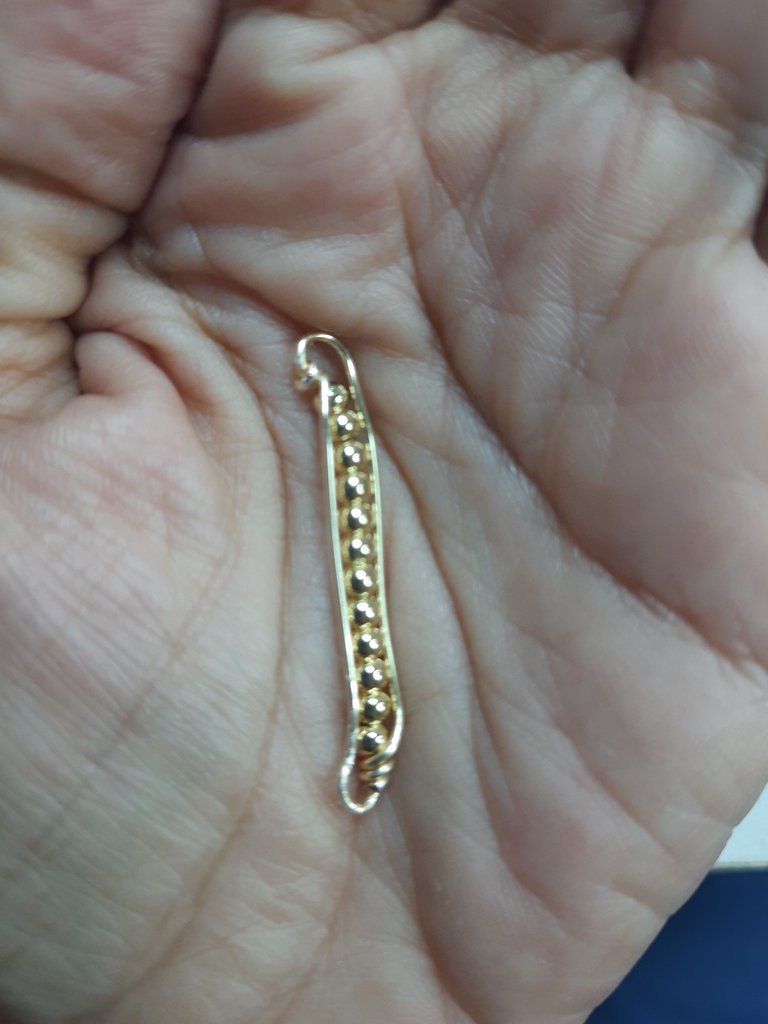
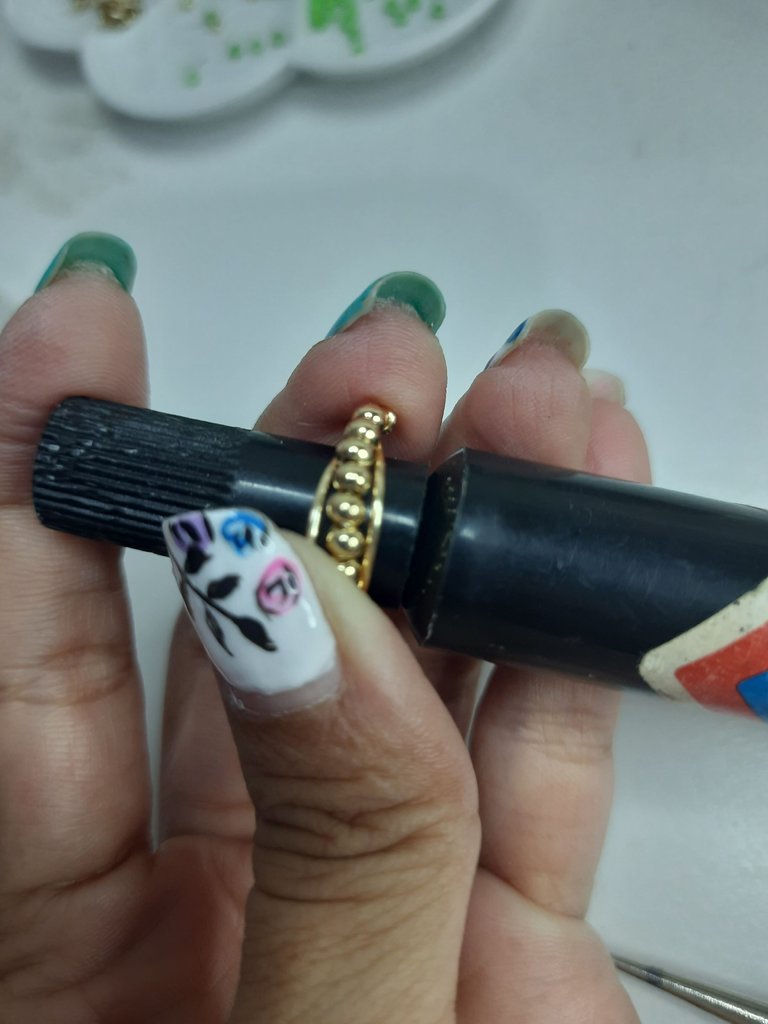
Cerraremos en cada extremo con los alambres que nos sobran a los lados, y luego comenzaremos a darle forma de zarcillos poco a poco, en este caso tomé un pequeño marcador para usarlo como mandril y luego utilicé otra forma para ponerlo más y más pequeño.
We will close at each end with the wires that we have left over on the sides, and then we will begin to shape it into tendrils little by little, in this case I took a small marker to use it as a mandrel and then I used another shape to make it smaller and smaller.

 |  |  |
|---|
Proyect #2
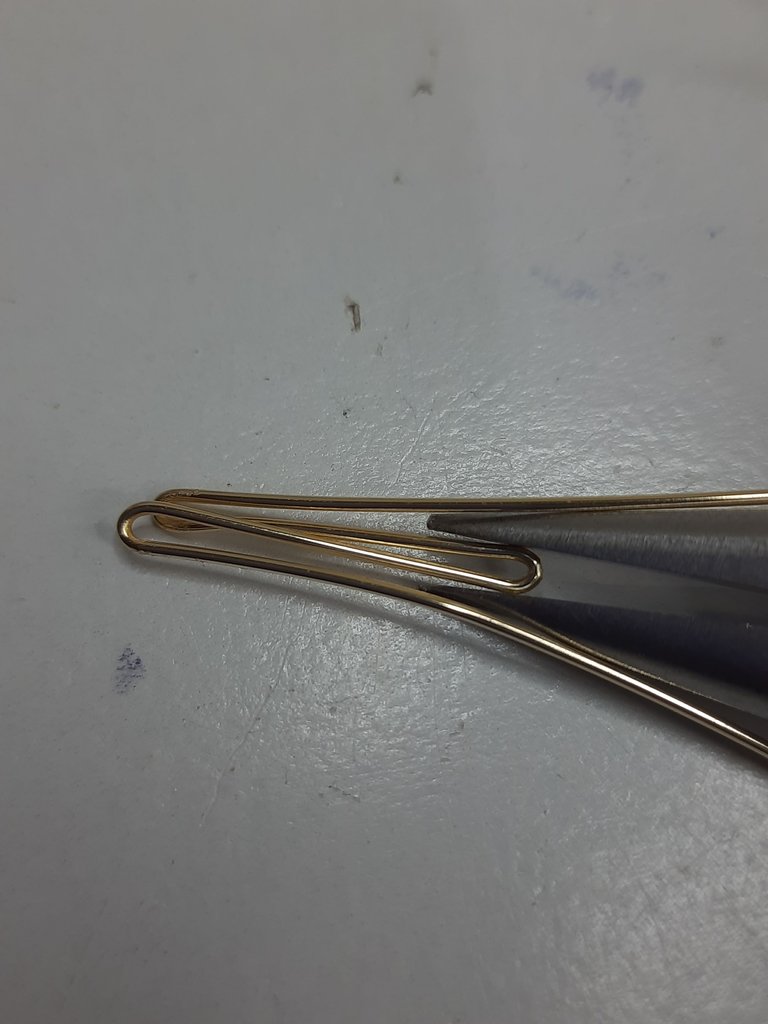
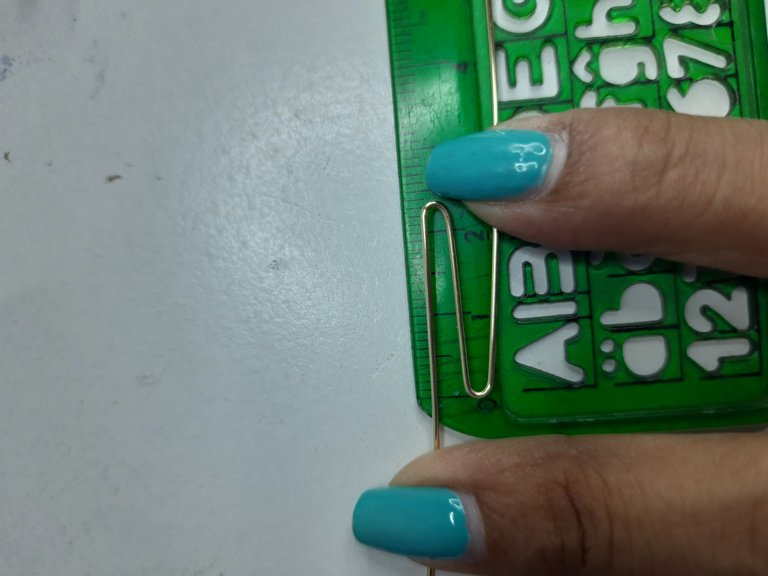
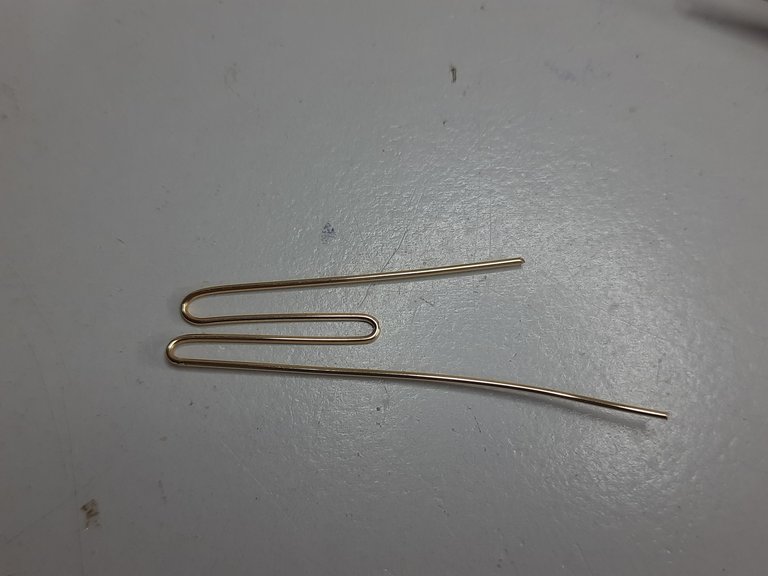
Para este otro proyecto vamos a tomar un alambre número 20 de 14 cm y vamos a doblar a 6 cm es decir que nos quedarán 6 cm por un lado y 8 cm por el otro.
Project #2
For this other project we are going to take a wire number 20 of 14 cm and we are going to bend it to 6 cm that is to say that we will have 6 cm on one side and 8 cm on the other side.

 |  |  |
|---|
Después de doblar a 2.5 cm vamos a doblar también del otro lado 2.5 cm.
After folding to 2.5 cm we will also fold the other side 2.5 cm.

 |  |  |
|---|
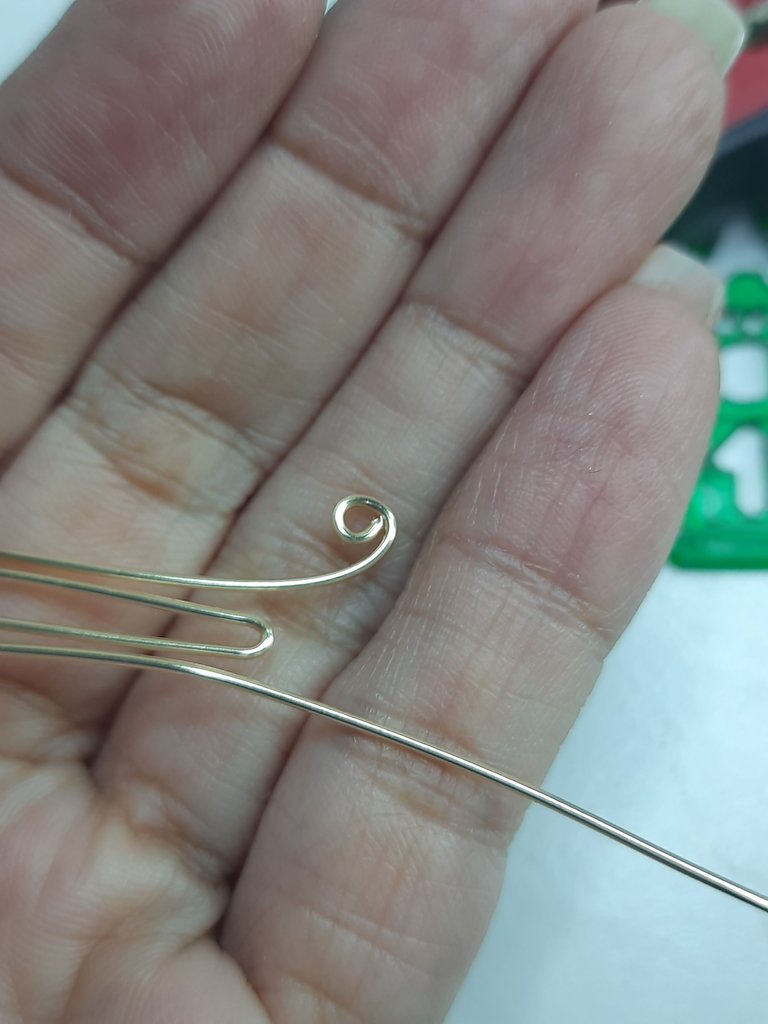
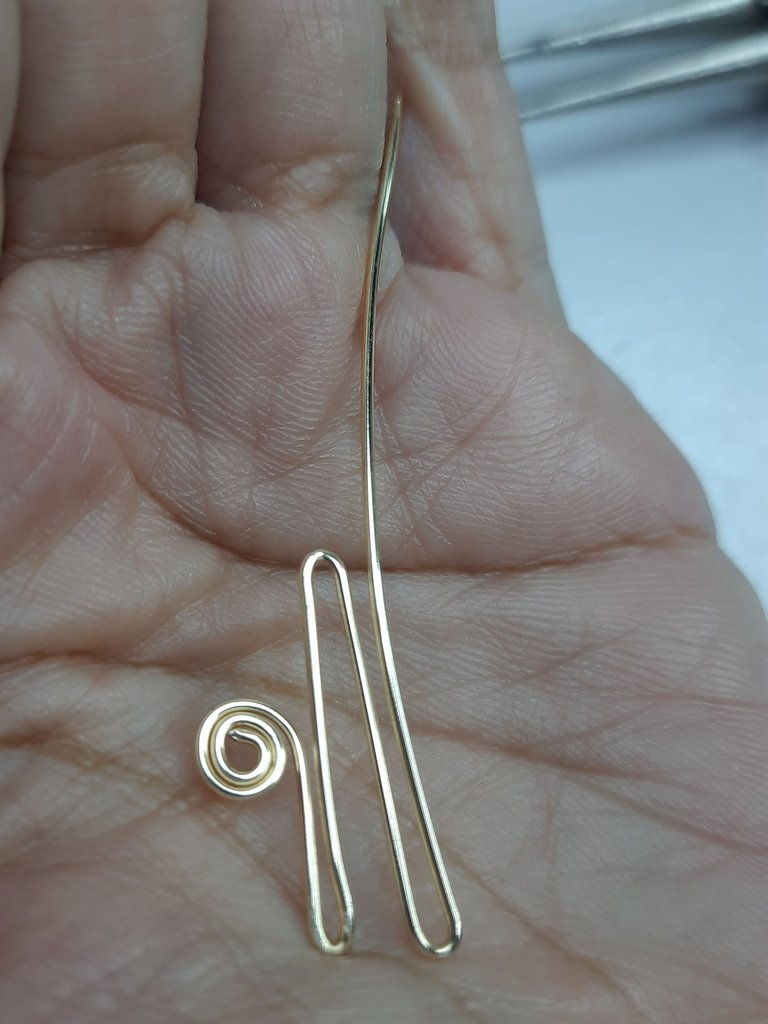
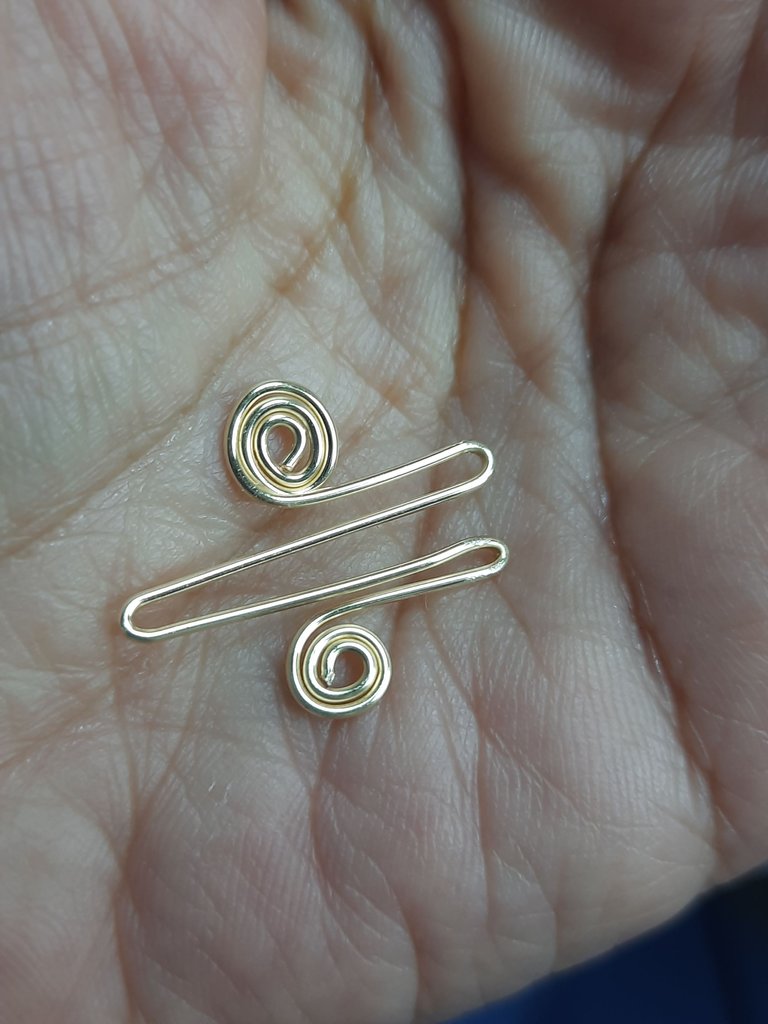
Vamos a doblar con nuestra pinza plana un poco y luego vamos a comenzar a hacer en cada extremo de las puntas arriba y abajo un espiral, uno va a salir más pequeño en otro va a salir un poquito más grande.
We are going to bend with our flat pliers a little bit and then we are going to start making at each end of the tips up and down a spiral, one is going to come out smaller and the other is going to come out a little bit bigger.

 |  |
|---|
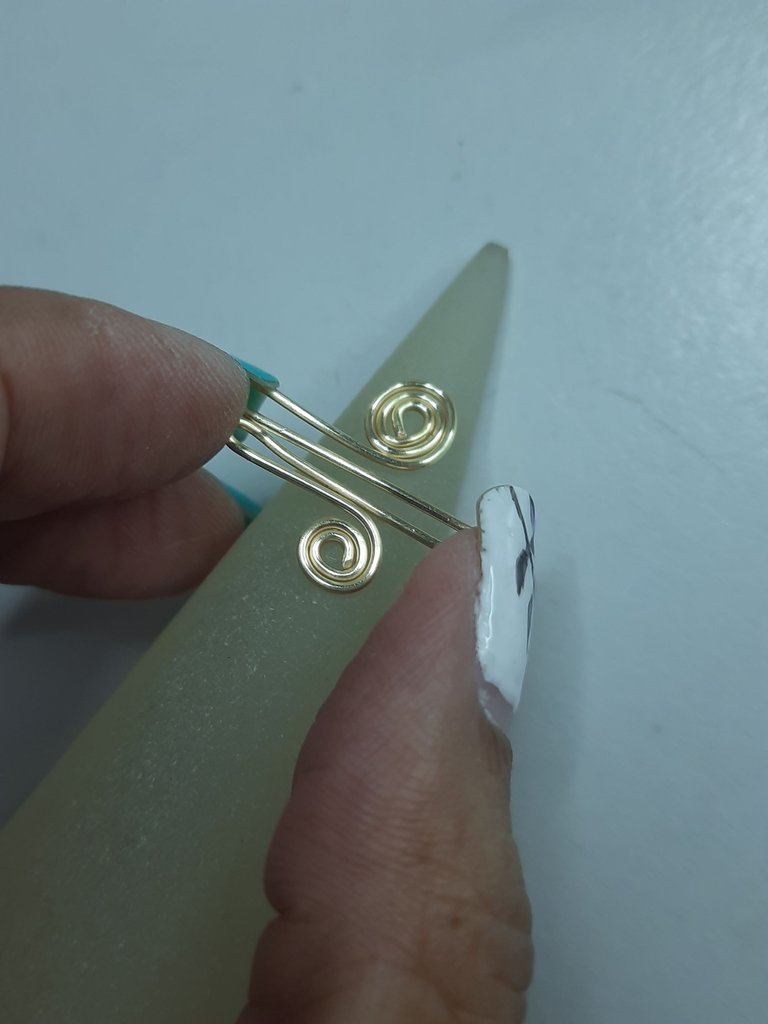
Por último al tener ya lista nuestras piezas completas vamos a llevarlas a un mandril para darle la forma redonda, si es necesario podemos utilizar las puntas planas.
Por último, una vez tengamos listas nuestras piezas completas, vamos a llevarlas a un mandril para darles forma redonda, si es necesario podemos utilizar las puntas planas.

Resultado: / Result:

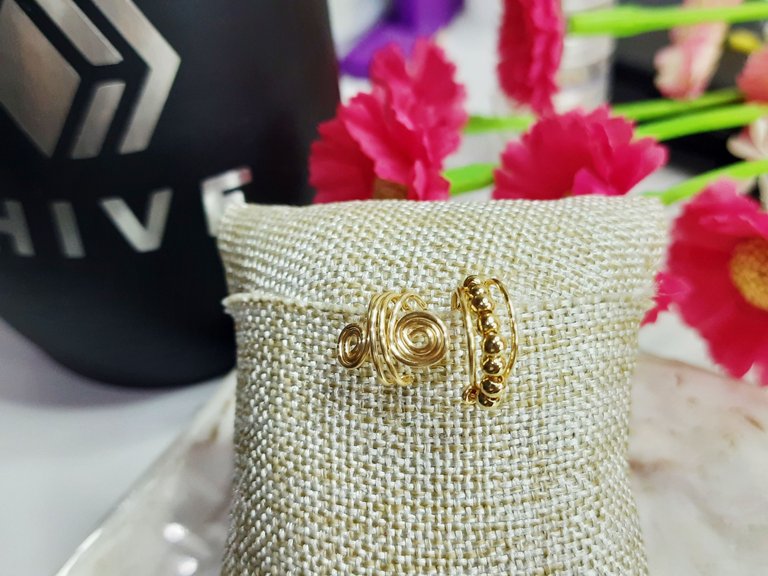
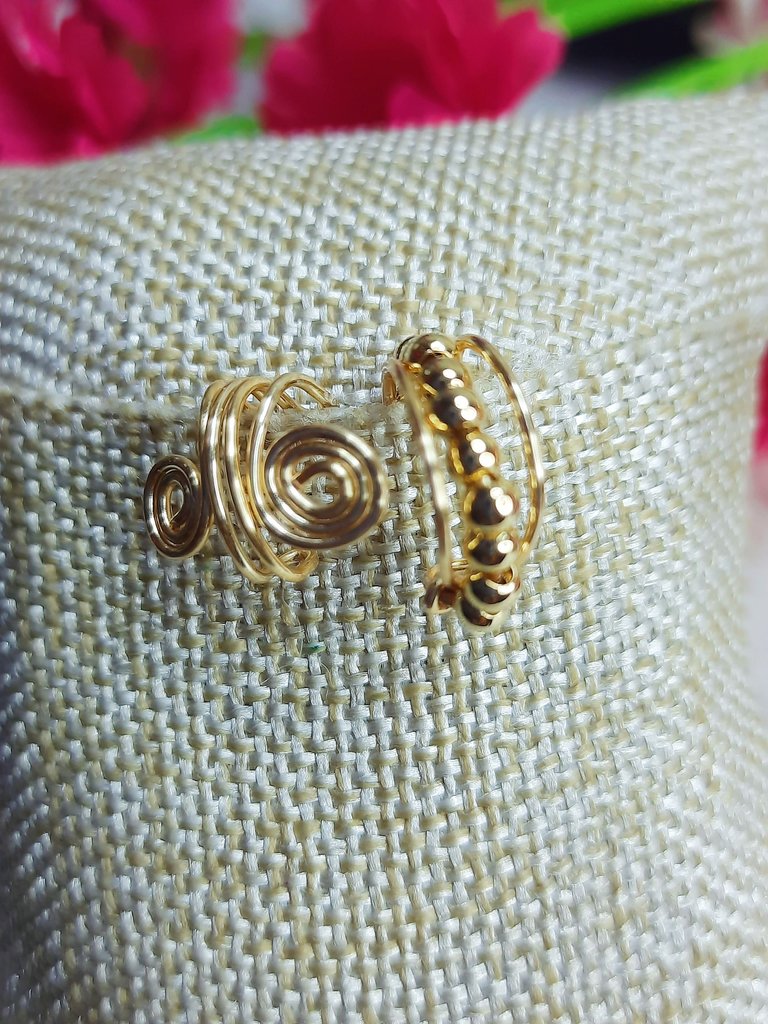
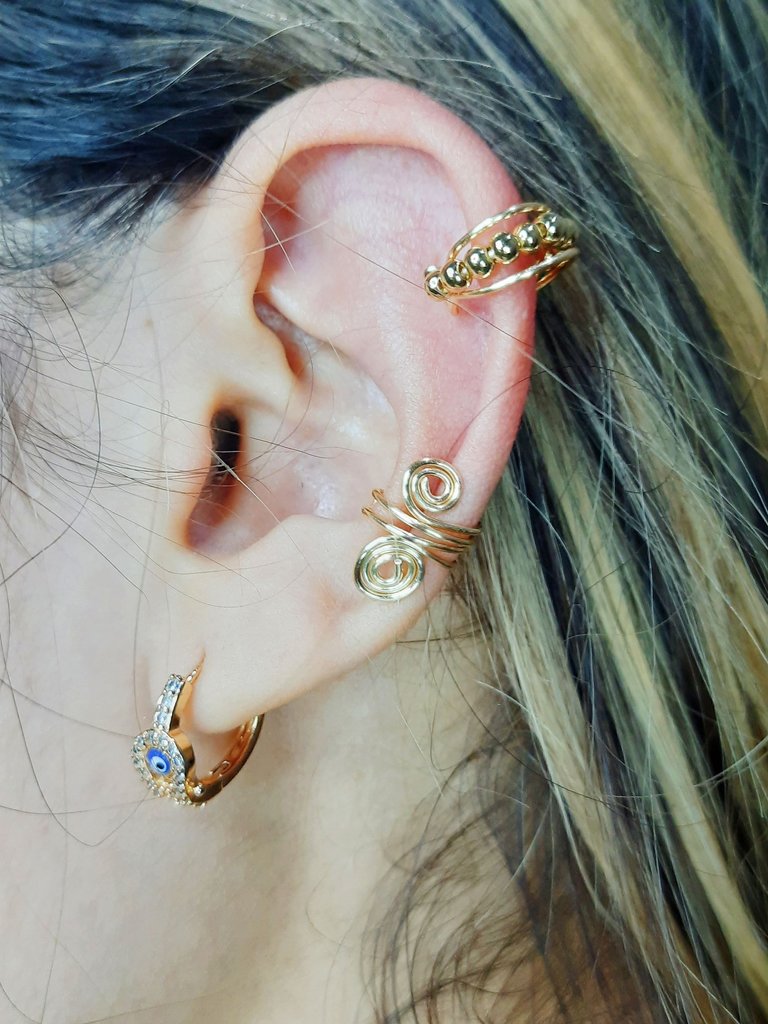
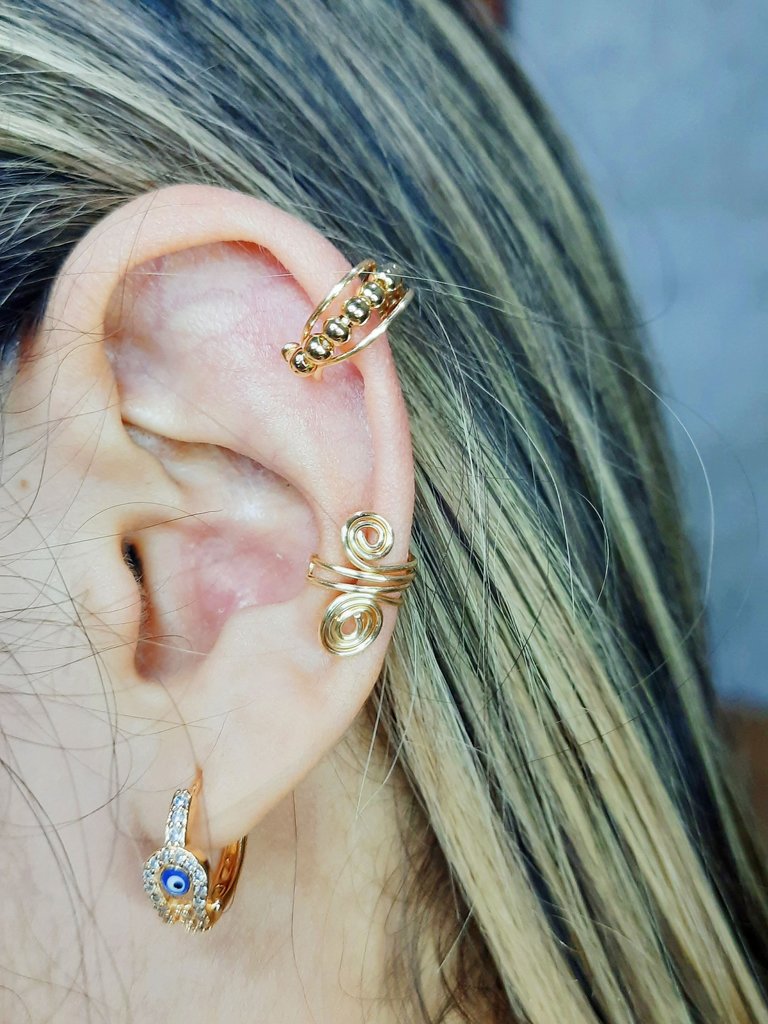
Y así ha quedado nuestro sencillo tutorial de nuestro fan art, espero que sea de su agrado, tanto como me ha gustado a mi esta pequeña y hermosa creación y mi participación al concurso de arte de @Splinterlands
Gracias por estar aquí y ser parte de mi blog y de la comunidad @jewelry 😉
And this is how our simple tutorial of our fanart turned out, I hope you like it, as much as I liked this beautiful little creation and my participation to the @Splinterlands art contest.
Thank you for being here and being part of my blog and the @jewelry community 😉.

Les invito a suscribirse a la comunidad de @Jewelry y poder así mostrar todas sus creaciones de accesorios, tanto de adultos como de niños; nos encanta ver y apoyar a todos los artesanos, manualistas y orfebres, puedes crear accesorios para damas, caballeros y niños, así que tu creatividad es el límite 😉
I invite you to subscribe to the @Jewelry community to showcase all your accessory creations for both adults and children; we love to see and support all the artisans, crafters and goldsmiths, you can create accessories for ladies, gents and kids, so your creativity is the limit 😉.
"Los accesorios tienen el poder de hacer sentir a la mujer única y especial"
Accessories have the power to make a woman feel unique and special"
Fotos principal editada con Canva.
Separadores de mi Autoría
Fotos de mi Autoría derechos reservados
Cámara: Samsung M31
Traducido con www.DeepL.com/Translator (versión gratuita)
Photos edited with Canva
Separators by me
Photos by me Author's rights reserved
Camera: Samsung M31
Translated with www.DeepL.com/Translator (free version)


Bonitos accesorios, siempre me sorprendes con tu creatividad, feliz noche 🌹🌷🌷🌻🪷🏵️💐🪻🌺💮🥀🌸🌼☘️
Gracias amiga me encantaron quedan muy chulos jeje 🎉💗💗
Un trabajo muy limpio en sus acabados, y de mucho estilo mi sobrina quedó encantada cuando se los mostré, me gustaron, que tengas un lindo fin de semana @yolimarag 🤗
Lucen muy elegantes, me gustaron mucho!
Excelente trabajo.
From Venezuela, our witness drives decentralization and the adoption of Web3 technology, creating opportunities for the local community and contributing to the global ecosystem. // Desde Venezuela, nuestro testigo impulsa la descentralización y la adopción de la tecnología Web3, generando oportunidades para la comunidad local y contribuyendo al ecosistema global.
Sigue, contacta y se parte del testigo en: // Follow, contact and be part of the witness in:
Que arte tienes querida, adoro tu trabajo es hermoso 💖
Me encantaron, se ven preciosos y elegantes 🤩🤗
Unas piezas preciosas amiga. Me encantan tus trabajos
!discovery 45
!VSC
@chacald.dcymt has sent VSC to @yolimarag
This post was rewarded with 0.1 VSC to support your work.
Join our photography communityVisual Shots
Check here to view or trade VSC Tokens
Be part of our Curation Trail
@chacald.dcymt ha enviado VSC a @yolimarag
Éste post fue recompensado con 0.1 VSC para apoyar tu trabajo.
Únete a nuestra comunidad de fotografía Visual Shots
Consulte aquí para ver o intercambiar VSC Tokens
Se parte de nuestro Trail de Curación
This post was shared and voted inside the discord by the curators team of discovery-it
Join our Community and follow our Curation Trail
Discovery-it is also a Witness, vote for us here
Delegate to us for passive income. Check our 80% fee-back Program
Checkout our BDVoter Daily Hive Showcase & Participate into our Daily giveaway to win various prize.
Se ve muy bonito amiga! yo no tengo todas las herramientas para hacer todo lo que quisiera