Medusa / Splinterlands Art Contest (ESP/ENG)
En esta nueva entrada nos dedicaremos a realizar un diseño digital inspirándonos en una carta del juego @splinterlands donde intentaré mostrar el paso a paso lo más claro posible para que puedan llevarse algún buen consejo, aparte de ser espectadores puedan ser creadores.
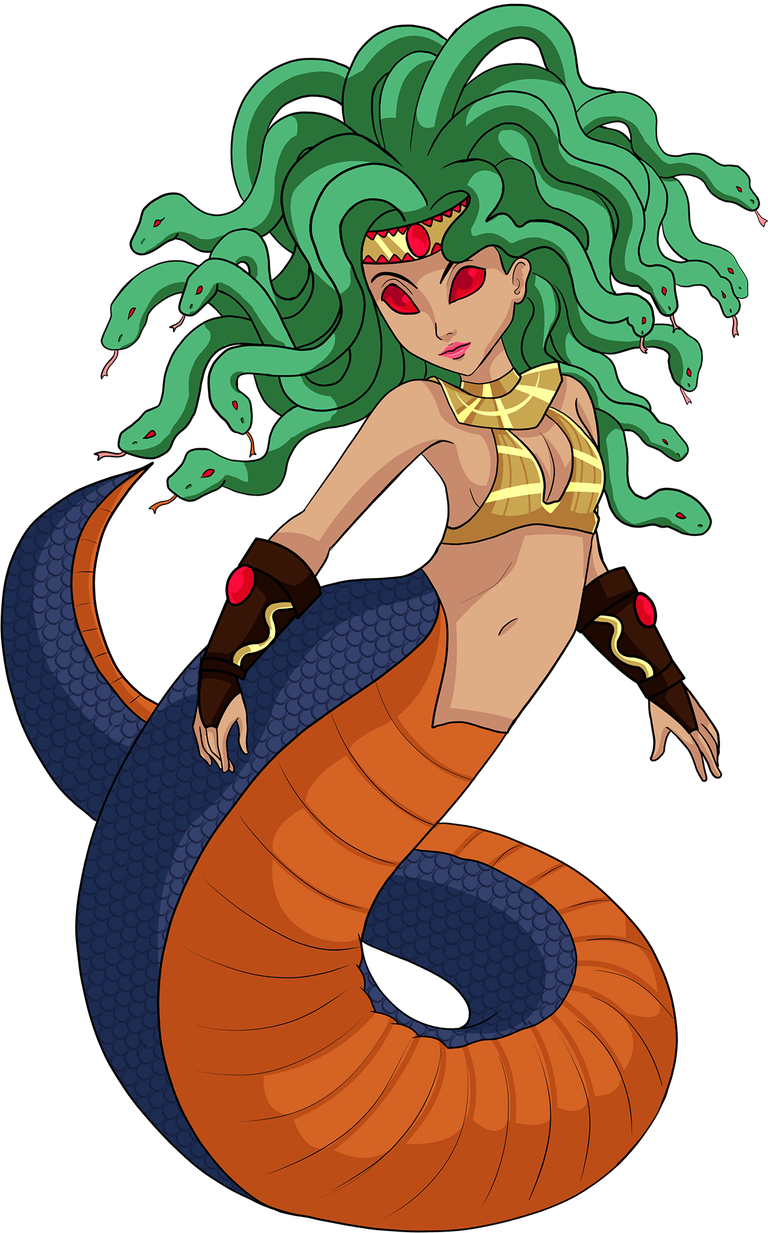
Voy a realizar el diseño de esta carta llamada Medusa, para el cual usaremos como referencia su arte oficial; sin embargo, es un poco curioso que sea de atributo agua porque esta mítica gorgona se caracteriza por su veneno, pero en el juego supongo que no se guían de esto, ya que el universo de Splinterland es muy amplio.
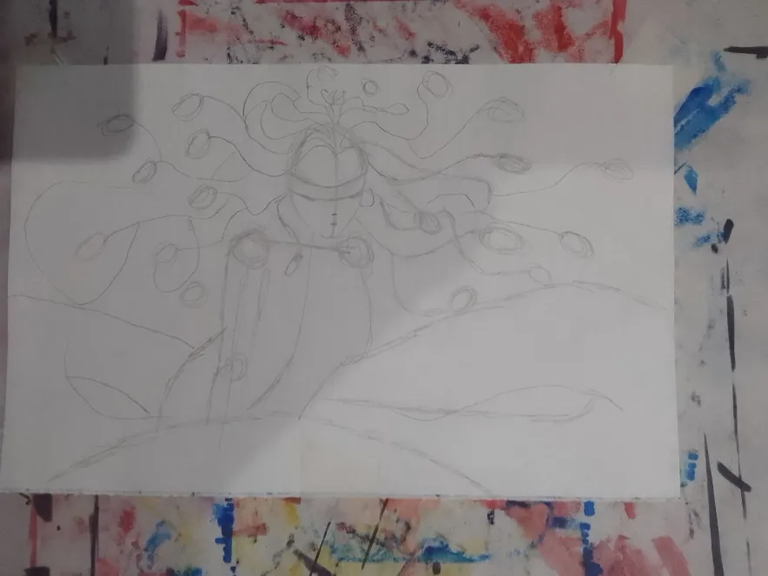
Comenzamos con una hoja en blanco a realizar el boceto a lápiz ubicando todas las características del personaje y la pose, a mi parecer es un diseño muy simple, ya que para mí los diseños con armaduras son más complejas para mí y este diseño no posee tantos elementos, sin embargo, todo diseño tiene su complejidad.

BOCETO
Colocamos círculos y óvalos para la cara y la cabeza de las serpientes y trazando líneas me guio del cuerpo de las serpientes.
Con una franja central en la parte de la cara ubicaremos donde irán los ojos de la gorgona.
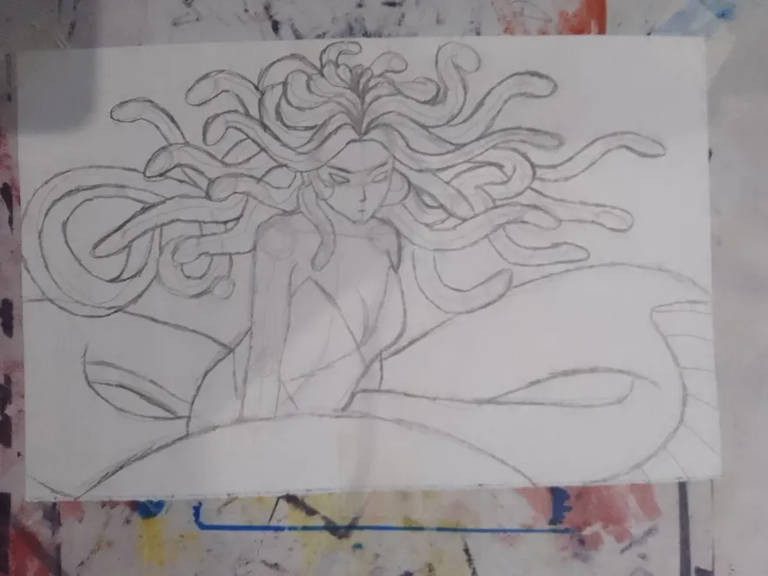
El cuerpo voy a hacerlo enroscado simulando una serpiente y darle ese aire de peligrosidad.
- Definiendo un poco más el cuerpo podemos apreciar más la idea que intento expresar, ya que más que nada quiero que se vea el peligro en su mirada.
DIGITALIZACIÓN
Luego de haber terminado nuestro boceto a mano, digitalizamos pasando nuestro diseño por escáner o tomándole una foto con nuestro móvil, en mi caso para realizar el arte he utilizado el programa “Paint Tools Sai”, ya que estoy muy familiarizado con este. Porque me permite organizar capas de lineado y de pinturas, dándome más libertad al momento de corregir errores en el diseño inicial.
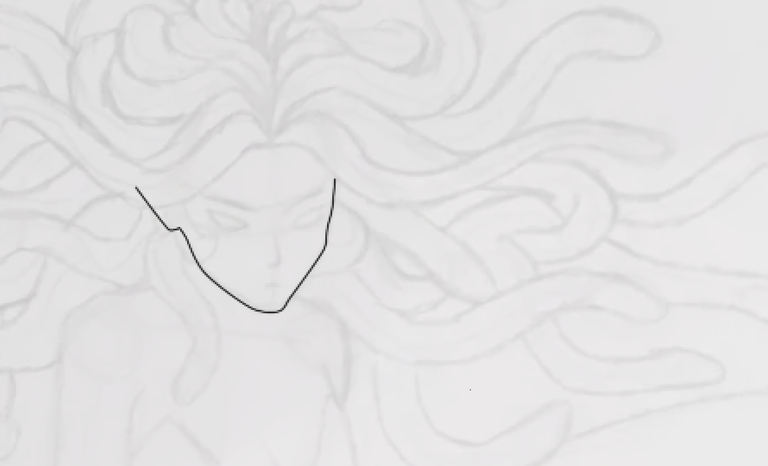
Así que utilizando la herramienta de transparencia vamos a reducir la vista de nuestro boceto a mano luego de haberlo digitalizado para poder tener referencia de nuestro diseño y poder corregir y guiarnos.
- Esta herramienta nos ayuda a guiarnos mejor yo normalmente suelo reducirle la vista hasta 25% y para tomar las captures elimino esta herramienta para que aprecien el progreso en limpio.
 |  |  |  |
|---|
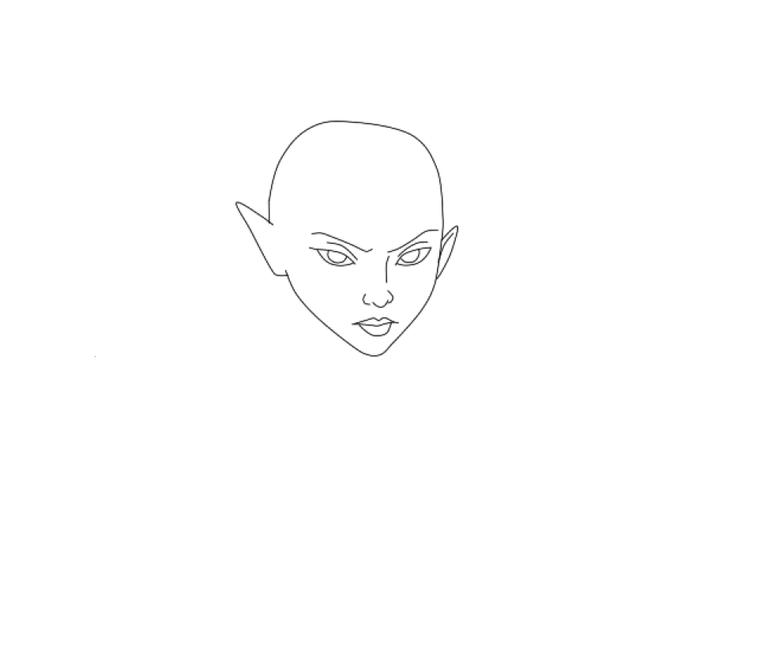
Cabe destacar en esta sección de digitalización se hace por separado lo que es anatomía (cuerpo) y lo que es la vestimenta del personaje, previamente dibujada a lápiz y montada en el programa de dibujo o digitalizada, esto nos ayudara a calcar nuestro diseño original.
COLOREANDO
Luego de tener nuestro boceto digitalizado nos dedicamos ahora a colorear lo cual tenemos como referencia el arte original, pero, sin embargo, le colocaré colores y elementos que caracterizan mi arte y darle unos colores y un brillo único para que resalte todo.
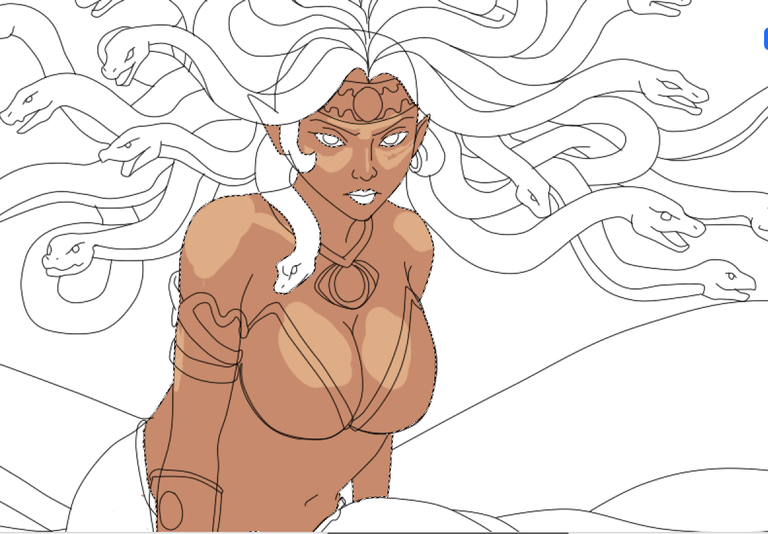
En este proceso utilicé muchas técnicas la principal es marcar con color en una capa separada donde estará el cabello con colores referentes y oscuros, ya que este será el fondo o base para hacer el cabello encima de estos tonos, pero difuminándolos y mezclando, puesto que quiero hacer algo que demuestre la fiereza de este personaje.
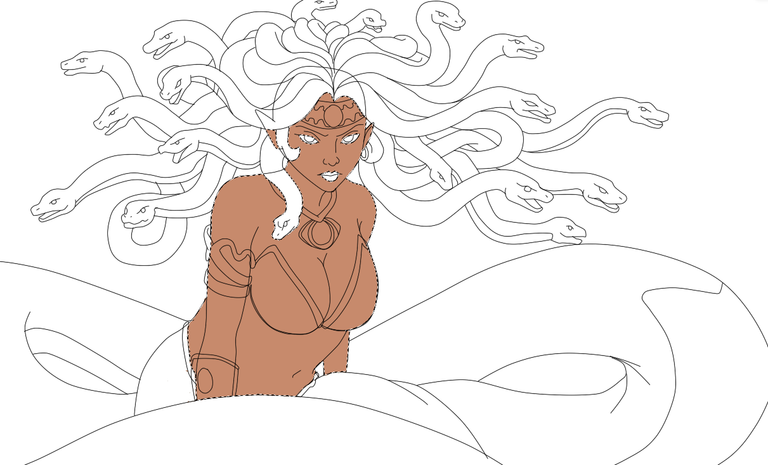
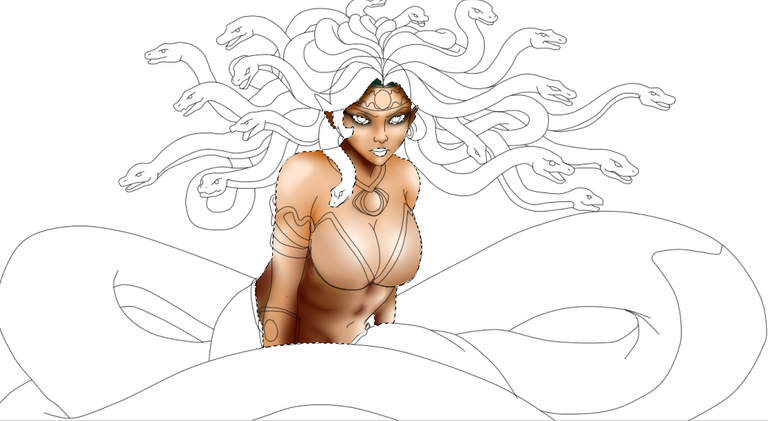
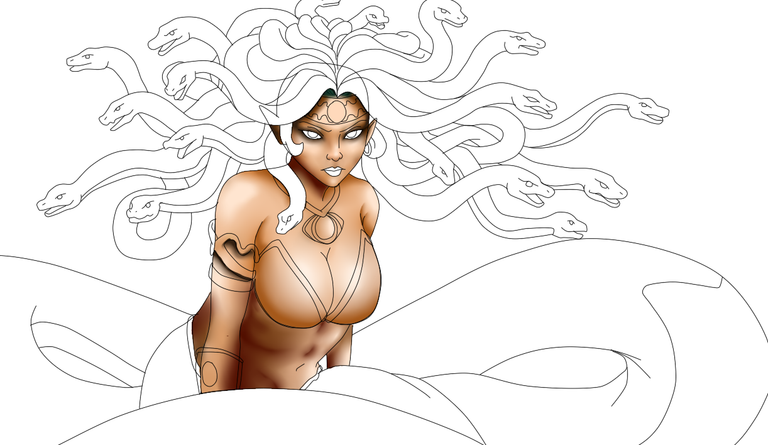
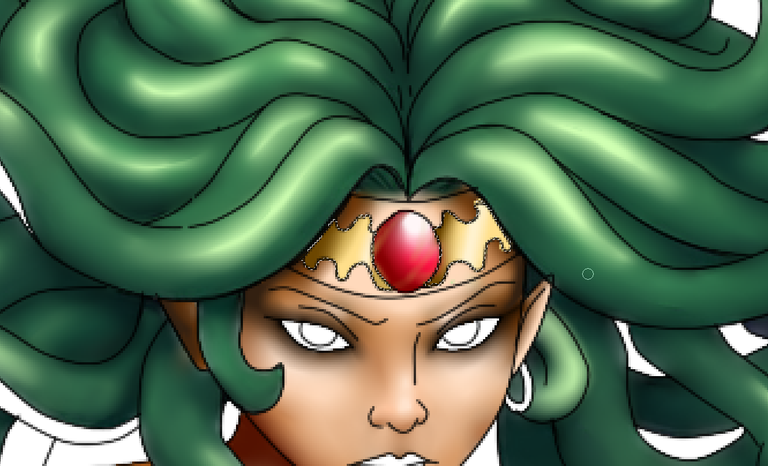
Comenzamos con el cuerpo el cual es un tono muy claro, pero yo voy a colocarle mucha más oscuridad en la cara para que la mirada quede más pronunciada, para este paso creamos un lienzo en blanco para colorear cada zona por separado cuerpo, cabello, ropas y fondo.
 |  |  |  |  |
|---|
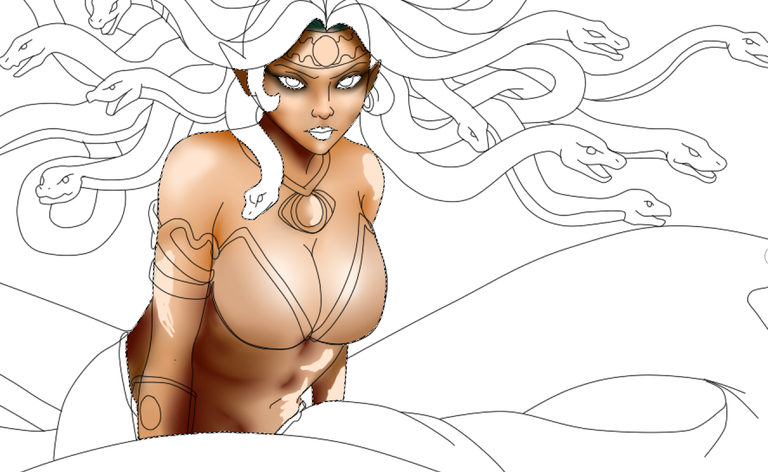
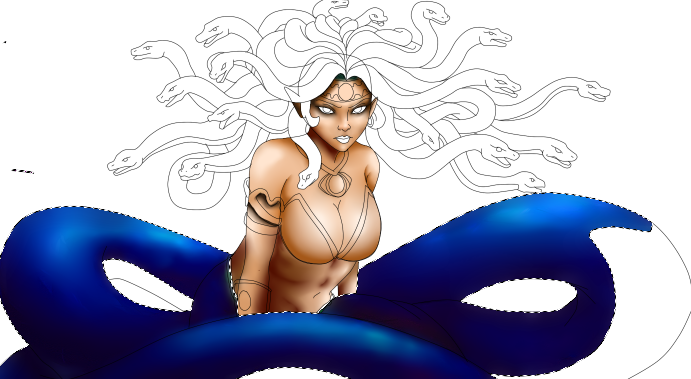
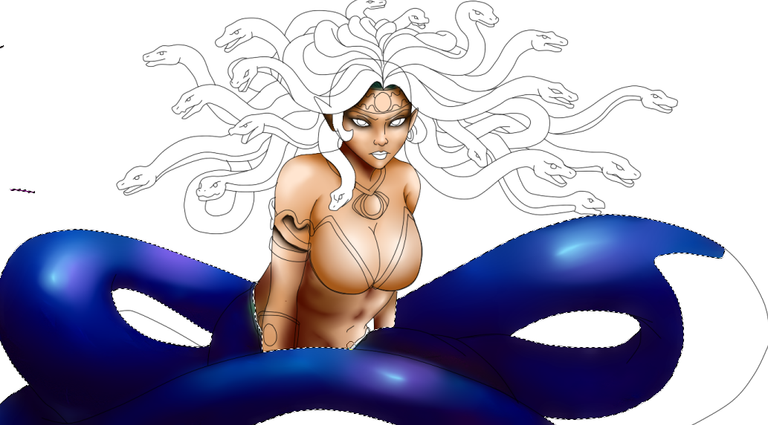
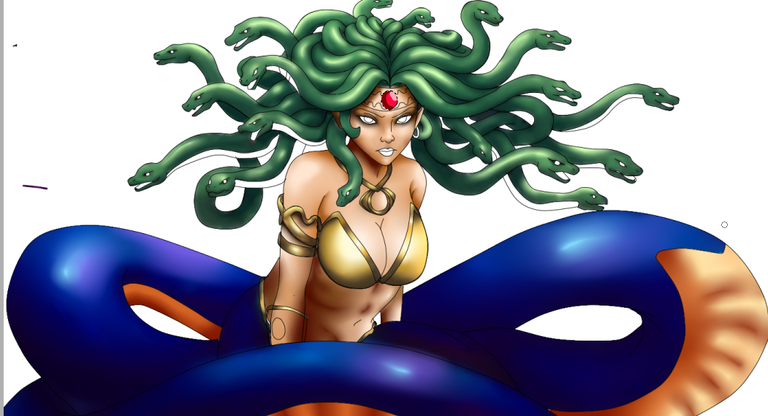
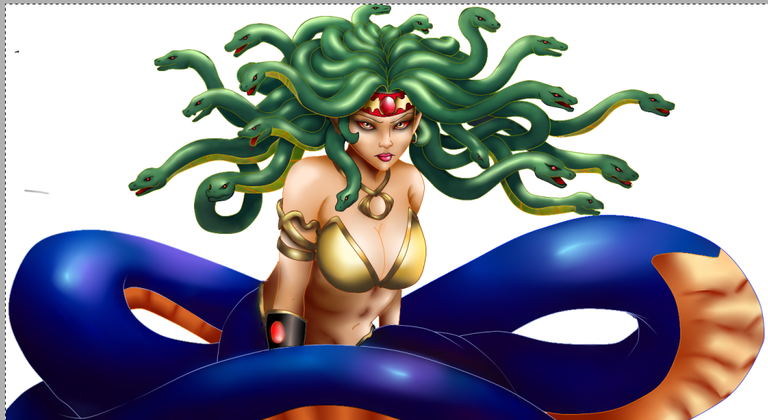
Una vez terminado el cuerpo comenzamos con la cola de la gorgona porque esta es de un color distinto que las serpientes de su cabeza utilizando azul eléctrico y unos claros oscuros del mismo color y para los destellos utilizaremos rosa y cyan.

 |  |  |  |
|---|
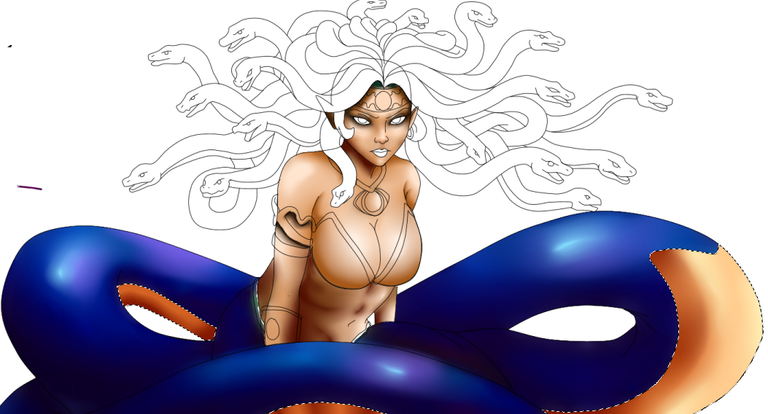
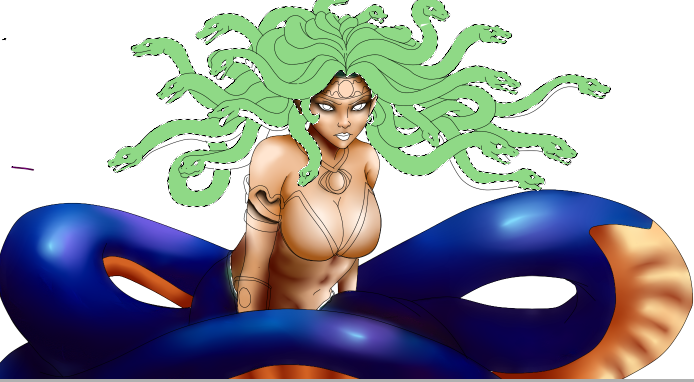
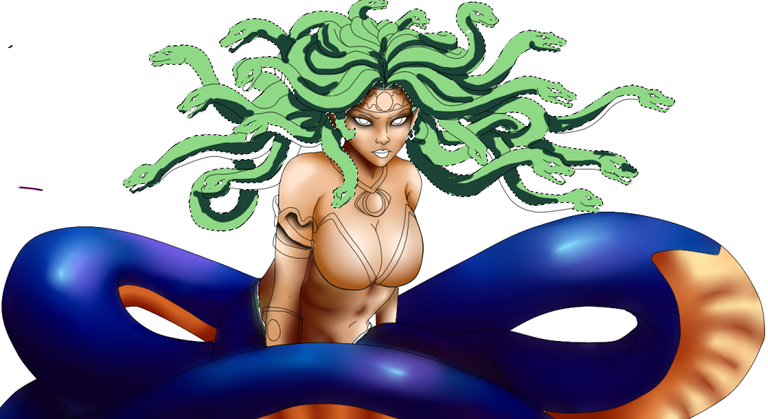
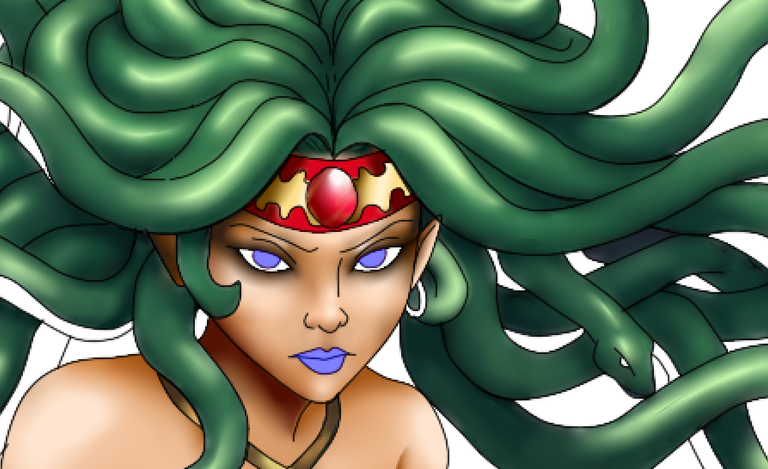
Para las serpientes de su cabello usaremos un verde claro e iremos oscureciendo conforme avanzamos, la técnica de esto es que no es necesario que quede uniforme porque esto es algo que quedando desordenado es mejor en colores y para finalizar destellos de amarillo.
 |  |  |  |  |
|---|
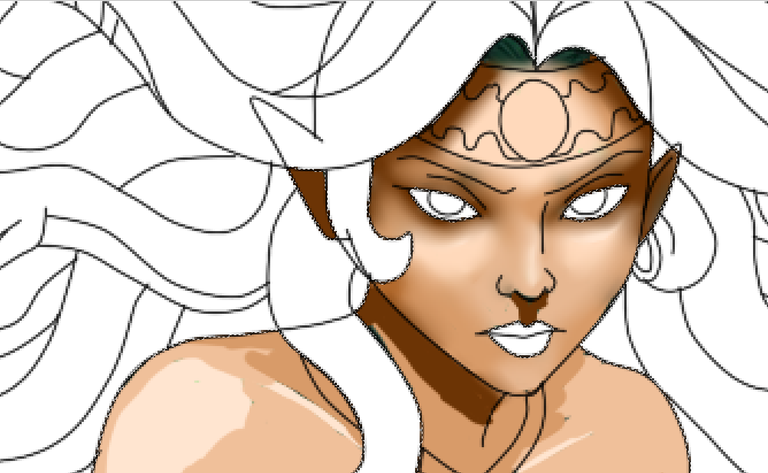
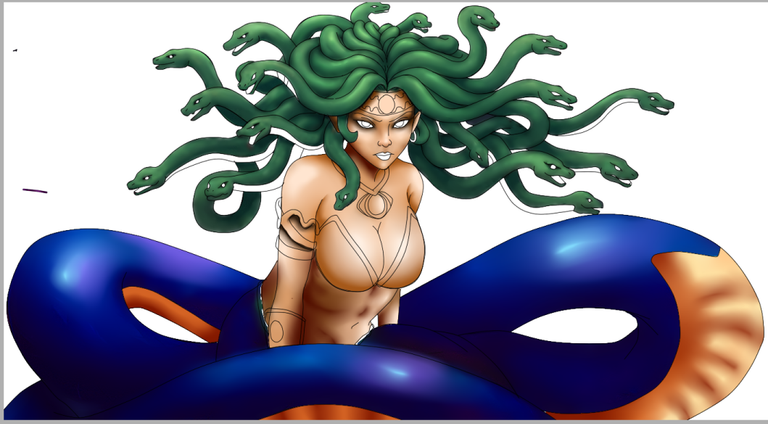
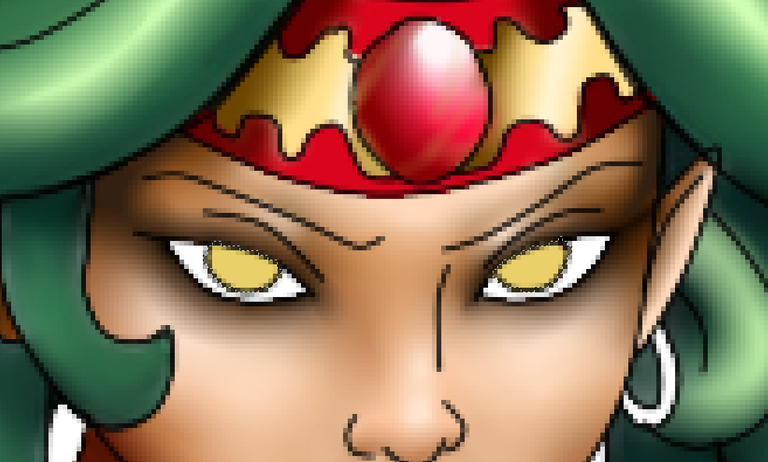
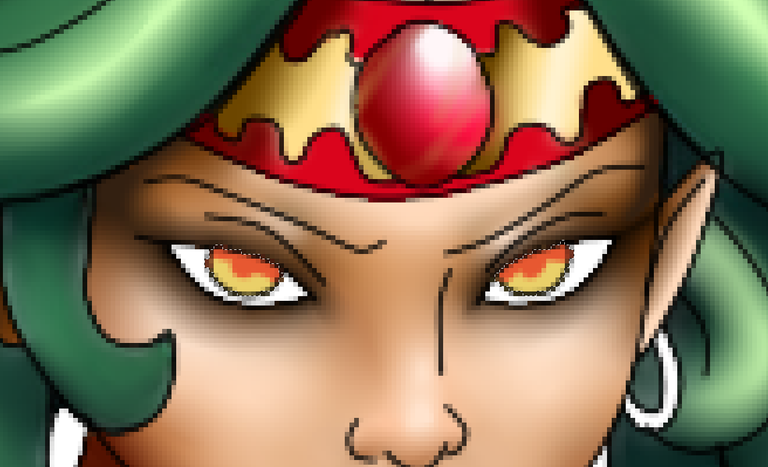
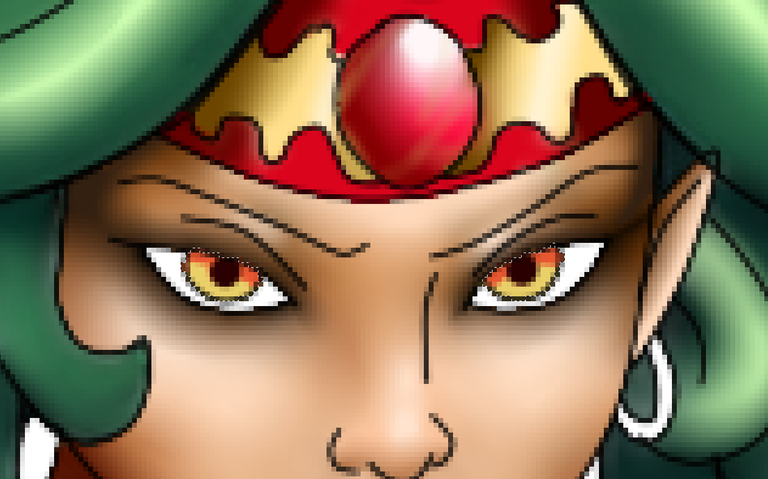
Para mí en un diseño lo más importante es el rostro, ya que este transmite todo y los ojos son un complemento ideal para transmitir y mucho más con esta gorgona quien te petrifica con su mirada, así que nos centramos en la mirada labios y detalles de ropas.
 |  |  |
|---|
.................................................................
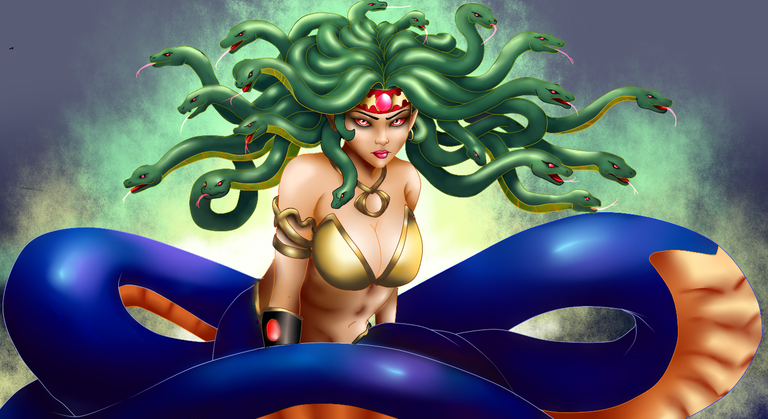
F U L L // A R T
.................................................................
SI QUIERES EVITAR OLVIDAR TUS RECUERDOS, GUÁRDALOS SIEMPRE EN TU CORAZÓN.
Considera unirte a nuestro trail de curación en HIVEVOTE haciendo clic en la imagen inferior, Les agradecemos todo el apoyo.

A todos los artistas ahí afuera en HIVE, si alguna vez se sienten solos y perdidos, únanse al canal de Discord de Bokura No Digital World
! [ENGLISH VERSION GENERATED BY GOOGLE TRANSLATE]
In this new post, we'll be working on a digital design inspired by a card from the @splinterlands game. I'll try to show you the steps as clearly as possible so you can take away some good advice and, apart from being spectators, you can also be creators.
I'm going to be designing this card called Medusa, for which we'll be using its official art as a reference. However, it's a bit odd that it has a water attribute because this mythical gorgon is characterized by its venom, but I suppose they don't follow this in the game, since the Splinterland universe is very broad.
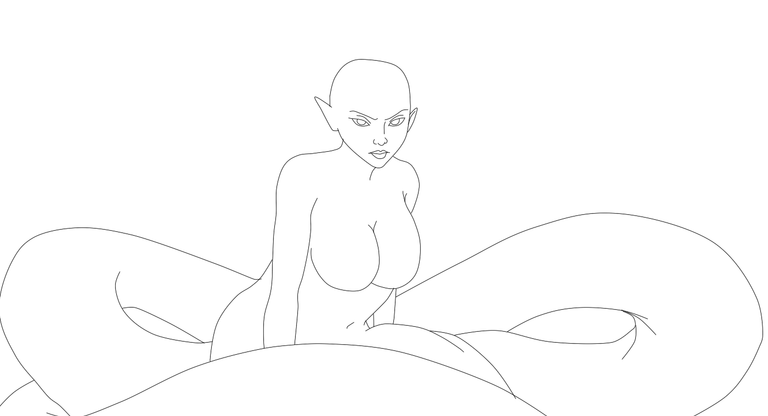
We started with a blank sheet of paper to make the pencil sketch, locating all the character's features and pose. In my opinion, it is a very simple design, since for me designs with armor are more complex and this design does not have as many elements. However, every design has its complexity.
SKETCH
We'll draw circles and ovals for the snakes' faces and heads, using the snakes' bodies as a guide.
With a central stripe on the face, we'll mark where the gorgon's eyes will be.
I'm going to coil the body, simulating a snake, to give it that dangerous air.
By defining the body a little more, we can better appreciate the idea I'm trying to convey, since more than anything, I want the danger to be seen in its gaze.
DIGITALIZATION
After finishing our hand-drawn sketch, we digitize it by scanning it or taking a photo with our phone. In my case, I used Paint Tools Sai to create the artwork (https://www.painttoolsai2.com/), as I'm very familiar with it. It allows me to organize line and paint layers, giving me more freedom when correcting errors in the initial design.
So, using the transparency tool, we'll reduce the view of our hand-drawn sketch after digitizing it so we can have a reference of our design and be able to correct and guide ourselves.
- This tool helps us guide ourselves better. I usually reduce the view to 25% and when taking screenshots I remove this tool so you can clearly see the progress.
| | | |
|---|
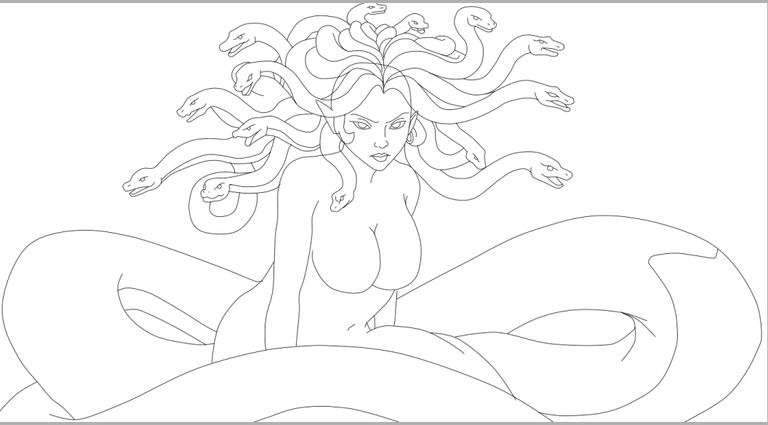
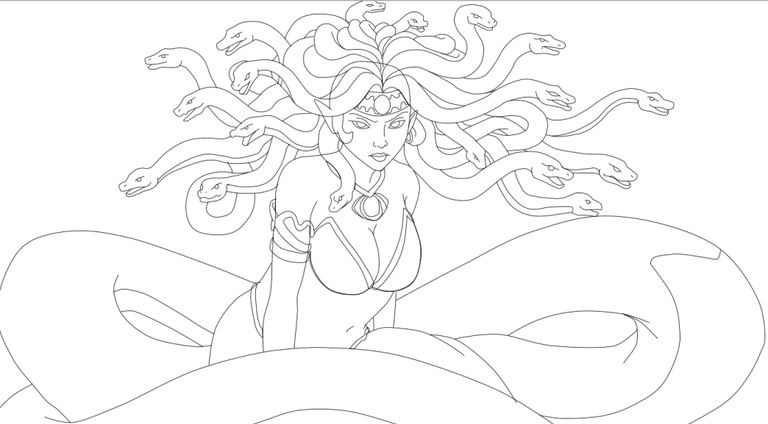
It is worth noting that in this digitization section, the character's anatomy (body) and clothing are drawn separately, previously drawn in pencil and assembled in the drawing program or digitized. This will help us trace our original design.
COLORING
After having our digitized sketch, we now turn to coloring. We use the original art as a reference. However, I'll add colors and elements that characterize my art and give it a unique shine and color to make everything stand out.
In this process, I used many techniques. The main one is to colorize a separate layer where the hair will be, using key and dark colors, as this will be the background or base for creating the hair on top of these tones, but blending and blending them, since I want to create something that demonstrates this character's fierceness.
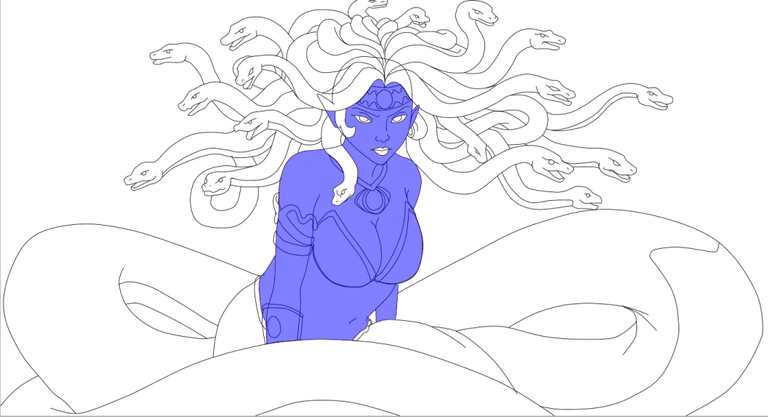
We start with the body which is a very light tone, but I'm going to add a lot more darkness to the face so that the look is more pronounced. For this step, we create a blank canvas to color each area separately: body, hair, clothes, and background.
| | | | |
|---|
Once the body is finished, we begin with the gorgon's tail because it is a different color than the snakes on its head, using electric blue and some light and dark shades of the same color, and for the sparkles we will use pink and cyan.
| | | |
|---|
For the snakes in her hair we will use a light green and we will darken it as we go along, the technique for this is that it is not necessary for it to be uniform because this is something that is better in colors when left untidy and to finish flashes of yellow.
| | | | |
|---|
For me, the most important thing in a design is the face, since it conveys everything and the eyes are an ideal complement to convey, and even more so with this gorgon who petrifies you with her gaze, so we focused on the look, lips, and clothing details.
| | |
|---|
.................................................................
F U L L // A R T
.................................................................
IF YOU WANT TO AVOID FORGETTING YOUR MEMORIES, ALWAYS KEEP THEM IN YOUR HEART.
Grateful to all of you who are also part of my life. 💖
Well, from here I say goodbye, I hope you like my work like I do every day that I see and know that there are people dedicated to commenting on me and giving me encouragement to continue.