Pulsera nudo plano inspirada en Medusa ** Flat knot bracelet inspired by Jellyfish [Esp - Eng]
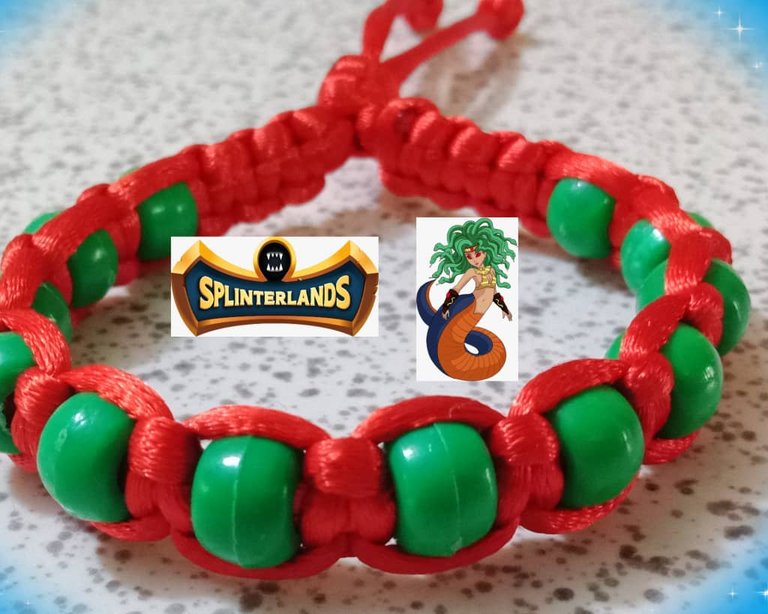
Saludos amigos creativos y comunidad @diyhub , deseo se encuentren bien y que tengan un feliz fin de semana en unión de sus seres queridos, en esta ocasión comparto un nuevo proyecto inspirado en los personajes de Splinterlands, es una pulsera de color verde y rojo en la cual tomé como referencia los colores de Medusa les muestro el proceso de elaboración.
Greetings creative friends and community @diyhub , I hope you are well and have a happy weekend with your loved ones, this time I share a new project inspired by the characters of Splinterlands, is a green and red bracelet in which I took as reference the colors of Medusa I show you the process of elaboration.


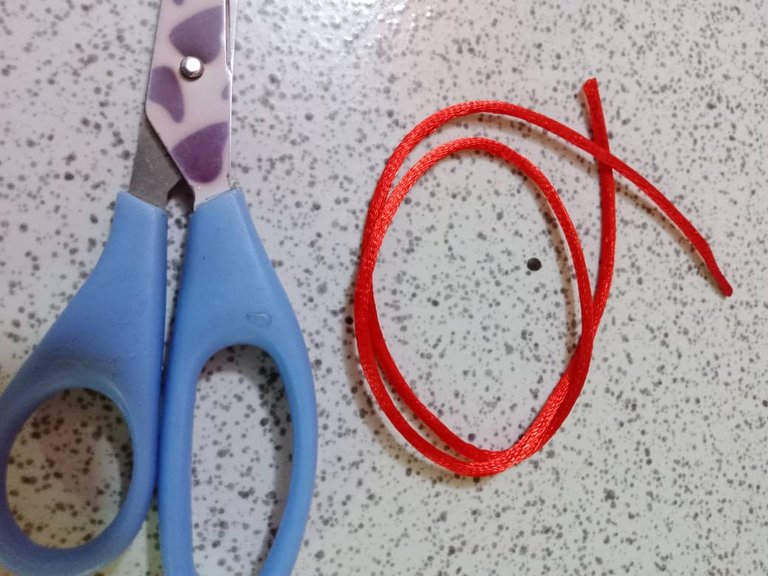
Hilo cola de rata (rojo)
Yesquero
Cuentas
Tijera
Superficie plana para tejer
Cinta adhesiva
Rat tail yarn (red)
Tinder
Beads
Scissors
Flat surface for weaving
Adhesive tape

Para la elaboración de la pulsera, lo primero que haremos será medir y cortar los hilos anudadores y los hilos de base, usaremos un hilo base que tendrá un largo de 40 centímetros y los hilos anudadores tendrán 130 centímetros ambos son de color rojo.
To make the bracelet, the first thing we will do is to measure and cut the knotting threads and the base threads, we will use a base thread that will have a length of 40 centimeters and the knotting threads will have 130 centimeters, both are red in color.

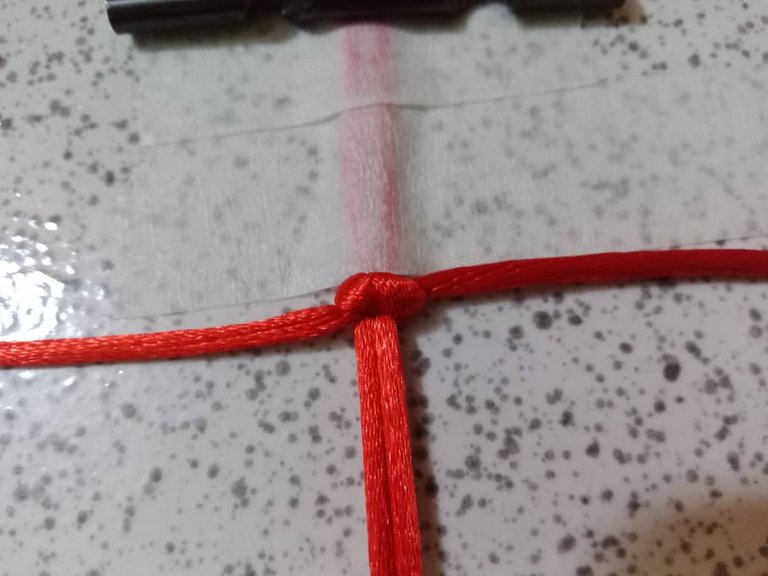
Luego colocamos los hilos base en la superficie plana, agregamos los hilos anudadores, fijamos con cinta adhesiva dejando una distancia de 10 centímetros en la parte de arriba del hilo base.
Then we place the base yarns on the flat surface, add the knotting yarns, fix them with adhesive tape leaving a distance of 10 centimeters at the top of the base yarn.
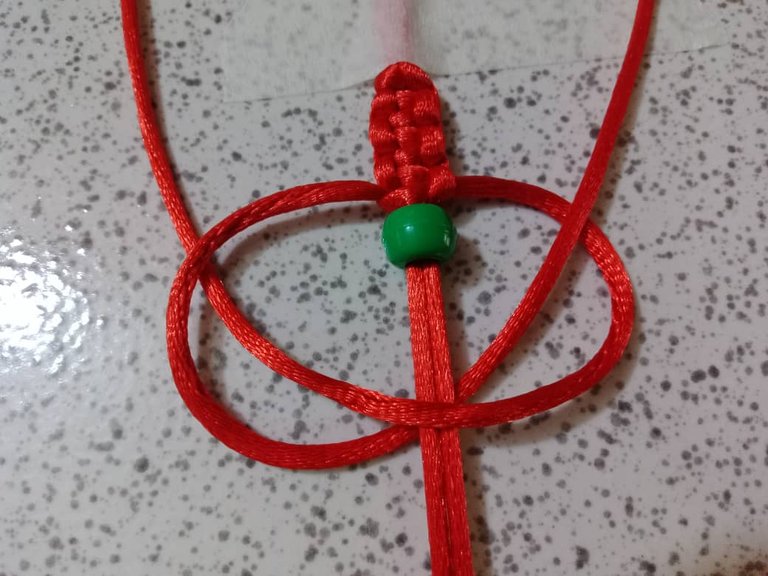
Con los hilos anudadores ya en la base, iniciamos el tejido, formamos media luna y pasamos el hilo del lado izquierdo por encima de la media luna, luego lo pasamos por debajo de la base y finalmente por la letra D, amarramos presionando fuerte y continuamos así, hasta formar tres nudos de cada lado.
Realizamos el mismo procedimiento hasta llegar a los 3 cm. Luego introducimos un abalorio por los hilos base y hacemos un nudo plano completo.
With the knotting threads already on the base, we start weaving, we form a half moon and pass the thread on the left side over the half moon, then we pass it under the base and finally through the letter D, we tie pressing hard and continue in this way, until we form three knots on each side.
We do the same procedure until we reach 3 cm. Then we introduce a bead through the base threads and make a complete flat knot.
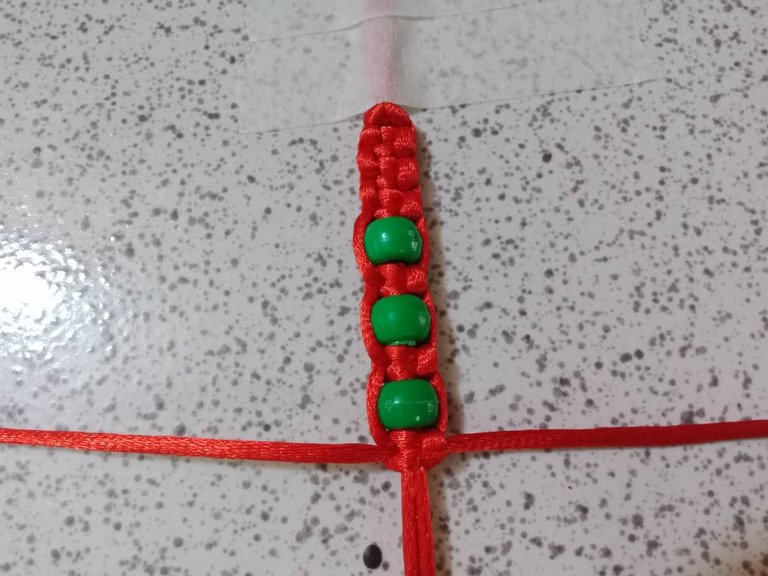
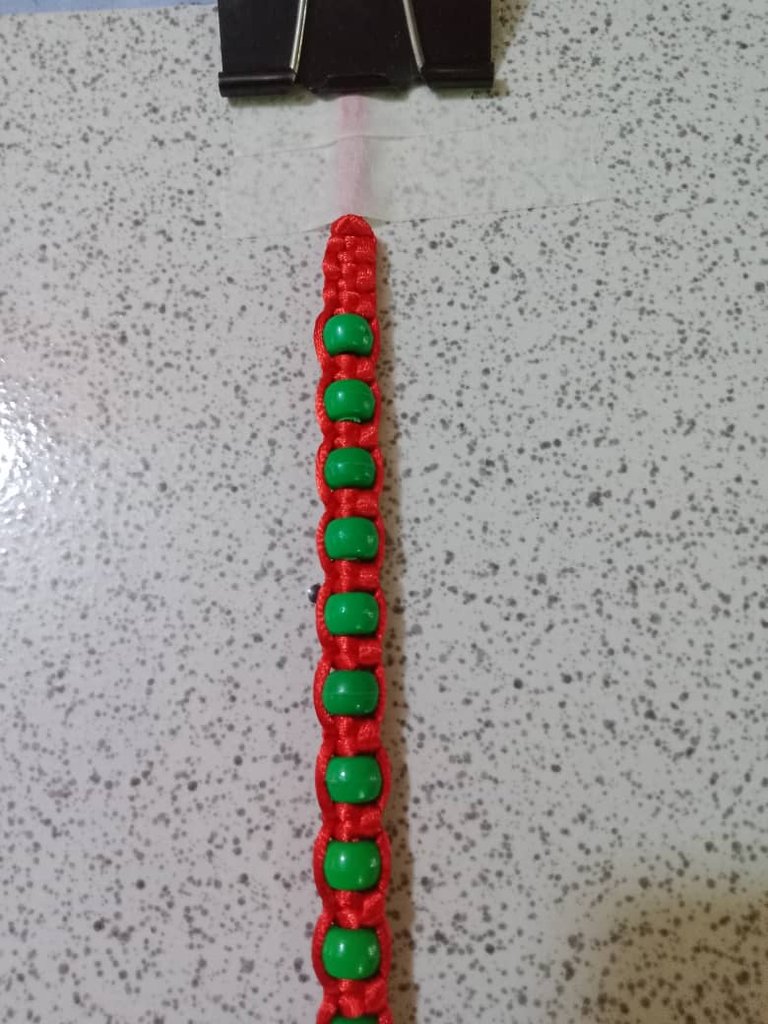
Continuamos realizando el nudo plano hasta llegar a la medida que queramos. En mi caso tejí hasta 16 cm, luego cortamos los hilos que sobraron y sellamos con el yesquero para darle un acabado prolijo.
We continue making the flat knot until we reach the size we want. In my case I wove up to 16 cm, then we cut the leftover threads and seal with the tinder to give it a neat finish.
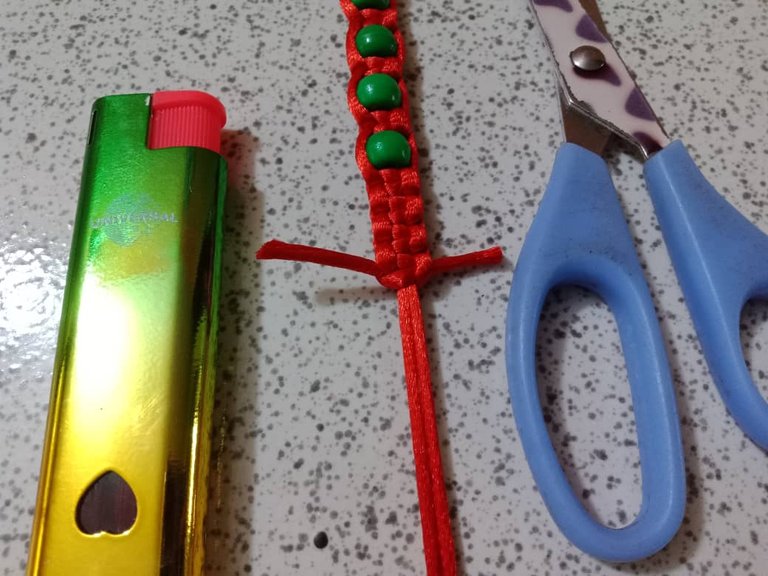
Para finalizar hacemos un nudo franciscano para el cierre de la pulsera.
Finally, we tie a Franciscan knot to close the bracelet.

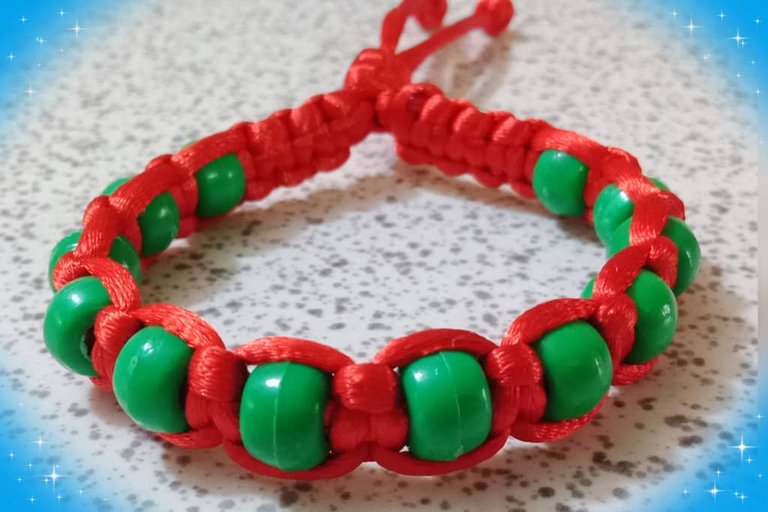
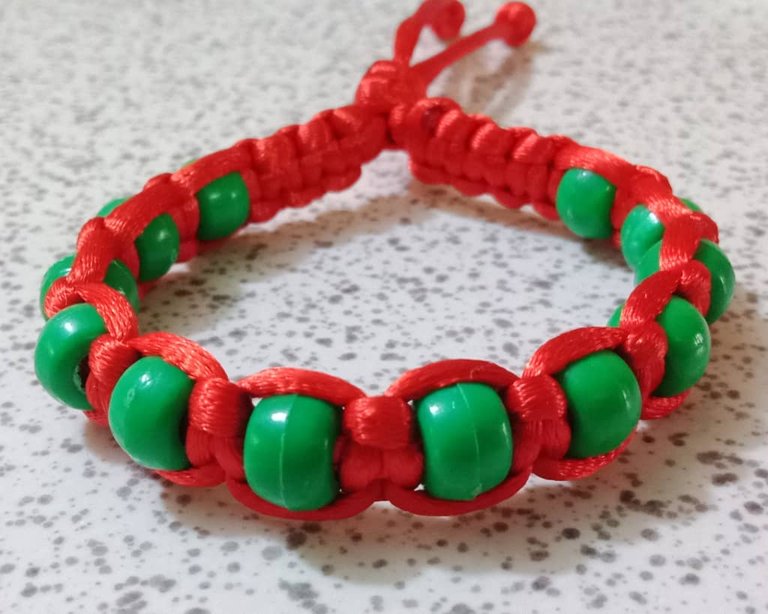
Les muestro el resultado
I show you the result
Gracias por Leer.
Thank you for reading.
Hasta Luego!
See you later!
Translated with https://www.deepl.com/translator
    All images are of my authorship captured with an Alcatel phone.


      Todas las imágenes son de mi autoría capturadas con un teléfono Alcatel.
Thank you so much
You received an upvote ecency
Thank you very much for the support
It is so beautiful, charming, and stylish. This bracelet's design is outstanding. Love it. Good to see how you made it. Well done!
selected by @rezoanulvibes
Glad you liked it, thanks for the support @diyhub
Your bracelet looks very beautiful. The design is simple but still looks elegant.
Greetings @reachdreams, the colors stand out.
que lindo! está genial!
how nice! it's great!
Gracias amiga 😊
Bonita pulsera amiga muchas gracias pir compartir.
Me alegra que te haya gustado
Feliz inicio de semana!
This is so pretty and I love bracelet so much
I'm glad you liked it; it's simple with vibrant colors.
Best regards!