Escudo inspirado en Frozen Soldier ** Shield inspired by Frozen Soldier [Esp / Eng]
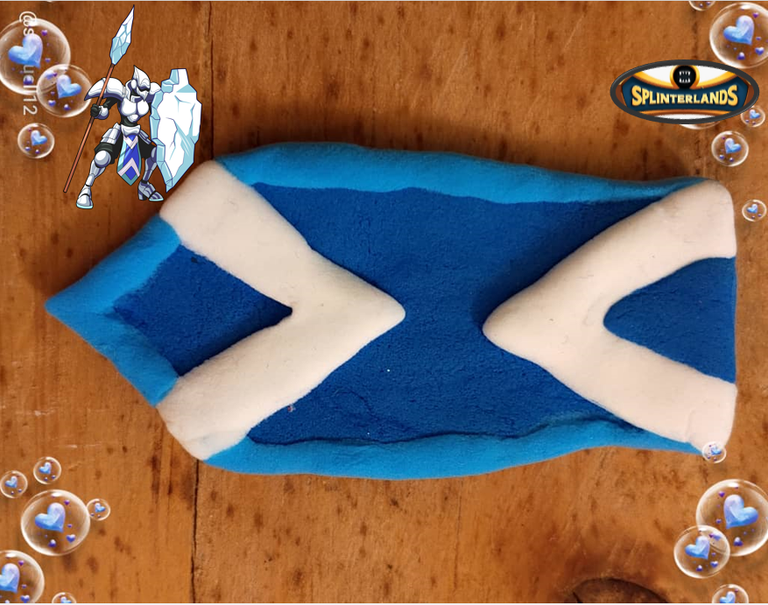
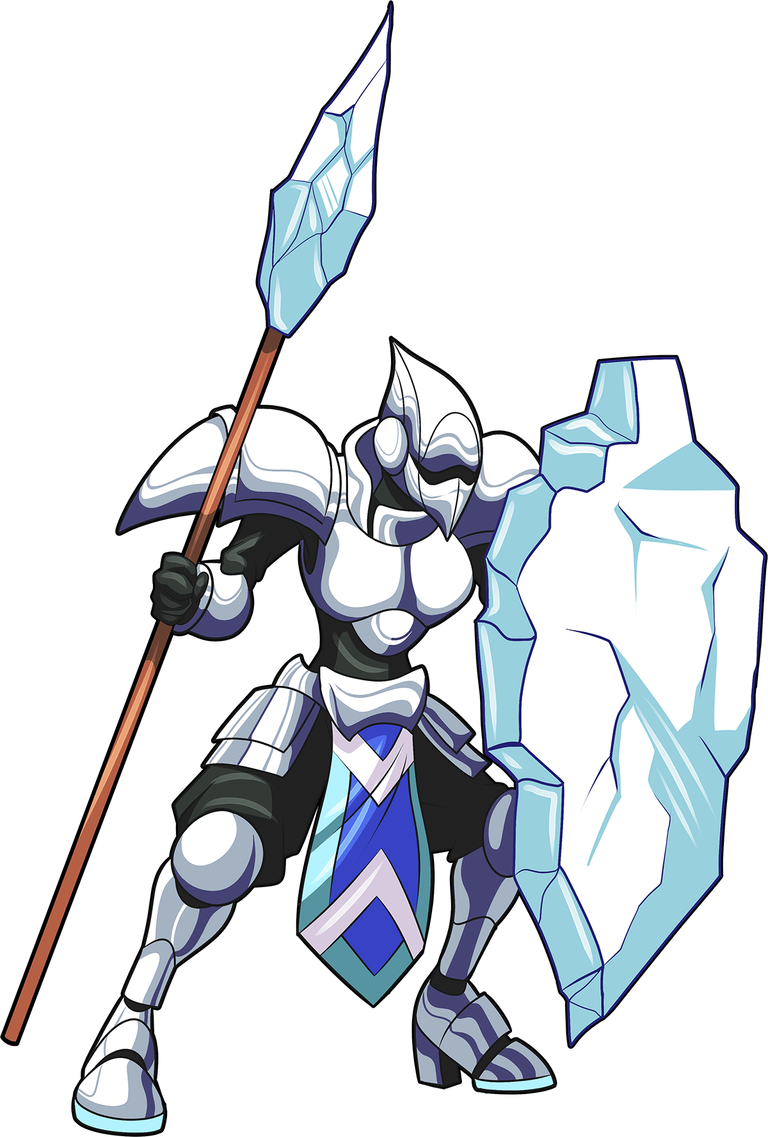
Saludos comunidad @diyhub, les deseo un feliz día en unión familiar, estamos en el último domingo del año y muy cerca de iniciar el 2025, me siento feliz de compartir un nuevo proyecto creativo inspirado en las cartas de Splinterlands Frozen Soldier, que lleva diferentes tonalidades de azul en su atuendo, nuevamente estoy trabajando con foami moldeable, un material fácil y que me gusta.
Greetings @diyhub community, I wish you a happy day in family union, we are in the last Sunday of the year and very close to start 2025, I am happy to share a new creative project inspired by the Splinterlands cards Frozen Soldier, who wears different shades of blue in his outfit, again I am working with moldable foami, an easy material and that I like.

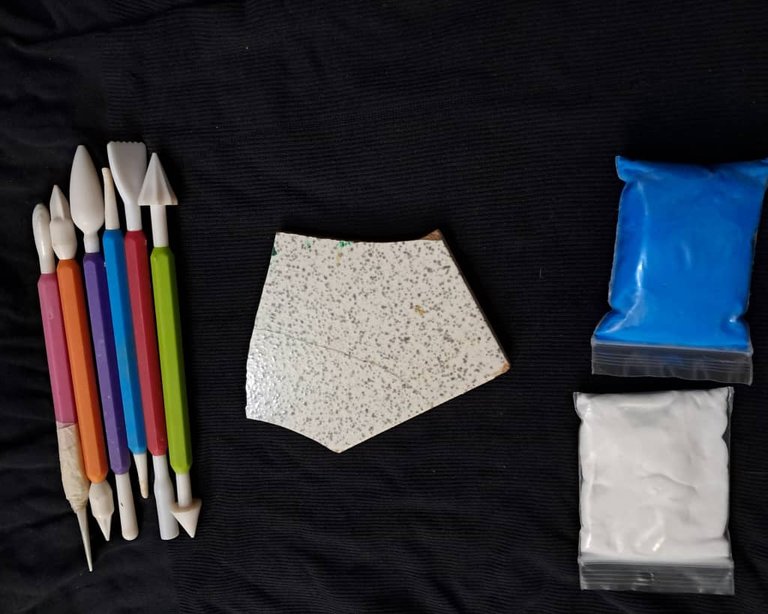
Foami moldeable (blanco y azul)
Estecas
Superficie plana
Moldable Foami (white and blue)
Styrofoam molding cups
Flat surface
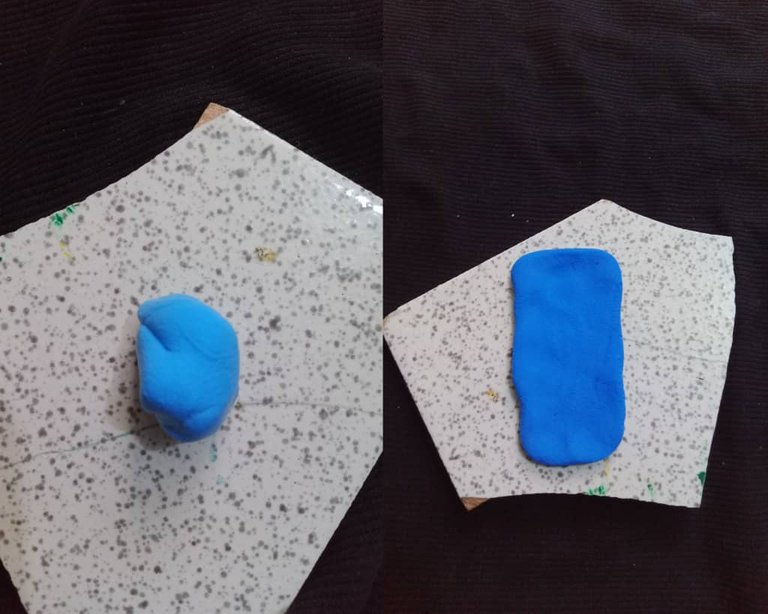
Iniciamos aplanando una porción de foami azul y hacemos la base, colocamos el foami en la porcelana y con las manos aplanamos hasta obtener el grosor deseado.
We start by flattening a portion of blue foami and make the base, place the foami on the porcelain and flatten it with our hands until we obtain the desired thickness.
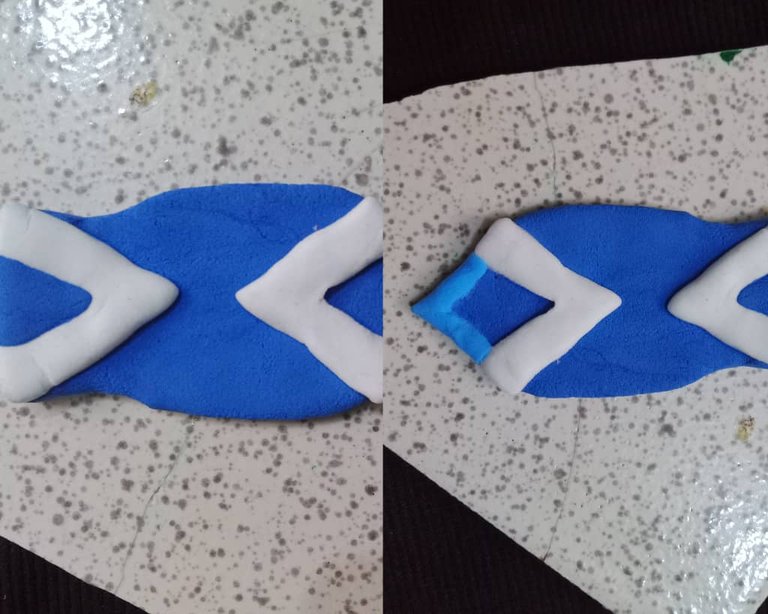
Luego con foami blanco moldeamos dos triángulos, con ayuda de las estecas vamos dando forma y agregamos foami azul en la abertura hasta cubrir completamente.
Then with white foami we mold two triangles, with the help of the stecas we give shape and add blue foami in the opening until completely covered.
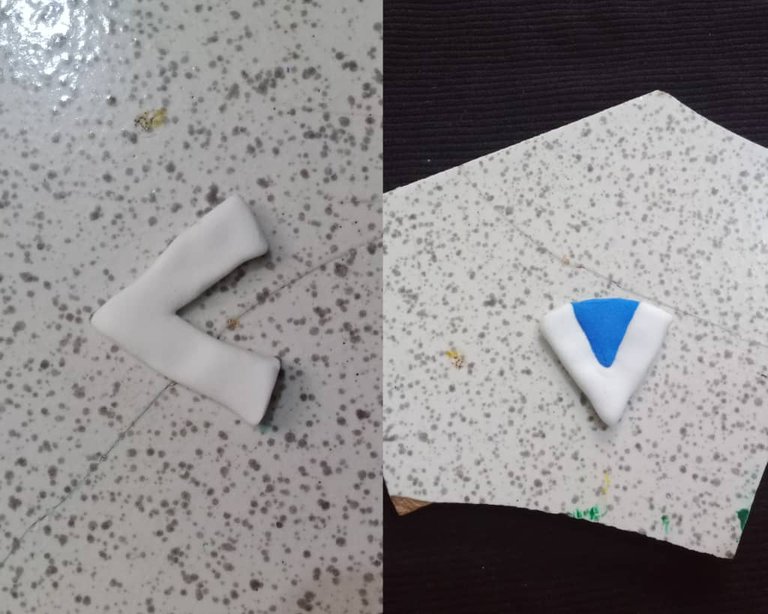
En la parte superior e inferior del la base pegamos los triángulos blancos, con ayuda de las estecas damos forma triangular a la parte de abajo de la base y también la de arriba, de tal forma los lados que coincidan con los extremos del triángulo
In the upper and lower part of the base we glue the white triangles, with the help of the stecas we give a triangular shape to the lower part of the base and also to the upper part, so that the sides coincide with the ends of the triangle.
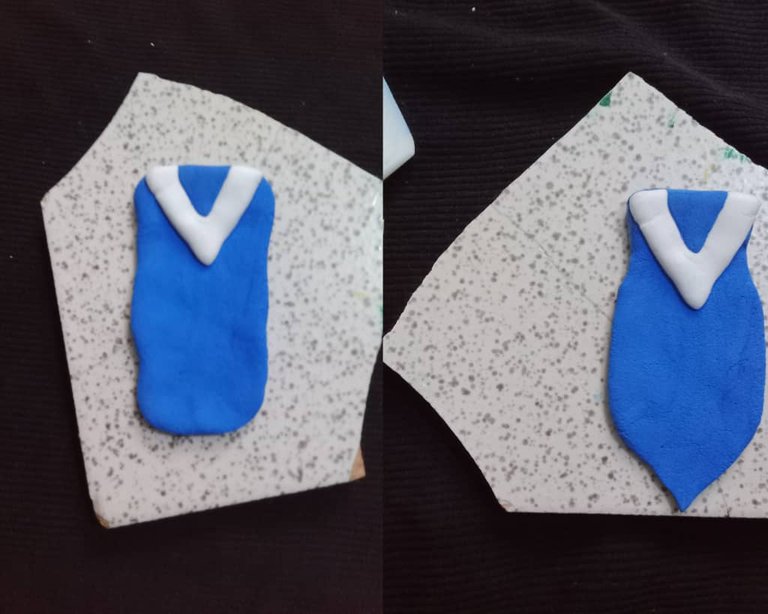
Seguidamente pegamos el otro triángulo en la parte inferior y dejamos secar durante diez minutos.
Then we glue the other triangle on the lower part and let it dry for ten minutes.
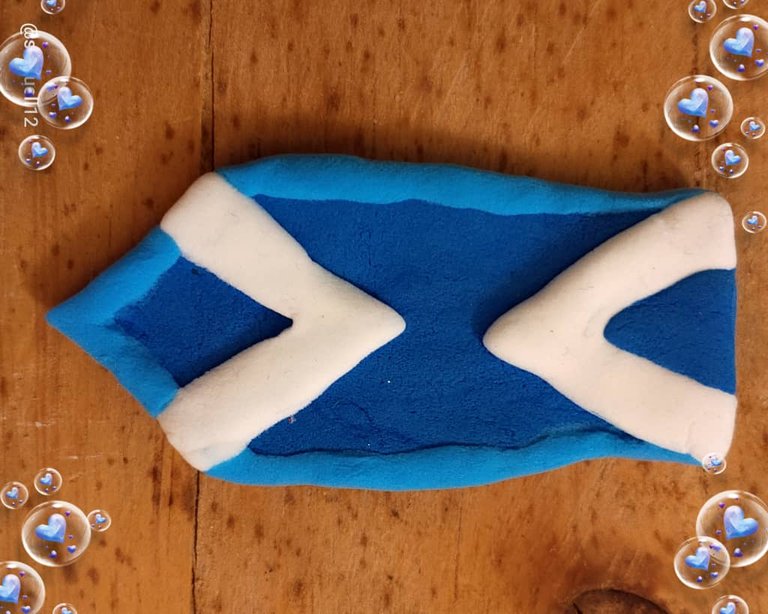
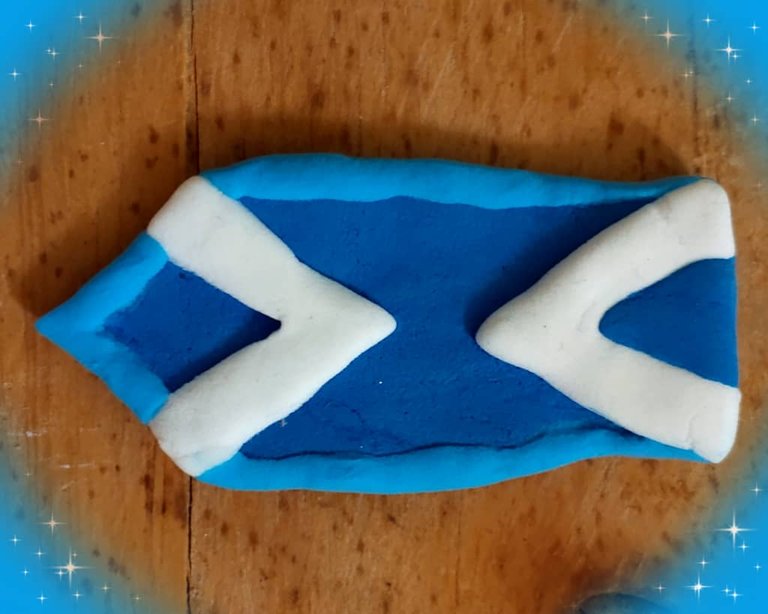
Para finalizar, mezclamos foami azul Y blanco hasta obtener un color más claro que el de la base, formamos tiras cilíndricas y pegamos por el contorno, así ya está terminado el escudo.
To finish, we mix blue and white foami until we get a lighter color than the base, form cylindrical strips and glue around the contour, so the shield is finished.
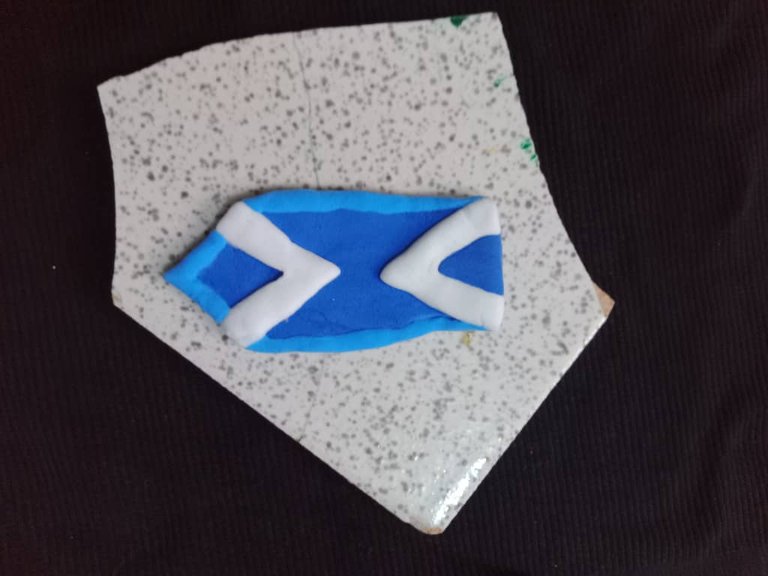
Les muestro el resultado.
I show you the result


Gracias por Leer.
Thank you for reading.
See you later!
Translated with https://www.deepl.com/translator
    All images are of my authorship captured with an Alcatel phone.

      Todas las imágenes son de mi autoría capturadas con un teléfono Alcatel.
Thank you.
Thanks for sharing! - @isaria

Thank you very much for your support.