DIY: Daga inspirada en Silvershield Assassin ** DIY: Silvershield Assassin-Inspired Dagger [Esp / Eng]
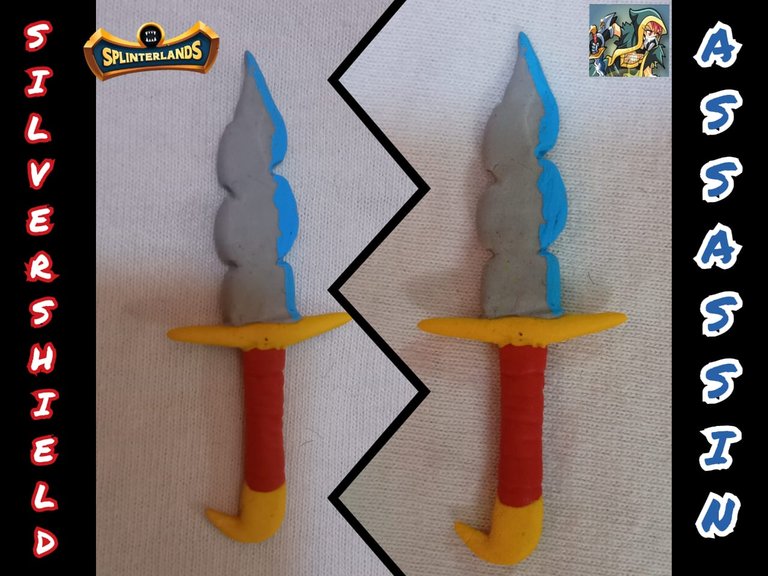
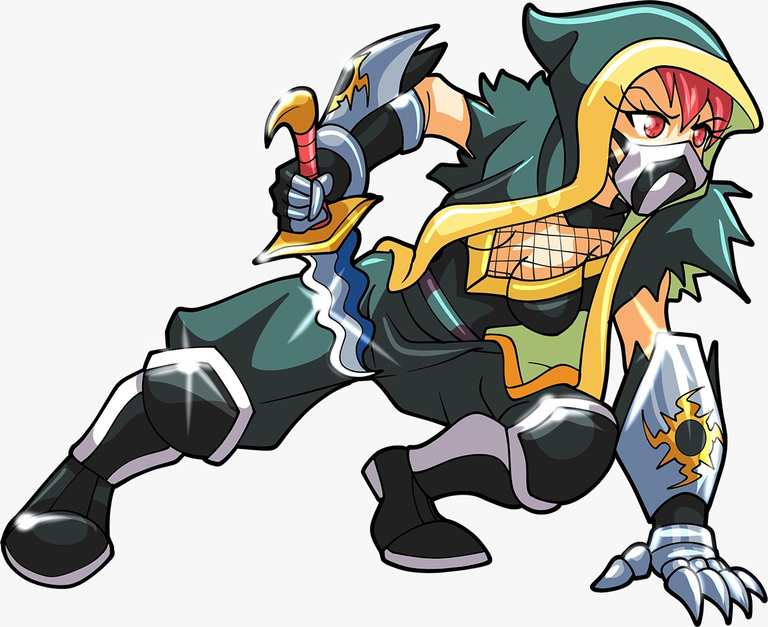
Saludos comunidad de @diyhub , les deseo una excelente semana, en unión de sus seres queridos, me siento feliz de compartir un nuevo proyecto creativo inspirado en los personajes de Splinterlands, se trata de una daga que lleva en la mano Silvershield Assassin, el cual tiene un diseño de ondas en la hoja y lleva los colores dorado y rojo en el mango y en la hoja o cuchilla azul y gris, como en varios de los proyectos anteriores que he hecho tomando como referencia el juego Splinterlands, este también lo hice con masa flexible, que es un material noble y versátil, sencillo de moldear, que me gusta mucho, además es duradero y fuerte; la masa flexible se ha convertido en mi material favorito para moldear y hacer varias esculturas que en los próximos días, compartiré en la comunidad. Les muestro el proceso de elaboración.
Greetings @diyhub community, I wish you a great week, together with your loved ones. I'm happy to share a new creative project inspired by the characters of Splinterlands. It's a dagger held in the hand by Silvershield Assassin. It has a wave design on the blade and features gold and red colors on the handle and blue and gray on the blade. Like several of my previous projects based on the Splinterlands game, I also made this one with flexible clay, a noble and versatile material that's easy to mold and I really like. It's also durable and strong. Flexible clay has become my favorite material for molding and making several sculptures that I'll share with the community in the coming days. I'll show you the making process.

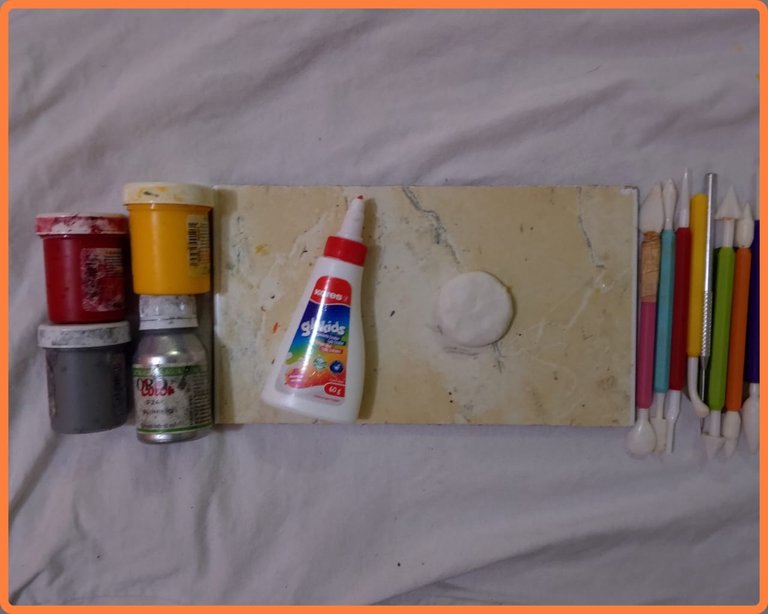
Pintura al frío
Estecas
Crema para moldear
Pegamento
Masa flexible
Superficie plana para moldear
Cold paint
Cuttings
Modeling cream
Glue
Flexible compound
Flat surface for modeling
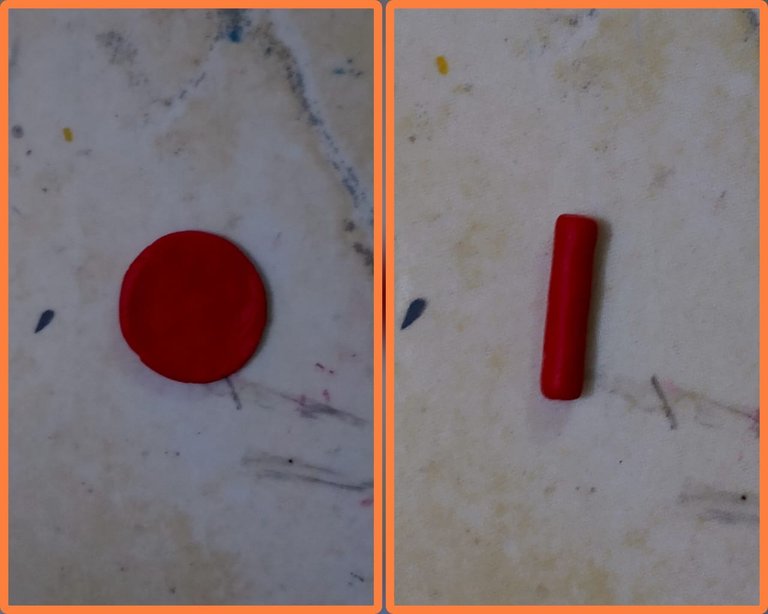
Iniciamos dividiendo la masa en pequeñas porciones, en esta ocasión necesitamos tres colores; dorado, rojo y gris, luego añadimos pintura y mezclamos hasta obtener el color deseado, formamos varias bolas, una de cada color, las aplanamos y a partir de allí hacemos el mango o empuñadura, que es de color rojo, moldeamos un cilindro y con la esteca aplanamos los extremos para darle forma circular.
We start by dividing the dough into small portions. This time, we need three colors: gold, red, and gray. Then, we add paint and mix until we get the desired color. We form several balls, one of each color. We flatten them, and from there, we make the handle, which is red. We mold a cylinder and, with the spatula, we flatten the ends to give it a circular shape.
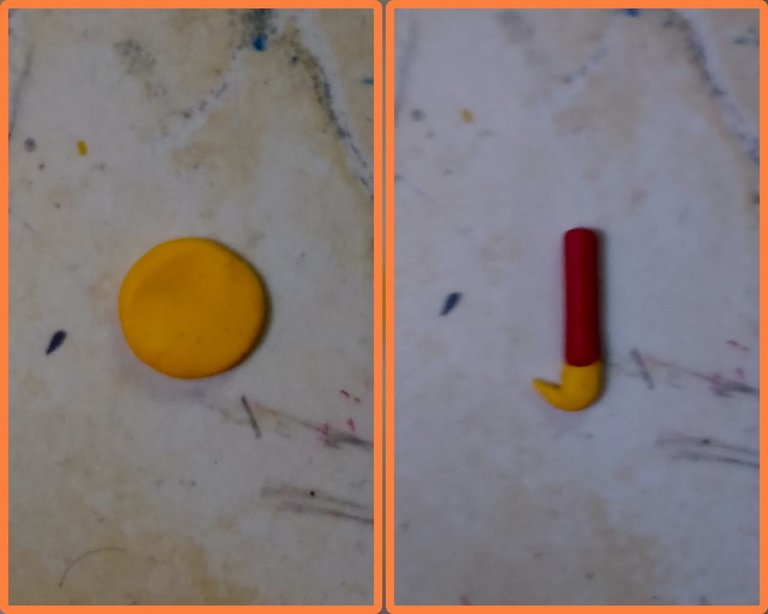
Con la masa dorada formamos un pequeño cilindro al cual, con ayuda de la esteca haremos una punta afilada en la parte de abajo, moldeado el cilindro, hacemos un corte diagonal y usado la esteca bicelada vamos dando forma a la punta tratando en lo posible que no quede tan delgada porque al secarse se puede romper, ya con el grosor adecuado para la punta, haremos un orificio en la parte de arriba del cilindro y lo unimos al que hicimos en el paso anterior, agregamos pegamento y dejamos secar.
With the golden dough we form a small cylinder to which, with the help of the stake we will make a sharp point at the bottom, molded the cylinder, we make a diagonal cut and using the beveled stake we give shape to the point trying as much as possible to not leave it too thin because when it dries it can break, already with the adequate thickness for the point, we make a hole in the upper part of the cylinder and join it to the one we made in the previous step, add glue and let it dry.
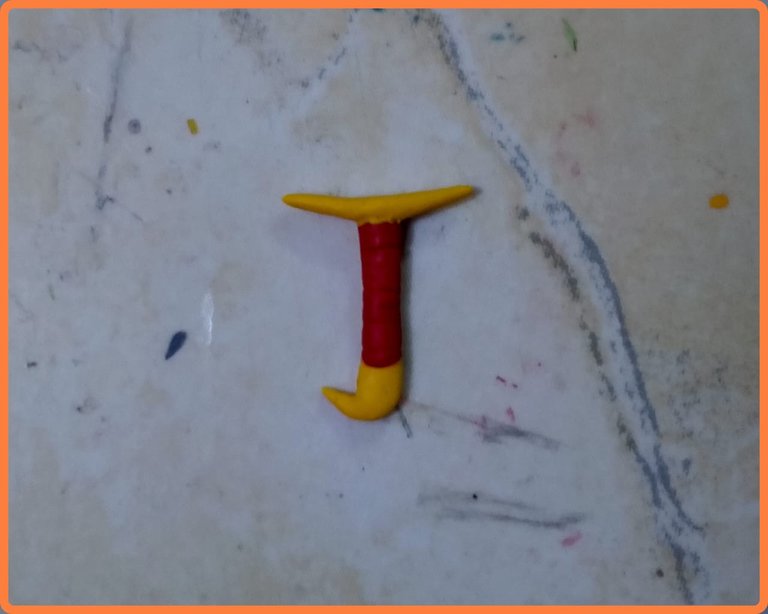
Continuamos usando la masa dorada y moldeamos un rombo con las puntas alargadas, agregamos pegamento y unimos a la parte de arriba del cilindro rojo, con las estecas trazamos líneas horizontales y verticales en el cilindro para simular el hilo que cubre la empuñadura y permite un mejor agarre, unidas las piezas dejaremos secar.
We continue using the golden dough and shape a rhombus with elongated tips. We add glue and join it to the top of the red cylinder. With the stakes, we draw horizontal and vertical lines on the cylinder to simulate the thread that covers the handle and allows for a better grip. Once the pieces are joined, we let them dry.
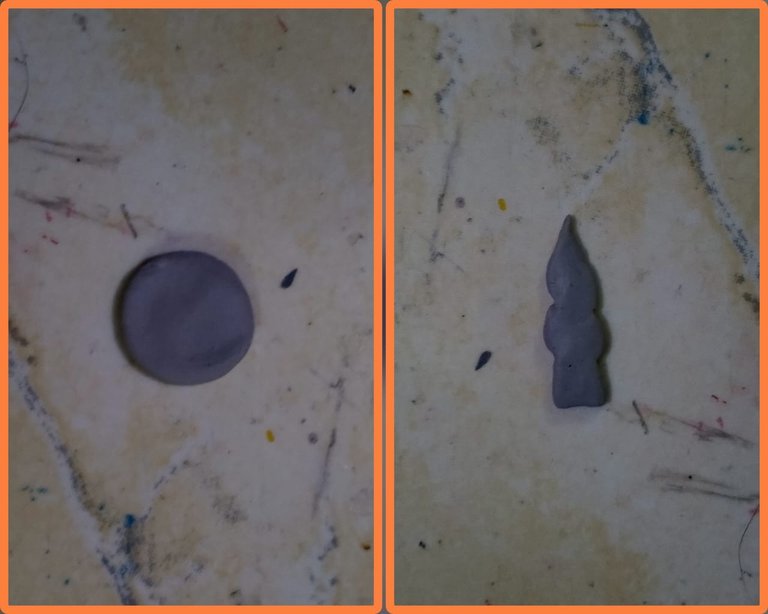
Con masa flexible de color gris vamos a moldear la hoja del cuchillo, para darle más color y brillo añadimos un poco de pintura plateada y negra, esto nos permirá obtener un color más oscuro, mezclamos hasta integrar por completo, aplanamos la masa, formamos un cilindro plano, con ayuda de las estecas hacemos varios cortes en forma de ondas a ambos lados de la hoja, en la parte de arriba un corte triangular que será la punta.
Con las manos y la base de las estecas, vamos suavizando las ondas y el filo de la hoja.
Using a flexible gray dough, we'll mold the knife blade. To give it more color and shine, we add a little silver and black paint. This will give us a darker color. We mix until completely combined. We flatten the dough, forming a flat cylinder. Using the cutting tools, we make several wavy cuts on both sides of the blade, and at the top, a triangular cut that will form the tip.
With our hands and the base of the cutting tools, we soften the waves and the edge of the blade.
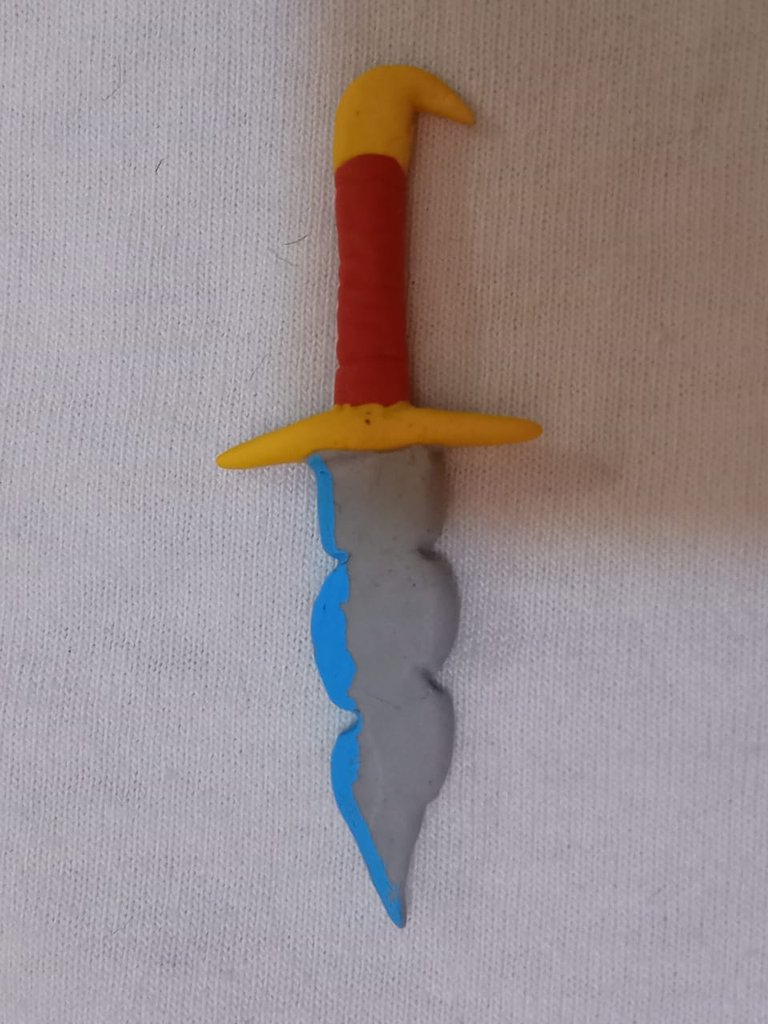
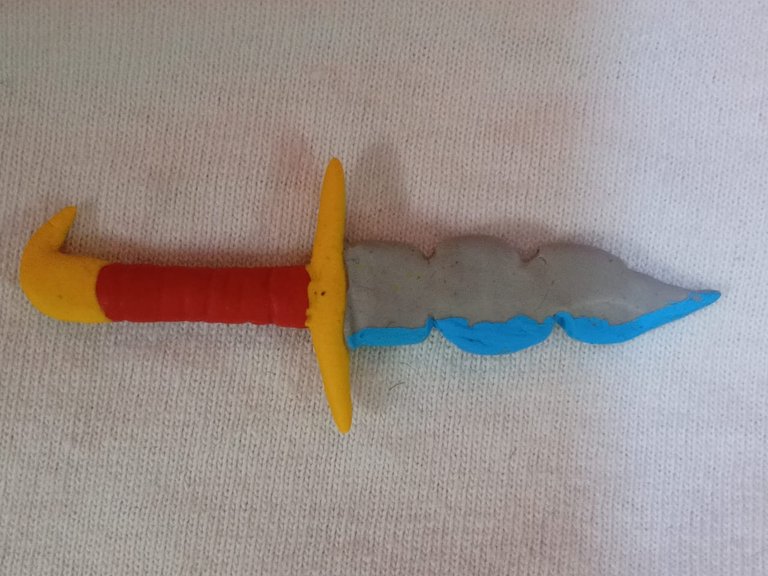
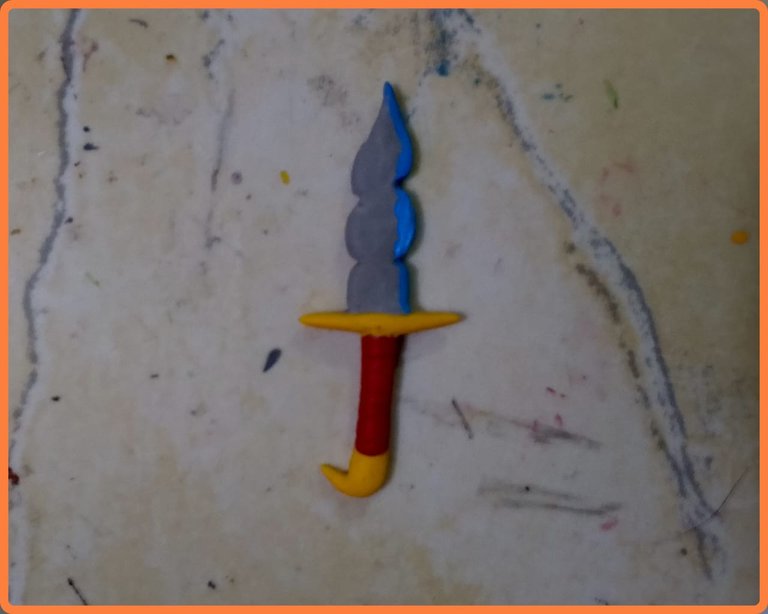
Luego agregamos pegamento y unimos la hoja a la empuñadura, dejamos secar, verificamos que la pieza esté completamente y pasamos al último paso, en el cual agregamos varias capas de pintura azul en uno de los lados de la hoja, paraello usaremos un pincel fino, así la pintura solo cubrirá la parte del borde que estamos pintando; al usar pinceles gruesos en piezas pequeñas, es posible que la pintura cubra gran parte de la pieza, lo ideal para agregar pintura es usar pinceles delgados, así hemos terminado de moldear un cuchillo inspirado en los personajes de Splinterlands, que se sumará a mi pequeña colección de trabajos con masa flexible.
Then we add glue and join the blade to the handle, let it dry, check that the piece is complete and move on to the last step, in which we add several layers of blue paint on one side of the blade, for this we will use a thin brush, so the paint will only cover the part of the edge that we are painting; when using thick brushes on small pieces, it is possible that the paint covers a large part of the piece, the ideal way to add paint is to use thin brushes, thus we have finished molding a knife inspired by the characters of Splinterlands, which will be added to my small collection of works with flexible dough.
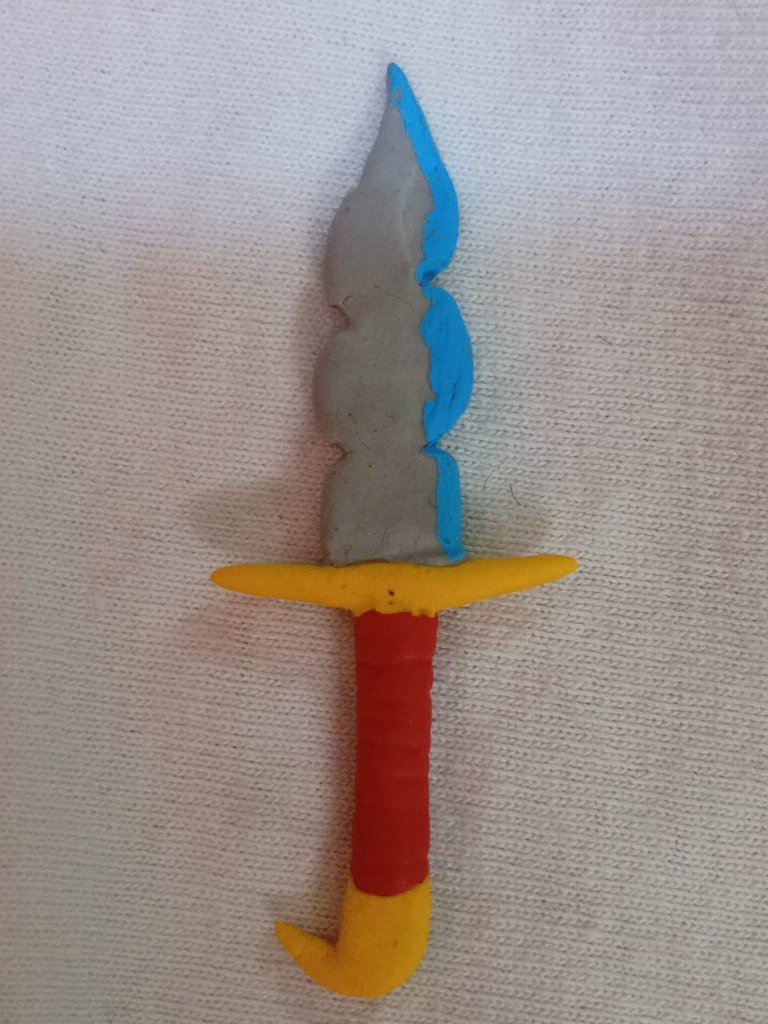
Les muestro el resultado.
I show you the result.
Gracias por Leer.
Thank you for reading.
Hasta Luego!
See you later!
Translated with https://www.deepl.com/translator
    All images are of my authorship captured with an Alcatel phone.


      Todas las imágenes son de mi autoría capturadas con un teléfono Alcatel.
Thank you
You made another realistic dagger, super impressive friend. Thanks for constantly sharing your craft with our community.
selected by @ibbtammy
Greetings @diyhub, I'm glad you liked it. It's a pleasure to share my projects with the community.
The end result is very pleasing. You've been very talented in imitating the shapes of this dagger; it's obvious it's not easy. I appreciate the detailed step-by-step instructions my friend. Have a great day! ✌️
Greetings, friend, I'm glad you liked the work. Molding it was a bit difficult, but I finally managed it.
Have a good night!
un trabajo que detalla la dedicación, bien hecho
a job that details dedication, well done
Me alegra que te haya gustado amiga
Una linda manualidad. Buen trabajo 👍
Hola @carolycesar15, gracias por pasar.
Feliz noche!
Thanks for sharing! - @cieliss

Thanks for the support