Basic Photo Mode of Days Gone.

I'm so so happy to find this community that let us talk about the moments we capture but we can't share anywhere else and thanks to @rahsed.ifte for inviting me here.
I see this is the perfect place to talk about the photo mode features and to show special photos. I'm currently playing Days Gone and believe me I pass thought some locations in this game that looks so great and I wish to show each and every part of those places in single posts but I basically try to talk about the missions only so I don't go that way. But I guess I can now review those special things easily.
In the photo mode of Days Gone, there are two options where one is Basic and another is Advanced. Today, we'll talk about the Basic Photo Mode option and maybe I'll talk about the Advanced on some other day.
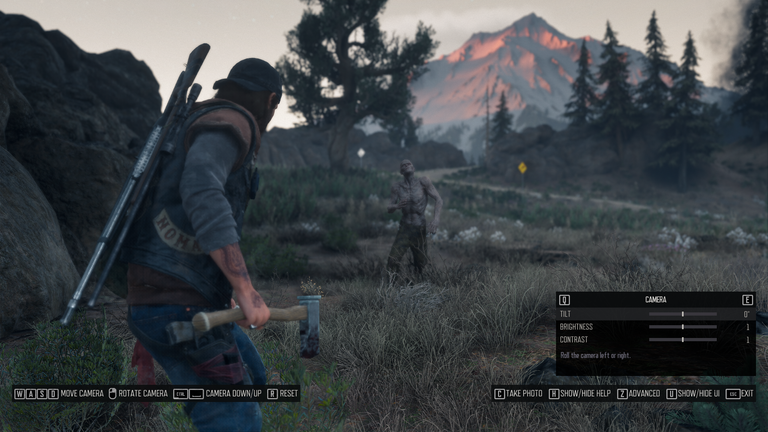
I went close to a zombie and I stopped my play pressing the "P" button in my keyboard which opened up the photo mode.
You can see keyboard shortcuts specified to the photo mode only and there's this small bar at the right side that has the basic photo correction tools. Pressing "Z" would turn the Advanced mode on.

Then we get this help menu pressing "H" which tells us what the keyboard shortcuts specified to the photo mode does here. Pressing "H" again hides the help menu.
Let's mess up with the basic option.
Camera: Tilt, Brightness and Contrast
 |  |
|---|
We get the tilt option at first point which rotates the screen and then there's brightness and contrast which increases or decreases the brightness and contrast of the screen.
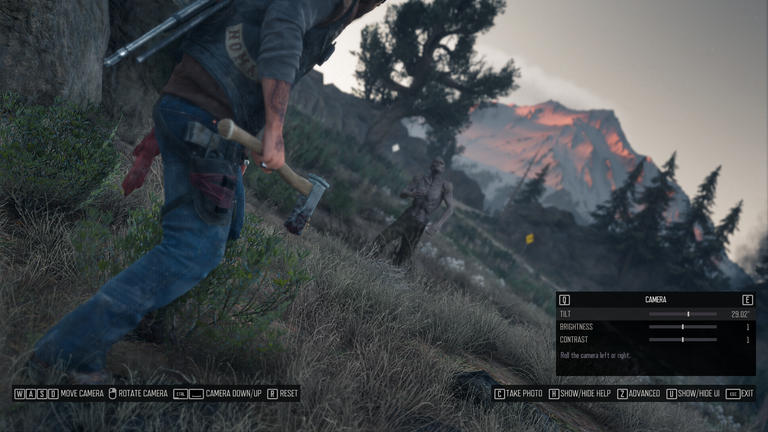
Setting the tilt at 29.02 degree, I changed the graphics from 1 to 1.416 and the contrast from 1 to 1.092 which gave me that final picture.
Lens: Filed of View, Focal Distance, Aperture, Film Grain Amount

Field of View zoom out and zoom in the screen which I can do with ctrl + mouse wheel and the Focal Distance is works on blurring pacific parts of the scene.
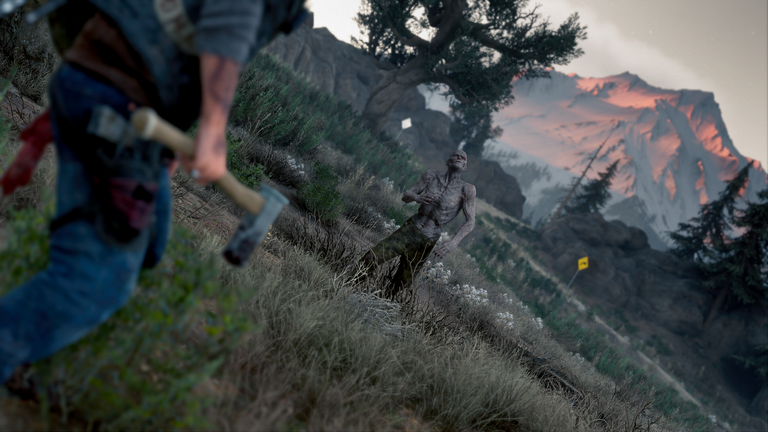
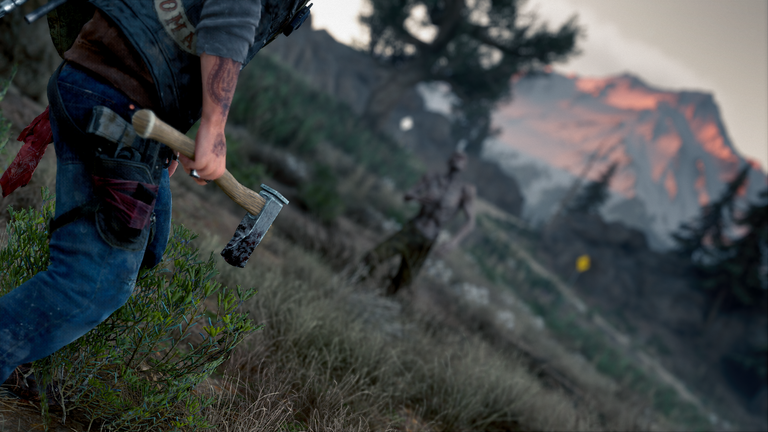
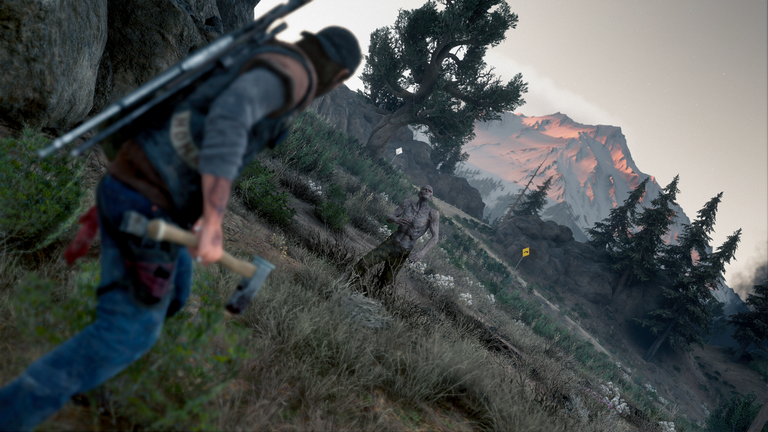
I was playing with the focal distance and did these settings where I got the first photo blurring Deacon and then I blurred the zombie in the second one. I guess both of them looks nice, aren't they?
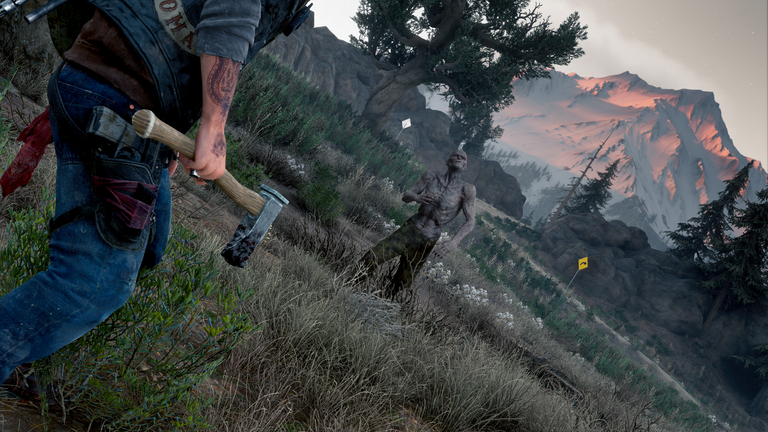
Then I tried the Aperture part where I could actually set different aperture rate and picture you're seeing above has f/22 which don't blur anything and I guess this is the thing I want when capturing photos as it shows the whole screen clearly.

Then we have this Film Grain option that sets film grain on the whole screen and I tried 100% for the above capture.
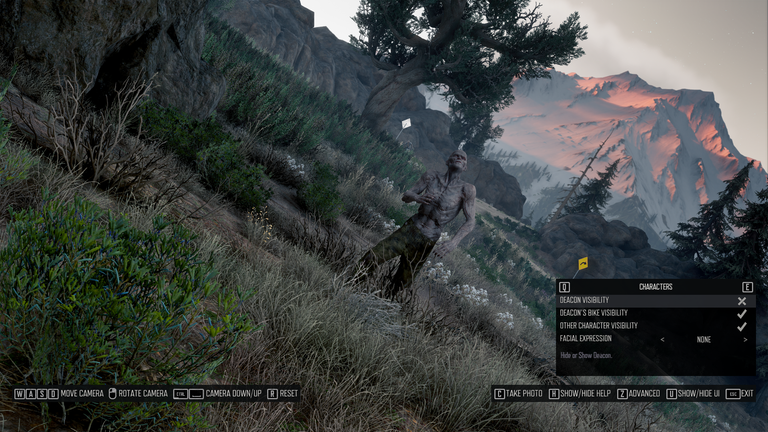
Then we get the characters part where we can enable/disable Deacon's, Deacon's bike and other character visibility. I tried to disable the visibility of Deacon on the above one.

Then I tried disable the visibility of the other character which is the zombie in this frame and now you can see only the scene without any characters which can be helpful when I wish to show only the natural scenes of the game.
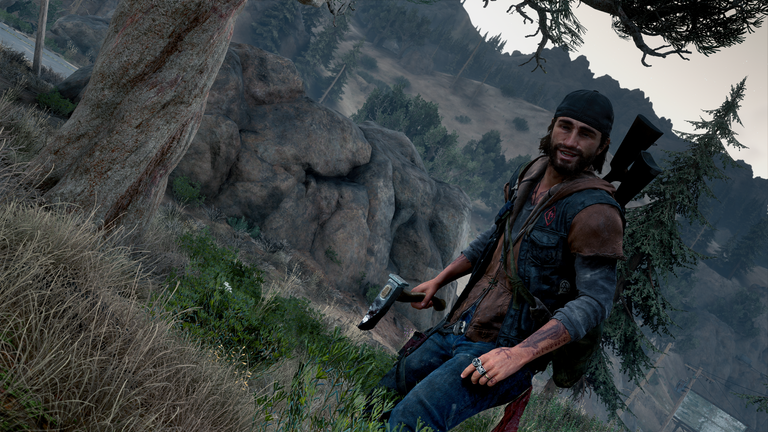
And I got this facial expression part in characters very funny where I can add various facial impressions on Deacon's face like I chose "joy" for the above one. I can choose angry, happy, contempt, disgust, fear, sad, wink and all of them shows different facial impressions.

The last thing I found in the basic photo mode is frames and presets. There I tried a barbwire frame along with the games logo located at the bottom right part and I can choose the logo color between white and black.
Then there's the preset setting where I can set the preset as black & white, noir, warm, gold, summer, blue orange, vivid, cold, grim, vintage, classis, drifter, rustic, sepia, magma, soft, sarah and emerald and I chose black & white preset for the above capture.
And that's all I wished to talk about in this post. Stay tuned so you don't miss what I'll show later in this Gaming Photography community.
If you like the post, feel free to like, comment & share. I will soon come with another post.
Hello. Thanks for the positive feedback about the community and for taking the invitation. Thank you for your contribution into the gaming photography community.
You did well reviewing the basic photo mode that allows you to take great gaming moments and I see you have several features in there as well. The facial expression part seems real fun.
I suggest you check what others are contributing in this community and feel free to engage with them through your comments, upvotes and follows.
You can help the community in several ways,
Consider delegating a portion of your HP to @gamingphoto which will be used to reward good contents.
You can gift ecency points to @gamingphoto which will be used to boost quality contents.
Hi sorry for replying late. I liked the idea of the community. Thanks for your words of appreciation about my post.
Its alright, late is always better than never. Its nice to know that you liked the community. I see you created a new post which I'm going to read now.
Upvote recommended by @rashed.ifte as part of Encouragement Program
Keep Up the good work on Hive ♦️
@tipu curate 8
Upvoted 👌 (Mana: 0/75) Liquid rewards.
Thanks for the curation.
Congratulations @naeemulnepun! You received a personal badge!
You can view your badges on your board and compare yourself to others in the Ranking
Check out our last posts: