[Beginner Tutorial] How To Draw Ice Cream Cone For My NFT Collection
Hello Hive Friends…
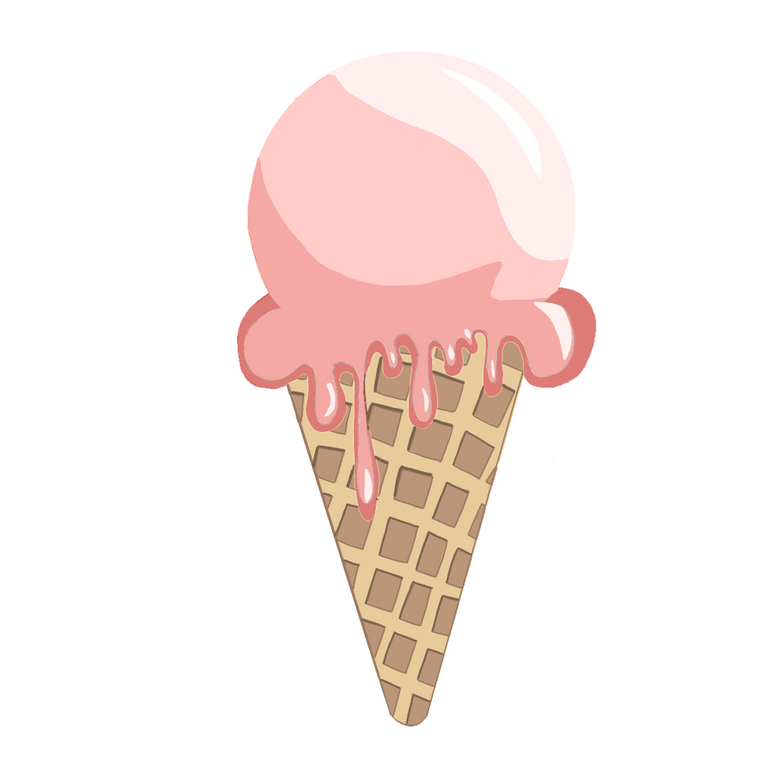
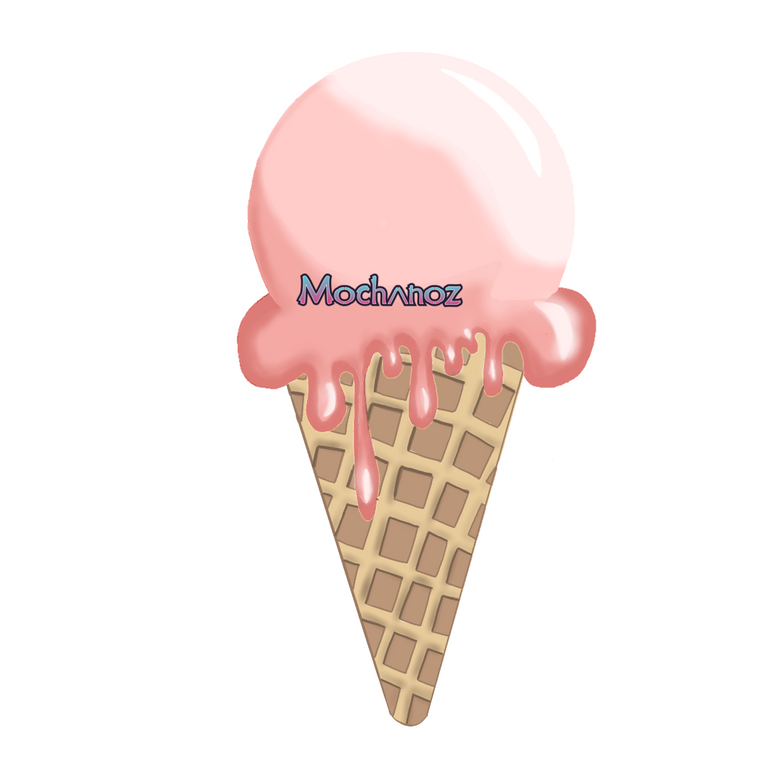
The inspiration for the NFT collection that I made came from the Strawberry Flavor Ice Cream Cone dessert. The following is the process of drawing an Ice Cream Cone step by step.

Title: Ice Cream Cone Strawberry Flavor
Artist: @mochanoz
Technique: 2D Digital Art
Application : ibis Paint X
Media: Digital
Tool: Brush
DETAILS
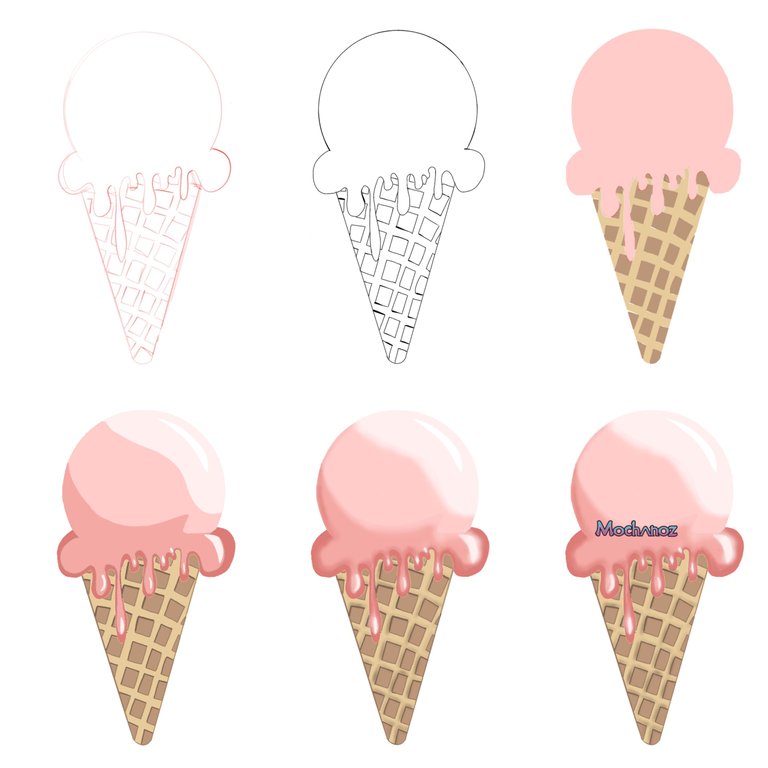
Step by Step Process
LAYER 1 SKETCH
First I open the ibis Paint X application from my tablet, there is a menu select My Gallery,
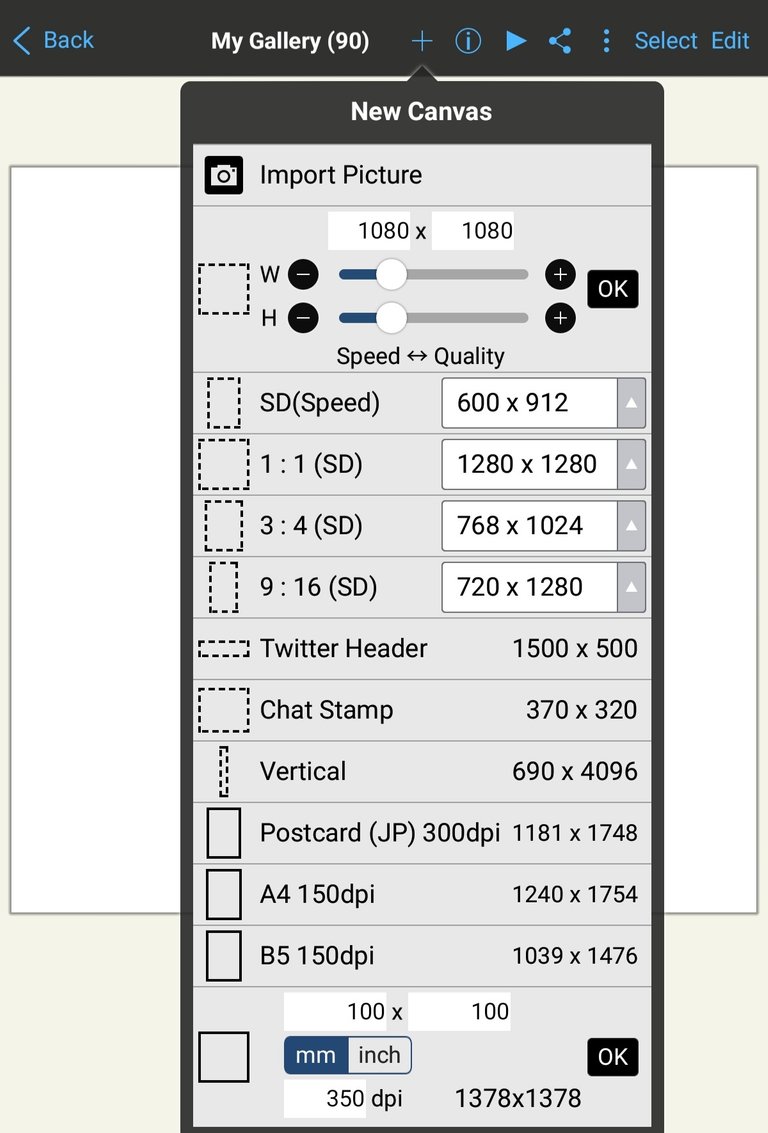
there is a new canvas display, the canvas setting is 1080 x 1080 select OK

Then there will be a blank canvas display that I will draw a picture of
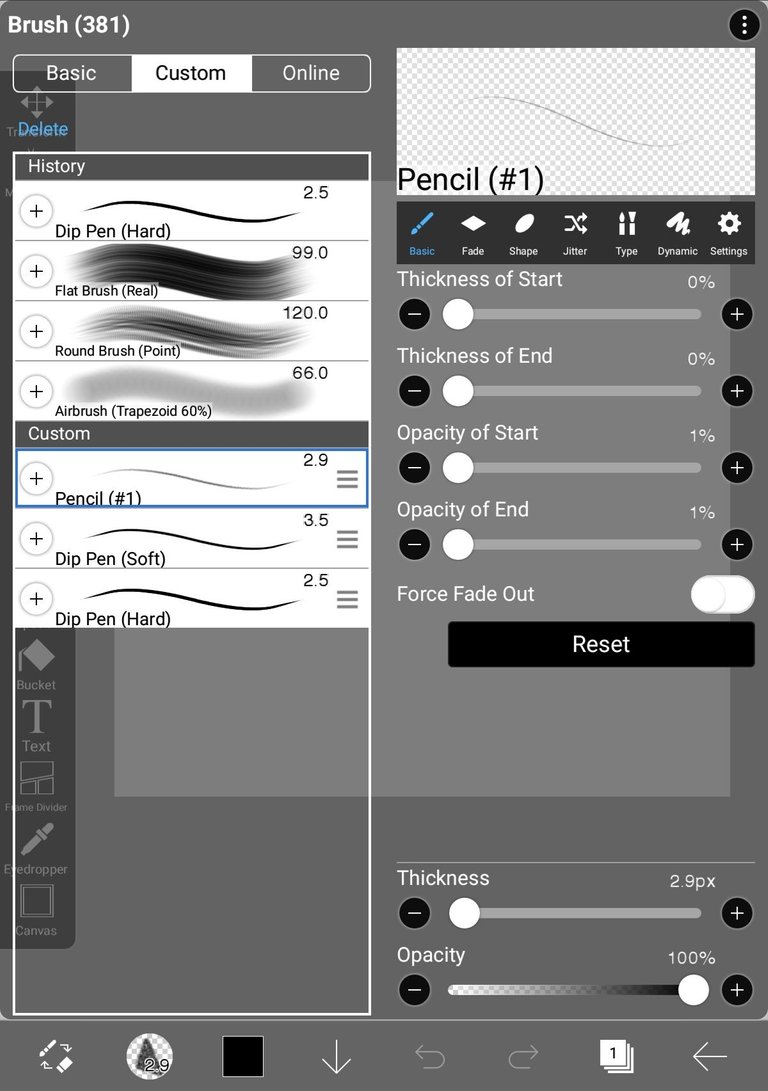
We will make a sketch first to make it easier when making images. Choose Brush, Custom, choose pencil
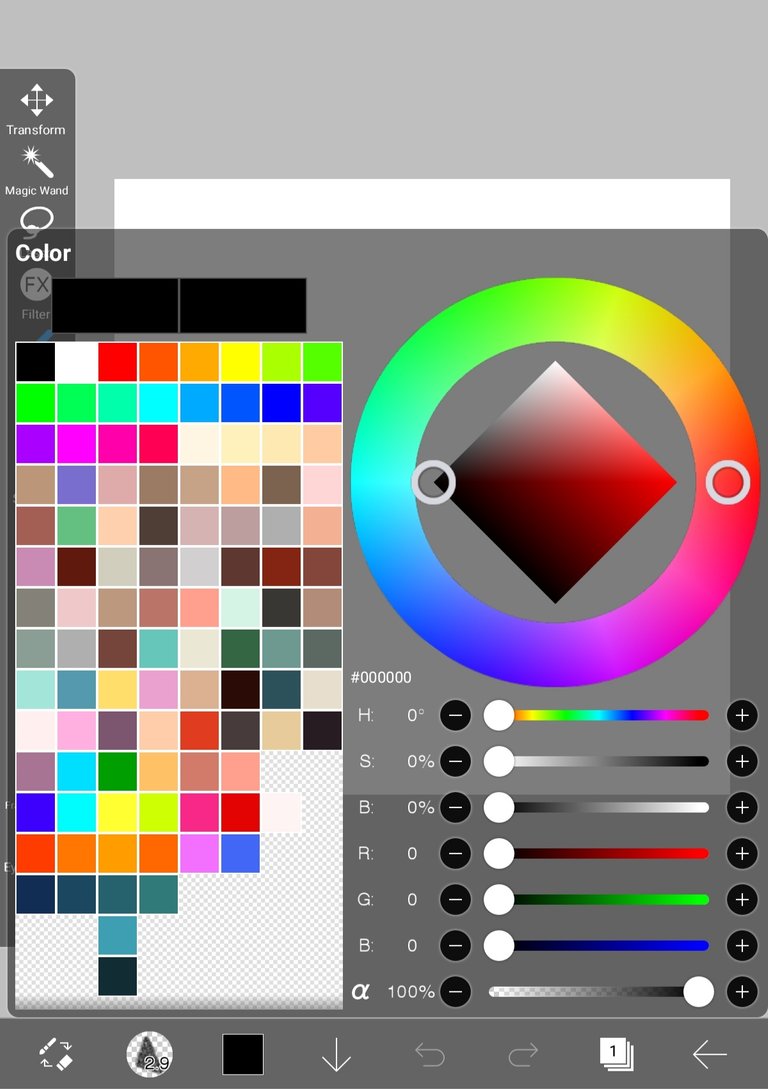
Then select the red color in the colored box on the bottom toolbar
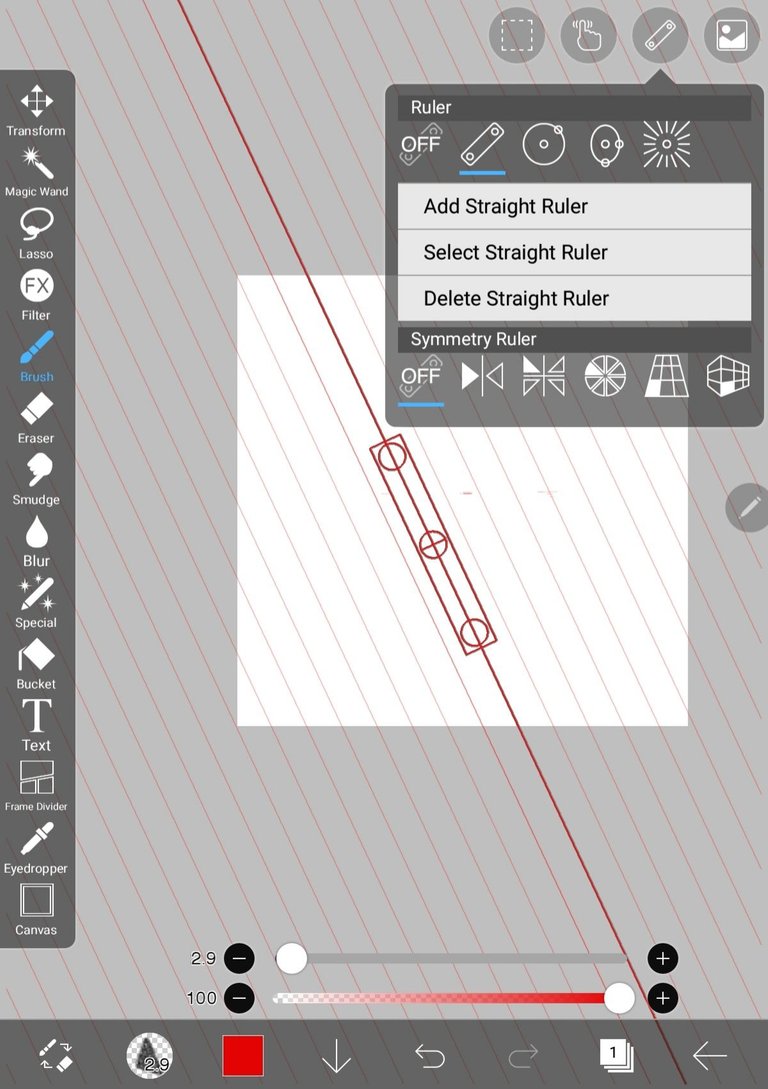
After choosing a red color for the pencil, then we use a ruler to make a cone first to make it look straight
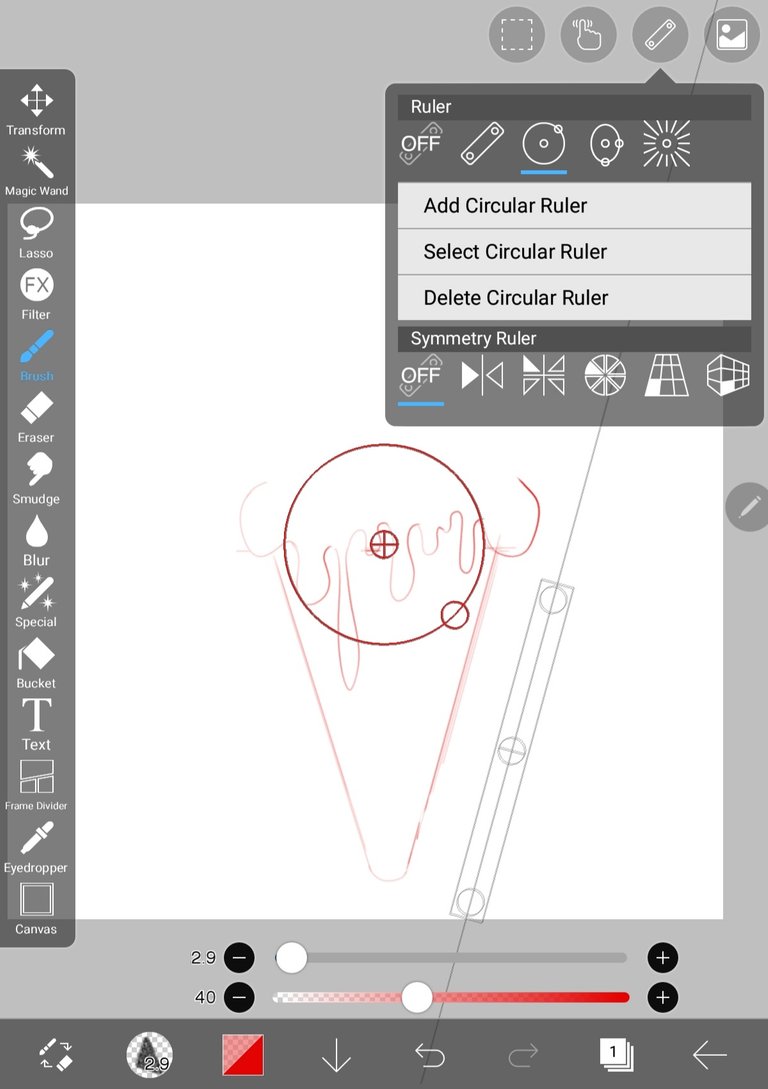
Next we will draw melted ice cream, then we draw ice cream on a cone using a circle ruler to make it look neater
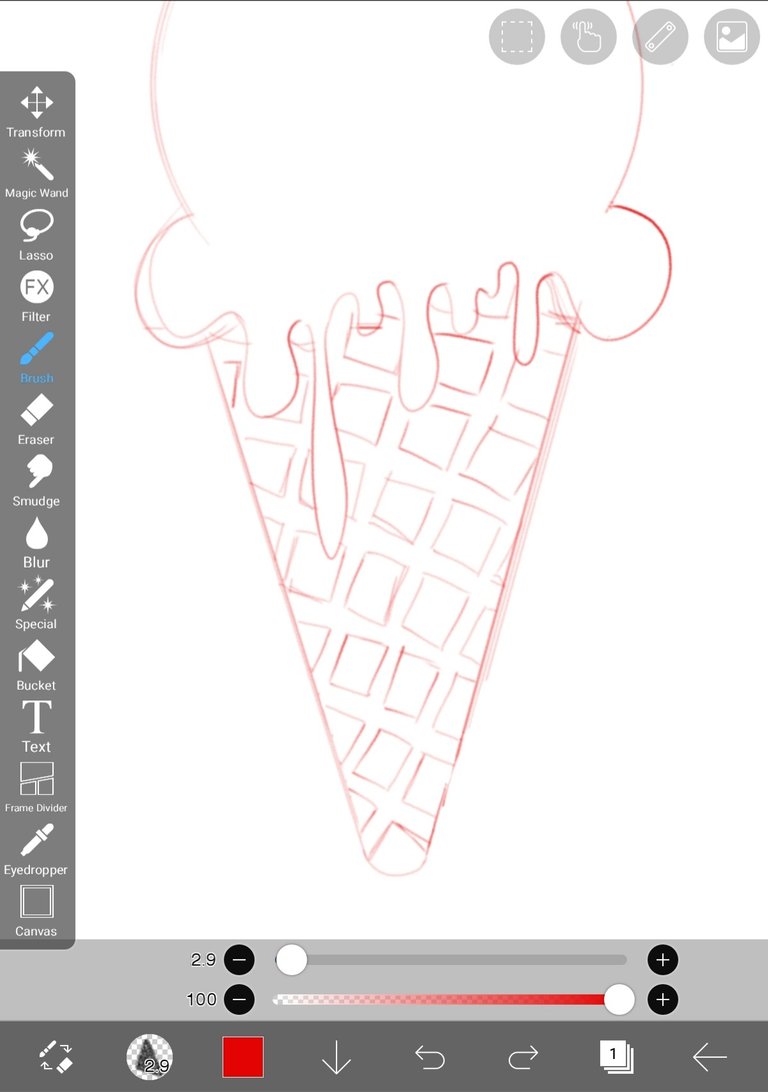
After the image is clearly visible like ice cream, then we will provide details on the cone in the form of boxes
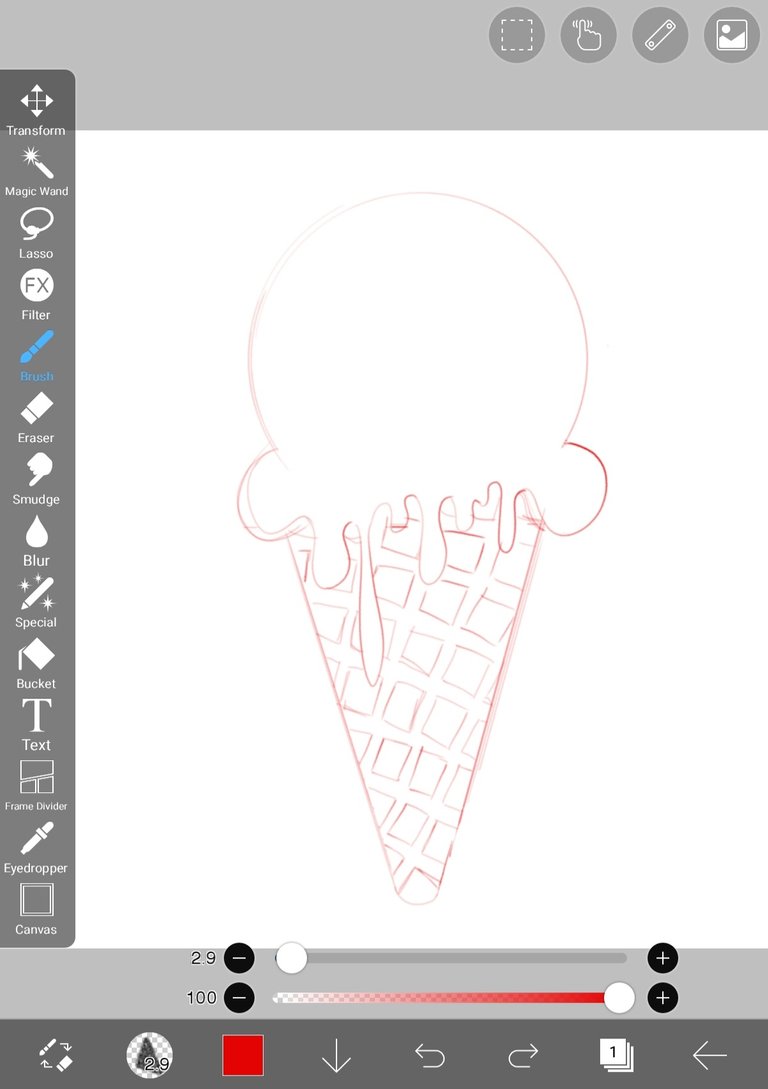
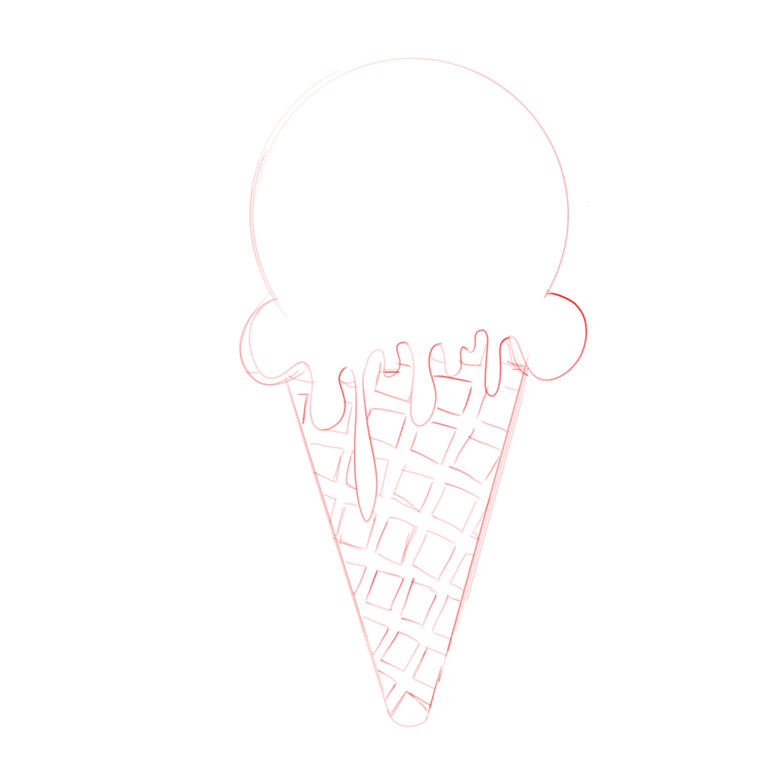
The sketch is ready
LAYER 2 OUTLINE
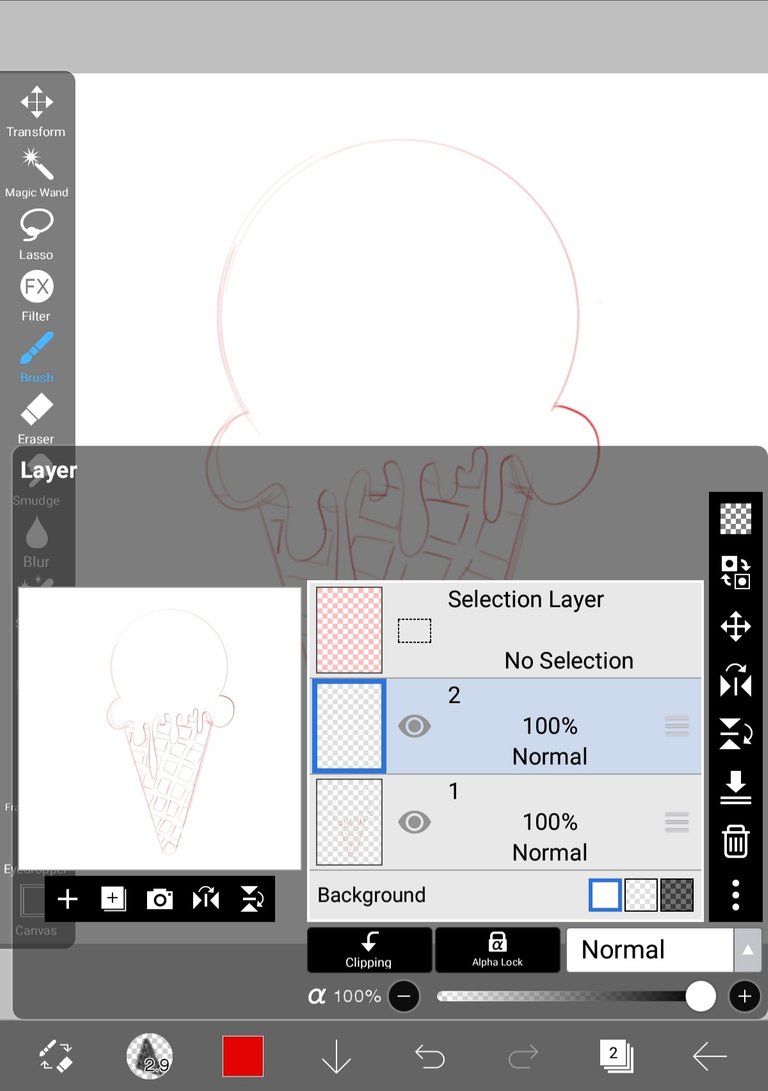
Now we will create layer 2 in the bottom toolbar to create an outline
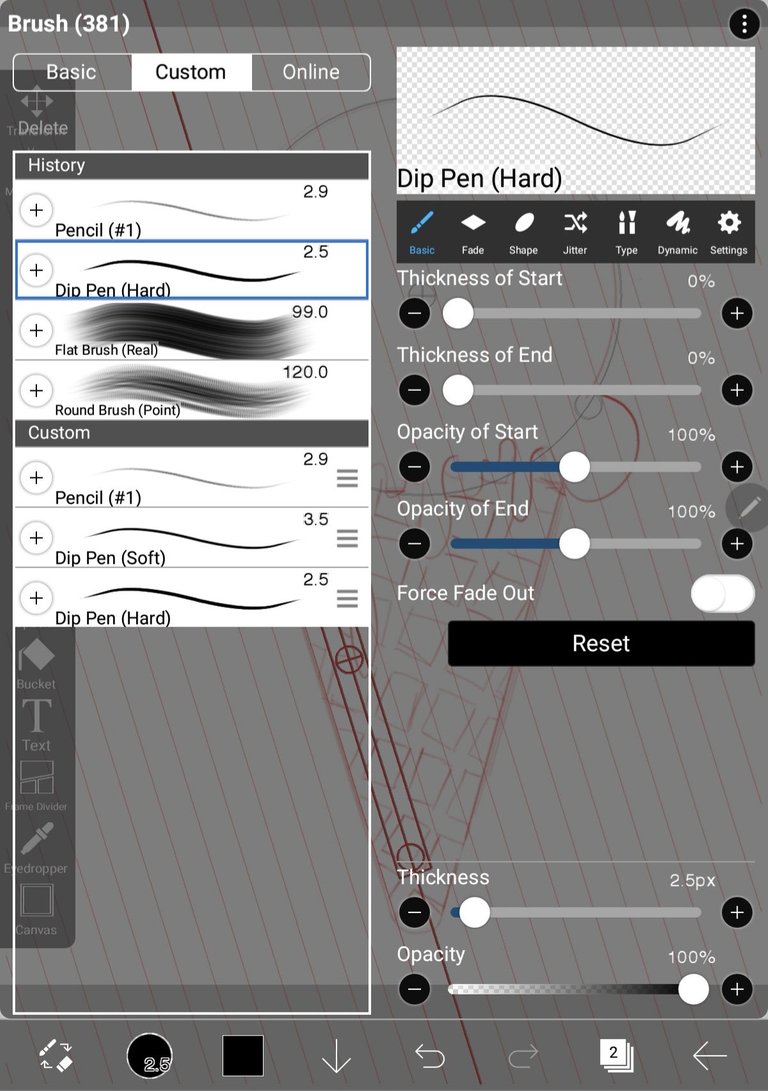
The outline that we will draw using a brush, choose a black custom dip pen (hard) so that it is different from the sketch color
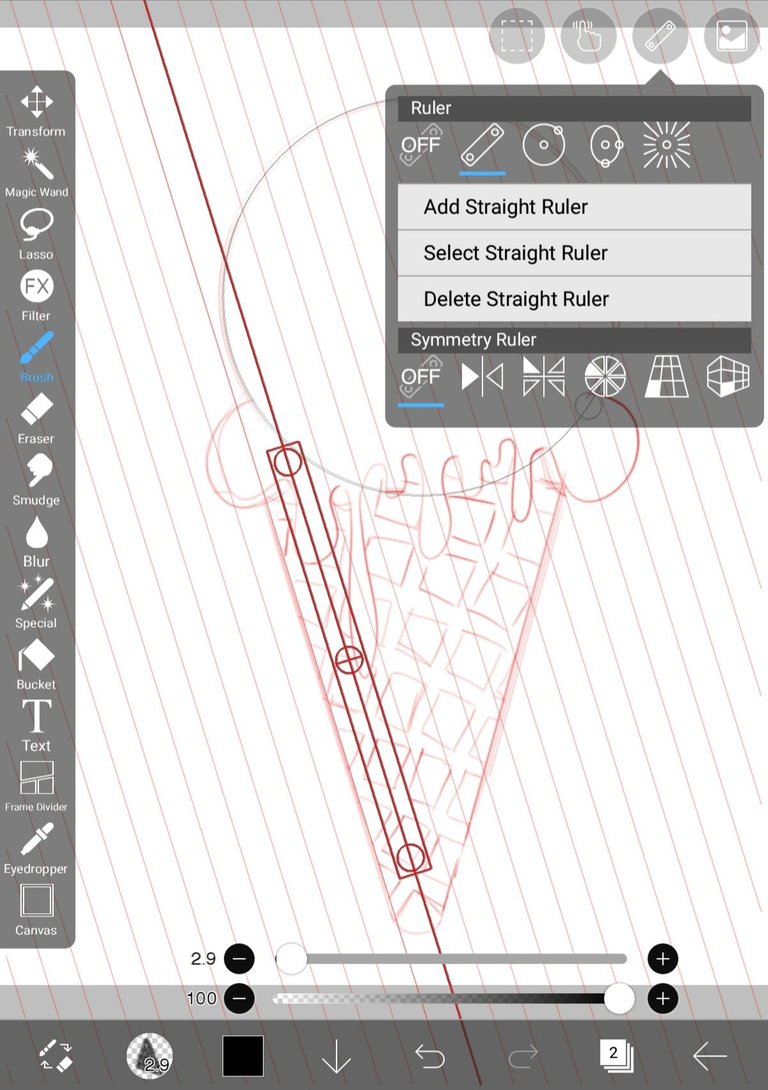
Choose a ruler to make a cone outline
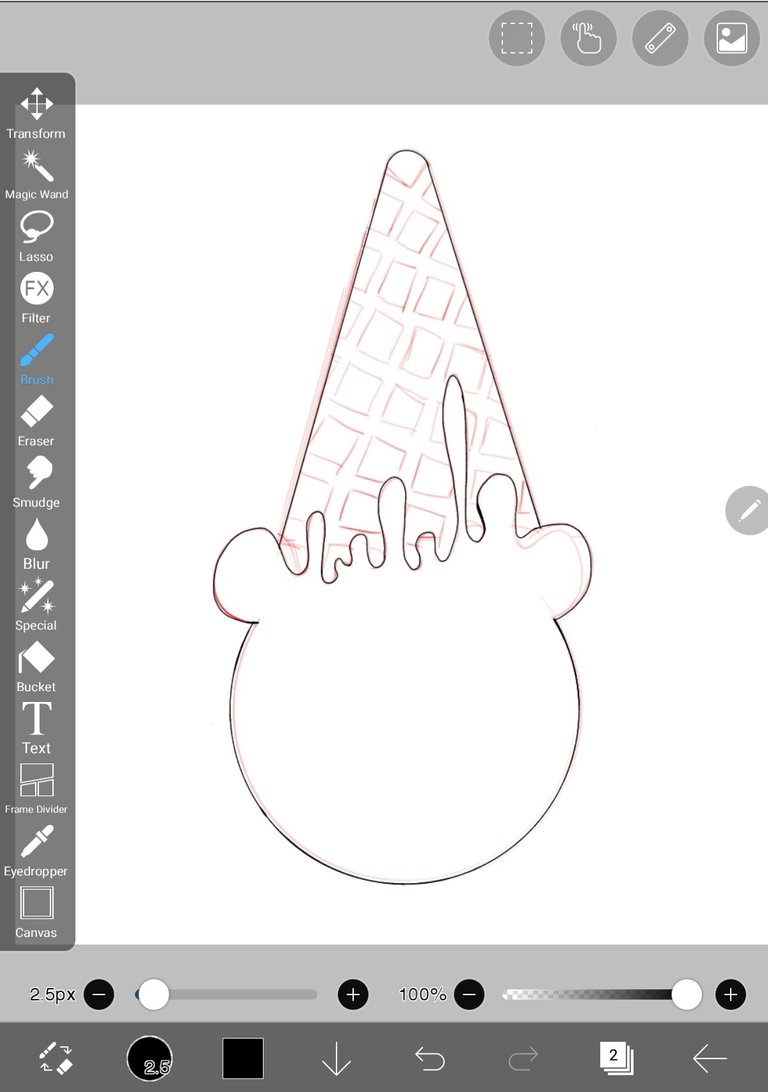
Use a circle ruler to make an outline

Make an outline on the cone details in the form of boxes
LAYER 3 COLORING
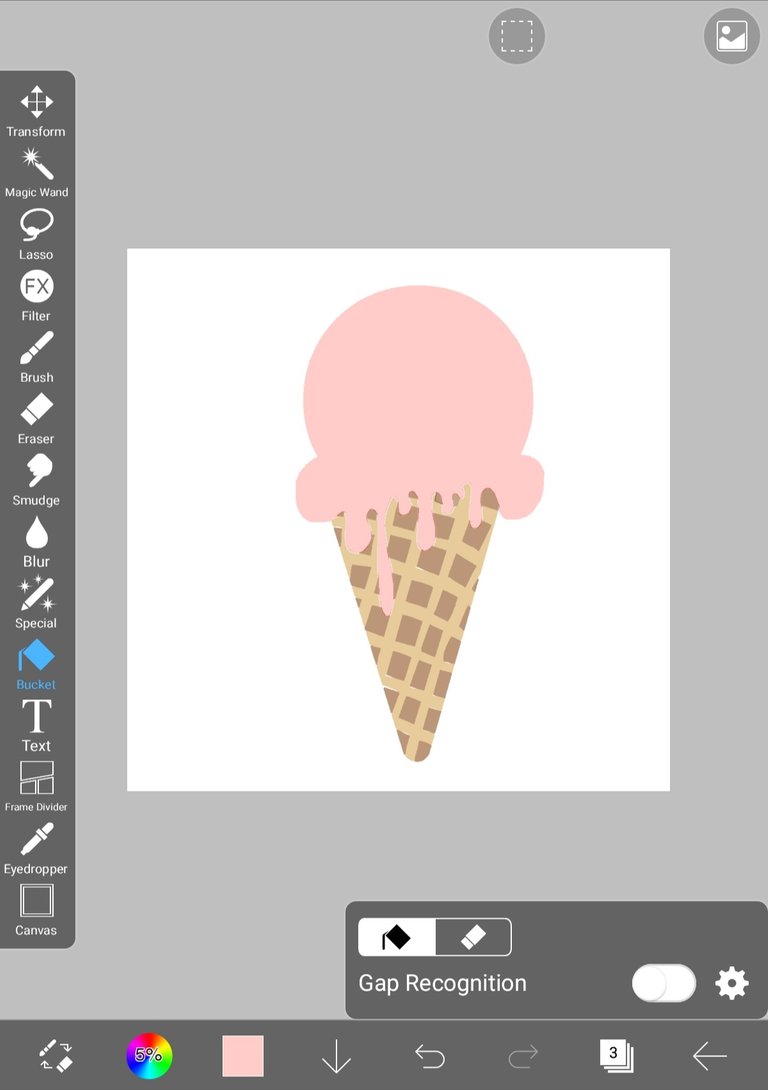
Next we create layer 3 in the lower toolbar to color the image
Choose pastel pink for the ice cream, light brown for the cones and the dark brown cone box detail on the bottom toolbar
Use the bucket on the toolbar beside and color the image
After giving color to the image, give a light dark effect according to the direction of the light on the ice cream

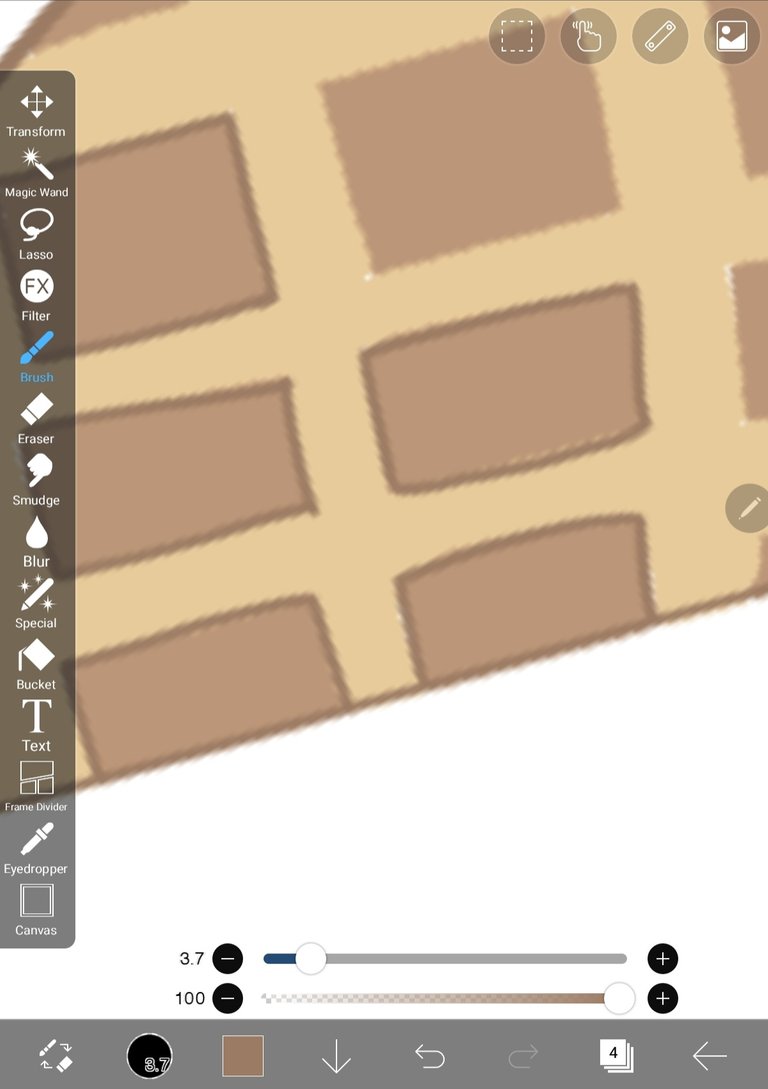
Use a brush to detail the light and dark border, then add color using the bucket on the toolbar on the side and color the image
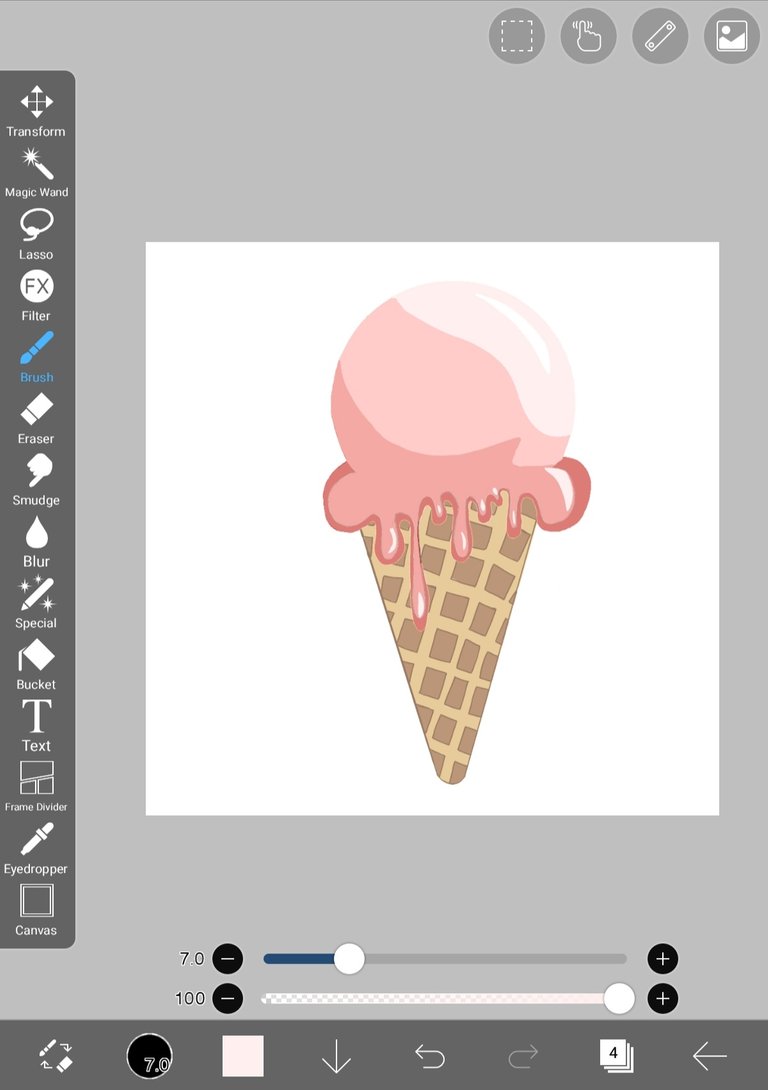
LAYER 4 SHADING AND HIGHLIGHTING
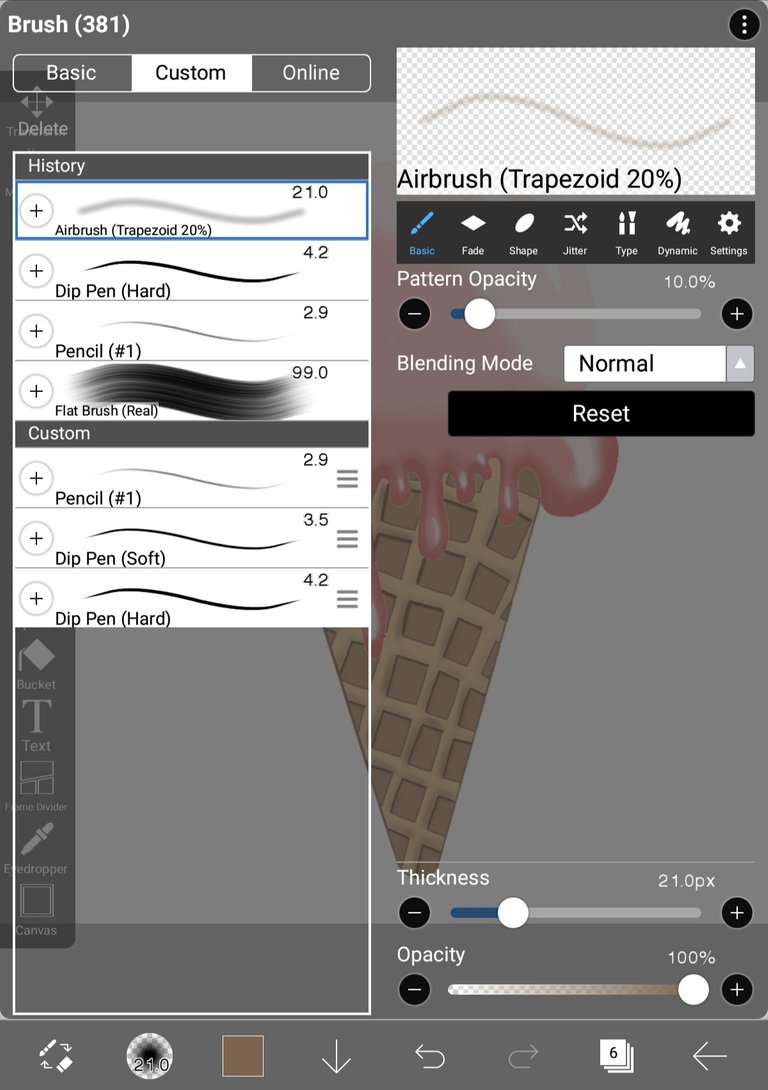
To make it look like there is volume, I give shading and highlight effects to the ice cream image
Use the brush on the toolbar beside, then select a custom airbrush, adjust its size and opacity
The color used is adjusted to the color of the ice cream using an eyedropper
Then color the border between the colors so that they are evenly mixed and soft, do the same thing with the ice cream cone
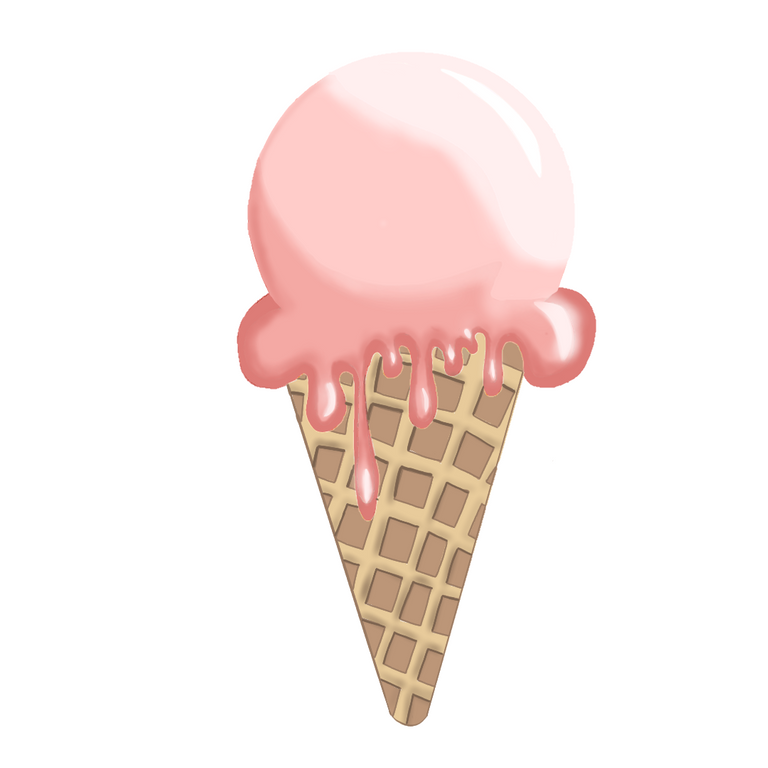
Here's a picture of the ice cream as a whole
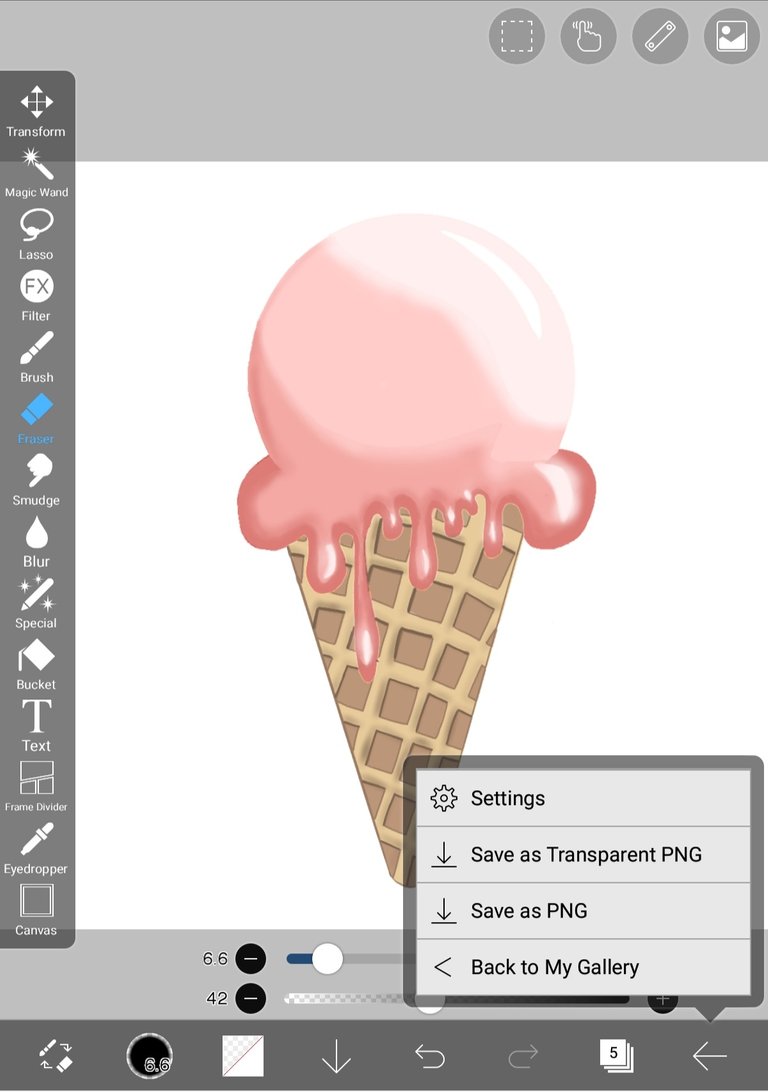
Select save as PNG to save the created ice cream image.
RESULTS OF DESIGN IMAGES
STEPS TO MAKE IMAGES OF ICE CREAM CONE
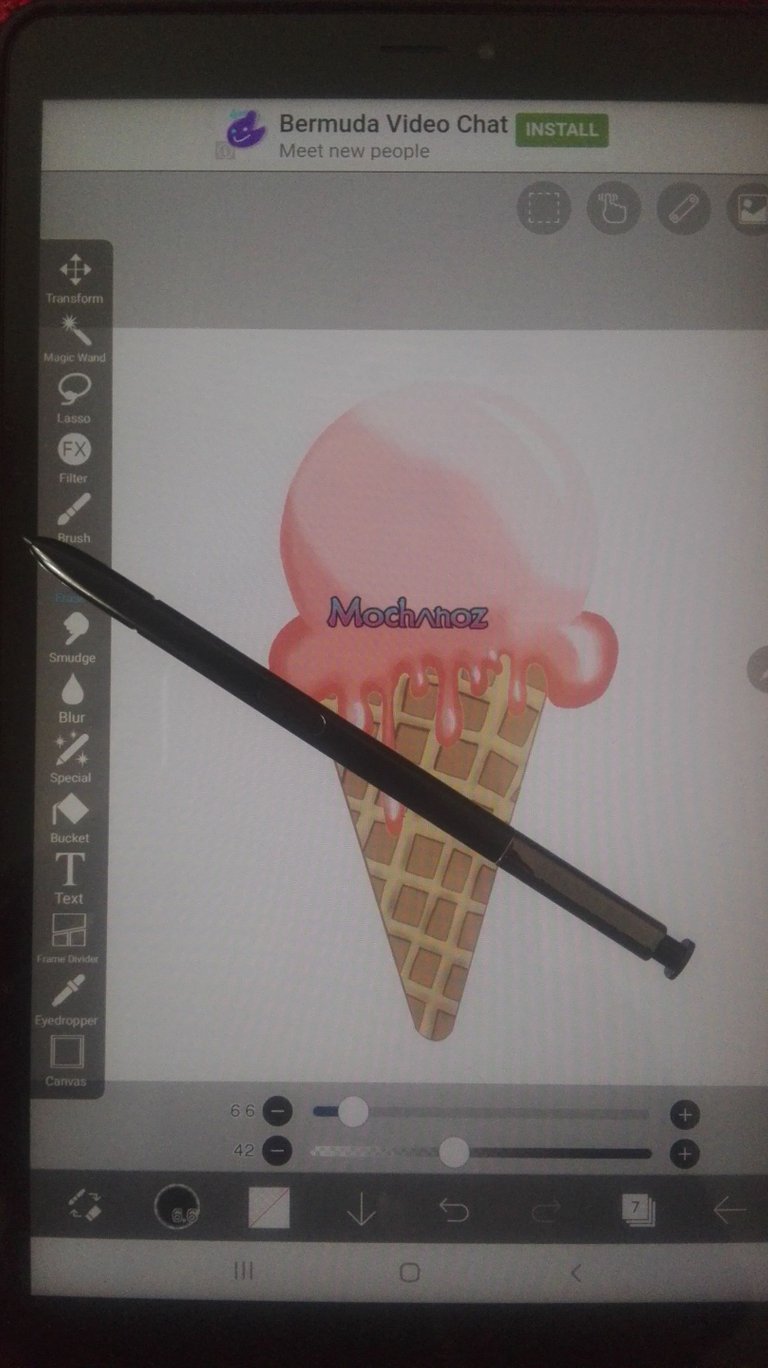
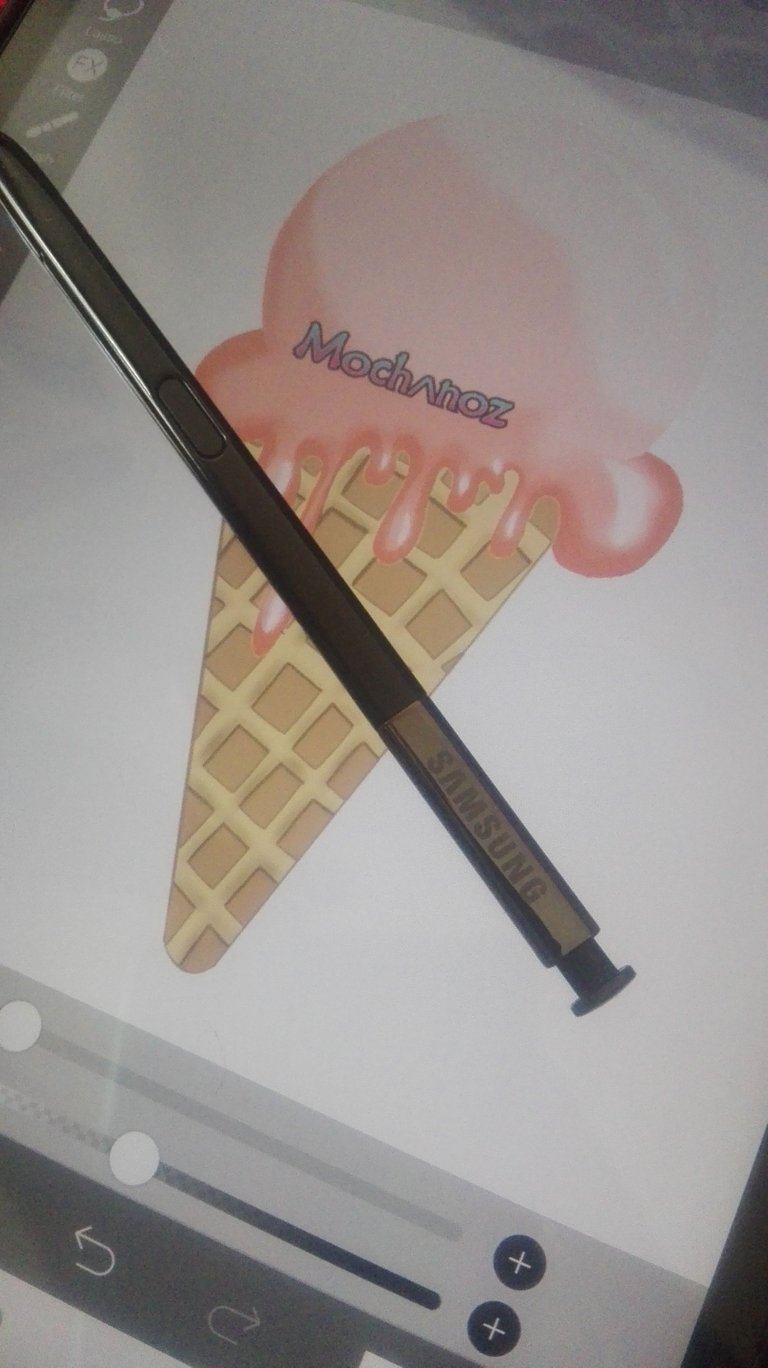
I'm using Galaxy Tab A with S Pen
My NFT
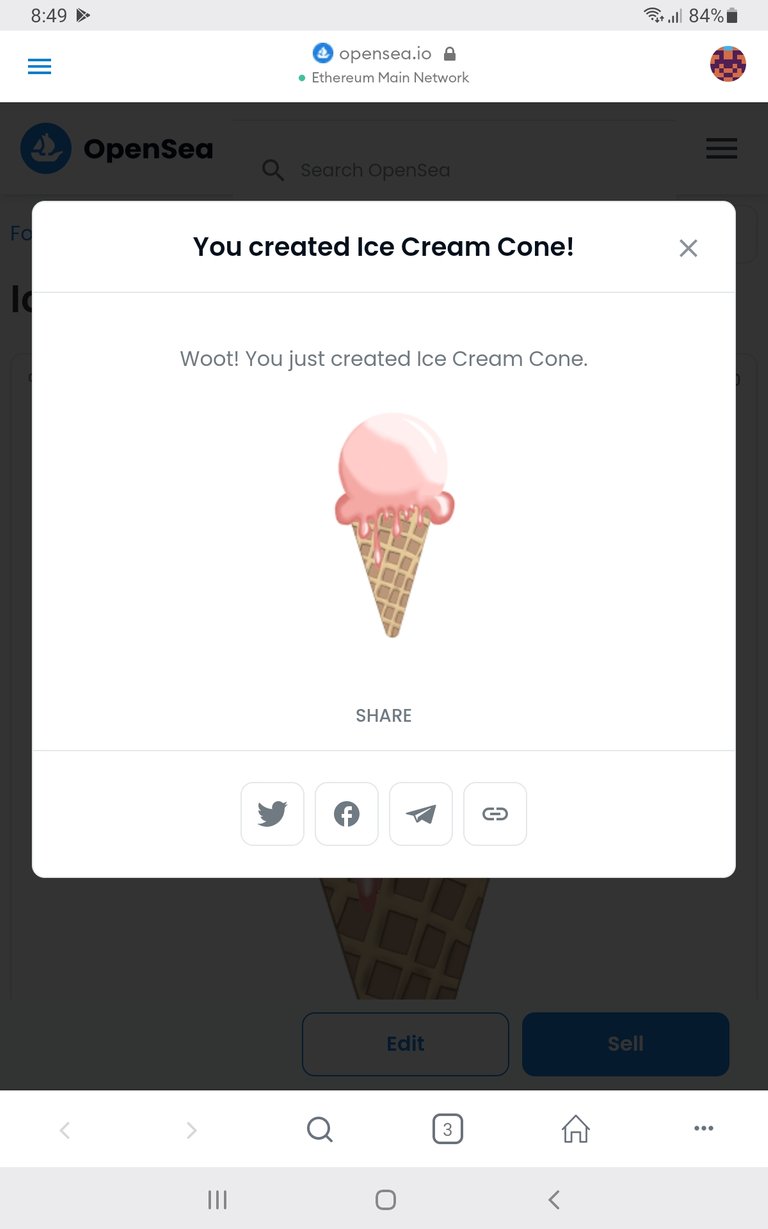
Title: Ice Cream Cone Strawberry Flavor
Collection: OpenSea
Description: Ice Cream Cone is an artwork created by MOCHANOZ that 2D techniques .
Technique: 2D
Collect it at: OpenSea
Chain: Ethereum, Price 0.005
Thank you for visiting this post. Look forward to my next work.
Visit My Gallery:
Twitter |Instagram |OpenSea |Hive
0
0
0.000
https://twitter.com/mochanoz/status/1476903606662037508
The rewards earned on this comment will go directly to the person sharing the post on Twitter as long as they are registered with @poshtoken. Sign up at https://hiveposh.com.
Enhorabuena. Has recibido apoyo
The Creative Coin Fund.
Únete al servidor de Creative Coin y comparte tus publicaciones.
Congratulations. You have received support from
The Creative Coin Fund.
Join the Creative Coin server and share your posts.
Selección manual de @mazquel
Image by barbara-orenya