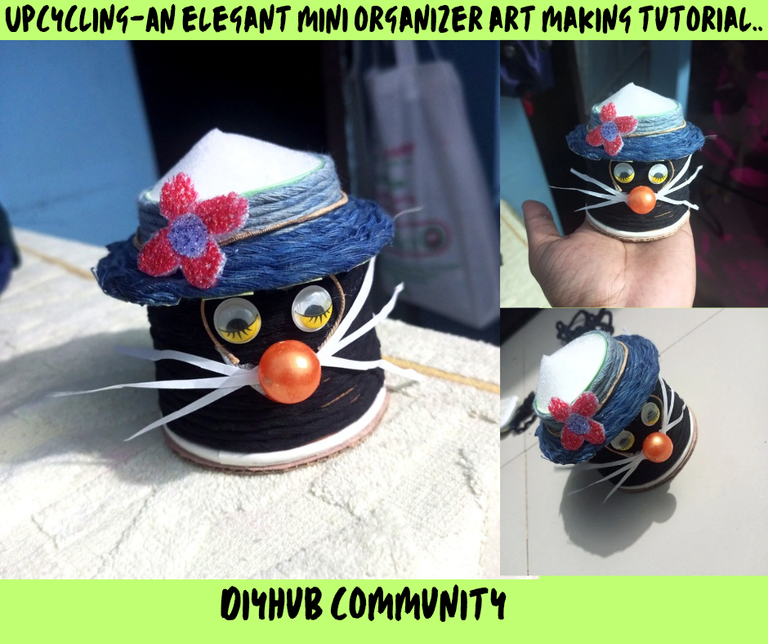
Upcycling-An elegant mini organizer art making tutorial.
 |
|---|
Especially the best waste craft ideas praise creative DIY projects along with promoting environmental care.

Along with that, I show you how to cut a paper cup into a beautiful and elegant mini organizer. These special creative arts always make discarded things usable. Also, it is really fun to use practical products again. These threads were stored in our house for a long time. Suddenly I found them. Later, I will carefully think about these threads and create a beautiful and elegant small creative art.
You all will find today's beautiful mini organizer suitable for storing small items like jewelry, beads, and even dress supplies. As an old upcycling, the organizer will always promote environmental care. So let's follow our art making steps.
Here I will try to list all the materials used to make today's amazing organizer, along with their names.
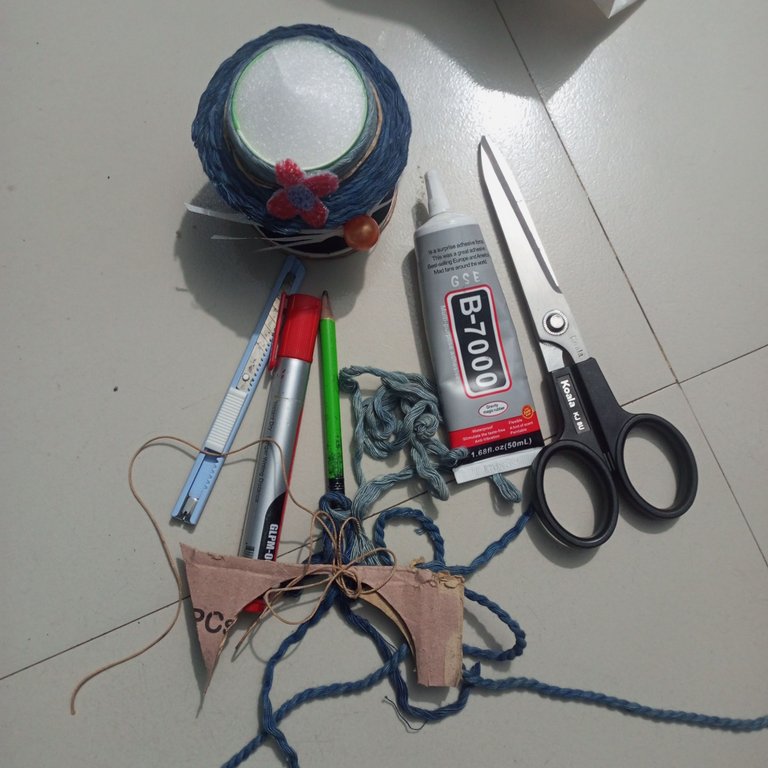
🌺Yarn bundle
👁️Anti cutter
🤔Marker pen
🤔B-7000 glue
🤔Scissors
🔵Cardboard
🔵Parachute
⛲Paper cups 2 sizes
⛲2B dark pencil
👨🔬Plastic ornament
👨🔬White paper
🔵Ornament design two eyes
Step by step making tutorial
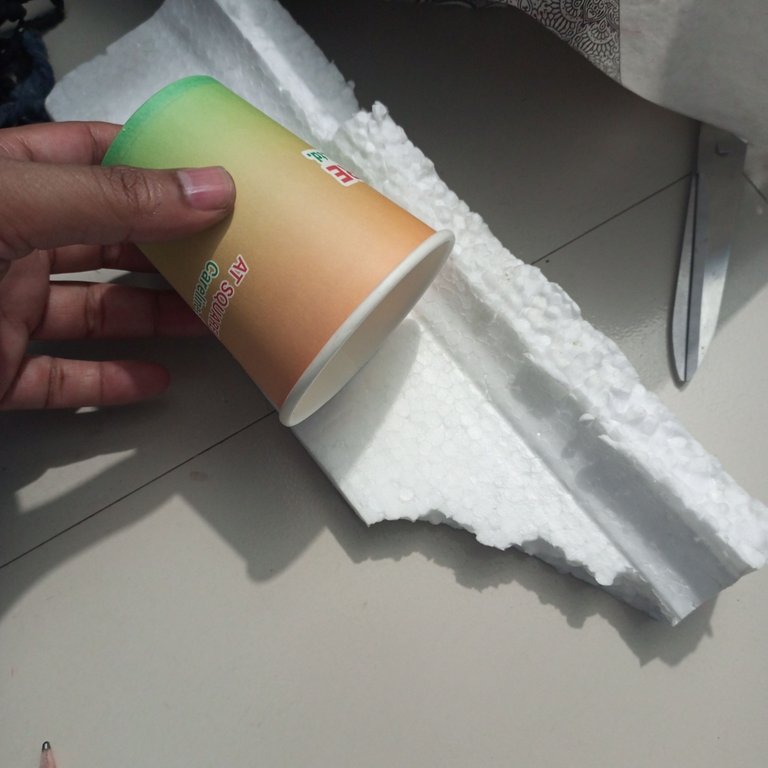
First, I collected an abandoned paper cup among the necessary materials. Later, I made this cup fully usable.
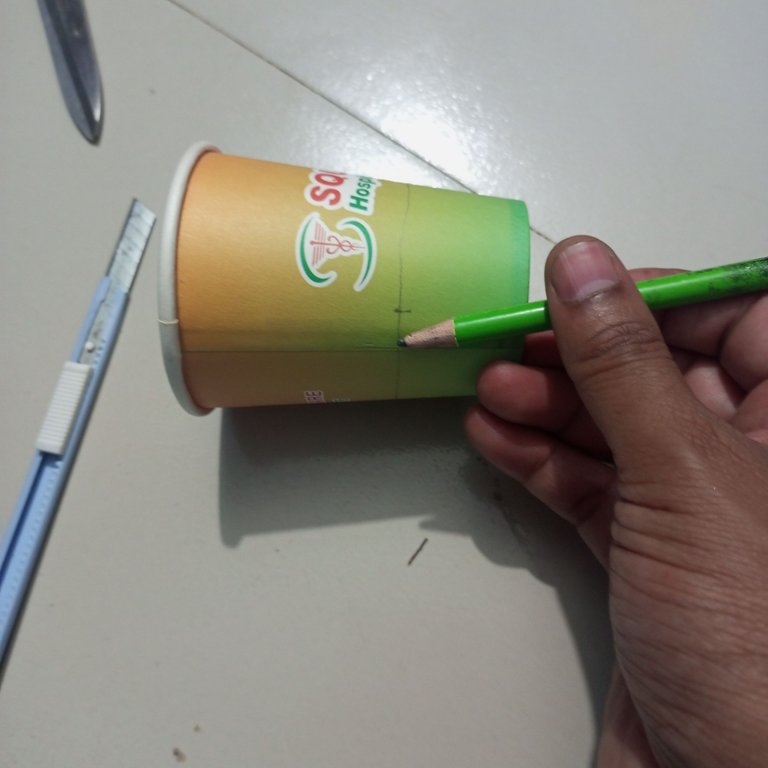
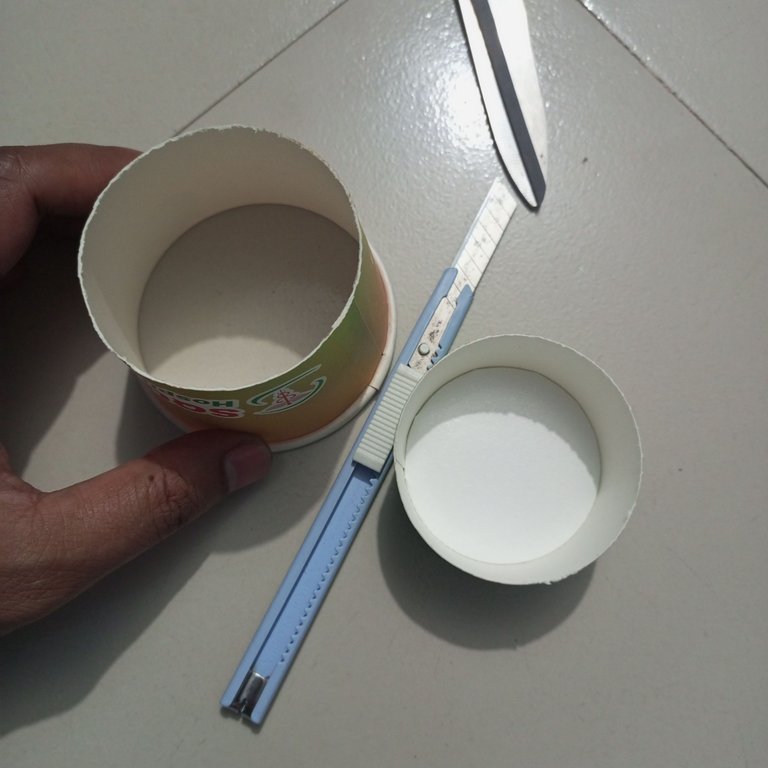
Next, here I carefully cut according to the drawing using an anti-cutter with great feeling.
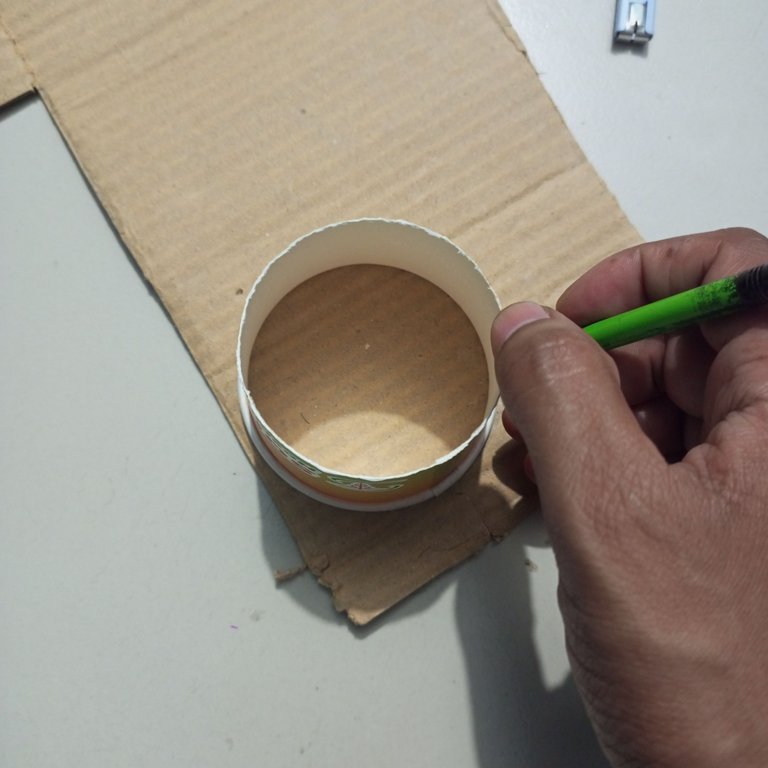
Here I have placed the paper cup on top of the cardboard and drawn it with a pencil.
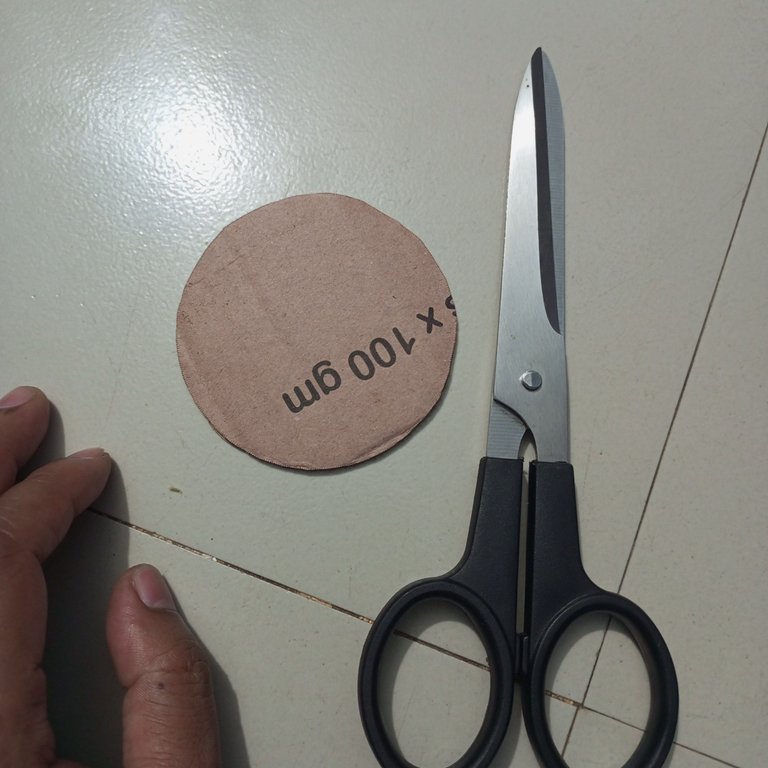
Here I have cut the cardboard piece with great feeling using scissors. You can see it in the exhibition.

Next, I attached the cardboard to the bottom of the paper cup using B-7000 glue.
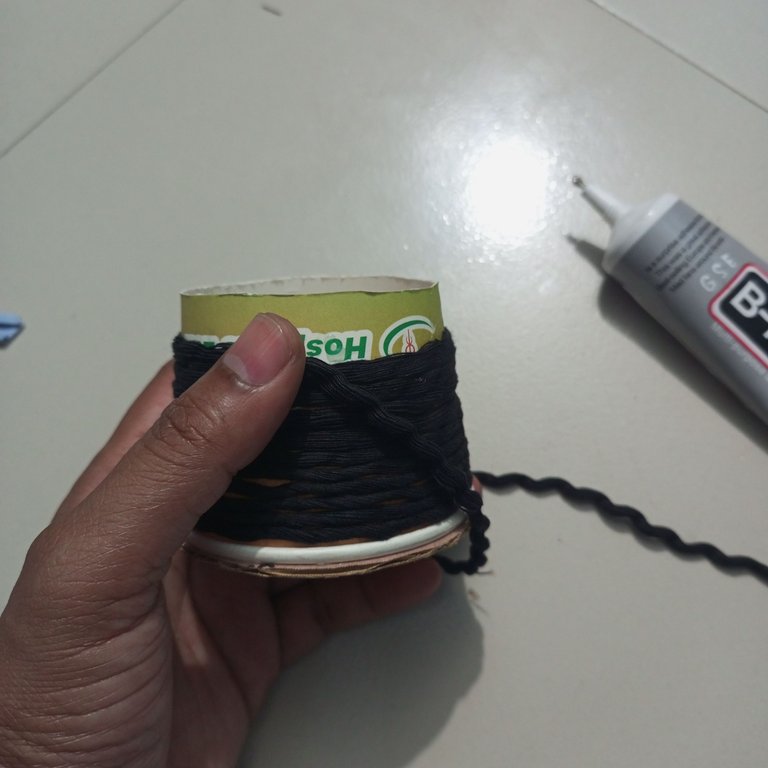
Then here I have wrapped the entire paper cup around the outside with a great feel, carefully wrapping it with yarn and gluing it together.

Then here I cut the bottom of the paper cup by two centimeters with scissors.
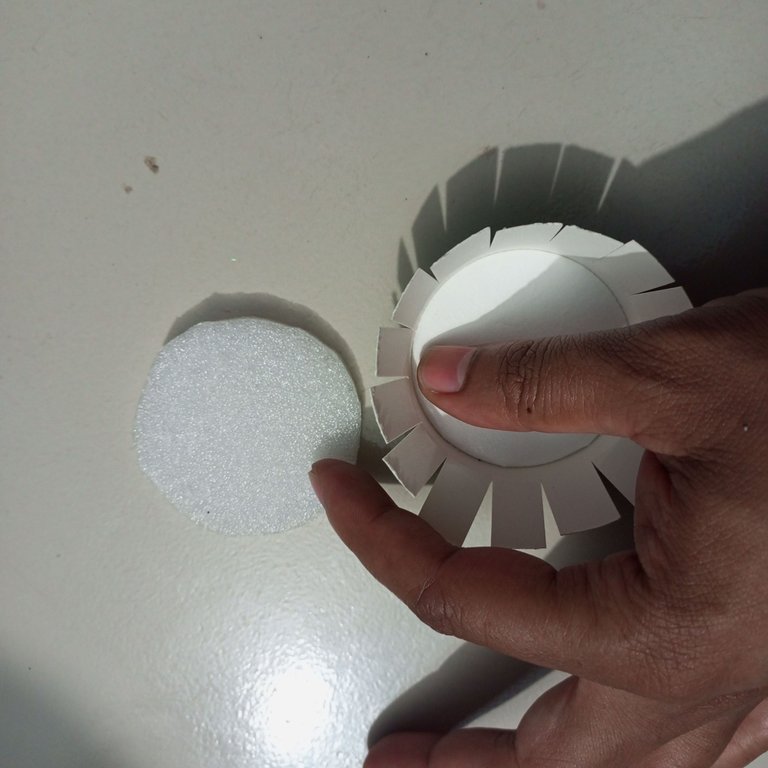
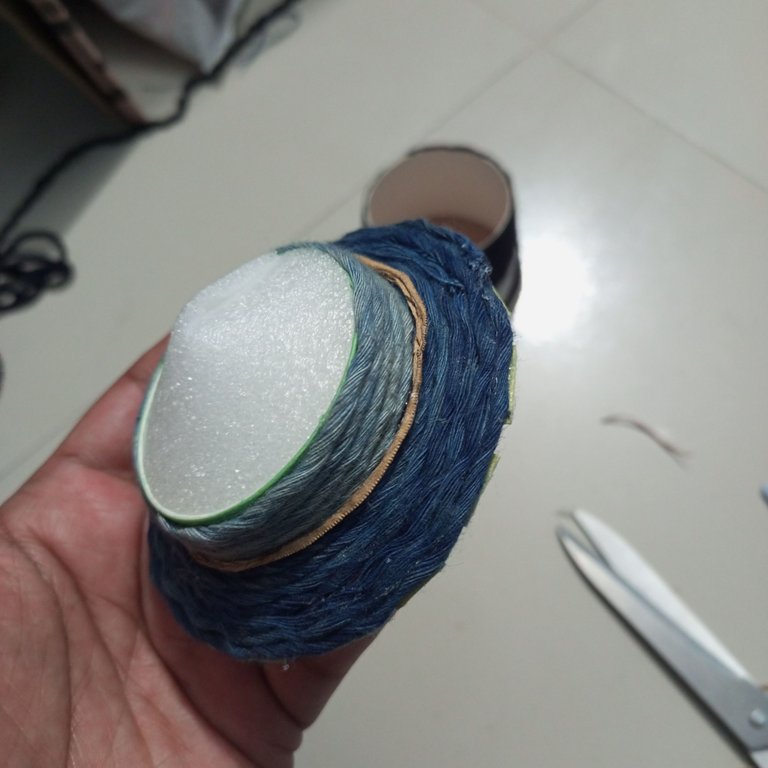
Then I cut the cockpit sheet neatly with scissors to use the cockpit sheet with a great feel for the interior.
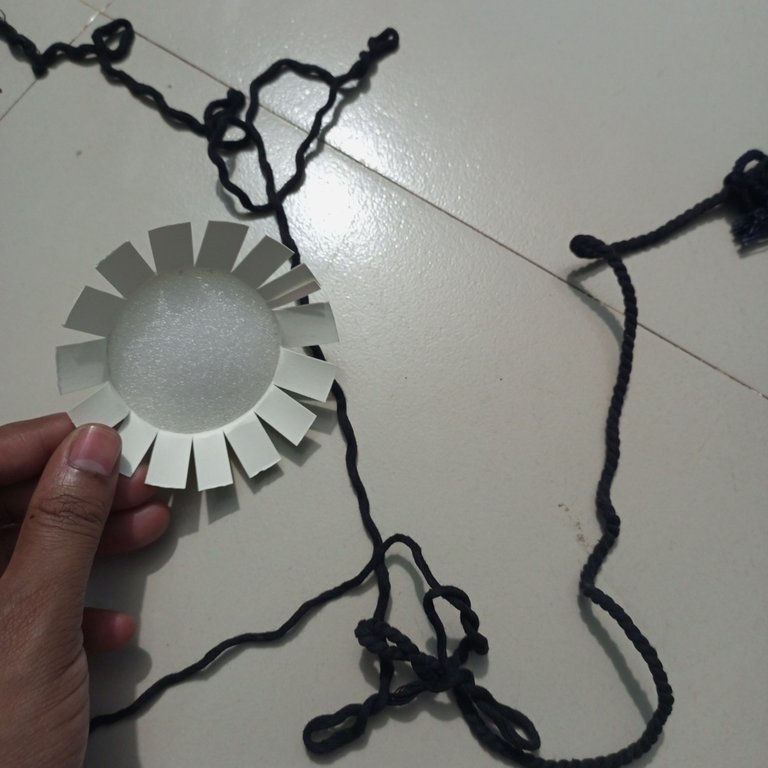
Next, I glued the cockpit sheet to the inside with great feel.

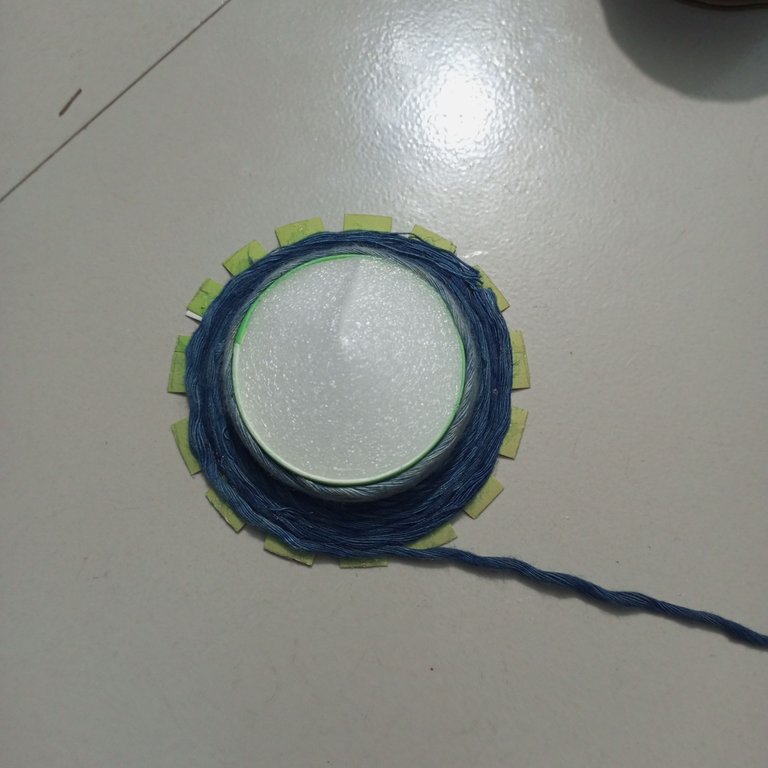
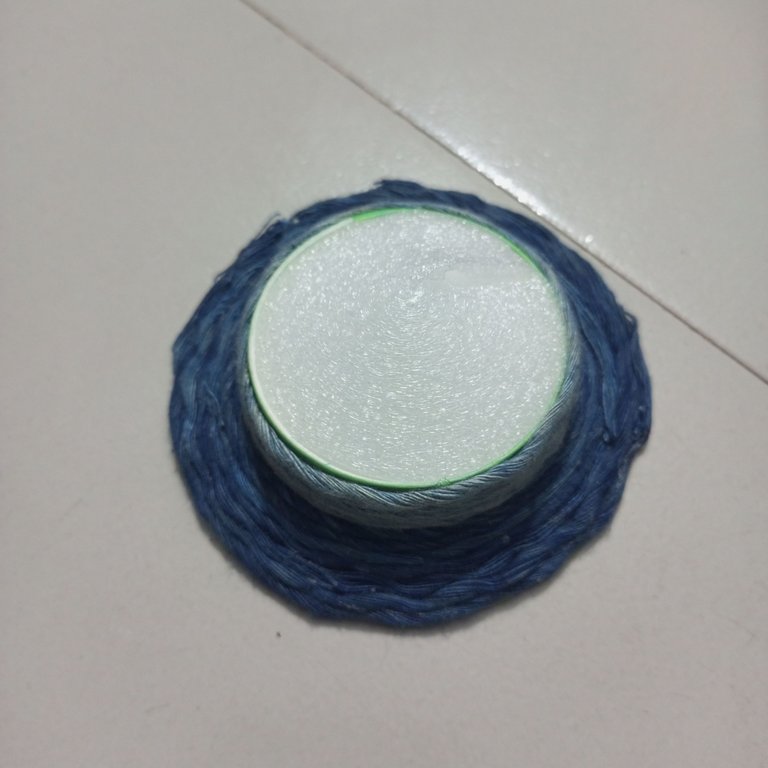
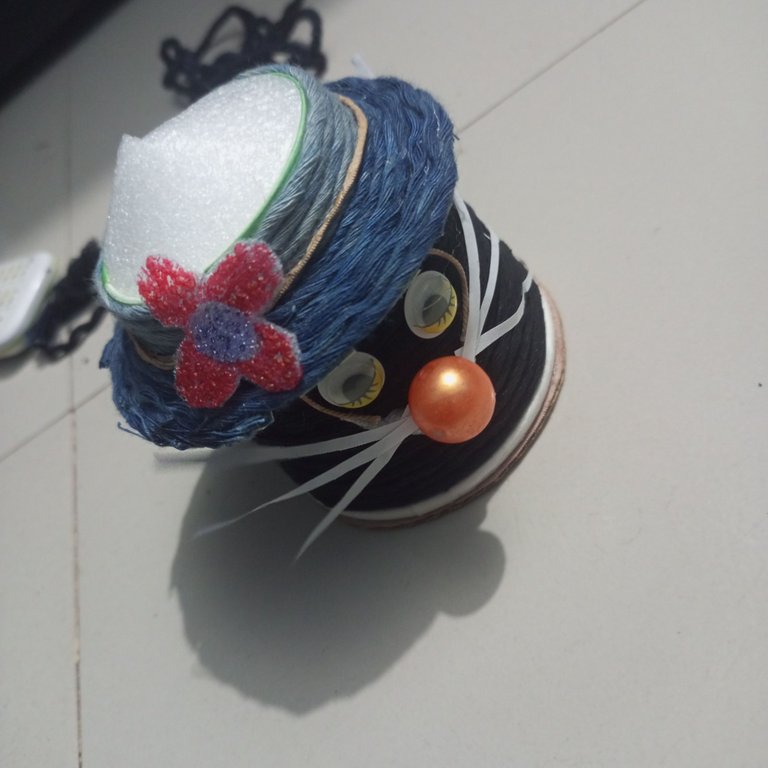
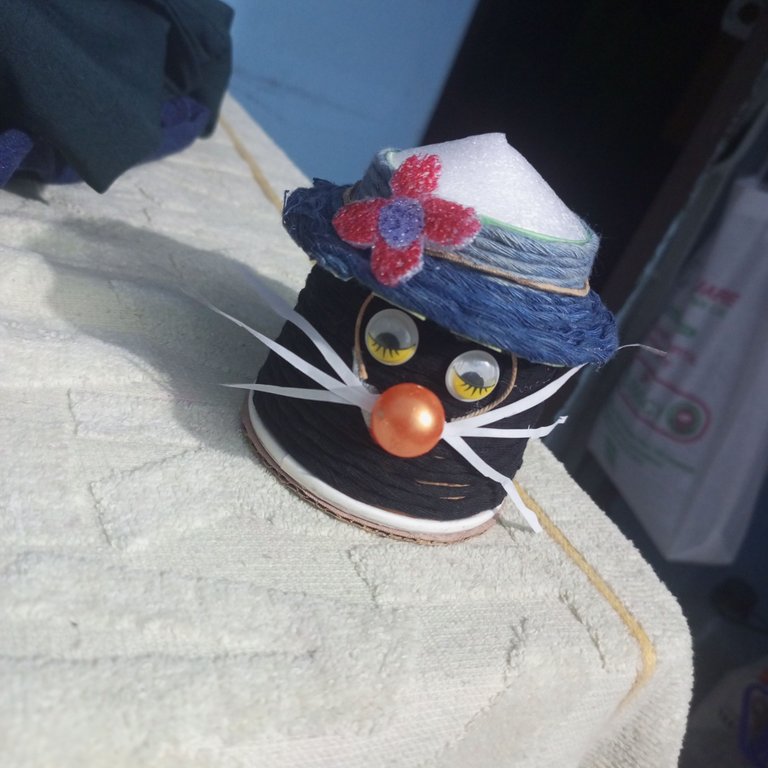
Then I carefully wrapped the yarn from the top to the bottom using glue. In this exhibition, you can see that our beautiful lid or hat is ready.
Next, I cut a thin piece of cardboard and then shaped a beautiful design in the middle of the hat and attached the long piece of cardboard using glue.
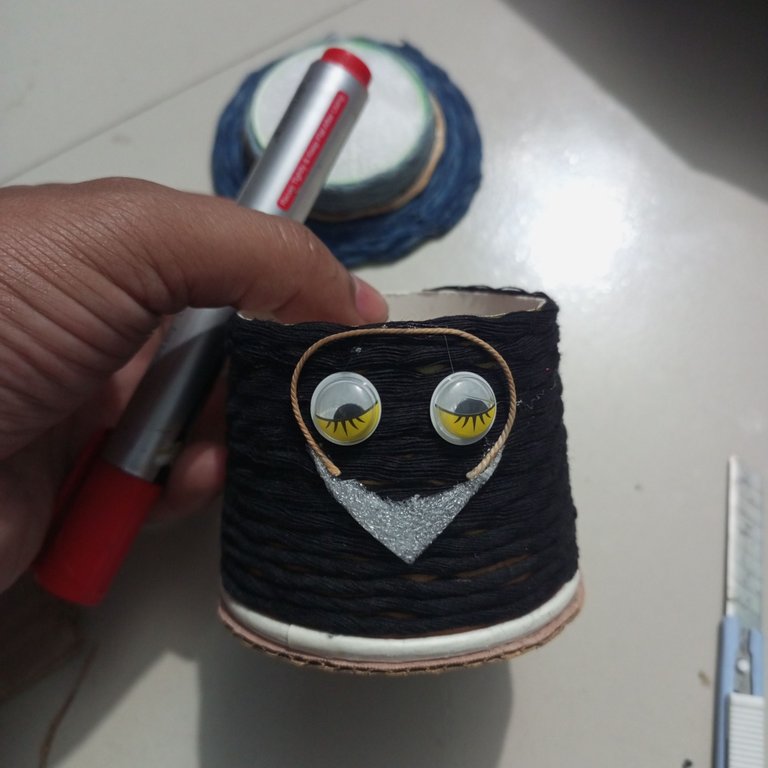
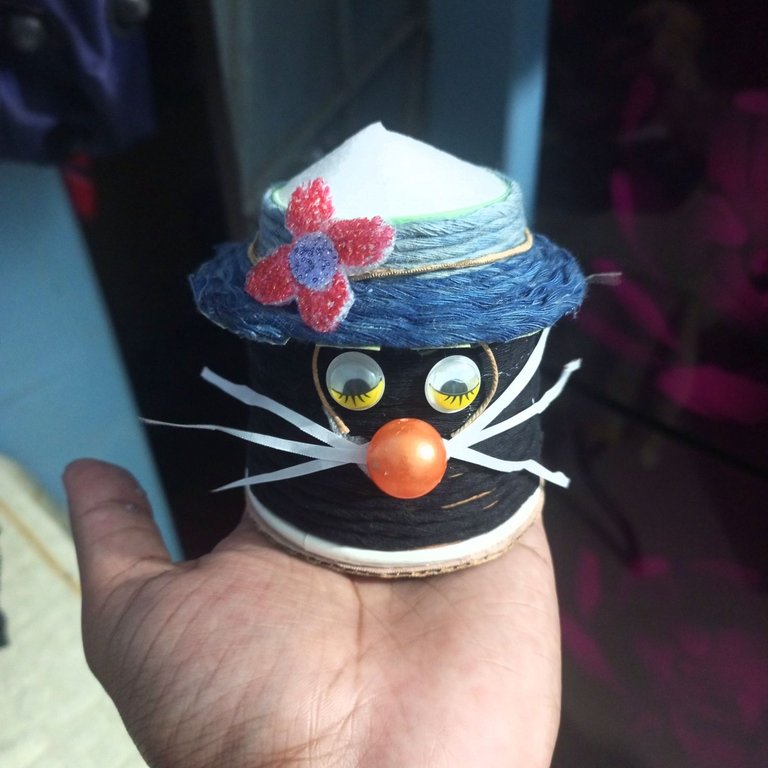
- Here I have tried to create a beautiful elegant cat face shape using parachute and cockpit sheet. Along with that I have added ornamental eye shapes.
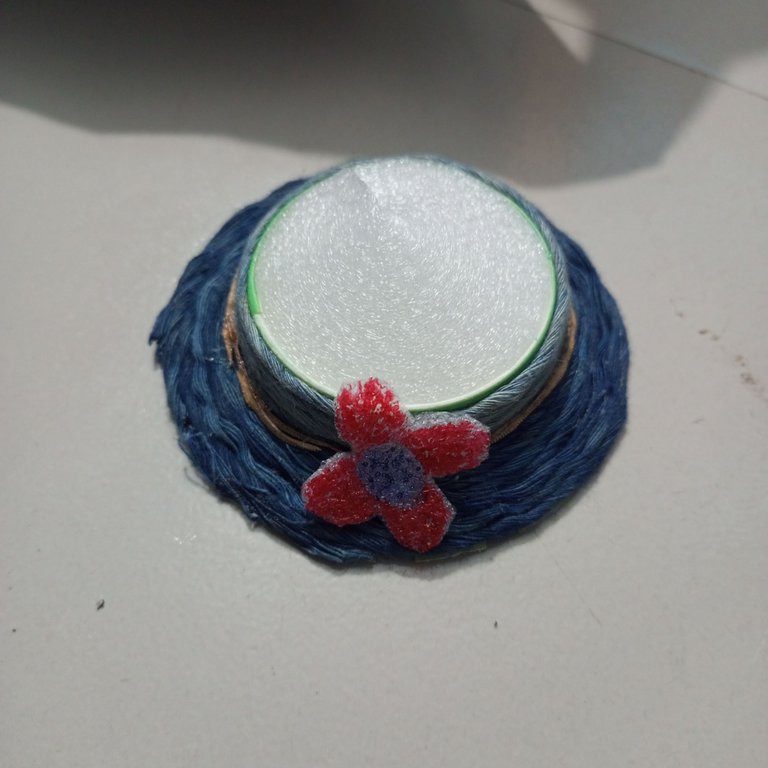
In this step, I have prepared a flower shape by sizing a great cockshit on the side of the cap. Later, I have colored it using a marker pen, you can see the other color in the middle.
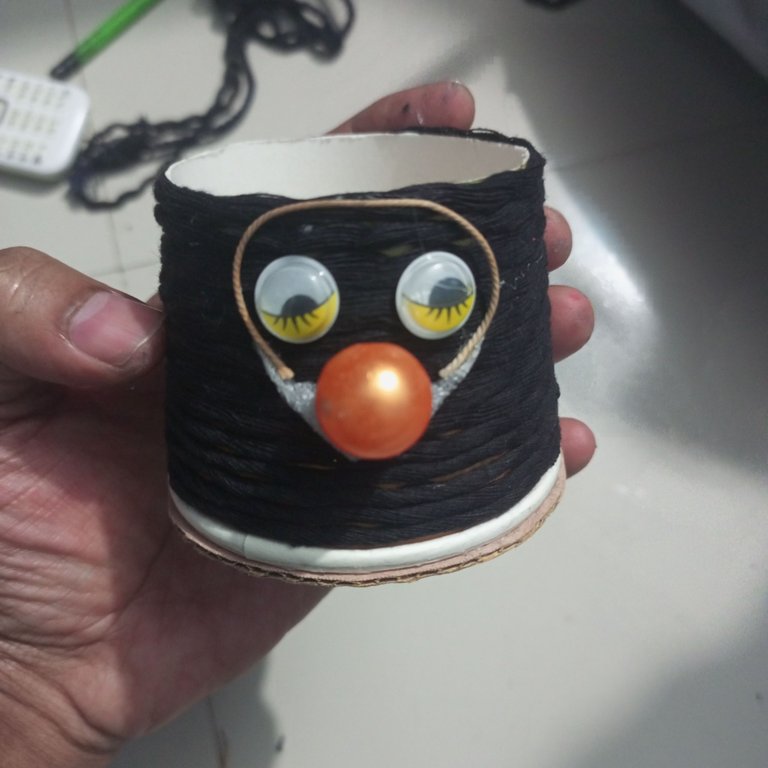
Then here I have attached the circular shape using a garland stick glue. Which is basically trying to show you all the shape of a part of the cat's nose.
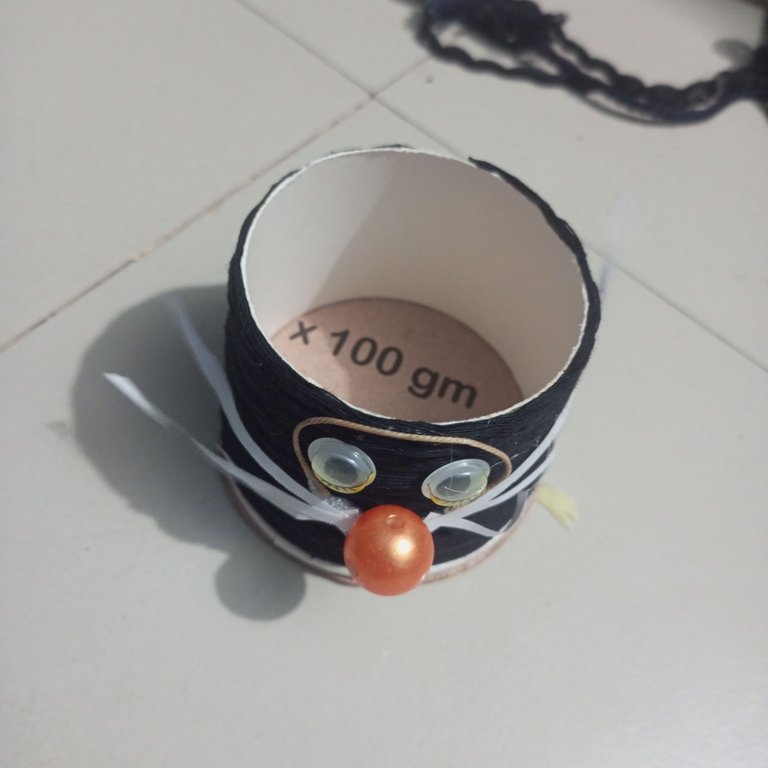
Here I have cut the white paper with scissors with extraordinary feeling. Later I have attached the white paper piece to the six sides in a long way. Which shows the squiggles on the sides of the cat's nose.
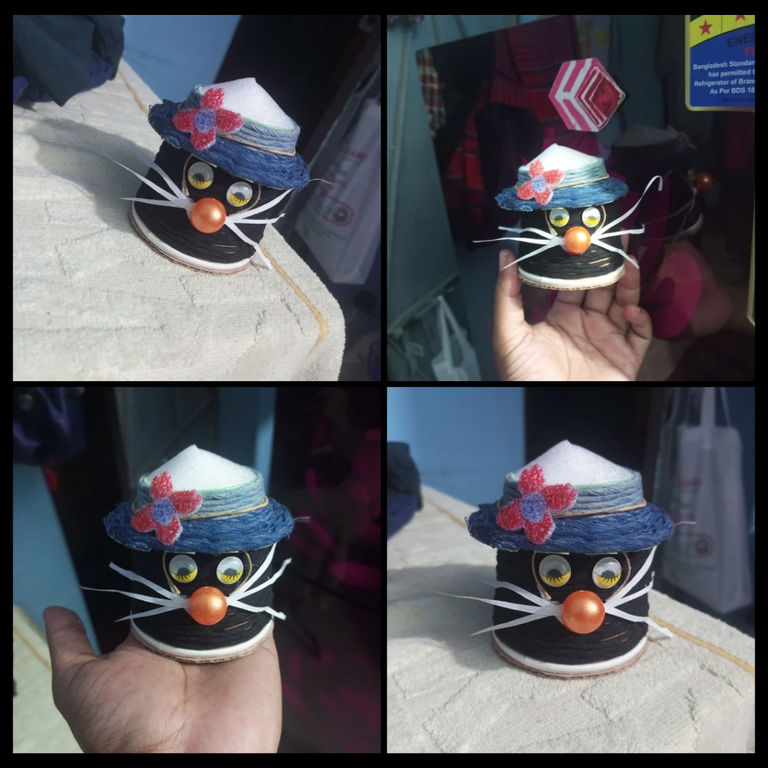
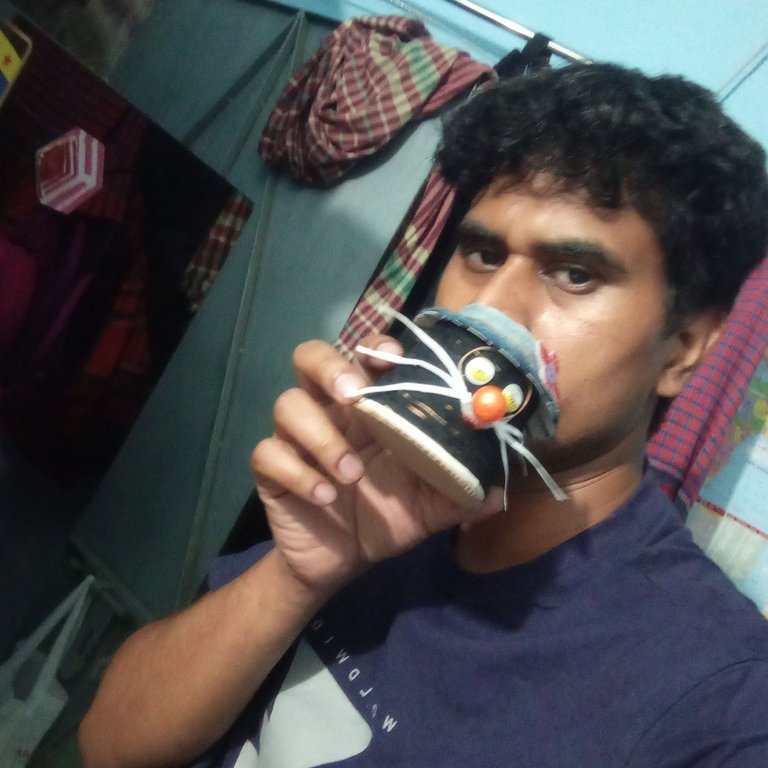
I showed off a selfie after creating this awesome art today.
You can check out this post and your own profile on the map. Be part of the Worldmappin Community and join our Discord Channel to get in touch with other travelers, ask questions or just be updated on our latest features.
Amazing work. The mini organizer is elegant and practical. great attention to structure and details.
selected by @stevenson7
Above all, thank you very much for your kind comments. I hope that this wonderful art will always entertain you in today's monthly event. I am very happy and inspired by your kind comments.
Those eyes are very special, and I love that they are black. It's great work, as always. Thank you for sharing it on DIYHub. Keep letting your creativity fly my friend!...
Above all, thank you very much for your encouragement, brother. I am very happy to know that you all like these special arts and especially that you like them very much.
Nice 😊
What a crafty way to help Mother nature and a great way to use one's time. I've been thinking of doing such and I'm glad I came across your post. I hope to start a project soon when time allows. By the way, thank you for taking the time to read my comments
Yes my place your most welcome thank you so much for you
I appreciate that a lot. Have a great day. I'll be sure to check out your post, as they are informative.
Congratulations @mdakash62! You have completed the following achievement on the Hive blockchain And have been rewarded with New badge(s)
You can view your badges on your board and compare yourself to others in the Ranking
If you no longer want to receive notifications, reply to this comment with the word
STOPBeautifully and wonderfully crafted
Oh my pleasure thank you so much for your kind words
un increíble trabajo, está genial!
amazing job, it looks great!
Thank you so much for your kind word
Not only that it's fun to make this but it's also a good way to recycle some stuff. The cap is pretty and made neatly. This can also be taught to children which can help with their creative imagination.
Above all, I thank you very much for your wonderful compliment. Above all, a beautiful and elegant art always awakens the excitement of everyone's education. Your compliment will always make me interested in creating art, thank you friend.
Elegant and cute. Love it
Thank you so much for you my pleasure
🙏🏻🌻
👁️🌺