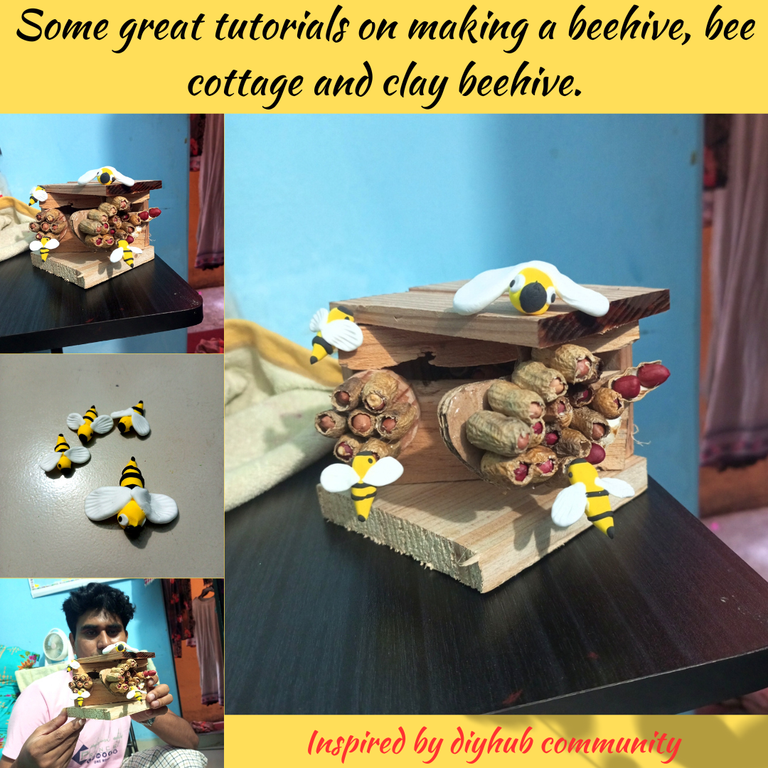
Above all, by the grace of the great creator, I pray for you all to have a beautiful day and a happy time with your family. Today, I have joined my beloved diyhub community and have made myself interested in making natural beehives and beautiful beehives with bee nests.
To inspire these little bees, especially the queen bee, I have brought today's beehive and beehive making tutorial with beehives and beehive nests. I will leave this participation today by using
#beediy especially to participate in the challenge organized by the community. Surely you will enjoy this wonderful art as a natural art with joy. Thank you all.
Note:- I have been suffering from a severe life-threatening (Chikungunya fever) fever for the last three days. So I am not able to connect with you properly. High fever, whole body is full of pain. All of your prayers will definitely make me healthy, Amen. I pray to God for your health, thank you. Especially @diyhub sir, lots of love for you.
Cover Created By Canva
A creative style skill truly creates endless joy in the heart's balcony. Surely you can find your skills around you. It will definitely help you to create any art. To inspire this special bee through the use of clay, today we will make a bee nest using this wood.Along with the necessary shapes including nuts and wood, today's great industrialization will always inspire you.

A creative art is always a big part of our family of respect. Showing respect to whom is equal to keeping the embrace of my heart happy. Especially the hive platform is a great bee circle. I am really happy and inspired to be a part of this bee circle today. Of course, these extraordinary arts will inspire all of us to love bees. I always show my appreciation for the creation of the great creator from the heart. A beautiful and elegant art is truly worthy of great love. Surely, after seeing this art, you will leave your great messages and beautiful comments here.
Here I am showing all the required materials and pictures with their names. Surely you can take some experience from all these practical items in making this amazing creative art.
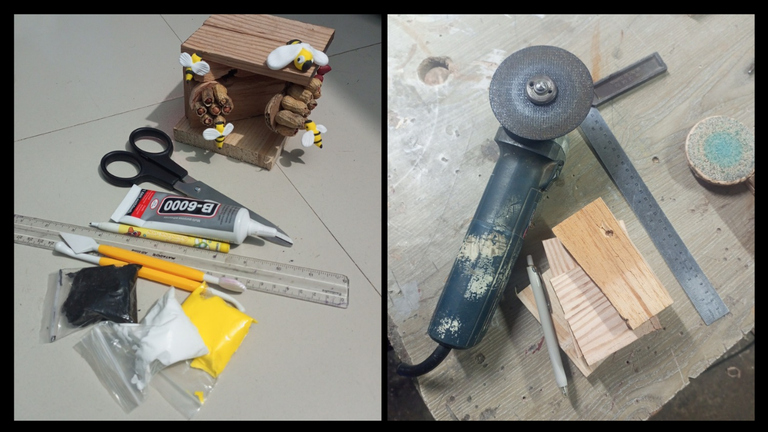
🌺Steel Scale 🌺 natural cardboard
🌺Plastic scale 🌺 Natural nuts
🌺Black colour pen 🌺 natural wood
🌺Electric cutting machine 🌺clay
🌺plastic instrument 🌺B-7000 glue
🌺Non sharpening pencil 🌺 scissors

Step by step making beediy making tutorial
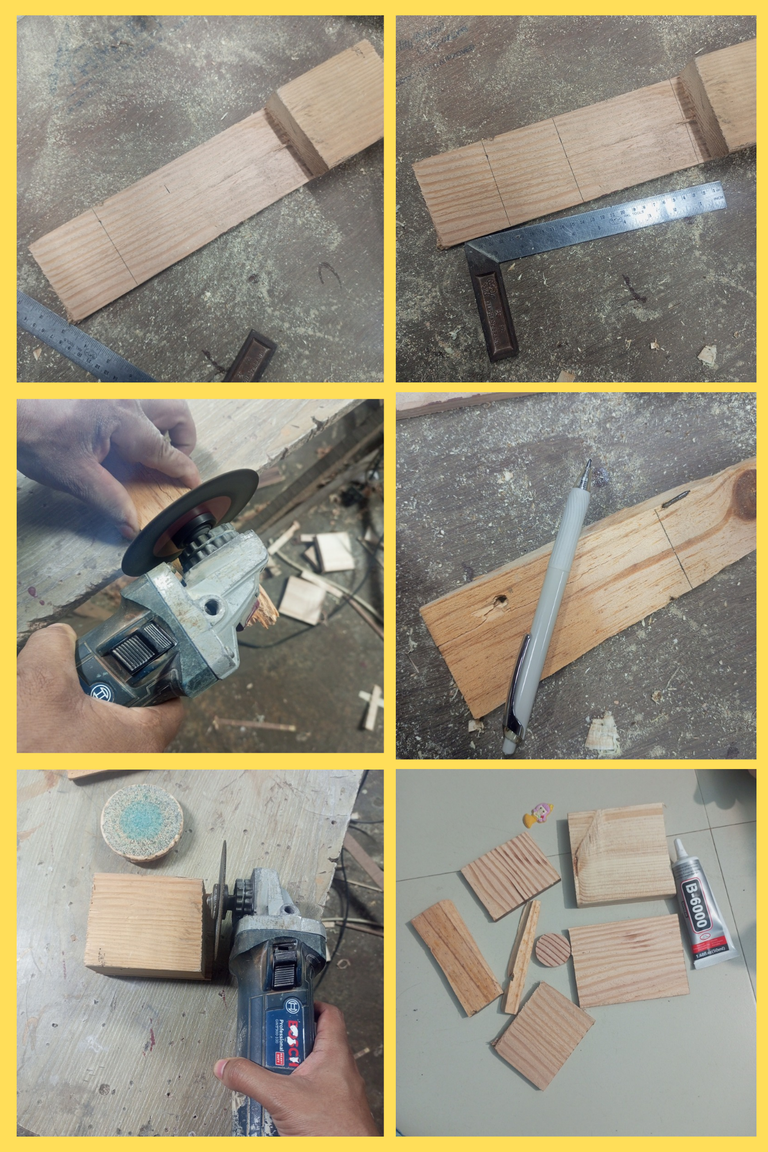
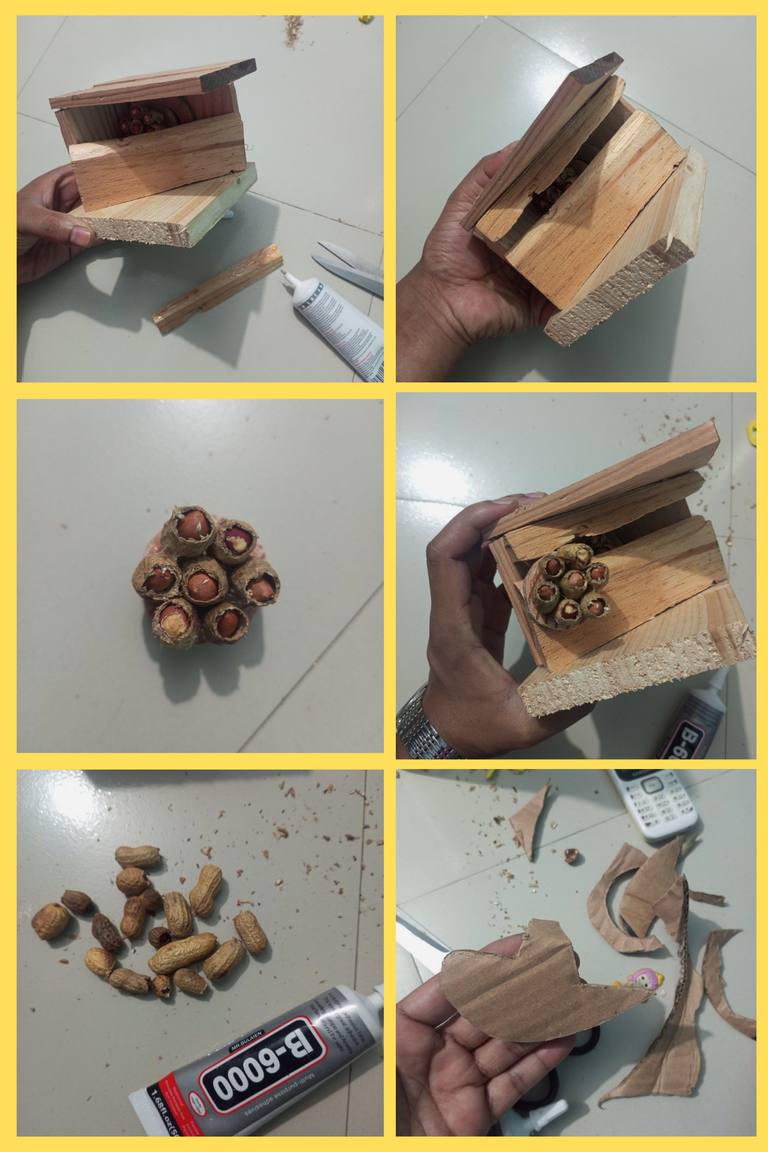
First I measured the shape of 6×8 size using a steel scale. Then I drew marks nicely using the scale according to that size. Then I cut the big piece of wood using an electric cutting machine. Then I cut a cardboard of 6×14 size by marking with a pen. Then I made a nice size. Here you can see a total of seven pieces of wood. Let us follow the next step.
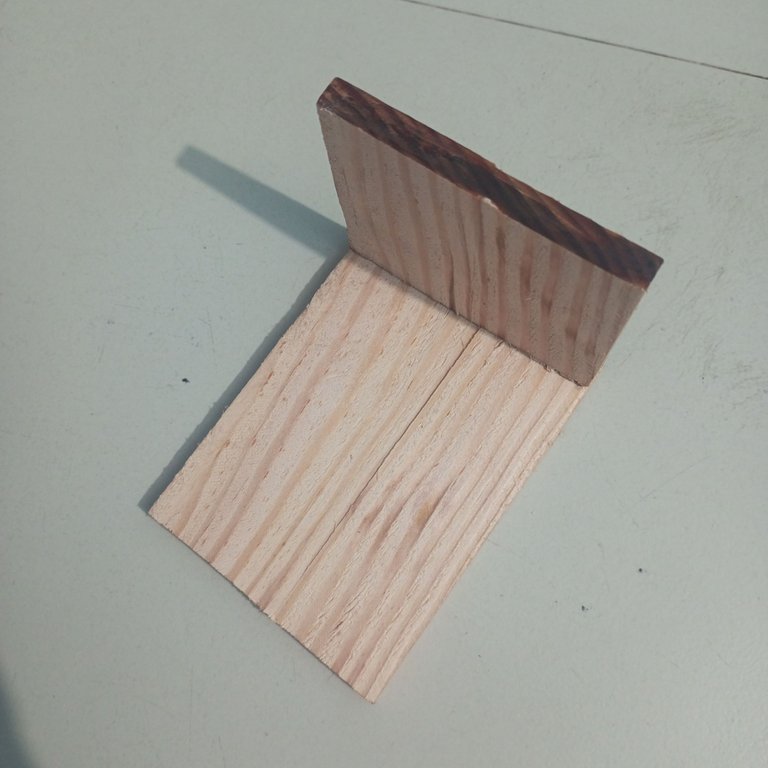
In this step, I placed the large piece of wood down and attached a piece of wood to the side.
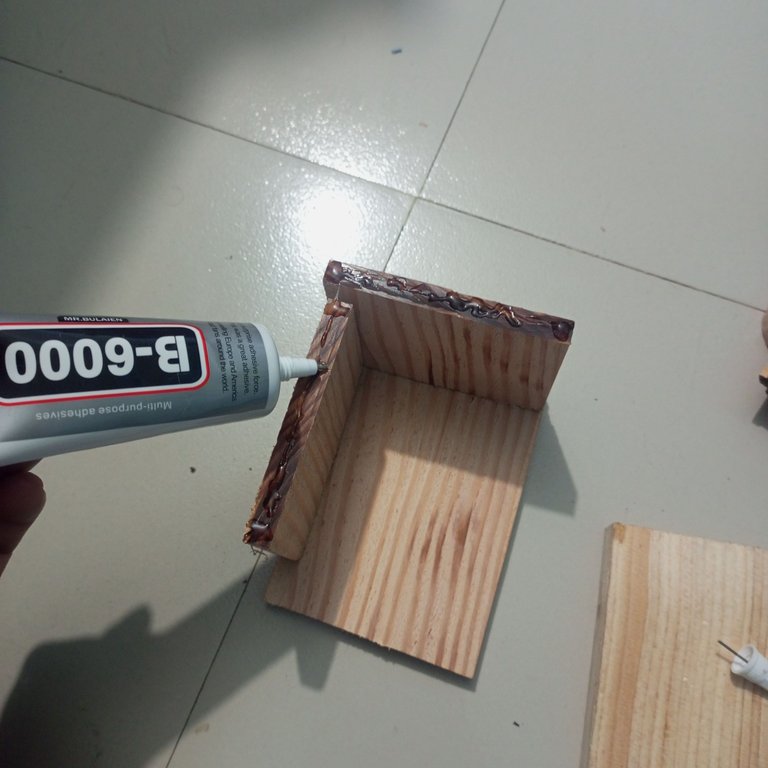
Next, I attached another piece of wood to the left side. Then I glued it to the top using B-7000 glue.
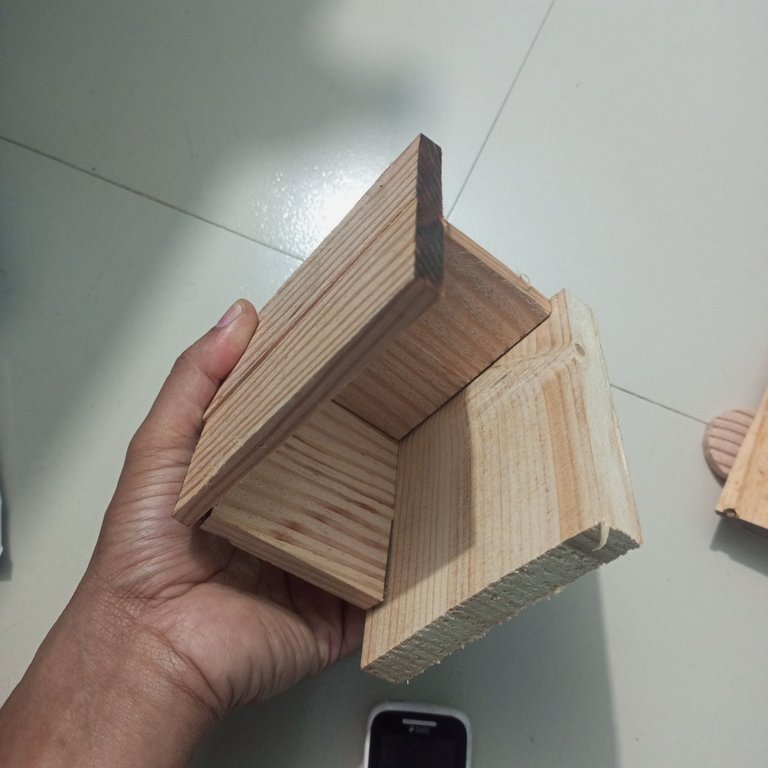
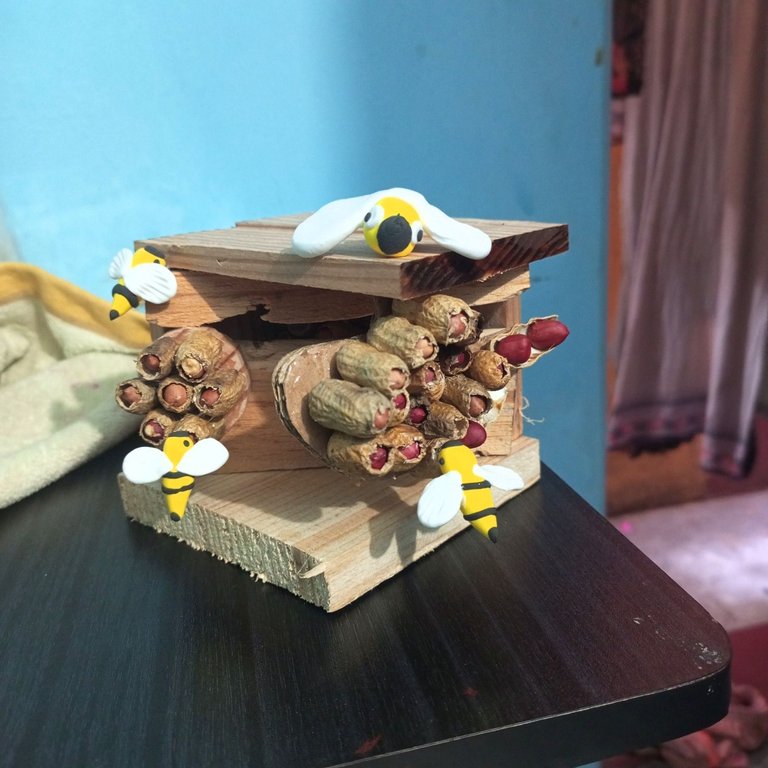
In this step I have attached a large piece of wood to the top and shaped it into a beautiful house. This is usually being made as a breeding and nesting house for bees.
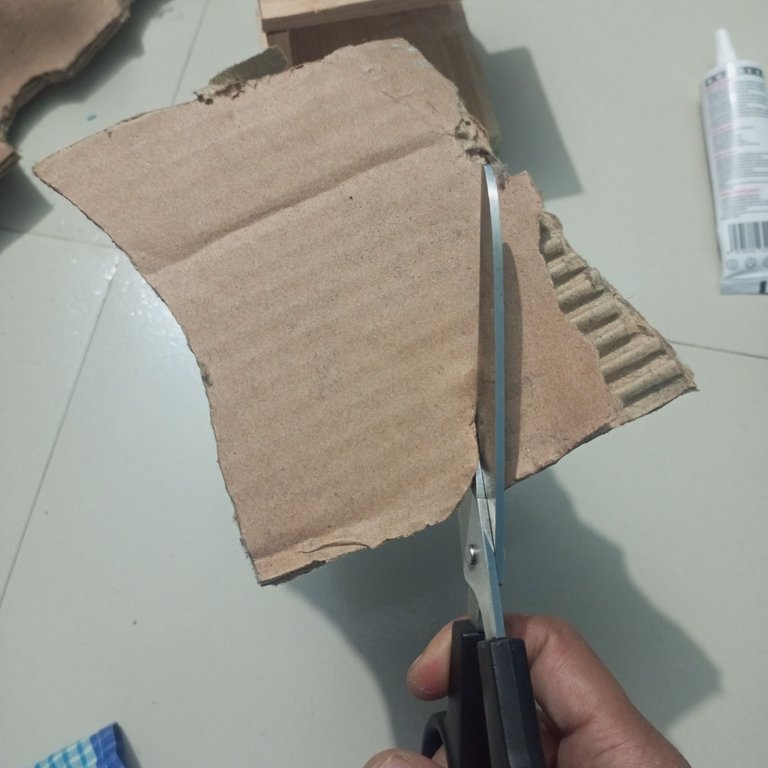
In this step I have cut a piece of cardboard with scissors. In the next step you will see that we will prepare it for making the beehive.
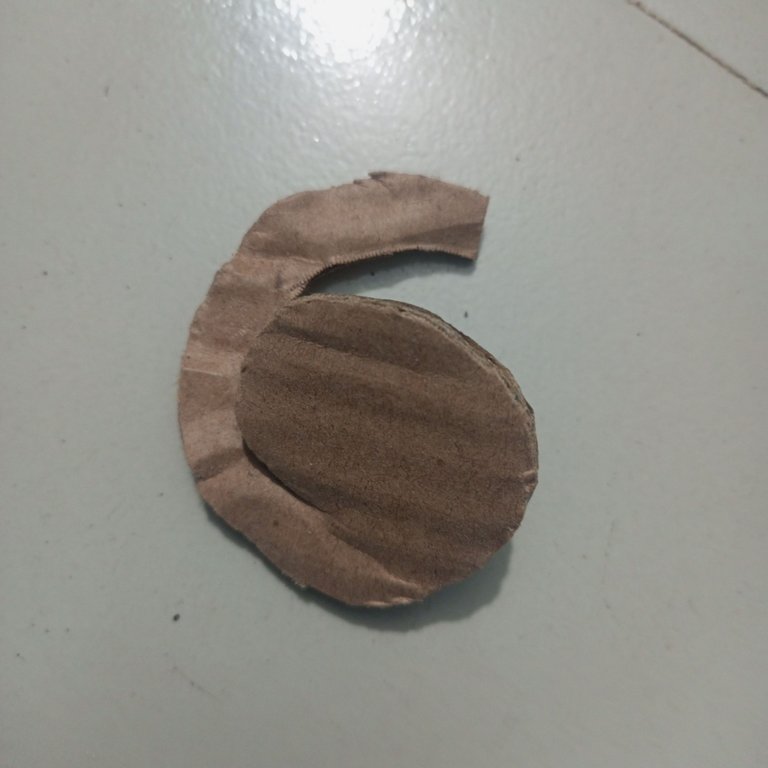
I have made the bow into a round circle shape and a coil by cutting a little bit on the right side.
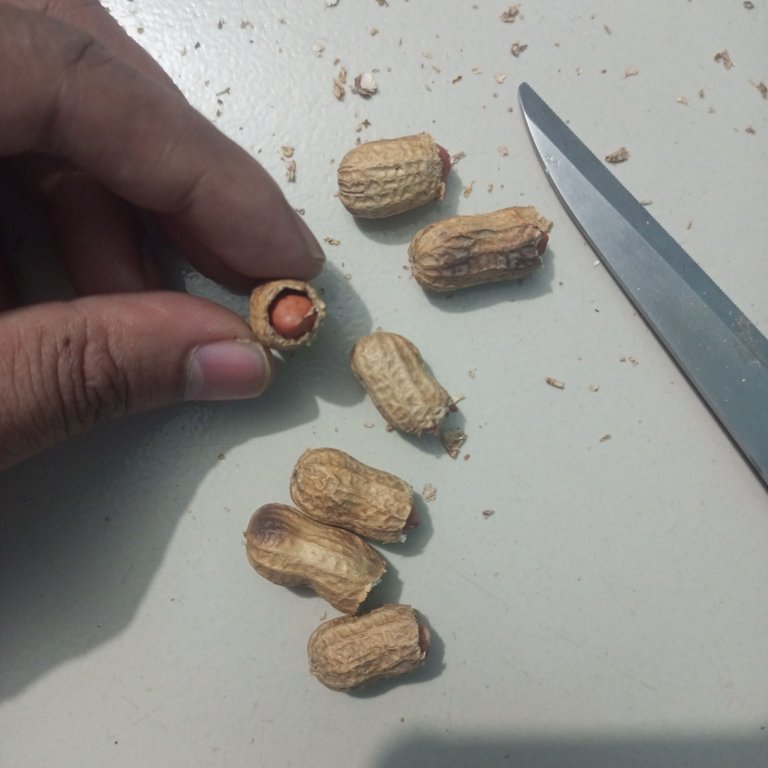
Here I have cut out parts of the almond head close up and will try to show them as a generation of bees.
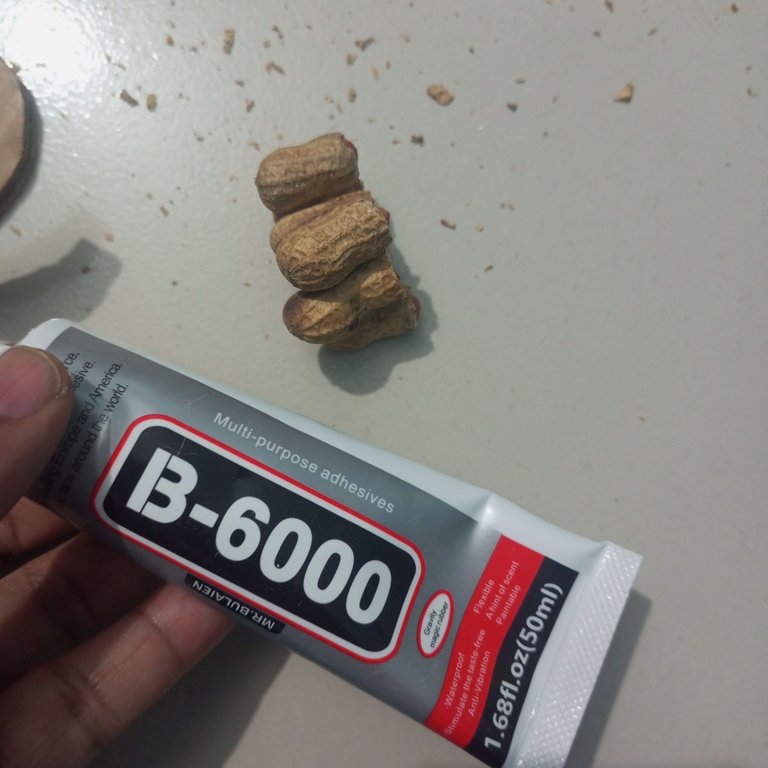
In this way, I have beautifully constructed the nuts by using glue, one on top of the other. I will present this as a generation of bees later.
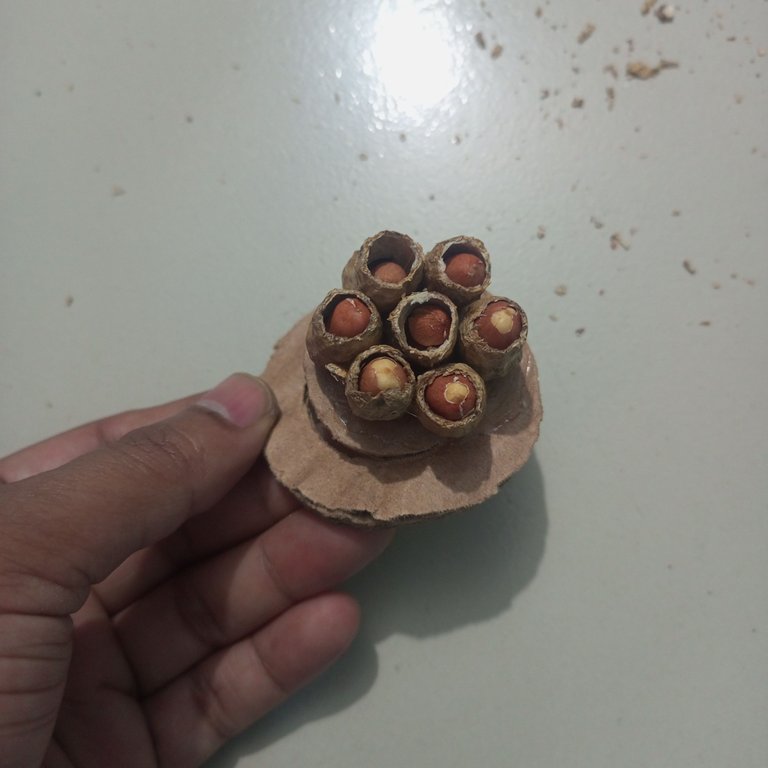
Next, I rounded the nuts together and attached them to the top of the cardboard, which looks like a beautiful bee colony.
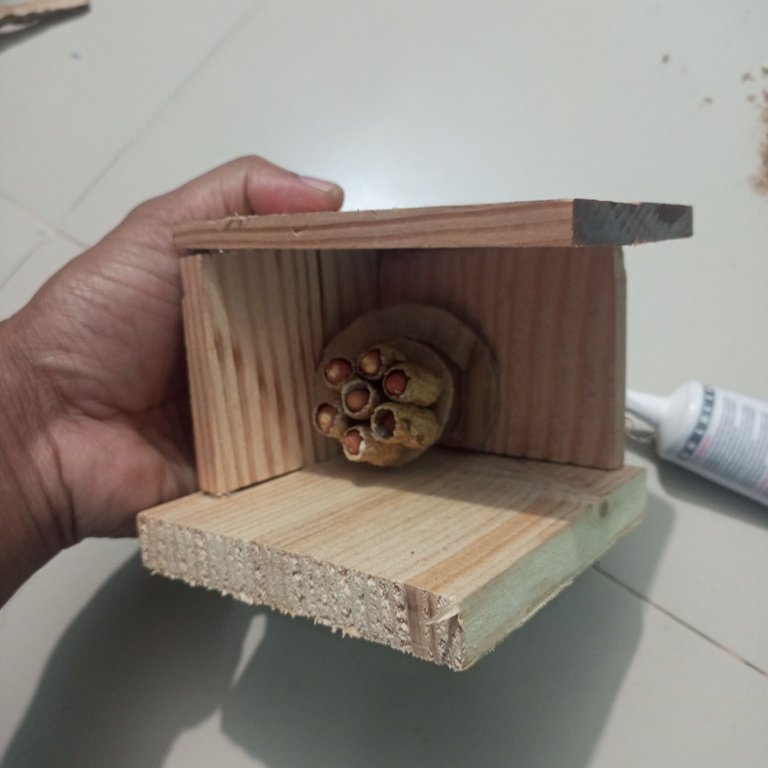
Next, I attached the beehive or hive to the inside of the house using glue on the top of the cardboard.
Here, first I attached a piece of wood to the bottom using glue. Then I attached another piece of wood to the top using glue. Then I made a beehive using nuts on a round piece of wood using glue. Then I attached the beehive to the left side of the bee cottage. Then I cut the heads of all the nuts and cut them into small and large shapes. Then I will cut another piece of cardboard and make another beehive.
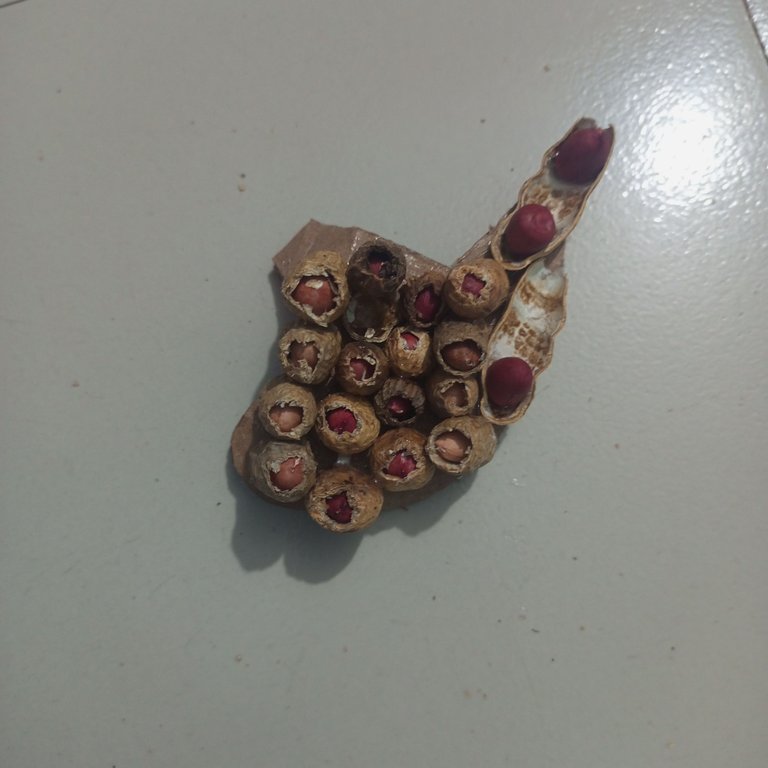
In this way, I made a honeycomb using nuts and glue on a piece of cardboard.
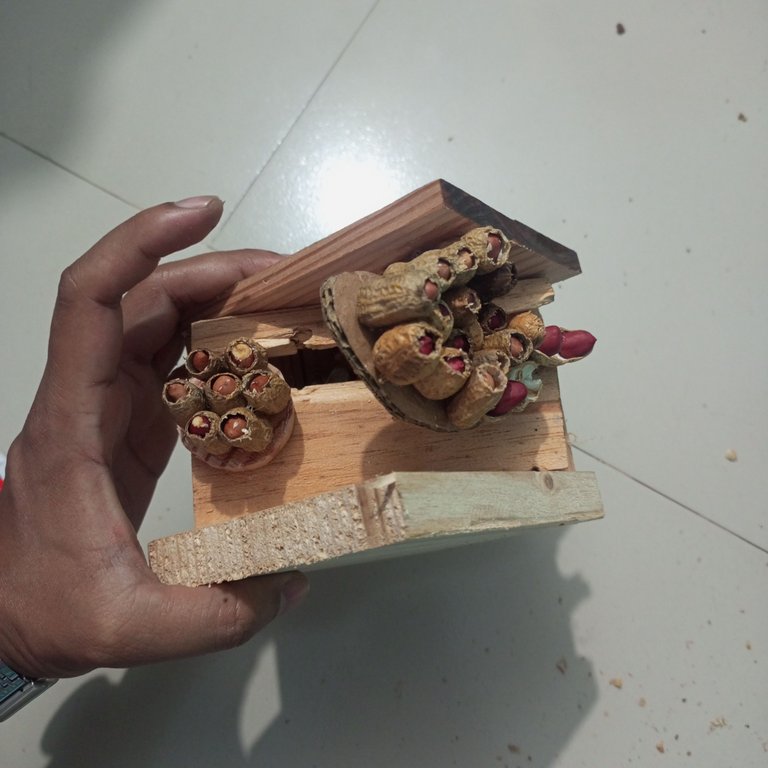
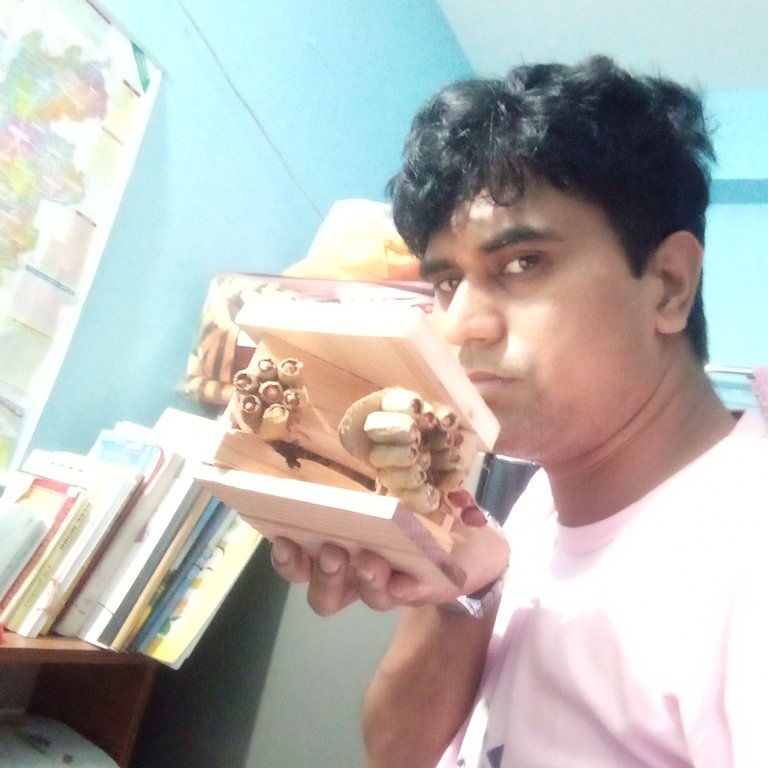
Later, I attached the hive to the top of the beehive cottage and showed a selfie here.
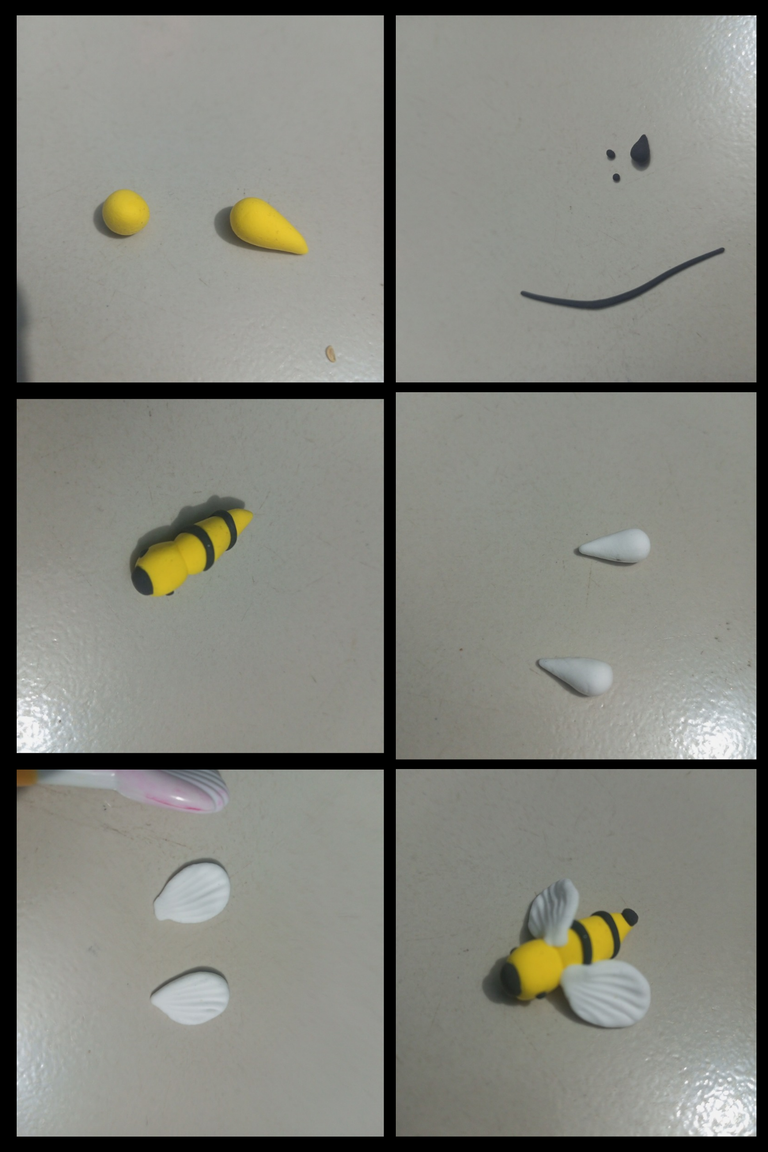
In this step, I have made round and round long shapes using yellow clay. Which will help in making the head and body of the bee. Later, I have made thin shapes using black clay and made eyes. I have attached the black clay long shape design to the body. Later, I have made the eyes. Then, I have made light round long shapes using white clay and pressed them to make wings. I have prepared the bee by connecting the two wings.
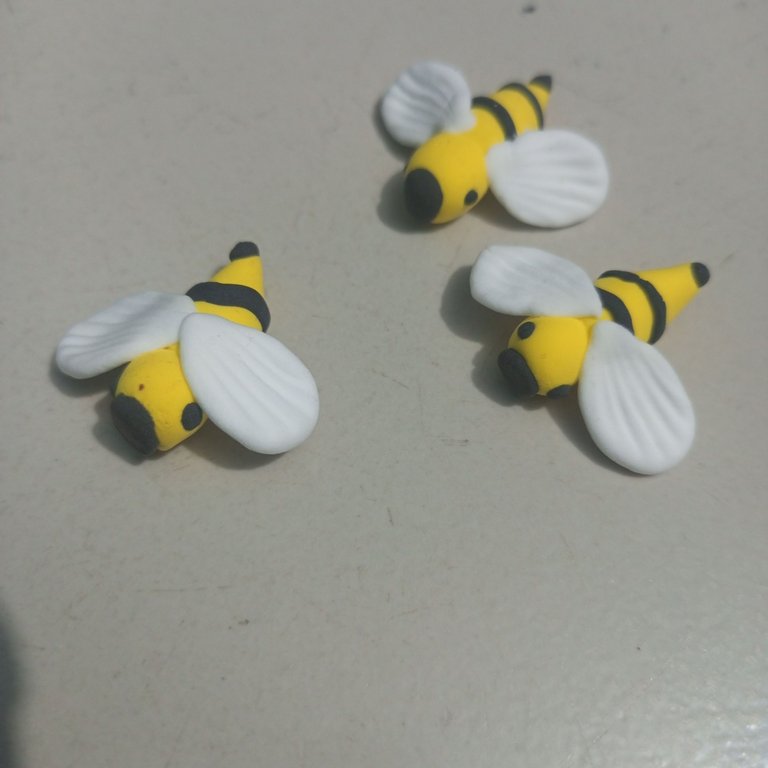
Here I have made three small bees using clay.
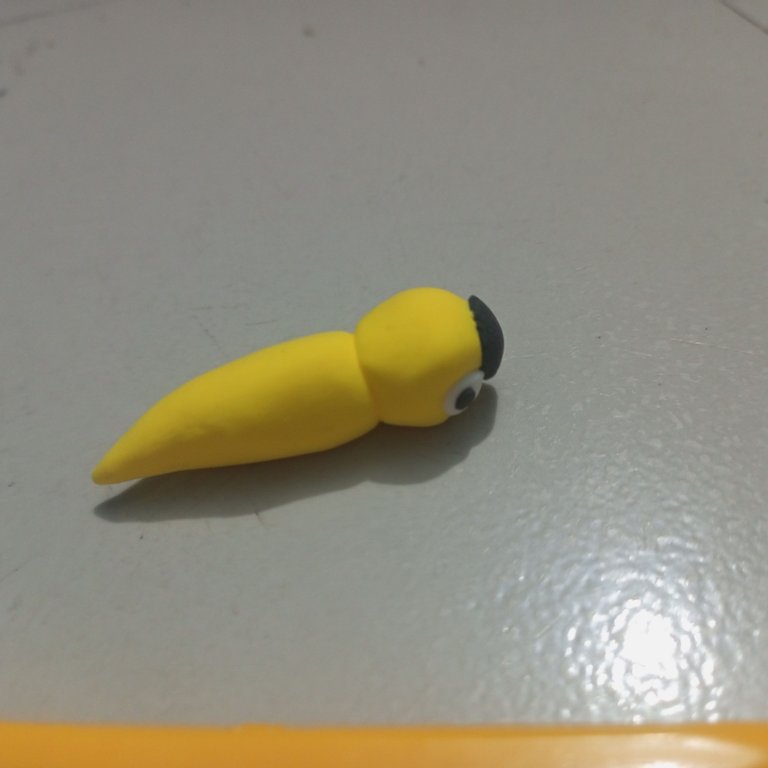
Next, I am trying to make a queen bee using yellow and white clay.
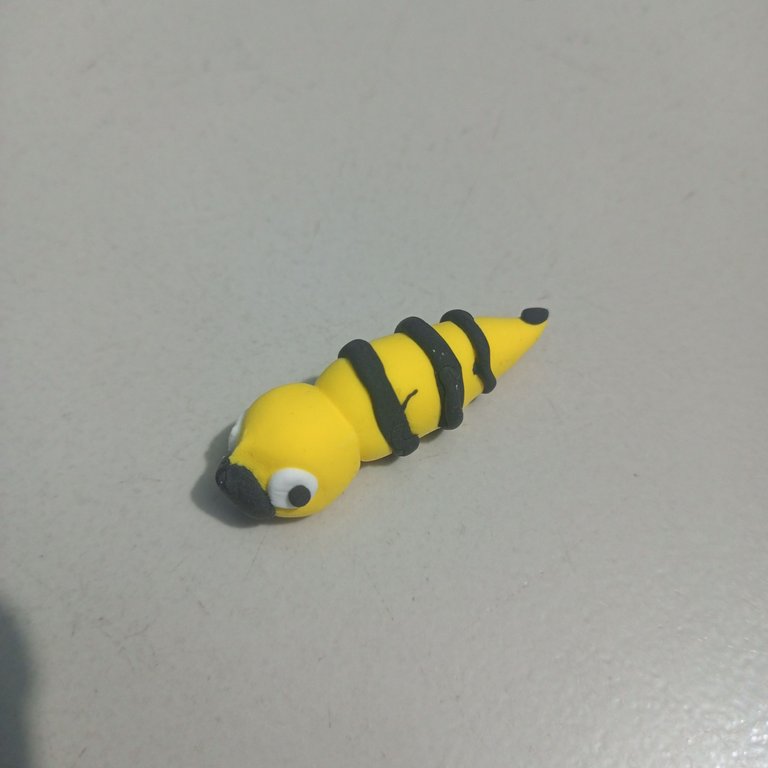
Next, I prepared the queen bee using black clay.

In this step you can see that I have prepared three little bees and the queen bee with great feeling.
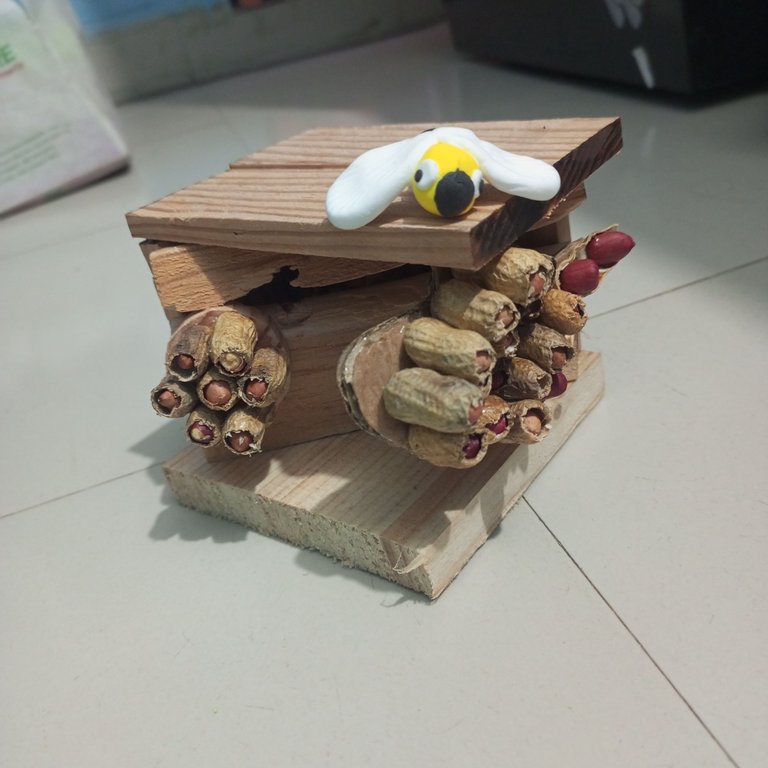
In this step, I have attached the queen bee to the top of the wood.
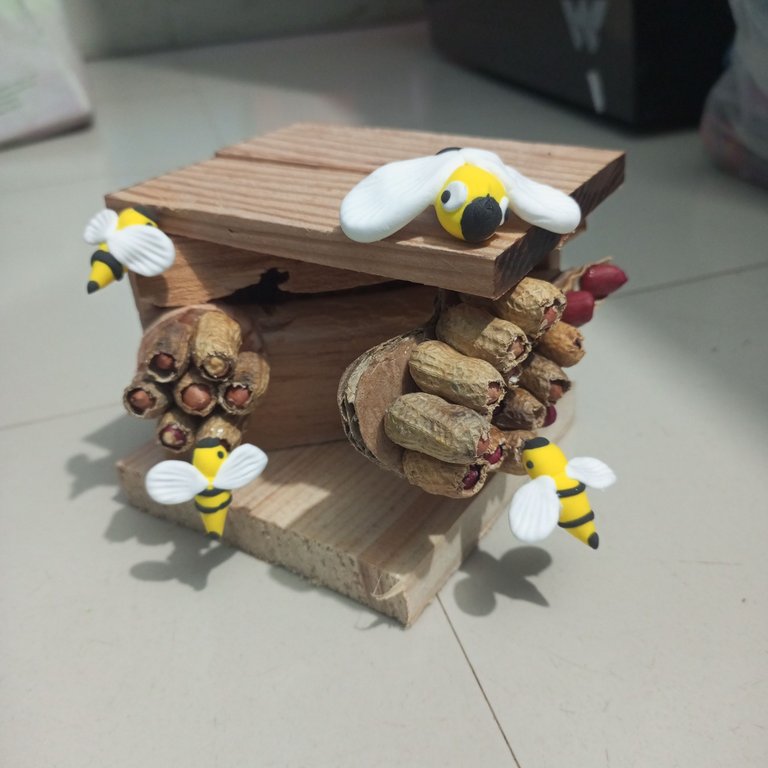
Next, we attach three more bees to the wood on the left side and we will follow the final step by attaching them to the top of the hive.
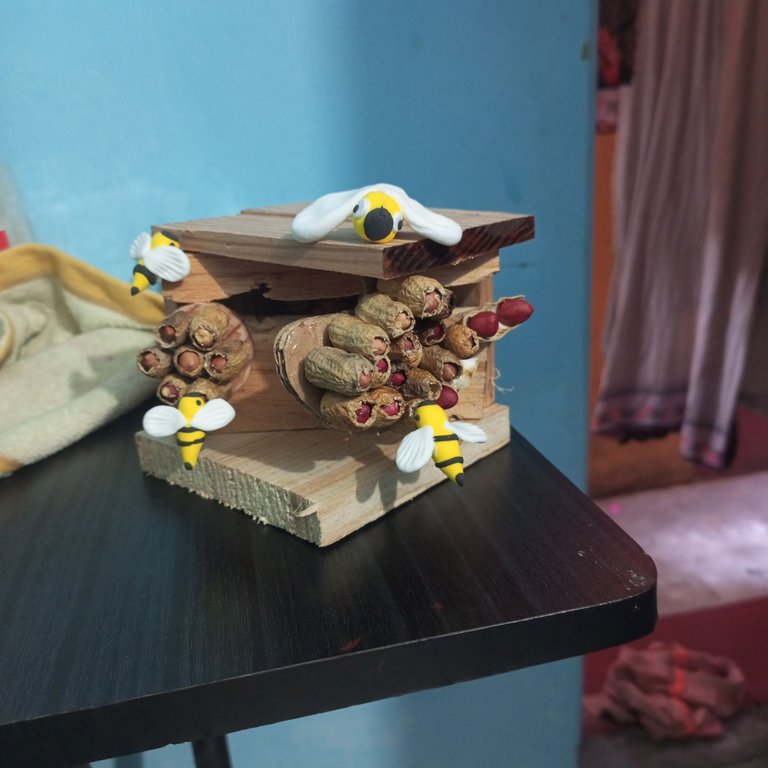
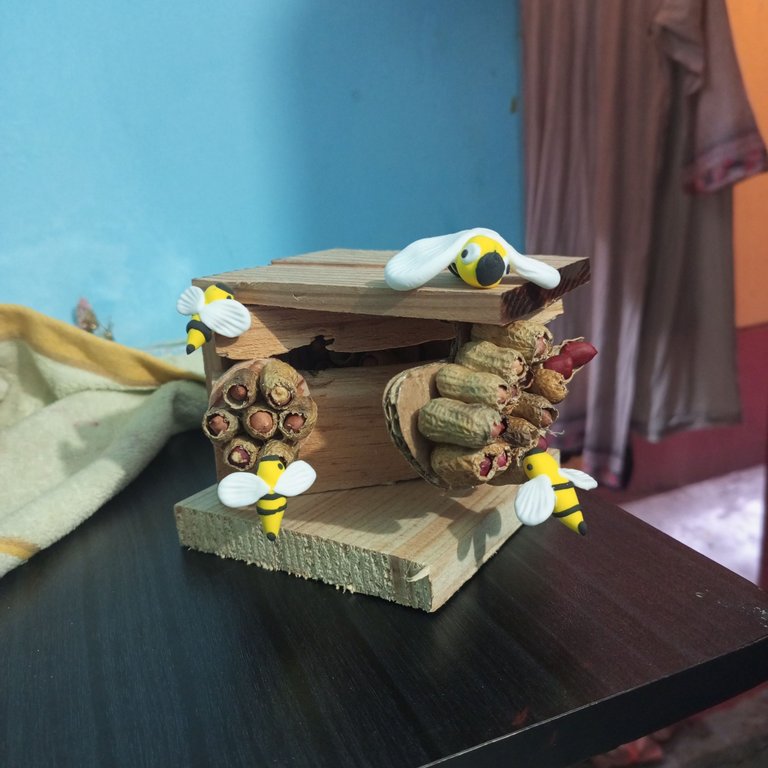
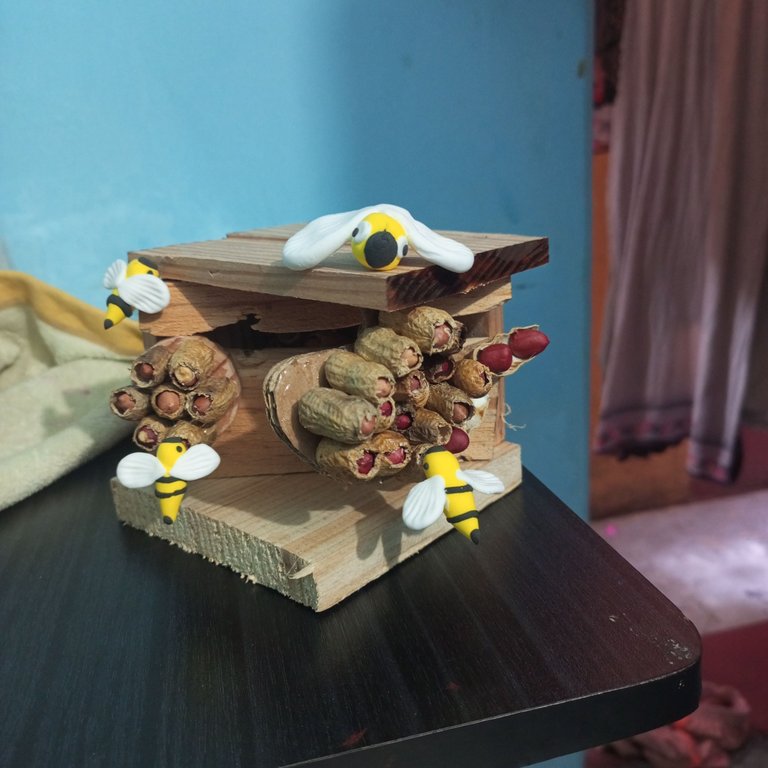
By arranging and arranging wonderful pictures beautifully, I am presenting to you all a beautiful beehive with bees and a beautiful beehive. You will surely enjoy watching each step of this wonderful creative art skill with joy. Surely a creative art will lead you to great education. Along with some wonderful exhibitions and great skills, you will be praised by art. I wish all of you praise to the great creator. Surely, search and see your surroundings and interest yourself in creating creative art as a skilled person.
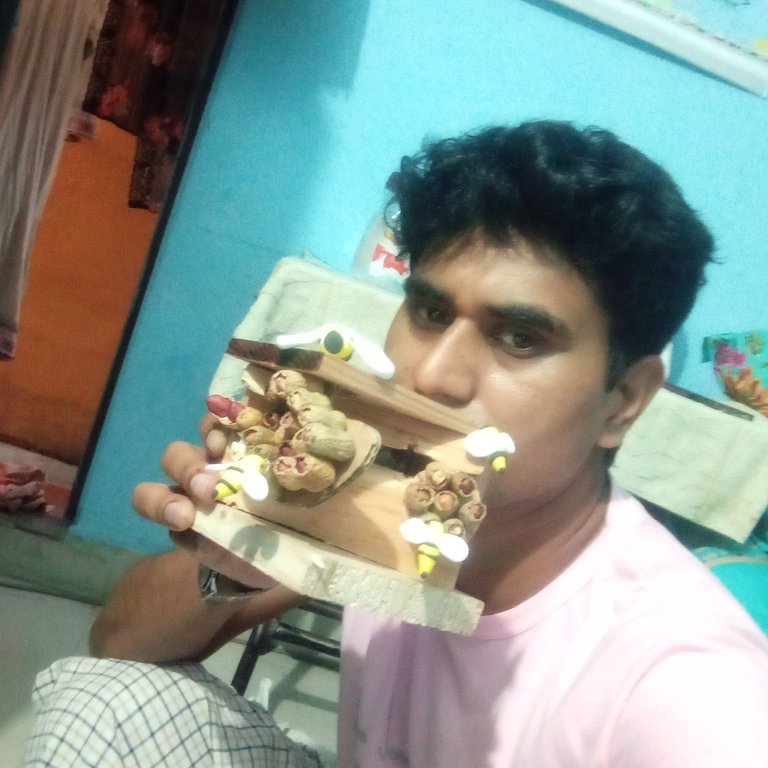
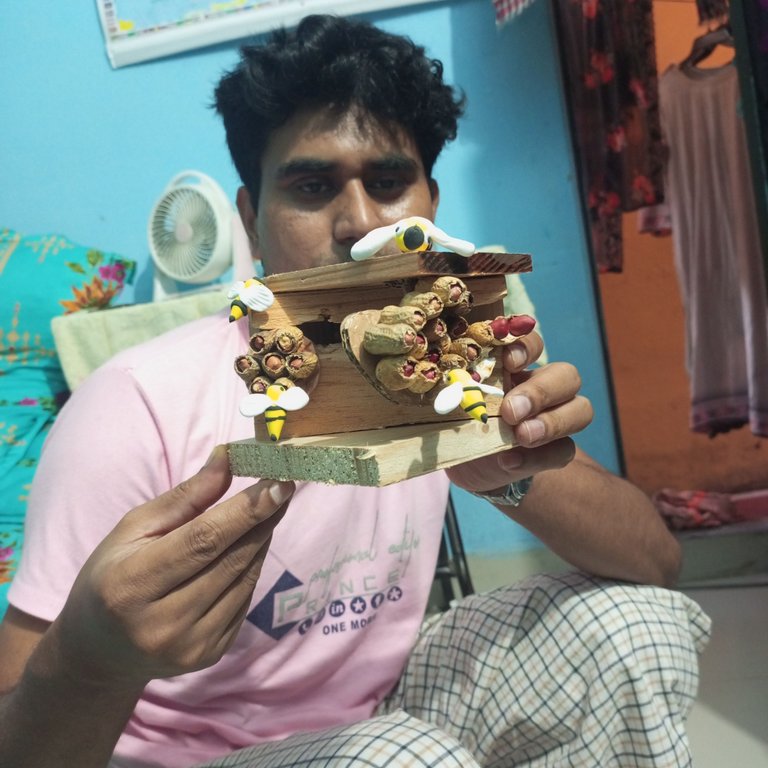
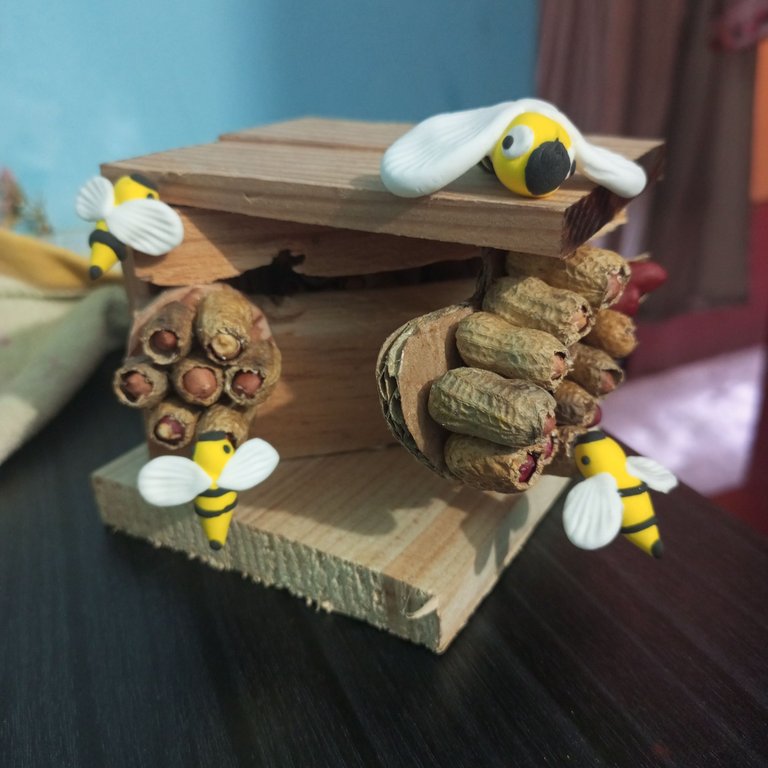
Here I have displayed two selfies with this wonderful art including beehives, beehives and bees. I think a language will play an important role in today's contest to create the most specific place and generation for bees.

Thank you for reading my creative article blog .Stay safe,stay happy.i think if you find any mistake in writing or something. Please allow me to correct it.And find me on social media.
Twitter Discord
All Prepared by @mdakash62
You can check out this post and your own profile on the map. Be part of the Worldmappin Community and join our Discord Channel to get in touch with other travelers, ask questions or just be updated on our latest features.