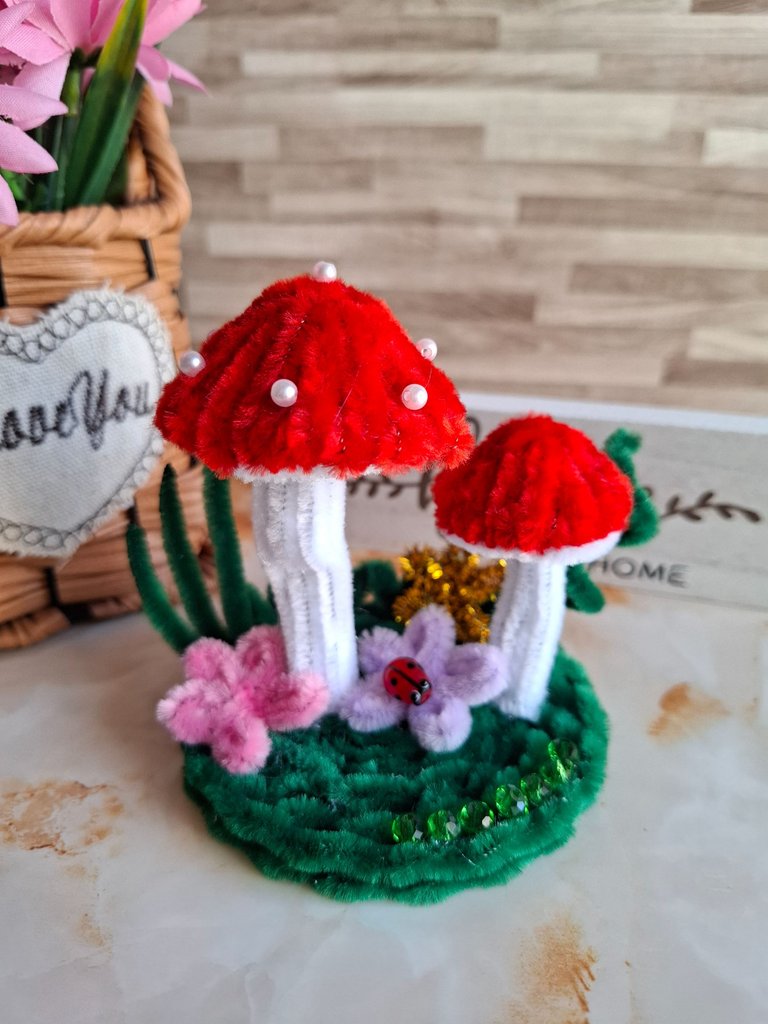
Decoración para mesa inspirada en el Vidente de hongos, concurso de arte Splinterlands semana 351. 🍄/ Mushroom Seer-inspired table decoration, Splinterlands art contest week 351.

Feliz y bendecido domingo queridos amigos de la comunidad DiyHub, amanece un día frío con nubes y tendencia a llover, es perfecto para quedarse en casa y descansar, me encuentro con ustedes para compartir una nueva idea de decoración para sus espacios como parte de mi participación en el concurso de arte Splinterlands semanal.
Happy and blessed Sunday, dear friends of the DiyHub community. A cold, cloudy day with a tendency to rain dawns. It's perfect for staying home and resting. I'm here to share a new decorating idea for your spaces as part of my participation in the weekly Splinterlands art contest.
Para esta oportunidad les comparto mi participación en el concurso de arte Splinterlands semana 351, me inspiré en la carta del vidente de hongos, en ella podemos ver reflejada también parte de la naturaleza, hongos, hojas verdes, por lo que es perfecta para realizar una decoración de mesa en limpiapipas.
For this opportunity, I share with you my participation in the Splinterlands art contest week 351. I was inspired by the mushroom seer's card, in which we can also see reflected parts of nature, mushrooms, green leaves, making it perfect for making a table decoration with pipe cleaners.

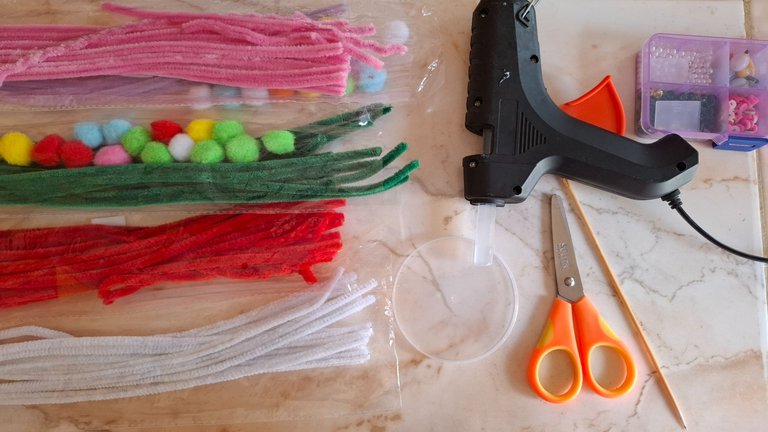
Realicé una decoración para mesa que consta de dos hongos sobre grama verde y flores, también lleva otros detalles, buscando en Pinterest pude guiarme de esta decoración de Hongo puedes modificarla a tu gusto ya sea con o sin maceta igual de verá precioso, a continuación les muestro los materiales y el paso a paso.
I made a table decoration consisting of two mushrooms on green grass and flowers, it also has other details, searching on Pinterest I was able to guide myself with this decoration from Hongo you can modify it to your liking with or without a pot it will look equally beautiful, below I show you the materials and the step by step.
| Materiales | Materials |
|---|---|
| Limpiapipas rojos | red pipe cleaners |
| Limpiapipas blancos | white pipe cleaners |
| Limpiapipas verdes | green pipe cleaners |
| Limpiapipas rosa y morado | Pink and purple pipe cleaners |
| Tijera | Scissors |
| Silicón | Silicone |
| Tapa plástica | plastic lid |
| Perlas | Pearls |
Paso a paso / Step by step
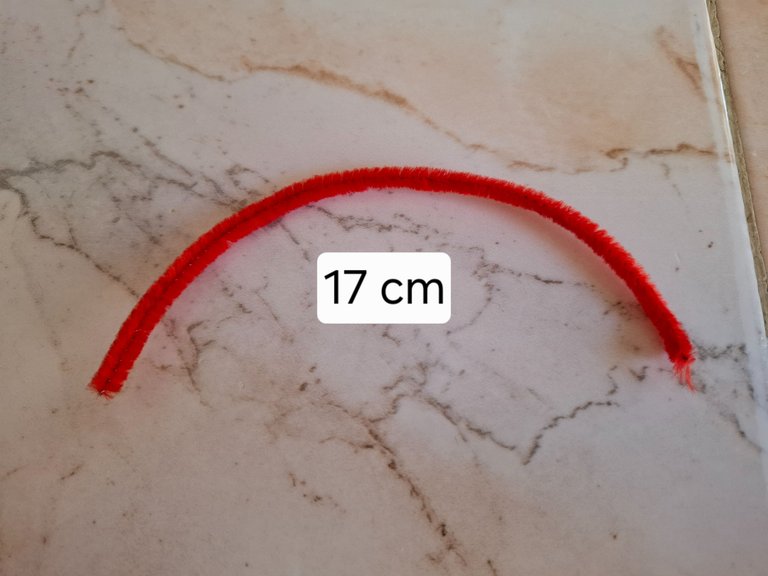
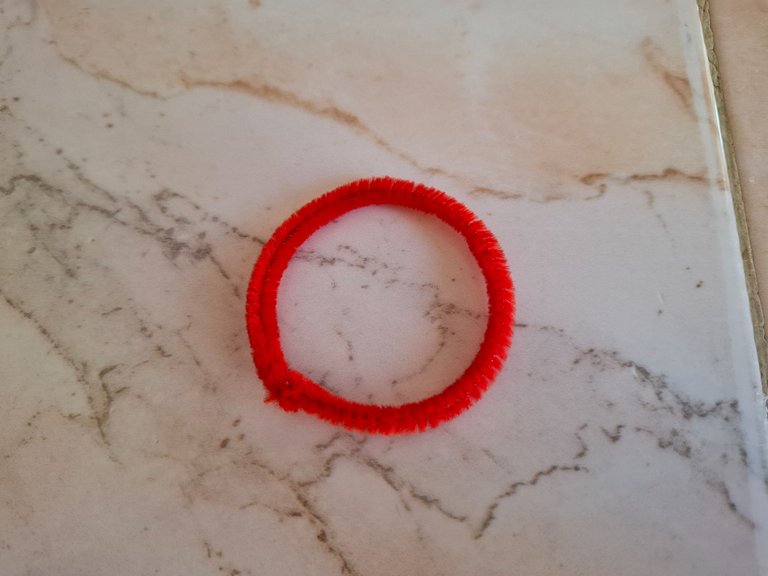
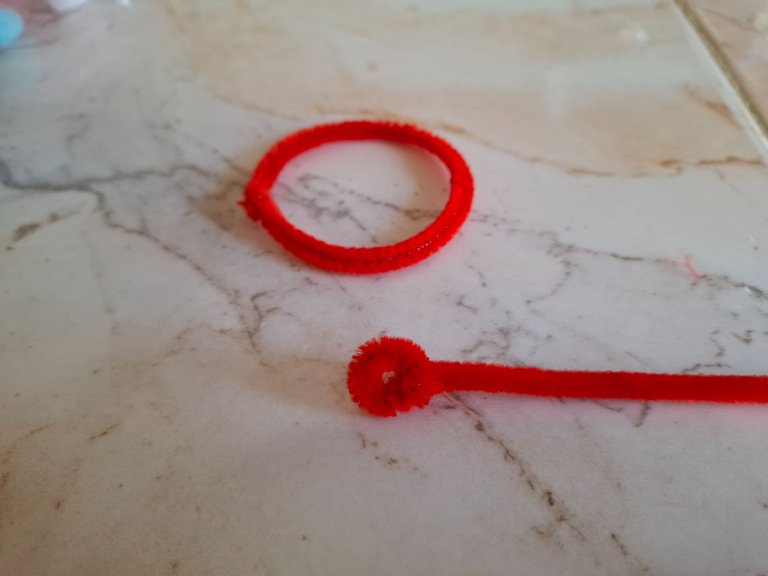
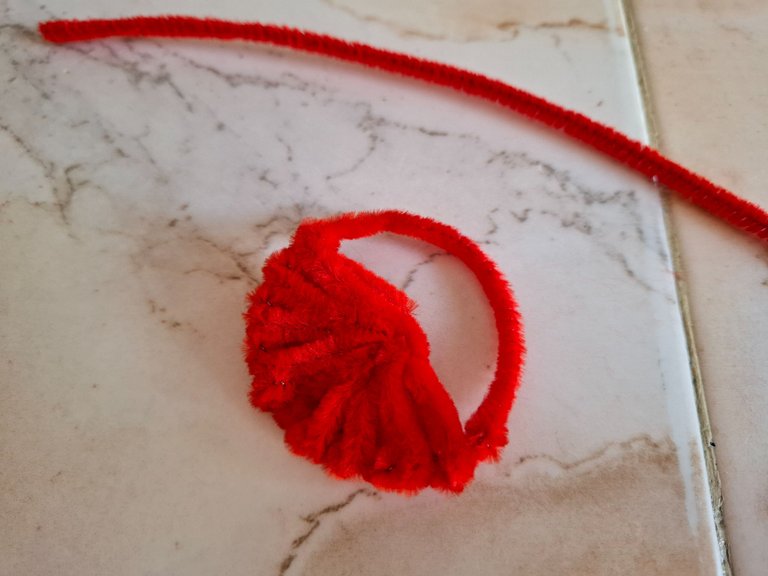
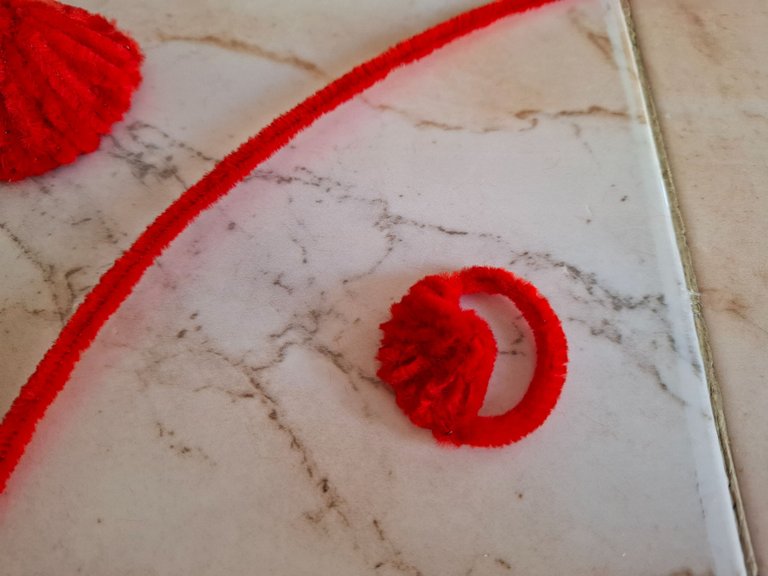
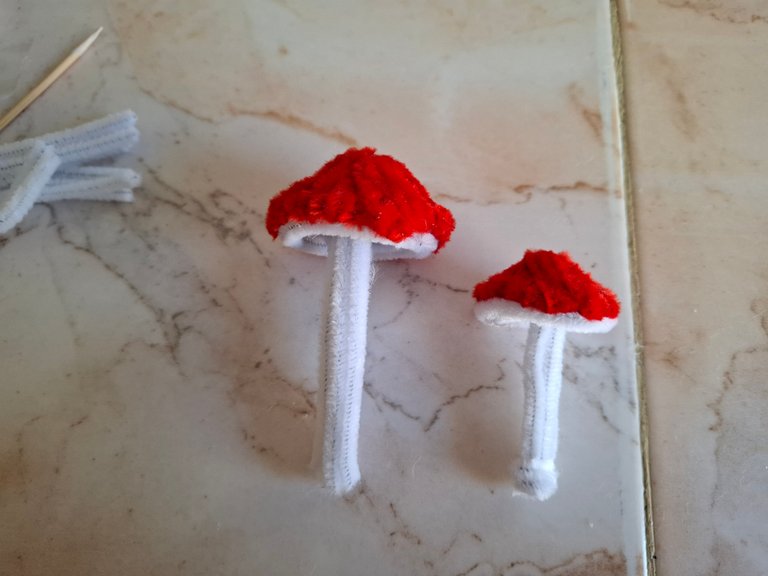
El primer paso que vamos a realizar será, cortar 17 cm de limpiapipas rojo, voy a formar un círculo uniendo ambas puntas, luego voy a tomar un limpiapipas completo y realizamos un pequeño circulo en el centro, con el limpiapipas sobrante voy a comenzar a cubrir el circulo de tal manera que vamos a pasar el limpiapipas varias veces sobre el círculo.
The first step we are going to take is to cut 17 cm of red pipe cleaner. I am going to form a circle by joining both ends. Then I am going to take a complete pipe cleaner and make a small circle in the center. With the remaining pipe cleaner, I am going to begin to cover the circle in such a way that we are going to pass the pipe cleaner several times over the circle.
 |  |  |
|---|
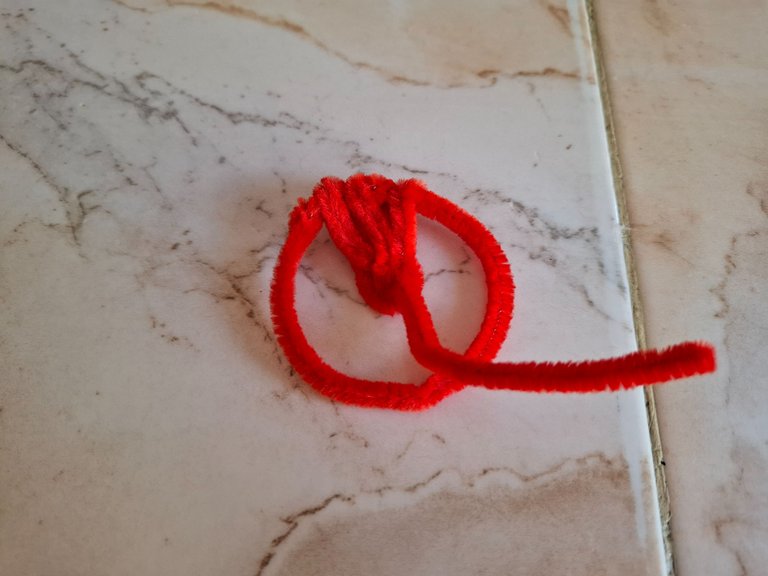
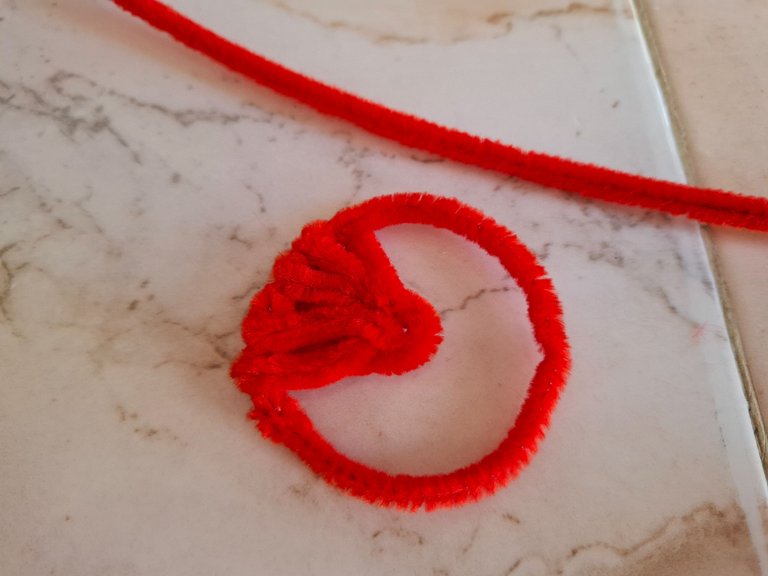
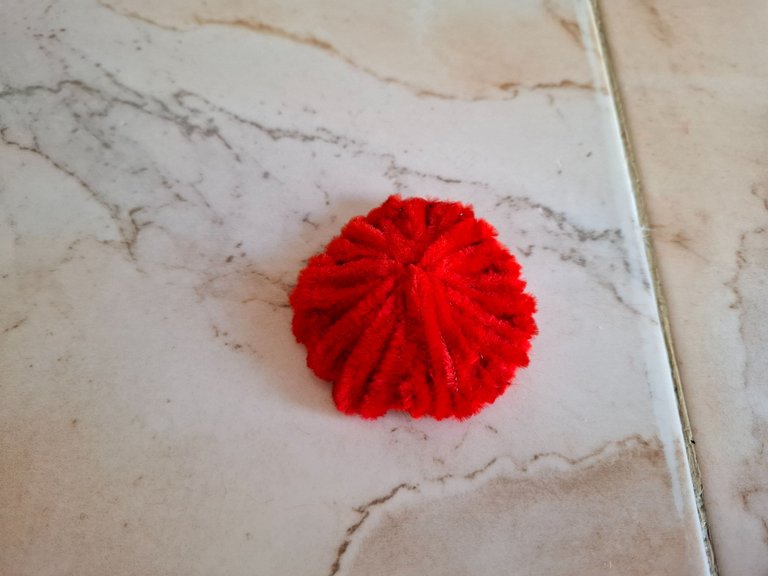
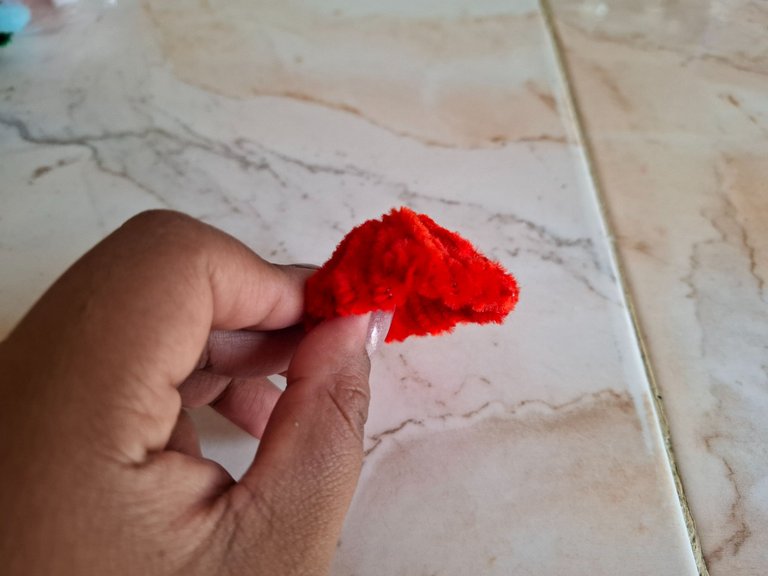
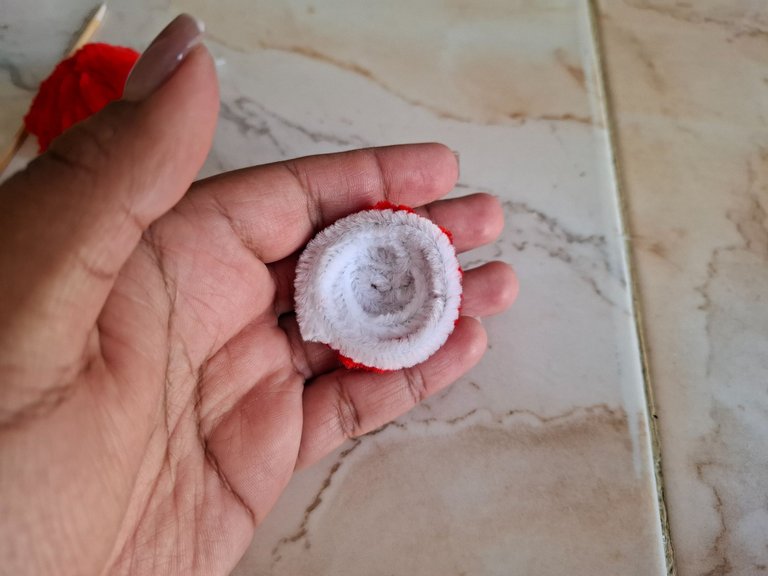
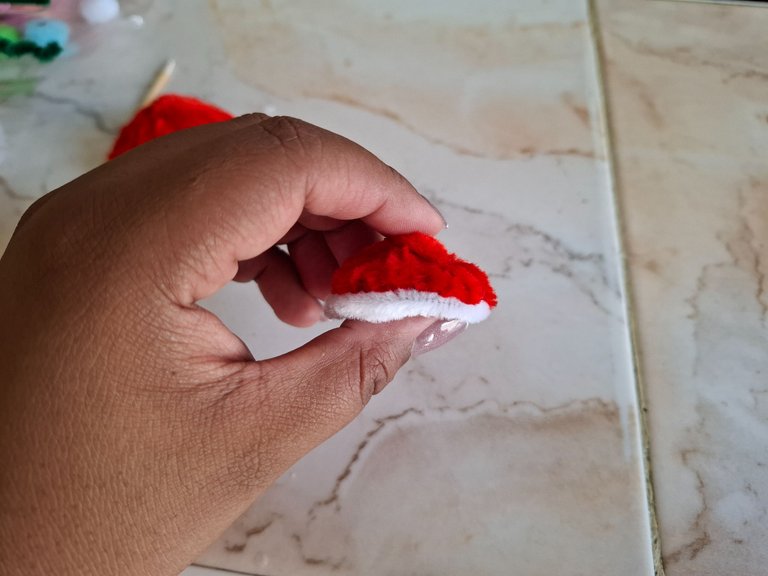
Es como si fueras a tejer sobre el círculo por cada pasada damos una vuelta para que sostenga, en este paso utilicé 4 limpiapipas para cubrir. Una vez que terminemos de cubrir todo vamos a dar forma de honguito, haciendo presión en la parte del centro.
It's as if you were knitting in a circle, we'll make a loop for each row to hold it in place. In this step, I used four pipe cleaners to cover it. Once we've covered everything, we'll create a mushroom shape, pressing down on the center.
 |  |  |
|---|
 |  |
|---|
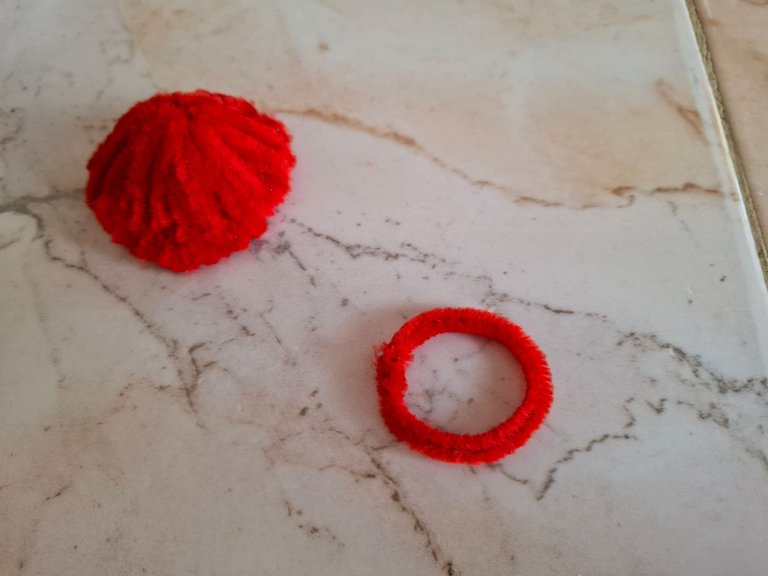
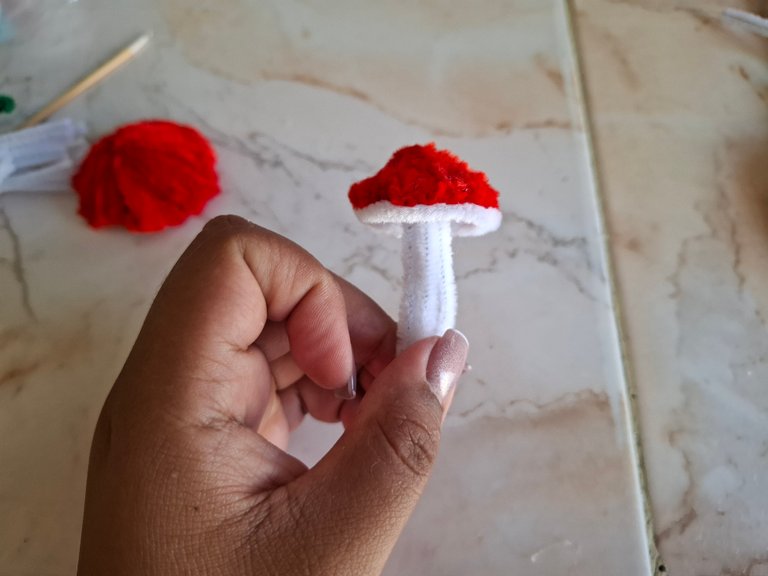
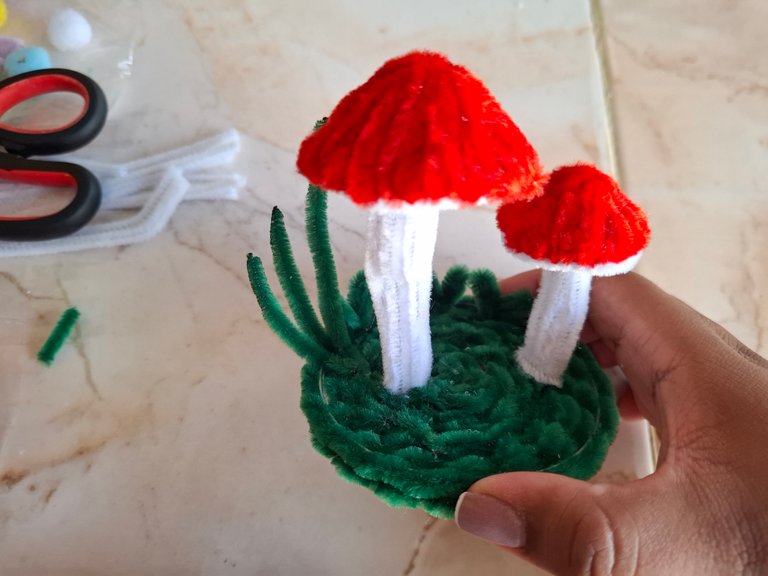
Luego realicé otro honguito pero más pequeño, con un limpiapipas de 13 cm unimos dos limpiapipas blancos para la base del hongo grande formando un círculo, realicé el mismo paso para el hongo pequeño pero solo utilicé un limpiapipas.
Luego voy a realizar el tallo del honguito uniendo varios palitos de limpiapipas blanco, pegamos en el centro y de esta forma terminé los honguitos, al de mayor tamaño le coloqué algunas personas para decorar.
Then I made another mushroom, but a smaller one. Using a 13 cm pipe cleaner, I joined two white pipe cleaners together for the base of the large mushroom, forming a circle. I did the same for the small mushroom, but only used one pipe cleaner.
Next, I made the stem of the mushroom by joining several white pipe cleaner sticks together. I glued them in the center, and that's how I finished the mushrooms. I added some people to the larger one for decoration.
 |  |  |
|---|
 |  |
|---|
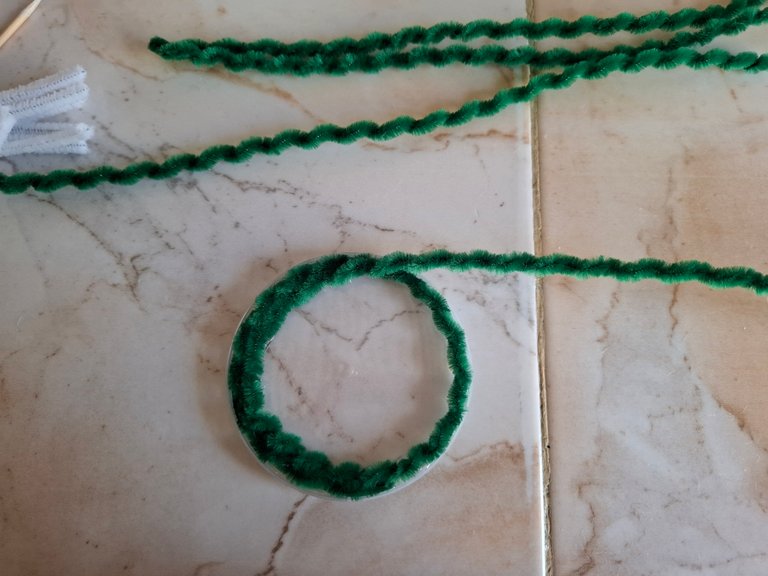
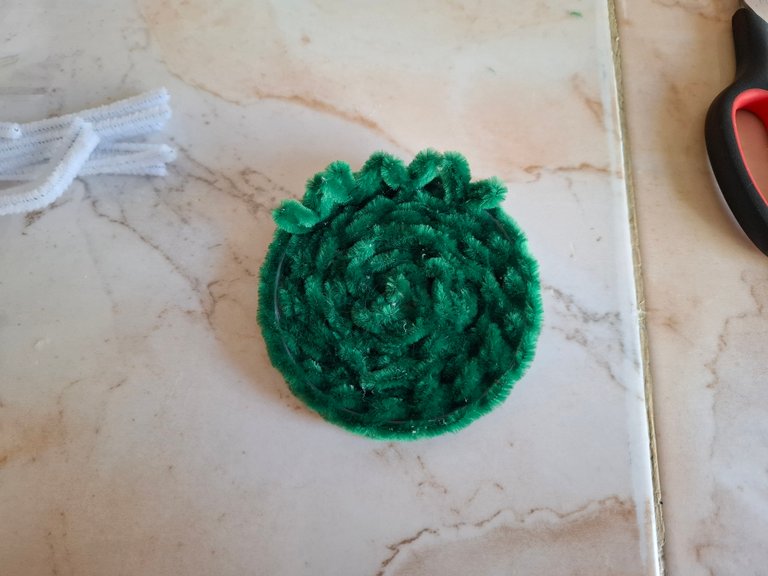
Para la base utilicé una tapa plástica redonda de tamaño mediano, voy a enrollar aproximadamente 8 llimpiapipas y comencé a cubrir toda la base que será la grama, también corte pequeños retazos de limpiapipas verde para simular hojas, pegando los honguitos en el centro.
For the base I used a medium-sized round plastic lid. I'm going to roll up approximately 8 pipe cleaners and begin to cover the entire base, which will be the grass. I also cut small pieces of green pipe cleaner to simulate leaves, gluing the mushrooms in the center.
 |  |  |
|---|
 |  |
|---|
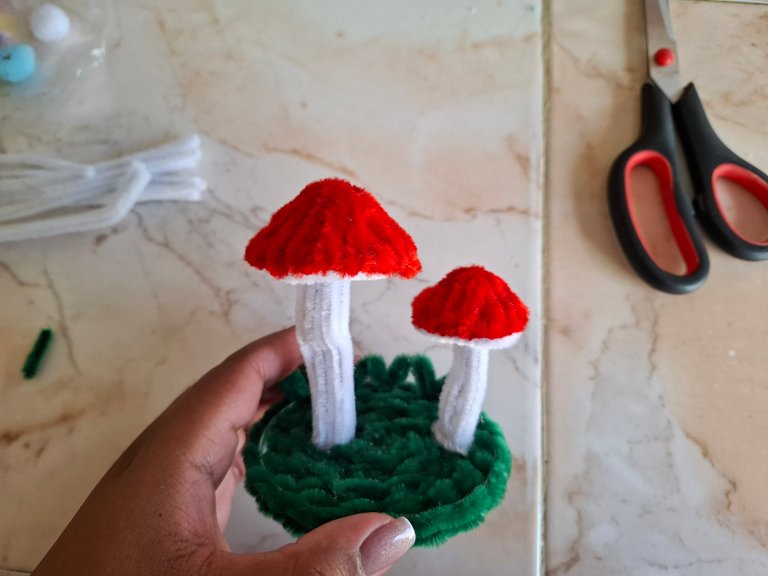
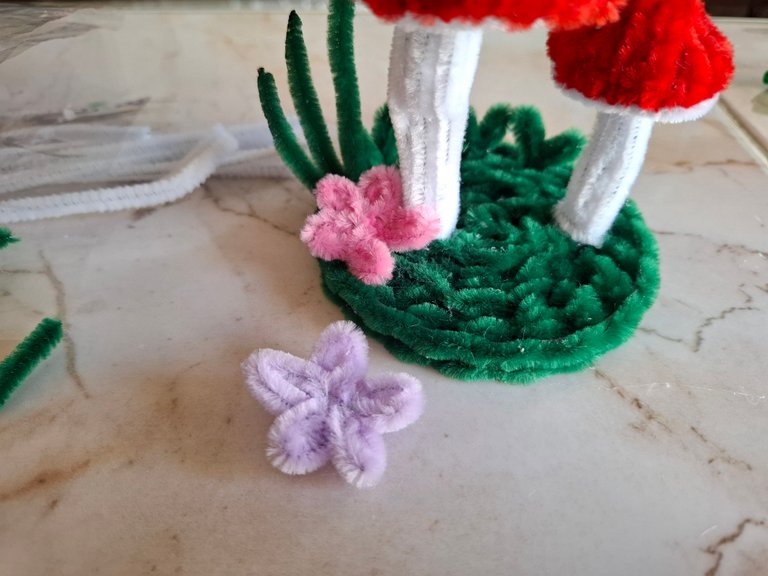
Realicé flores de limpiapipas utilizando la técnica de un lapicero, pegamos y listo, de esta forma terminé esta decoración inspirada en el Vidente de Hongos, espero les haya gustado, muchas gracias por visitar mi publicación nos vemos en una próxima oportunidad con más ideas creativas.
I made pipe cleaner flowers using a pencil technique, glued them on, and that's it. This is how I finished this decoration inspired by the Mushroom Seer. I hope you liked it. Thank you very much for visiting my post. See you next time with more creative ideas.
 |  |  |
|---|
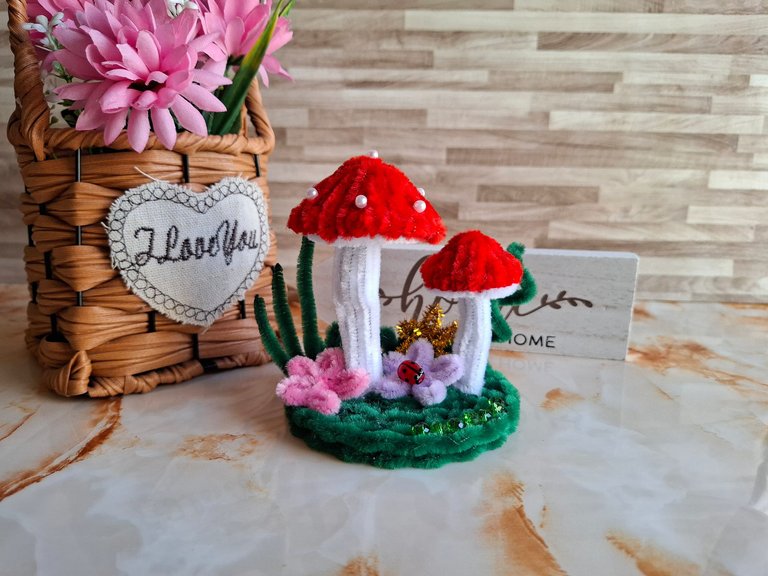
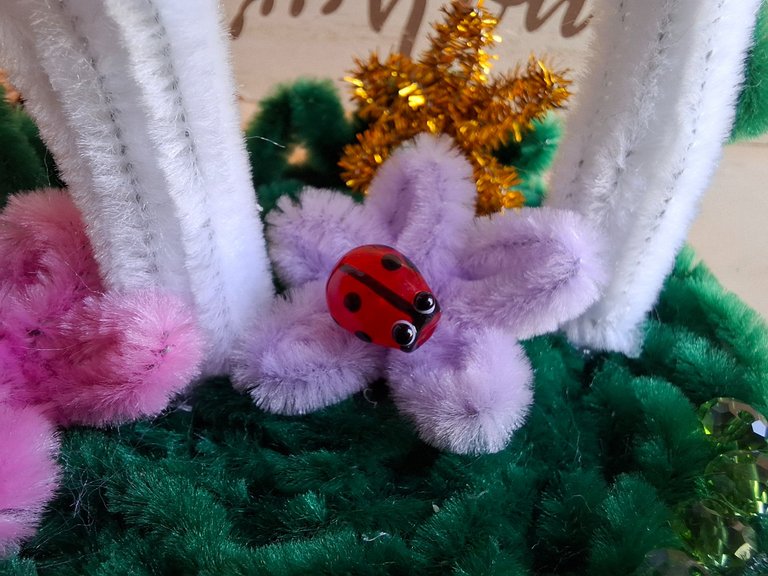
Más del resultado final:
More of the final result:

Such aovely and creative table decoration. The attention to detail really shines through. beautiful work.
selected by @stevenson7
Thanks 🙏🏽🫂
Thank you for your witness vote!
Have a !BEER on me!
To Opt-Out of my witness beer program just comment STOP below
View or trade
BEER.Hey @marile21, here is a little bit of
BEERfrom @isnochys for you. Enjoy it!Learn how to earn FREE BEER each day by staking your
BEER.View or trade
BEER.Hey @marile21, here is a little bit of
BEERfrom @isnochys for you. Enjoy it!Learn how to earn FREE BEER each day by staking your
BEER.This is really beautiful and unique
Your choice of colour is great
Thanks ☺️
Exelente trabajo y muy bonito, cada vez me sorprende más tu contenido, espero un día llegar a ser igual de bueno con las manualidades 😁
Muchas gracias, sigue intentando con la práctica se mejora a diario 🙏🏽
Delegate Tokens and HP to Fallen Angels to earn weekly rewards!
Delegate | Join to the guild
Gracias, saludos
Gracias 🫂
My dear this ornament is a well inspired beauty, colorful and with impeccable details.
Muchas gracias bella 🥹
Bellísimo te quedó, me encantó, tan prolijamente elaborado, colorido y llamativo.
Éxitos bella en el concurso 💞
!discovery 30
Muchas gracias por apoyarme, saludos 🥹
This post was shared and voted inside the discord by the curators team of discovery-it
Join our Community and follow our Curation Trail
Discovery-it is also a Witness, vote for us here
Delegate to us for passive income. Check our 80% fee-back Program
muy lindo e ingenioso, se ve tan real!
very cute and clever, it looks so real!
Gracias por el apoyo 🙏🏽
Muy lindo, me encanta las decoraciones con esos hongos.
Gracias amiga ☺️