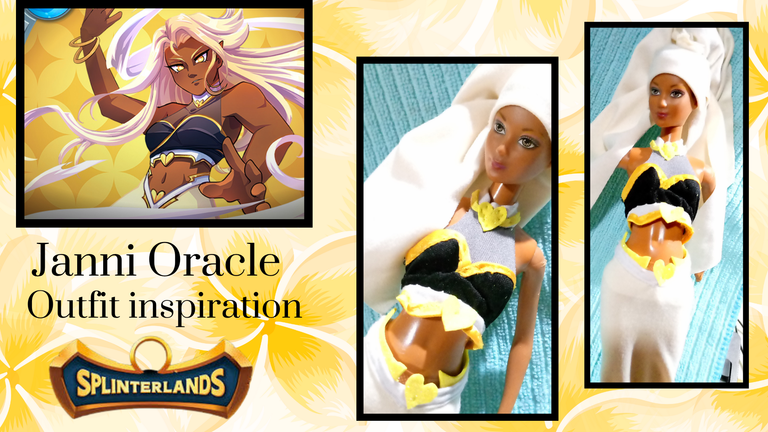
Outfit design inspired by JANNI ORACLE (ENG/ESP)
Hi dear friends of this beautiful DIYHub community, I hope you are all very well in your homes and daily work, may God's blessing be with you always.
Happy weekend, happy and blessed month, I hope this new month has brought many good things for everyone.
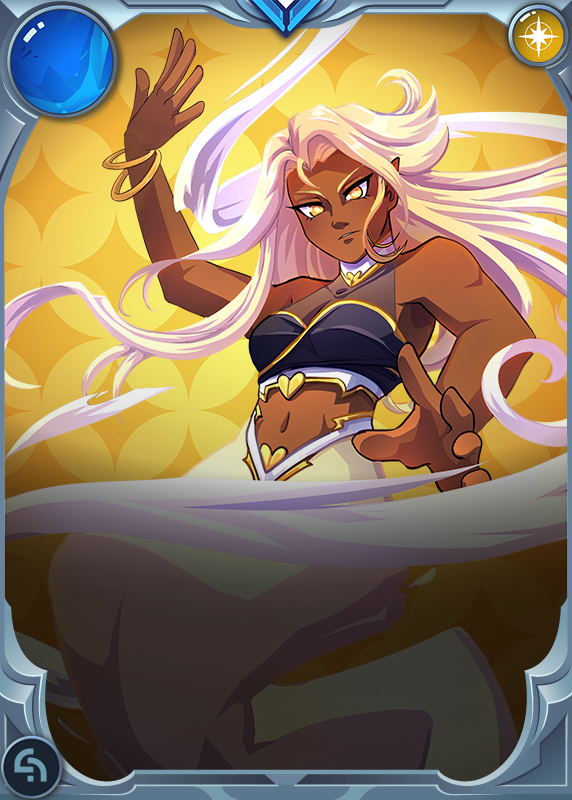
Today I will share with you an inspiration that I have been doing of the costumes of the female characters of the @Splinterlands cards, this time I refer to the outfit worn by the character JANNI ORACLE, it has caught my attention to recreate its design for one of my daughter's Barbies, this Barbie has also been a great inspiration for me because of its brown skin color, which closely resembles the skin color of the character.
The cute outfit I made, is attractive and sexy, with dry colors, and with features that make it an outfit to be desired.
I hope you join me in the development of what was the process in the making of each piece, and that although it seems easy to do is a work of great dedication, because for me it is more difficult to handle small garments than normal size garments, so I feel it takes me much more time to make them, but the most important thing is that it makes me feel inspired and motivated to continue learning the art of imitating the colorful and magical outfits of these interesting characters.
I hope you like my entry for the @Splinterlands weekly art contest.
The pictures you will see below, were taken with my TECNO SPARK GO 2024 model phone.
Hola queridos amigos de esta linda comunidad DIYHub, espero que todos se encuentren muy bien en sus hogares y en labores diarias, que la bendición de Dios los acompañe siempre.
Feliz fin de semana, feliz y bendecido mes, espero que este nuevo mes haya traído muchas cosas buenas para todos.
El día de hoy paso a compartirles una inspiración que he venido haciendo de los vestuarios de los personajes femeninos de las cartas de @Splinterlands, en esta oportunidad hago referencia del outfit que usa el personaje JANNI ORACLE, la misma me ha llamado la atención recrear su diseño para una de las Barbies de mi hija, esta Barbie también ha sido de gran inspiración para mí por su color de piel morena, que se asemeja mucho al color de piel del personaje.
El lindo conjunto que confeccione, es atractivo y sexy, de colores secos, y con características que lo hacen un atuendo que desear.
Espero que me acompañen en el desarrollo de lo que fue el proceso en la confección de cada pieza, y que aunque parezca fácil de hacer es un trabajo de mucha dedicación, ya que para mí es más difícil manejar prendas pequeñas que las prendas de tamaño normal, así que siento que me lleva mucho más tiempo hacerlas, pero lo más importante es que me hace sentir inspirada y motivada en seguir aprendiendo el arte de imitar los outfits coloridos y mágicos de estos personajes tan interesantes.
Espero les guste mi participación para el concurso de arte semanal de @Splinterlands.
Las fotografías que verán a continuación, fueron tomadas con mi teléfono modelo TECNO SPARK GO 2024.

 |  |
|---|
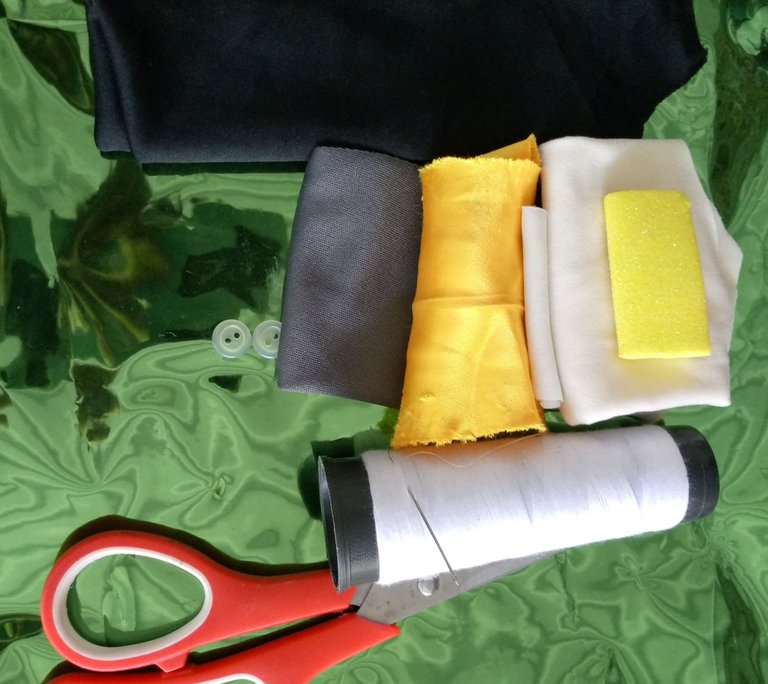
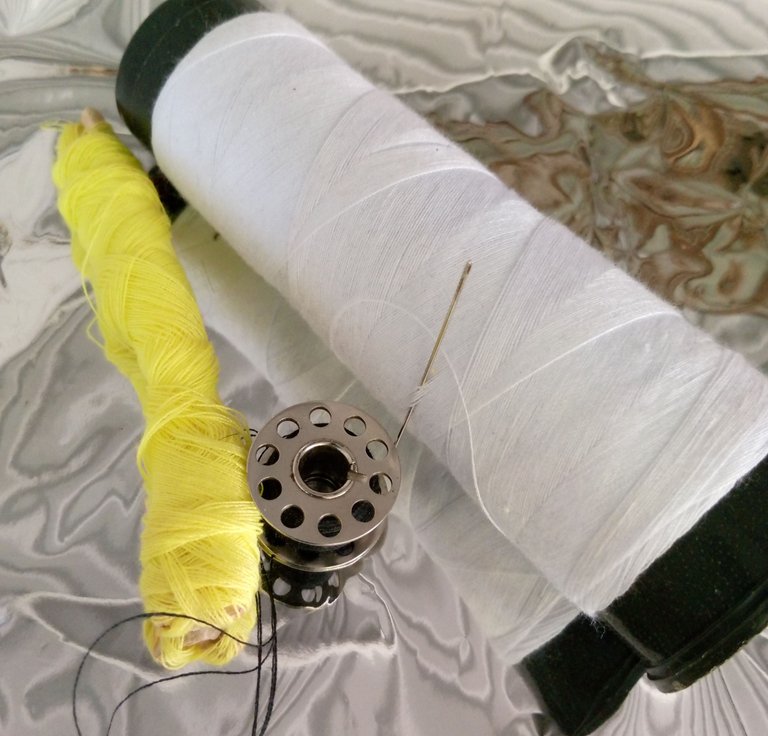
Materials and tools.
- Colored fabrics, black, gray, white, cream, and yellow,
- Yarns, black, white, yellow
- Yellow frosted foami
- white sheet of paper
- dry soap to mark the mold on the fabric
- needle for hand sewing
- scissors
- buttons
- pencil
Process:
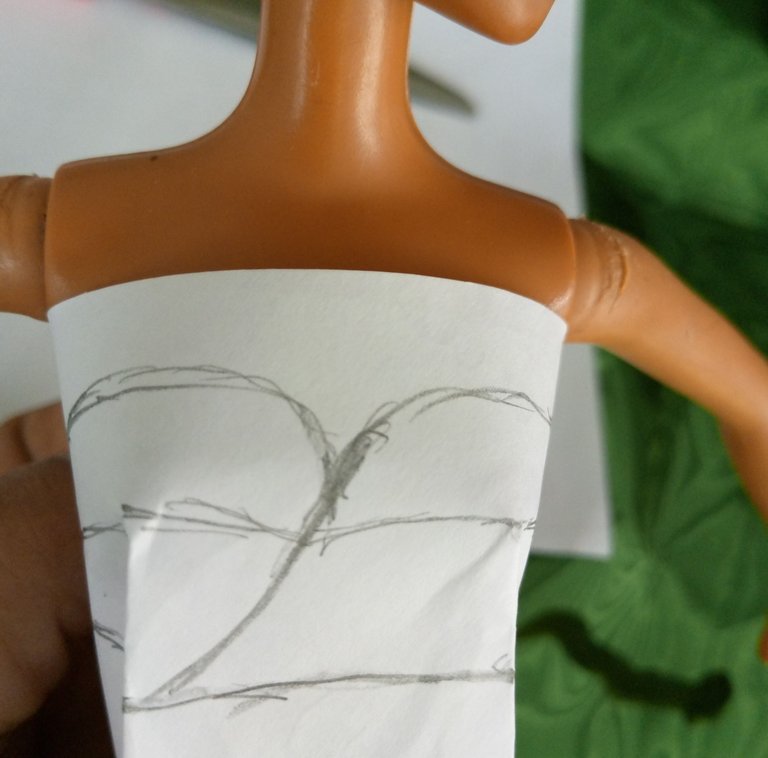
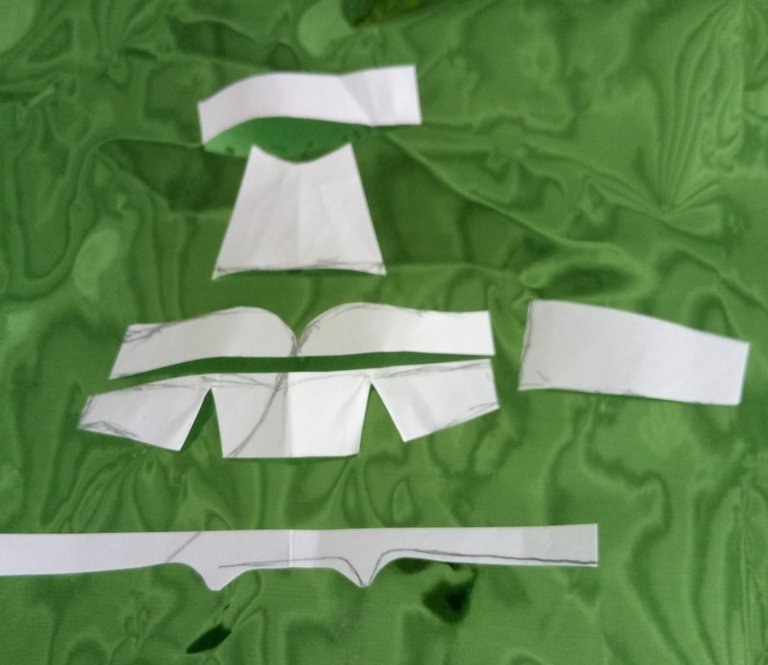
The first thing I did was the patterns for the crop top, taken directly from the Barbie body.
In this step I placed a piece of paper molding the bust, and waist contour, then with a pencil, I drew the lines of the shape and measurements, then cut and separate the pieces.
The total number of pieces I made for the top alone was 7.
Materiales y herramientas.
- Telas de color, negro, gris, blanco, crema, y amarillo,
- Hilos, negro, blanco, amarillo
- Foami amarillo escarchado
- hoja de papel blanca
- Jabón seco para marcar el molde sobre la tela
- aguja para coser a mano
- tijera
- Botones
- lápiz
Proceso:
Lo primero que hice fue los patrones para el crop top, tomados directamente desde el cuerpo de la Barbie.
En este paso coloqué un trozo de papel moldeando el busto, y contorno de cintura, luego con un lápiz, dibujé las líneas de la forma y medidas, después corte y separa las piezas.
El total de piezas que hice solo para el top fueron 7
 |  |
|---|---|
 |  |
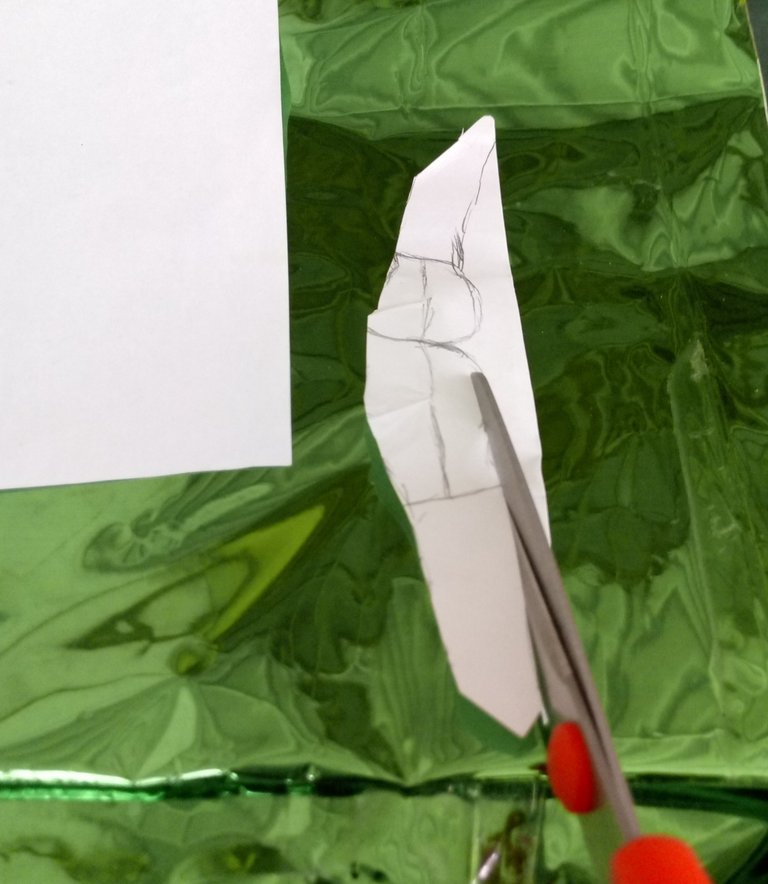
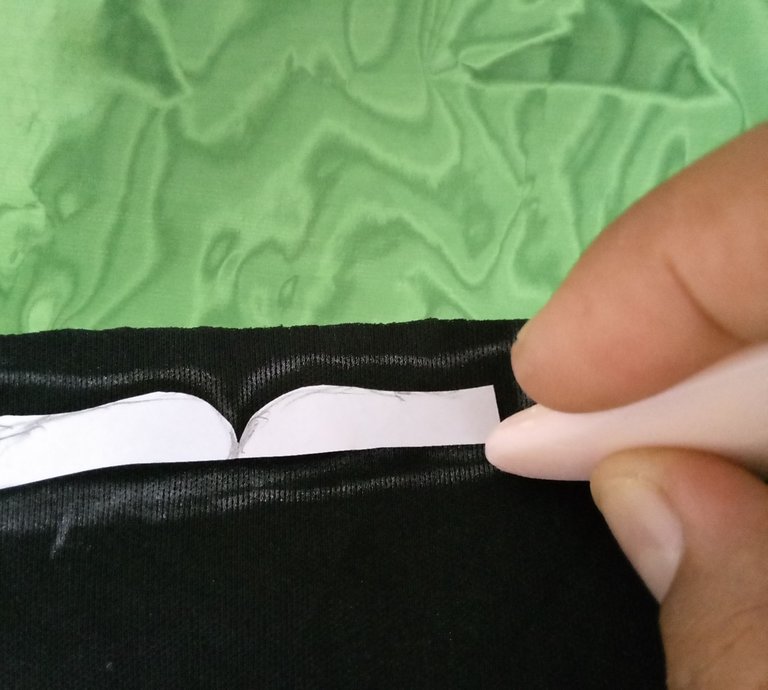
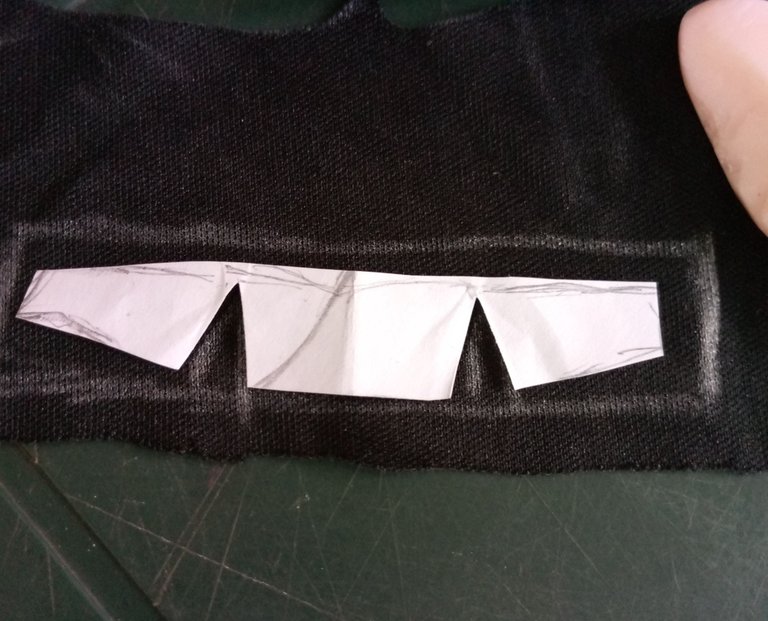
Next, transfer each paper pattern piece onto the fabrics to be used for the crop top.
With a piece of dry soap, mark each of the pieces leaving 1/2 cm for sewing, then just cut the crop top parts.
Lo siguiente fue, trasladar cada pieza patrón de papel, sobre las telas a utilizar en el crop top.
Con un trozo de jabón seco, marque cada una de las piezas dejando 1/2 cm para costura, después solo corte las partes del crop top.
 |  |
|---|---|
 |  |
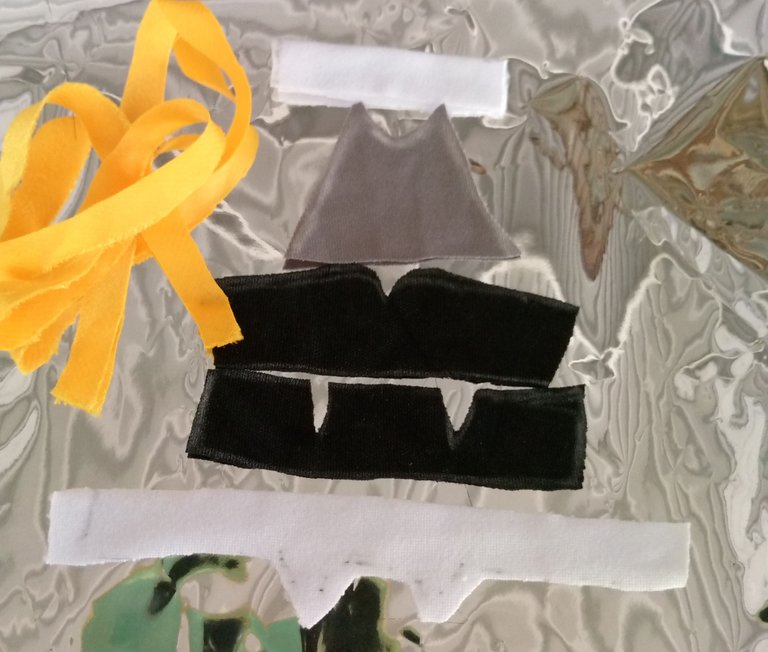
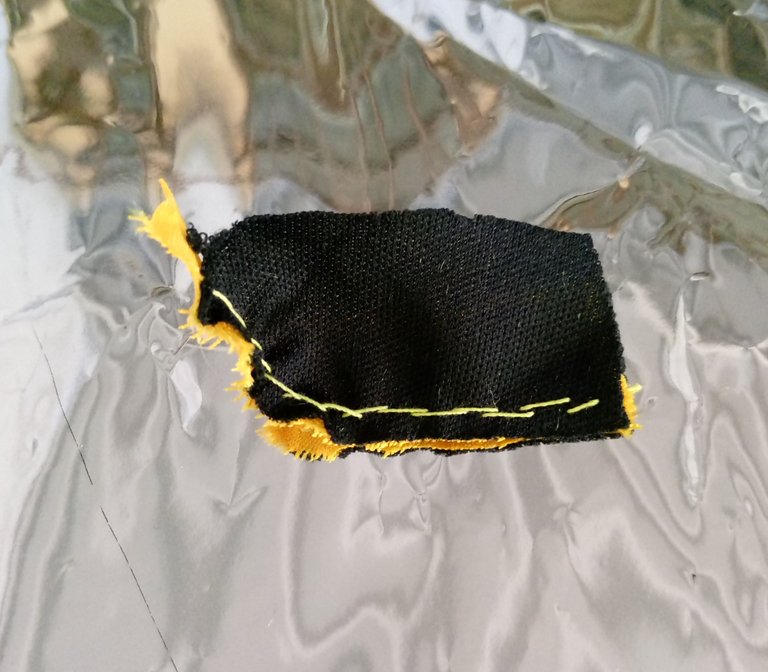
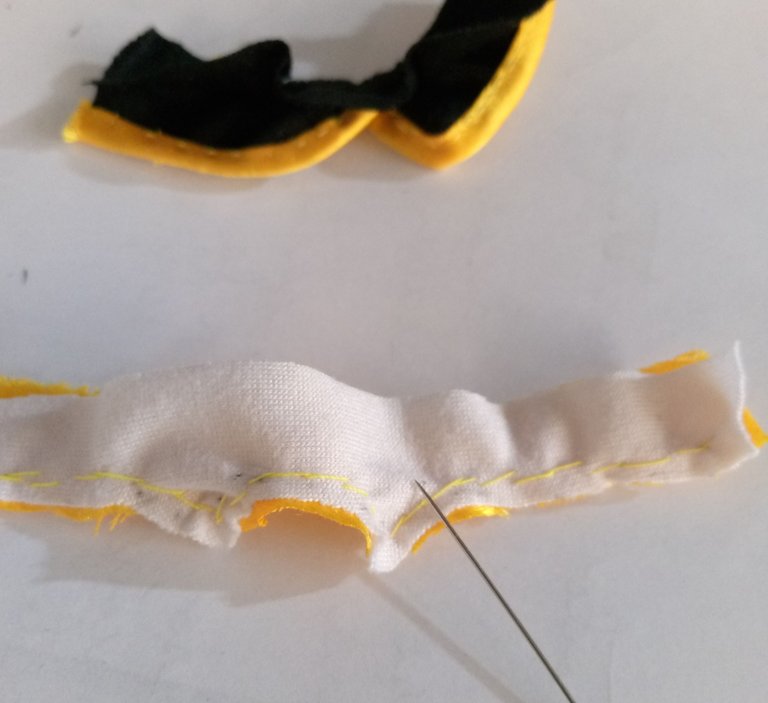
Once I had all the pieces of the design, I sewed first the yellow lines that go over the crop top, these lines go on each of the front parts, then I sewed the piece that goes centered to the crop top and finally I sewed the bottom pieces that has white and yellow fabric and has a design of 2 lateral peaks.
Una vez que tuve todas las piezas del diseño, cosí primero las líneas amarillas que van sobre el crop top, estas líneas van en cada una de las partes delanteras, luego cosí la pieza que va centrada al crop top y por último cosí las piezas inferiores que tiene tela blanca y amarilla y tiene un diseño de 2 picos laterales.
 |  |
|---|---|
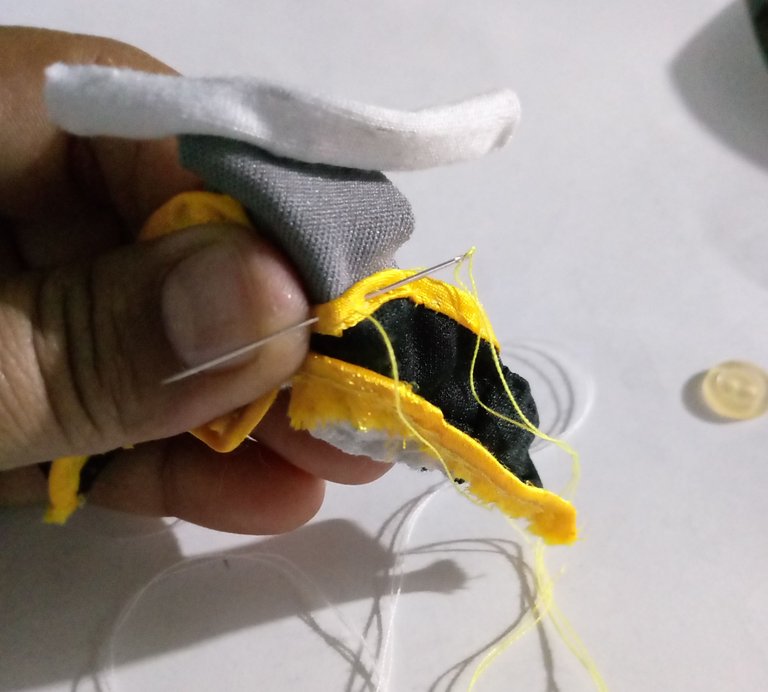 | 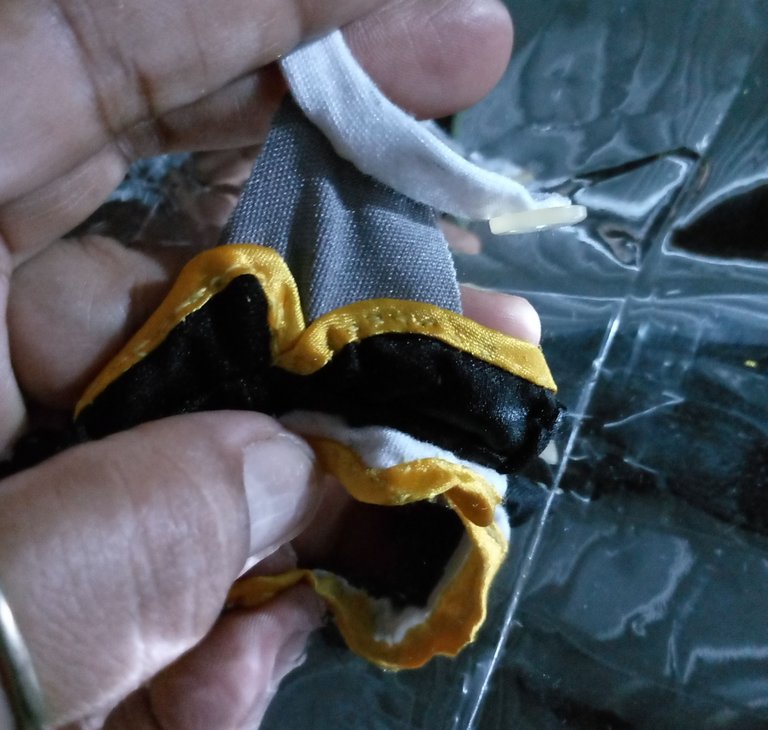 |
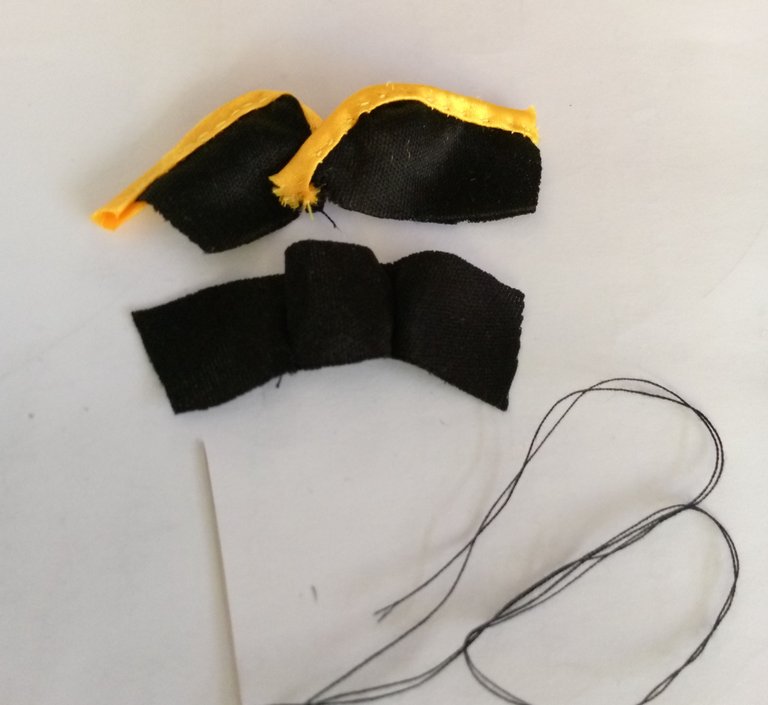
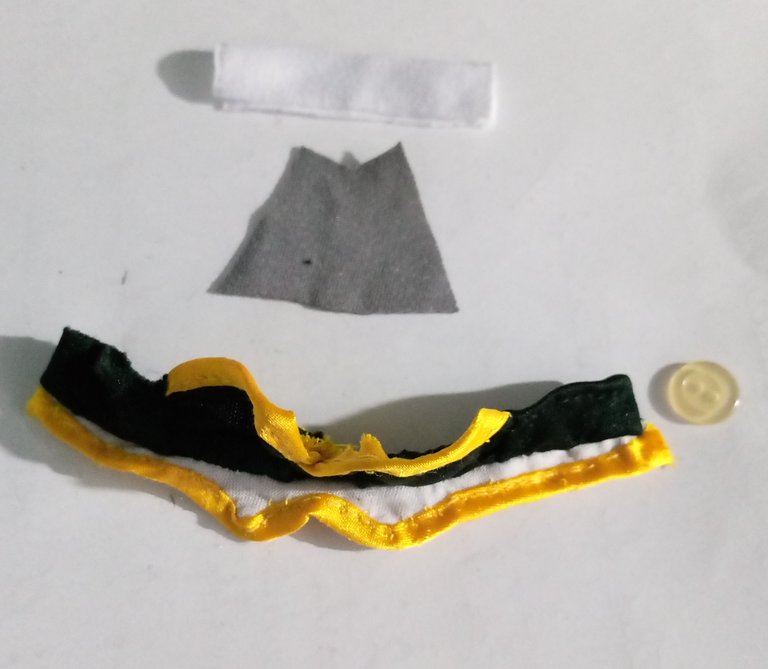
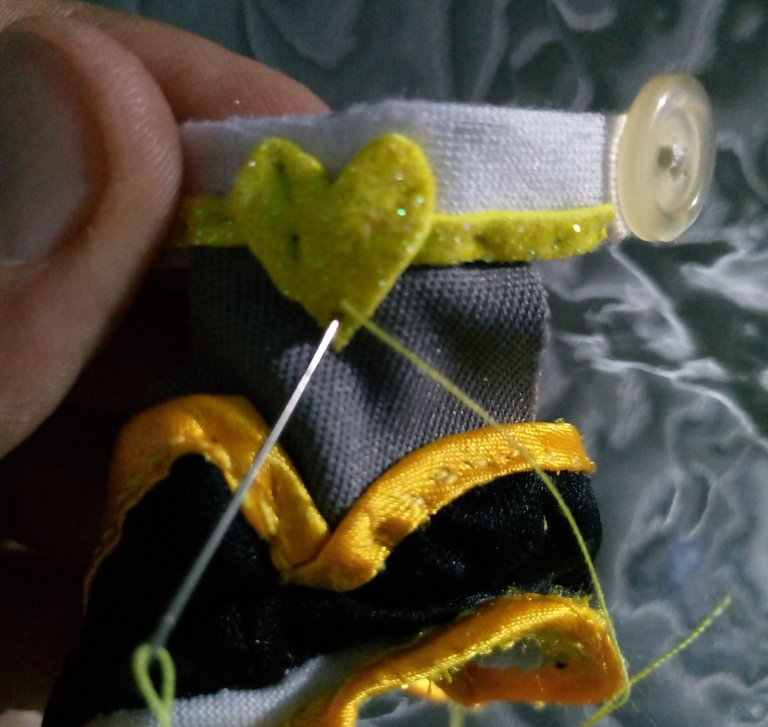
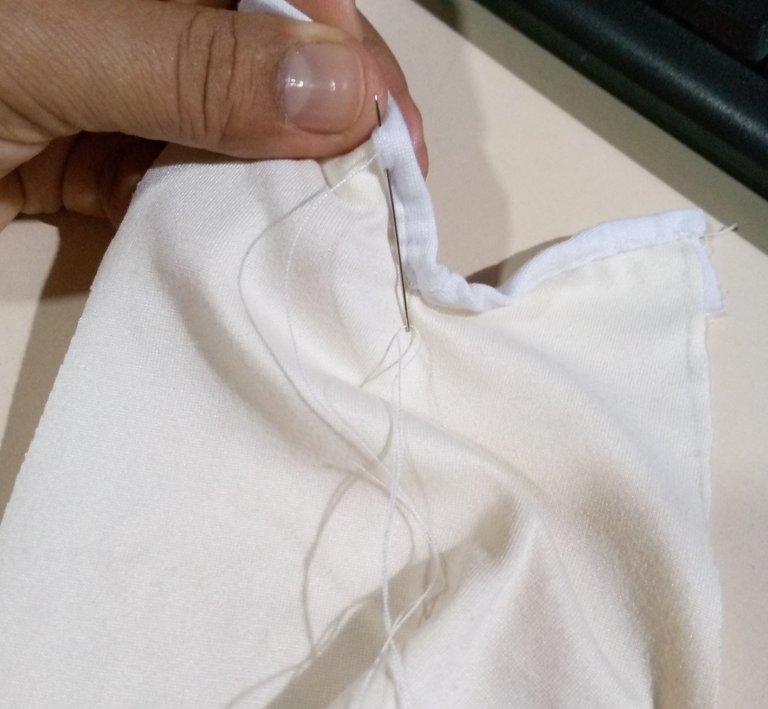
Finish sewing each and every one of the remaining pieces, and its details, such as a button that goes at the nape of the neck, with a thread handle to hold the button, to close the crop top, and have more comfort when dressing Barbie, since it is a piece just to the body.
Termine cosiendo todas y cada una de las piezas restantes, y sus detalles, como un botón que va en la nuca, con un asa de hilo para sujetar el botón, para cerrar el crop top, y tener más comodidad a la hora de vestir a la Barbie, ya que es una pieza justo al cuerpo.
 |  |
|---|

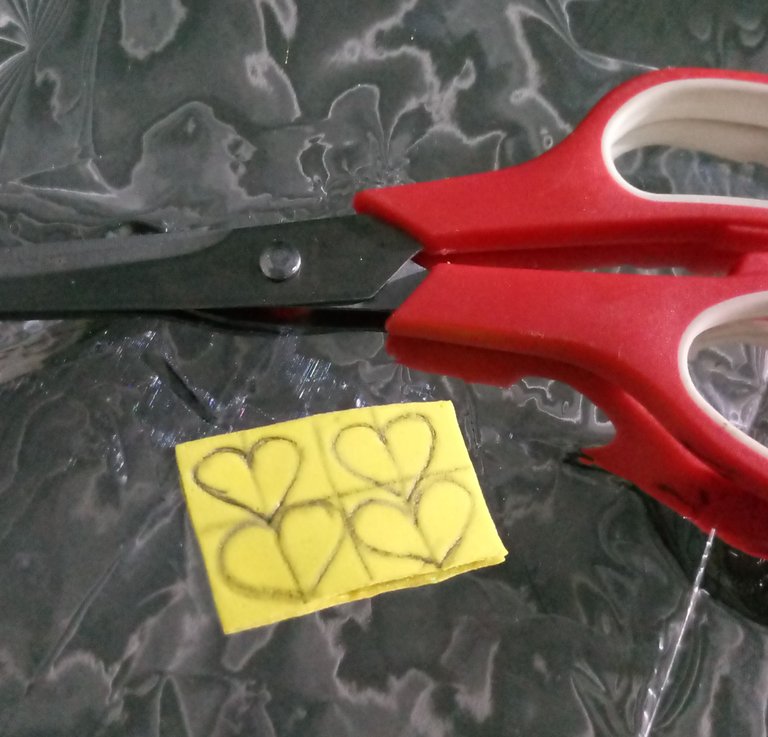
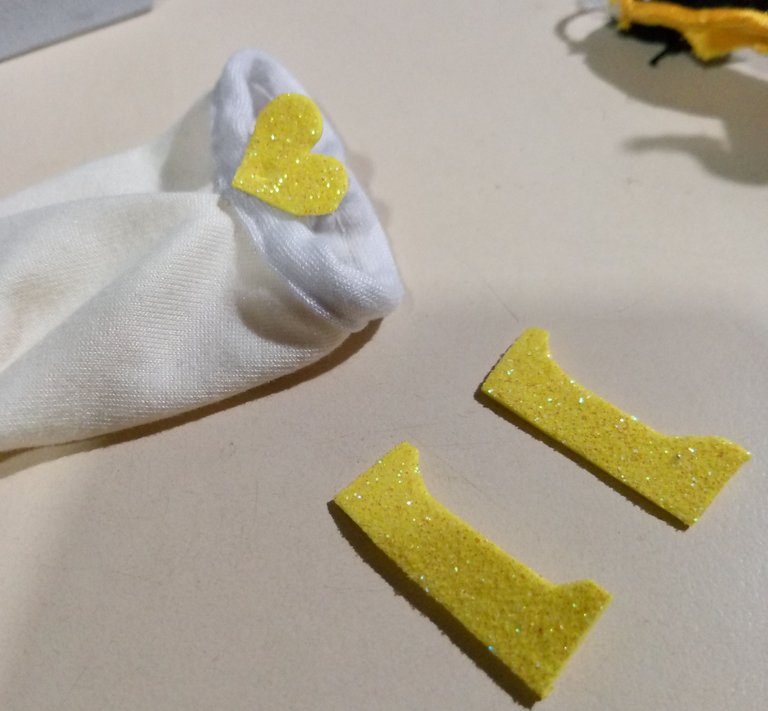
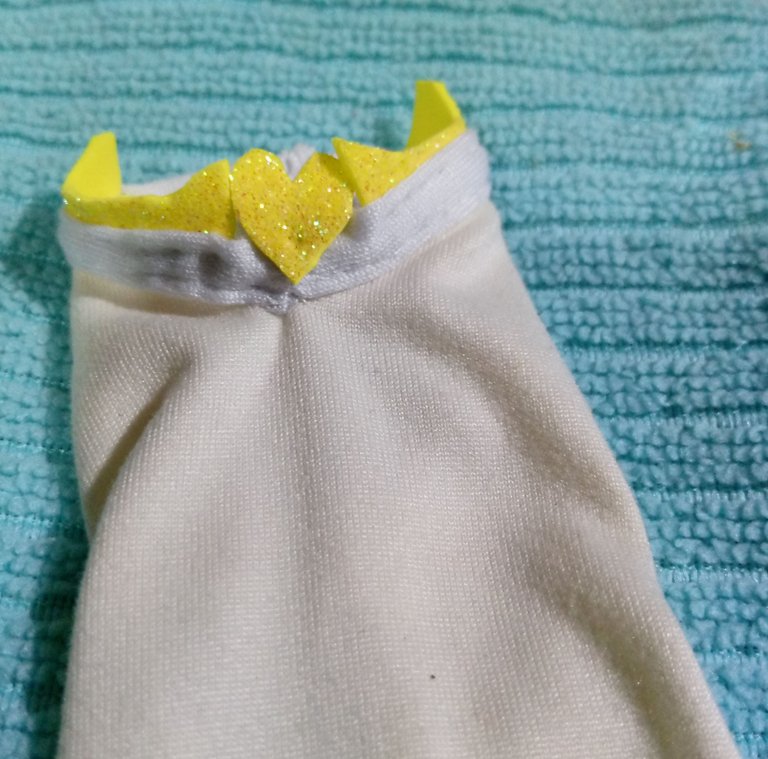
This outfit has a beautiful decoration of yellow hearts, which go on the front of the neck and waist, I drew them on a small piece of frosted foami, cut, sew and decorate.
Este atuendo lleva una decoración, preciosa, de unos corazones amarillos, que van en la parte delantera del cuello y cintura, los mismos los hice dibujando sobre un pequeño trozo de foami escarchado, recorte cosí, y decoraré.
 |  |
|---|---|
 |  |
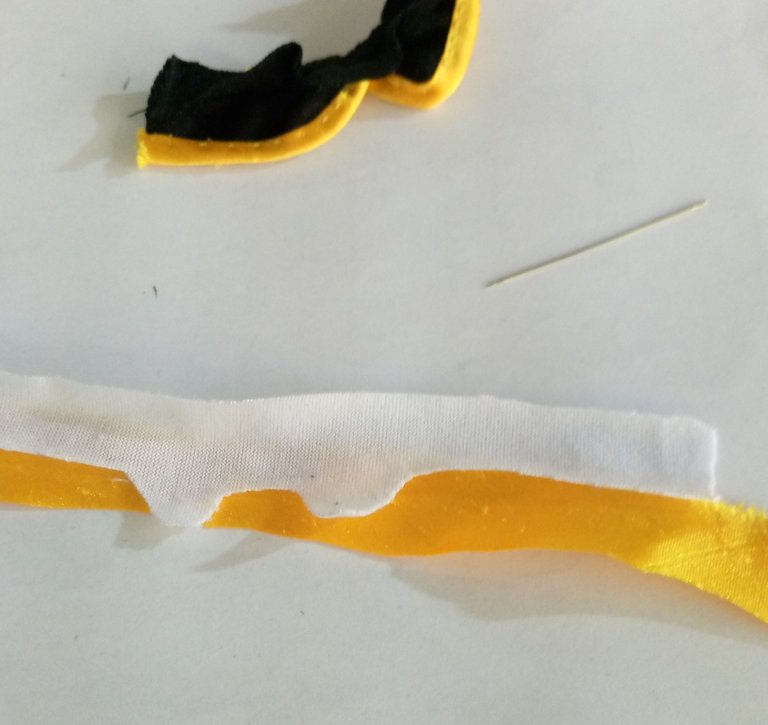
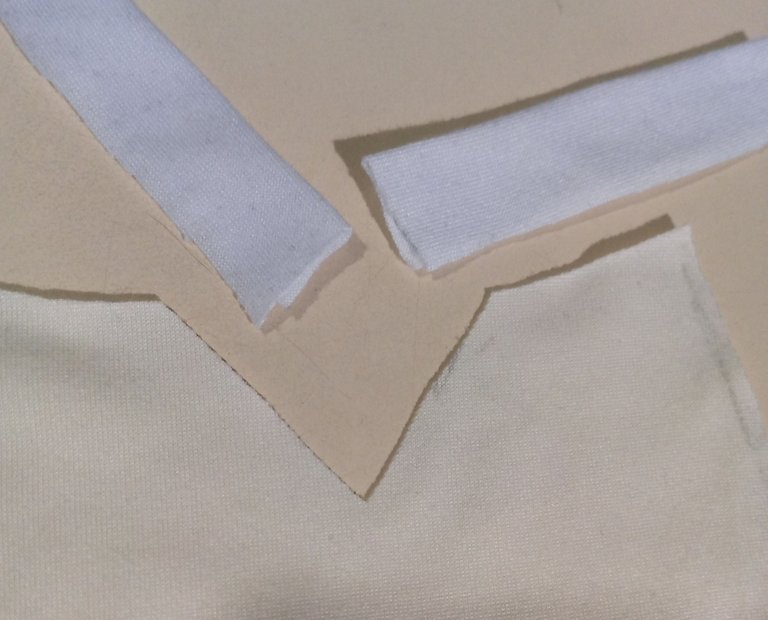
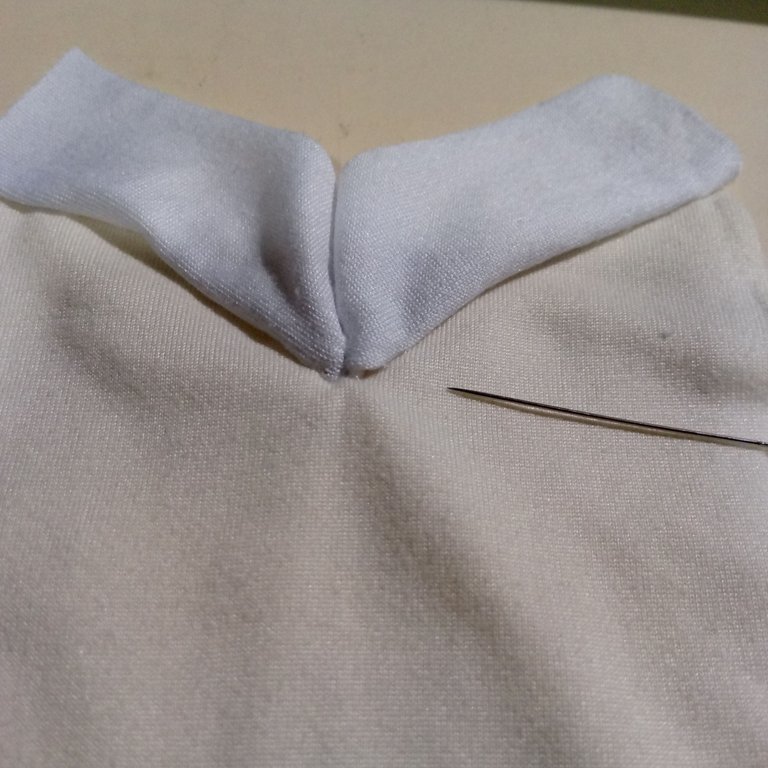
In this next step I had to start making the skirt, which is simpler, it does not have many details of cut, in this case the skirt I made to complete the outfit I did it by cutting only a rectangle of cream fabric, with a V cut design, at the waist, where it has a strip of white fabric, with some appliques with ribbons of foami frosted on the sides of the hips, decorating with a heart of frosted foami in the center of the V cut of the skirt.
En este próximo paso me toco comenzar hacer la falda, que es más sencillo no lleva muchos detalles de corte, en este caso la falda que hice para completar el outfit la hice recortando solo un rectángulo de tela color crema, con un diseño de corte en V, en la cintura, donde lleva una franja de tela blanca, con unos apliques con cintas de foami escachado en los laterales de las caderas, decorando con un corazón de foami escarchado en el centro del corte en V de la falda.
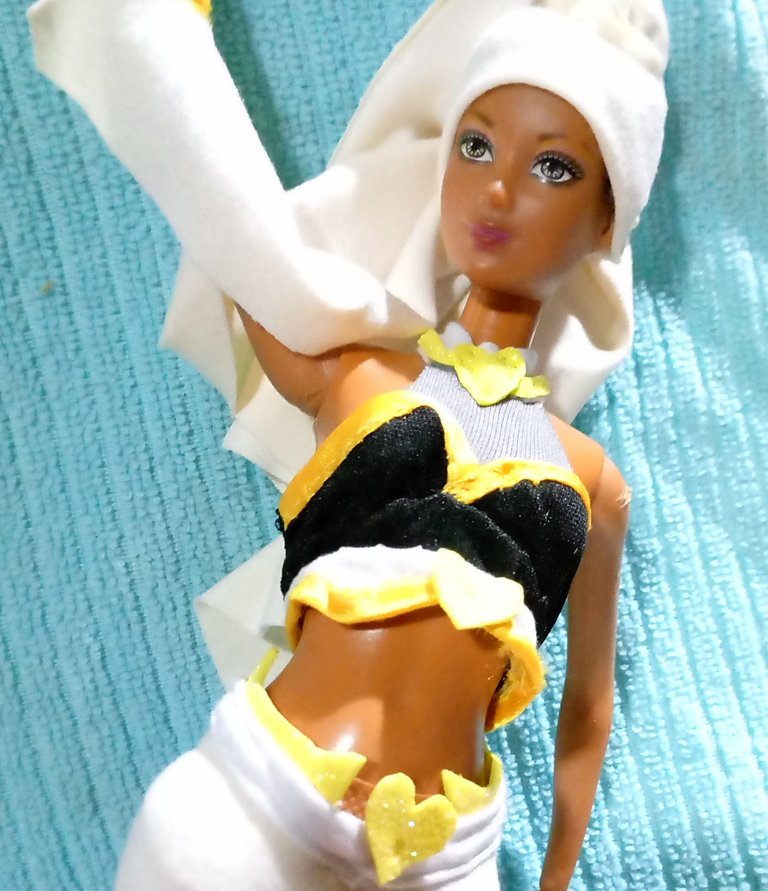
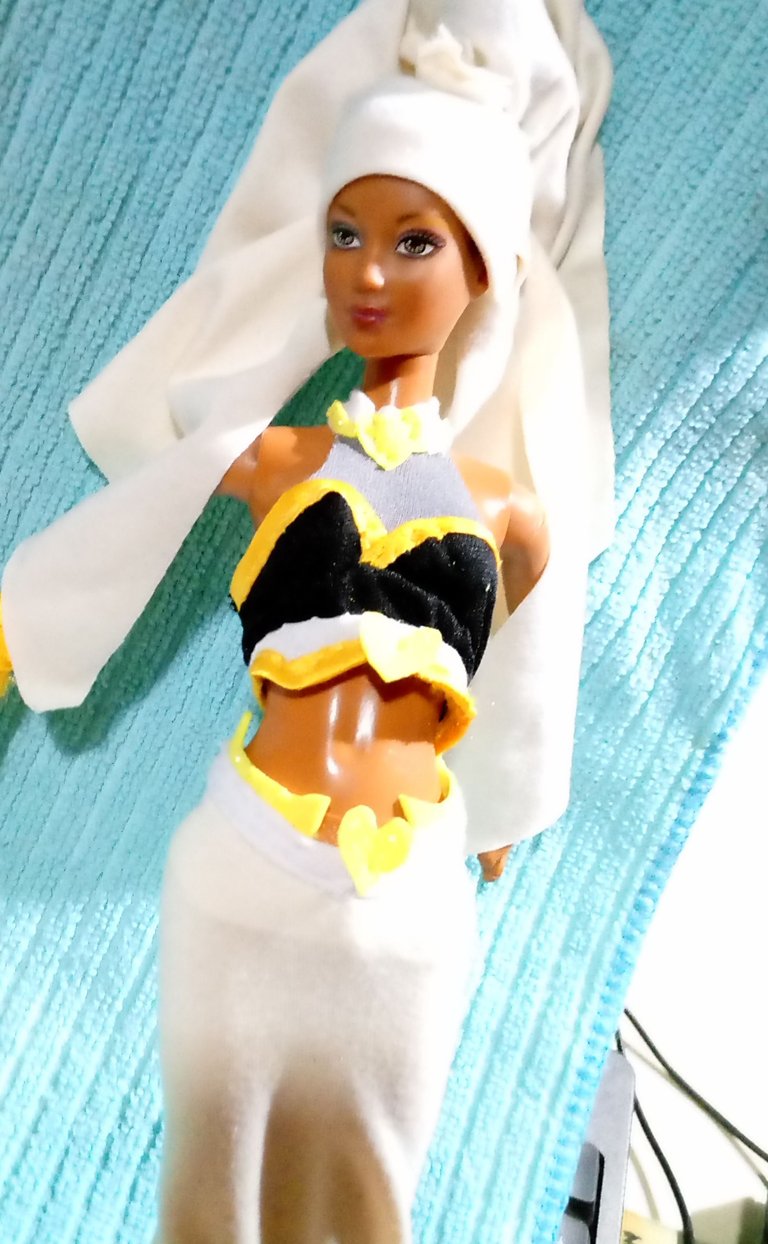
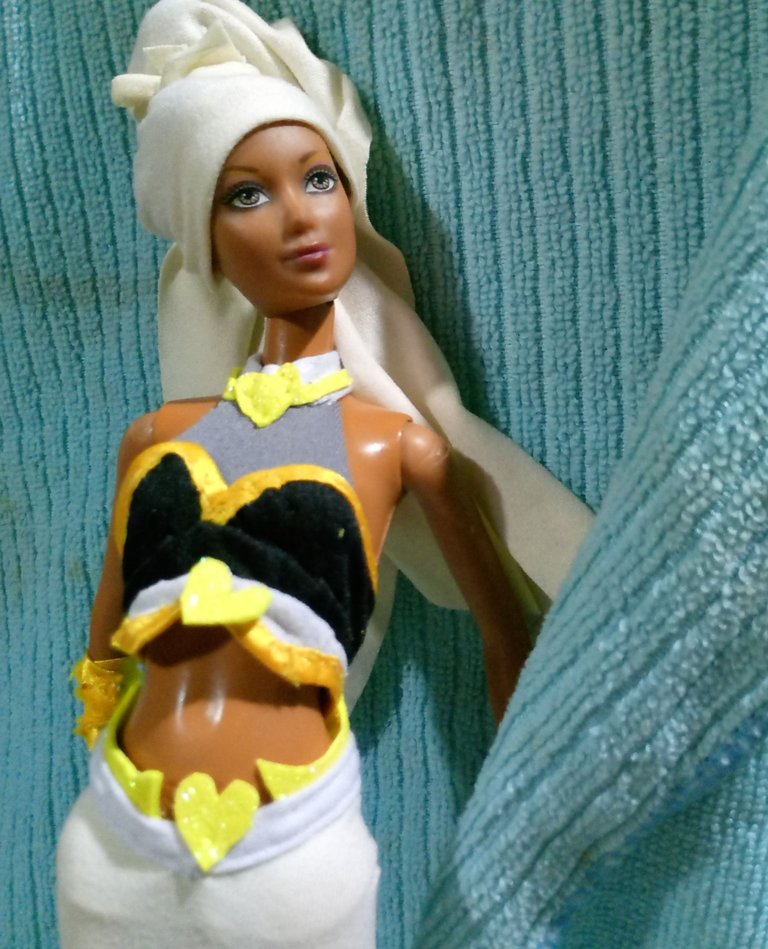
I finished with the most exciting part, which is to see how the brunette barbie looks, imitating this cute character JANNI ORACLE, with her outfit.
To dress her I first put the crop top, then the skirt and finally I covered her hair with a turban of the remaining cream colored fabric, to highlight her skin color and her beautiful light eyes.
Friends, thanks for visiting my post of the day, I hope you liked it and leave me your encouraging messages of encouragement.
Termine con la parte más emocionante, que es ver como luce la barbie morena, imitando a este lindo personaje JANNI ORACLE, con su atuendo.
Para vestirla primero le coloqué el crop top, después la falda y por último le cubrí el cabello con un turbante de la tela restante color crema, para resaltar su color de piel y sus lindos ojos claros.
Amigos, gracias por visitar mi publicación del día, espero que les haya gustado y me dejen sus alentadores mensajes de ánimo.
social networks / redes sociales
Traductor Deepl
Translated Deepl
Ediciones Canva
Editions Canva


Thank you for your support @splinterboost 👌💖
Delegate Tokens and HP to Fallen Angels to earn weekly rewards!
Delegate | Join to the guild
Qué trabajo tan precioso de verdad, un fanart muy digno de la carta que escogiste.
Mucha suerte hermosa...
!discovery 30
Hola bella, muchas gracias, lindas palabras 💖🤗
This post was shared and voted inside the discord by the curators team of discovery-it
Join our Community and follow our Curation Trail
Discovery-it is also a Witness, vote for us here
Delegate to us for passive income. Check our 80% fee-back Program