Axie Art: Drawing Nut Cracker, a Beast-class axie │Arte Axie: Dibujando a Nut Cracker, un axie de clase Bestia [ING - SPA]
English
Hello friends of Hive!
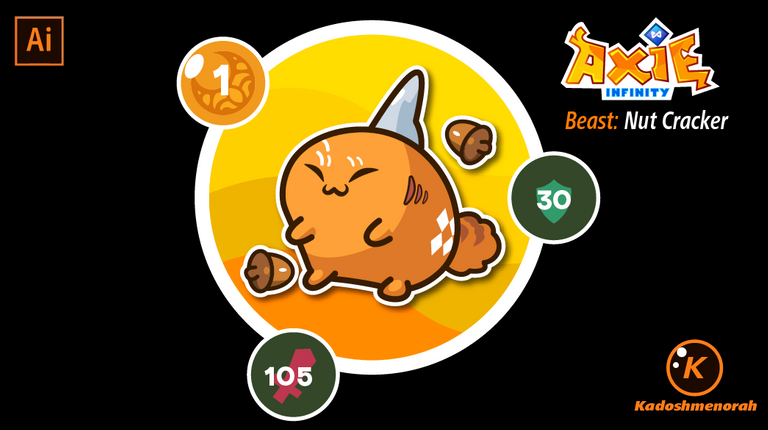
Greetings to all, friends of the Axie Buzz community. Today I'll be sharing a sticker style drawing I made of Nut Cracker, a beast class axie, that deals 120% damage when combined with another Acorn 'Nutcracker' card. This is a work done in adobe illustrator sticker style. Hope you like.
Español
¡Hola amigos de Hive!
Saludo a todos, amigos de la comunidad de Axie Buzz. Hoy les estaré compartiendo un dibujo estilo sticker que hice de Nut Cracker, un axie de clase bestia, que castiga con un 120% de daño cuando se combina con otra carta Bellota 'Cascanueces'. Este es un trabajo hecho en adobe illustrator estilo sticker. Espero que les guste.
Translated with www.DeepL.com/Translator (free version)

PROCESS / PROCESO
Paso 1 / Step 1
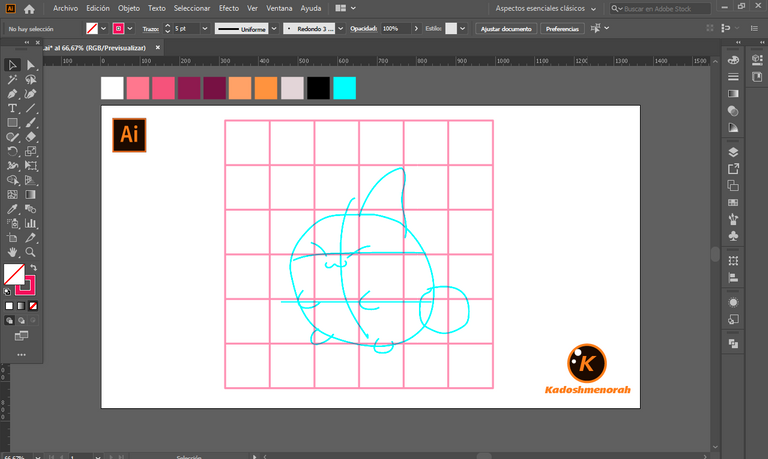
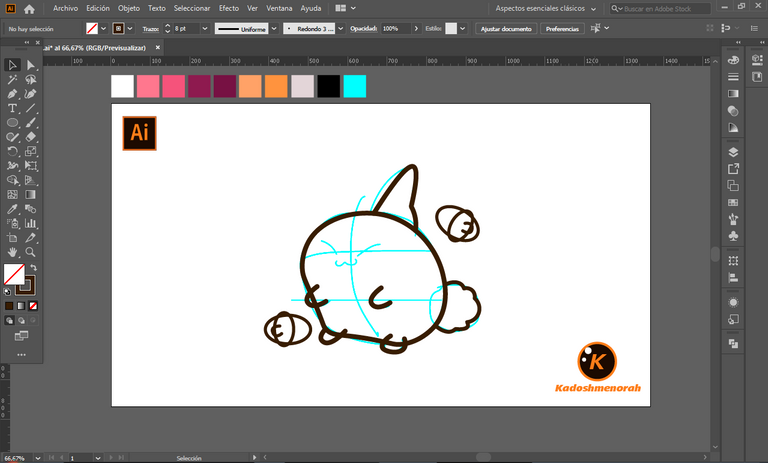
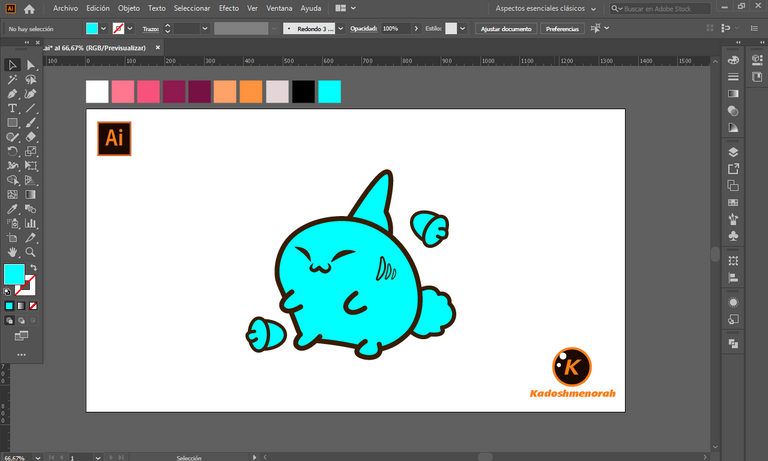
Lo primero que hice fue dibujar una cuadricula de 6x6 como guía para dibujar el boceto de este axie Nut Cracker. Luego dibuje un círculo y modifique sus nodos con la herramienta curva para tener la forma base del cuerpo, luego continúe dibujando con la herramienta pluma en el orden siguiente: las patas; la cola; la aleta; un par de bellotas, y por último los ojos y la boca. Para tener así el line art.
The first thing I did was draw a 6x6 grid as a guide to draw the sketch of this axie Nut Cracker. Then draw a circle and modify its nodes with the curve tool to have the base shape of the body, then continue drawing with the pen tool in the following order: the legs; The tail; the fin; a pair of acorns, and finally the eyes and mouth. To have the line art like this.

Paso 2 / Step 2
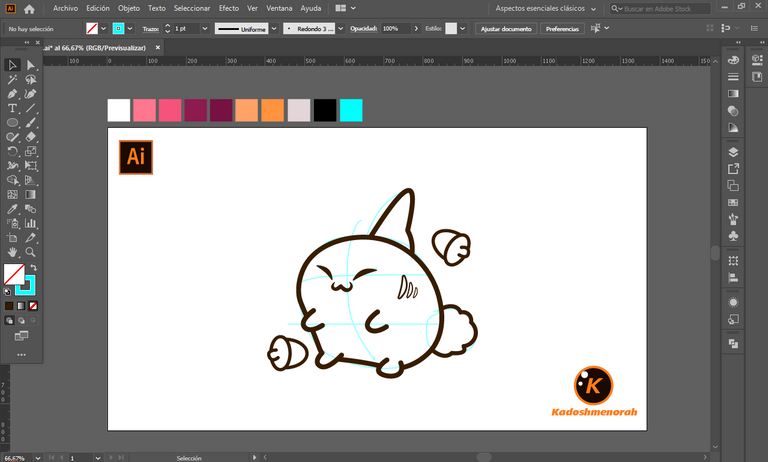
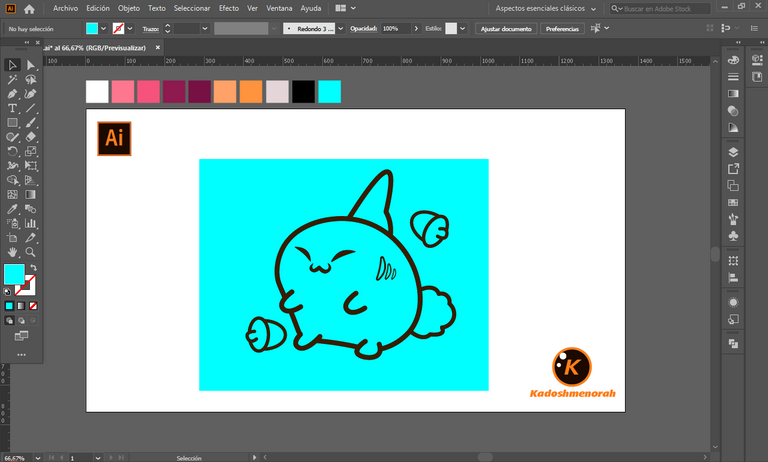
Dibuje un rectángulo y segmente todo para tener line art y color de relleno por separado.
Draw a rectangle and segment everything to have separate line art and fill color.
English
Hello friends of Hive!
Greetings to all, friends of the Axie Buzz community. Today I'll be sharing a sticker style drawing I made of Nut Cracker, a beast class axie, that deals 120% damage when combined with another Acorn 'Nutcracker' card. This is a work done in adobe illustrator sticker style. Hope you like.
Español
¡Hola amigos de Hive!
Saludo a todos, amigos de la comunidad de Axie Buzz. Hoy les estaré compartiendo un dibujo estilo sticker que hice de Nut Cracker, un axie de clase bestia, que castiga con un 120% de daño cuando se combina con otra carta Bellota 'Cascanueces'. Este es un trabajo hecho en adobe illustrator estilo sticker. Espero que les guste.
PROCESS / PROCESO
Paso 1 / Step 1
Lo primero que hice fue dibujar una cuadricula de 6x6 como guía para dibujar el boceto de este axie Nut Cracker. Luego dibuje un círculo y modifique sus nodos con la herramienta curva para tener la forma base del cuerpo, luego continúe dibujando con la herramienta pluma en el orden siguiente: las patas; la cola; la aleta; un par de bellotas, y por último los ojos y la boca. Para tener así el line art.
The first thing I did was draw a 6x6 grid as a guide to draw the sketch of this axie Nut Cracker. Then draw a circle and modify its nodes with the curve tool to have the base shape of the body, then continue drawing with the pen tool in the following order: the legs; The tail; the fin; a pair of acorns, and finally the eyes and mouth. To have the line art like this.
Paso 2 / Step 2
Dibuje un rectángulo y segmente todo para tener line art y color de relleno por separado.
Draw a rectangle and segment everything to have separate line art and fill color.
Paso 3 / Step 3
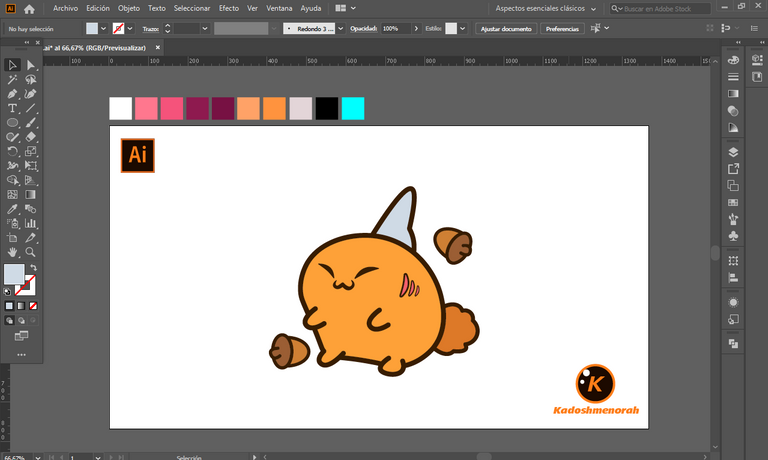
Aplique color base. Luego agregue zonas de sombras y detalles de luces. Y aplique una silueta con sombras para darle el estilo de pegatina.
Apply base color. Then add shadow areas and highlight details. And apply a silhouette with shadows to give it the sticker style.
Paso 4/ Step 4
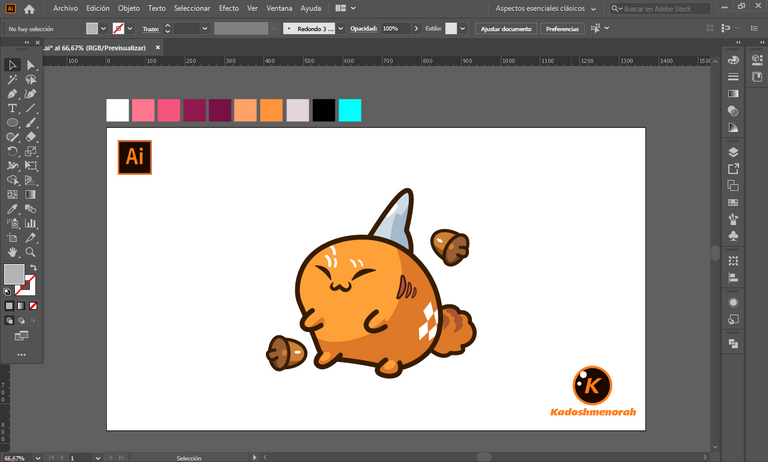
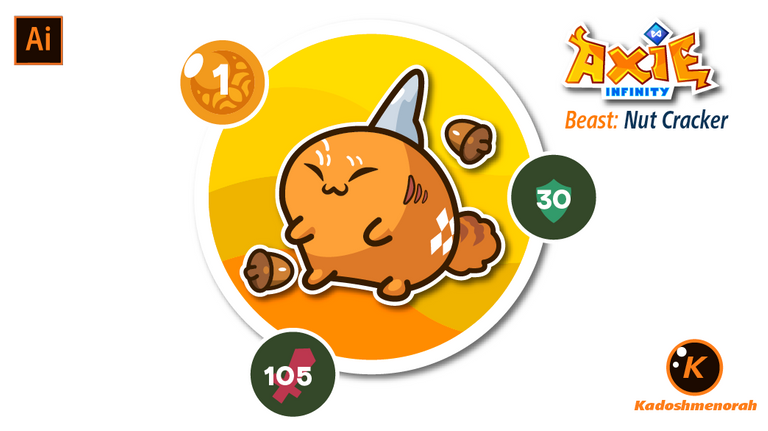
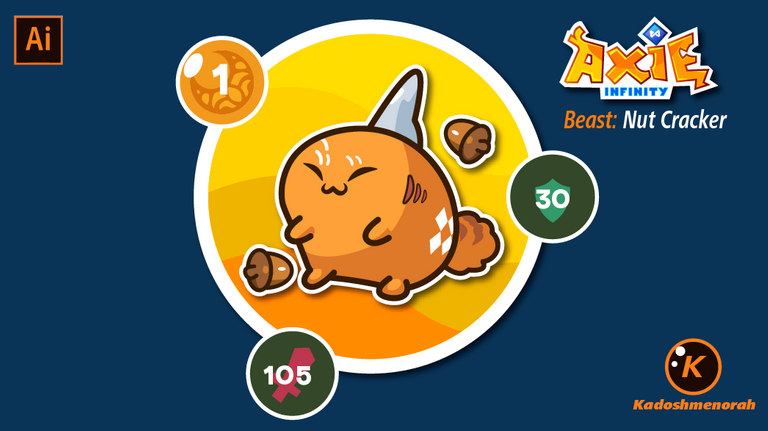
Le di un color de fondo a fin de tener varias presentaciones para compartirlas con ustedes.
I gave it a background color in order to have several presentations to share with you.
Referencia /Reference
axieworld Fuente
Soy kadoshmenorah y hasta una próxima oportunidad y no olvides dejar tus comentarios acá abajo.
 --- Abrazos ---
Buen dibujo bro, me gustaria que hicieras lo mismo pero con peace maker 👍👍