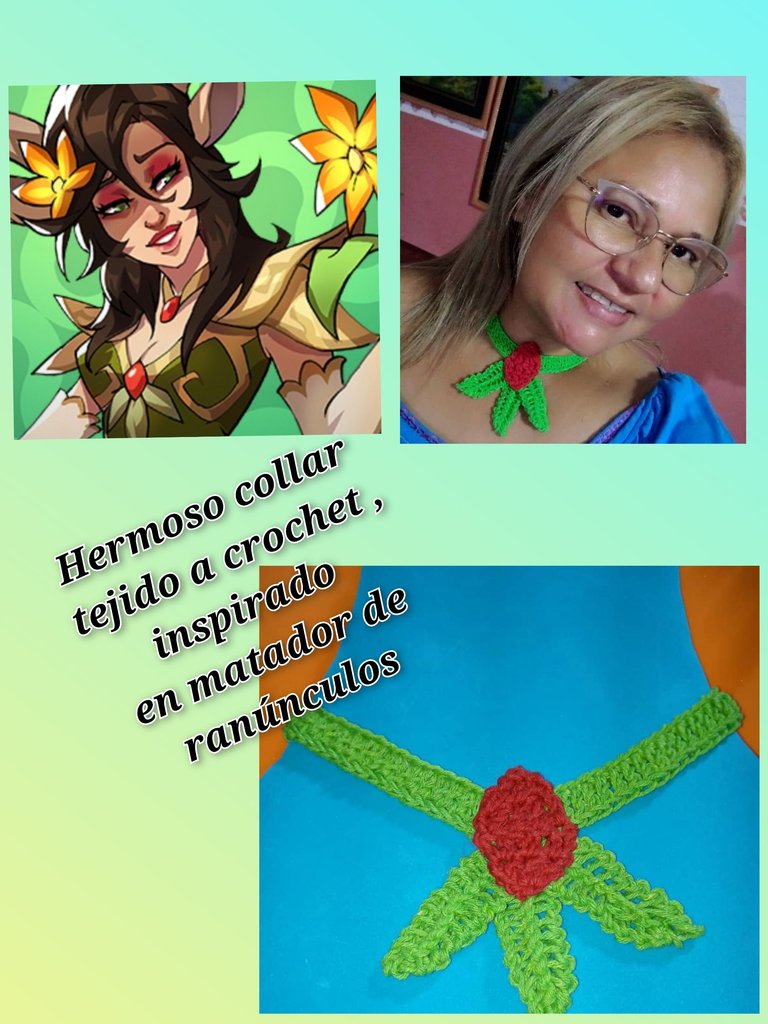
(Esp/Eng)Lindo collar tejido a crochet,inspirado en matador de ranúnculos,splinterlands/Cute crocheted necklace,inspired by buttercup killer,splinterlands
¡Bienvenidos a mi blog!
Hola, buenas tardes, feliz Jueves a todos los que forman parte de esta comunidad de #diyhub,feliz de estar nuevamente por aquí. Espero que estén pasando un día excelente, Dios les bendiga y libre de todo mal.
Los collares tejidos a crochet nunca pasan de moda, siempre están vigente.
Por lo que hoy quiero mostrar como hacer un lindo y colorido collar tejido a crochet,inspirado en Matador de Ranúnculosen el concurso 348 de arte de @splinterlands , espero sea de su agrado y lo tejan , pueden hacerlo de su color favorita y es usado por cualquier mujer. Ahora vamos a su paso a paso para que vean lo fácil que se teje.
Welcome to my blog!
Hello, good afternoon, happy Thursday to all who are part of this #diyhub community,happy to be here again. I hope you are having an excellent day, God bless you and free from all evil.
Crocheted necklaces never go out of style, they are always in style.
So today I want to show how to make a cute and colorful crochet knitted necklace,inspired by Ranunculus Killerin the 348 @splinterlands art contest , I hope you like it and knit it , you can make it in your favorite color and it is worn by any woman. Now let's go to its step by step so you can see how easy it is to knit.
Lindo collar tejido a crochet
Cute crocheted necklace
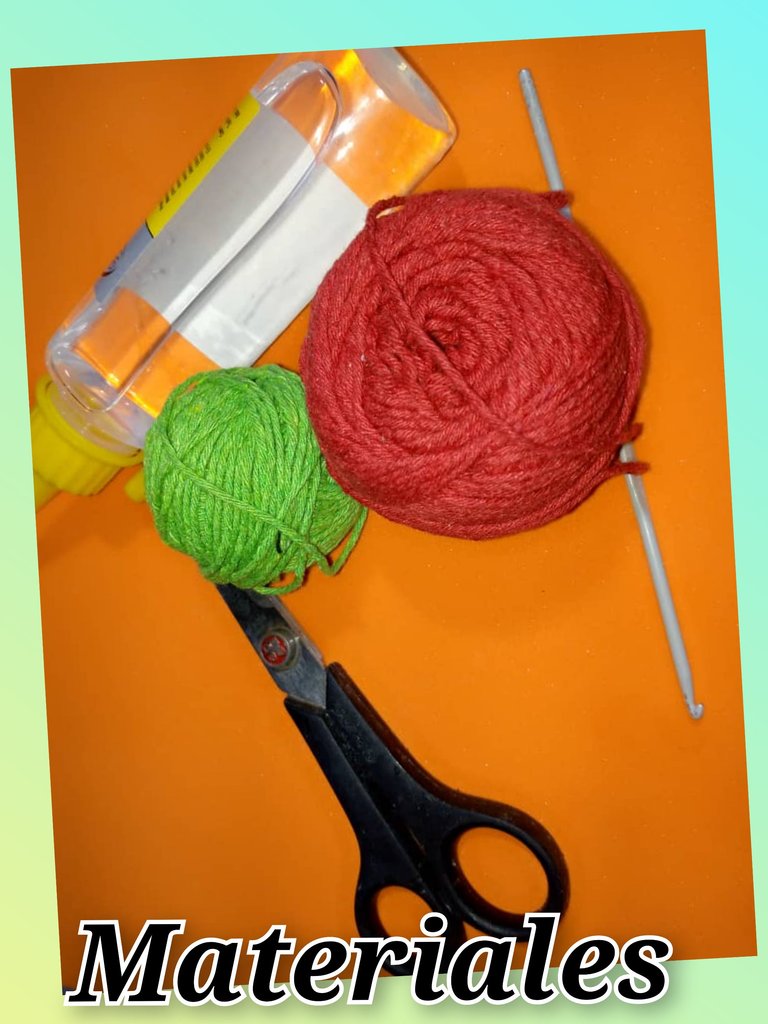
Materiales que se necesitan para la realización del lindo collar:
- Hilo de tejer, colores: rojo y verde.
- Aguja de tejer ,número 5.
- Tijera.
- Silicona líquida.
Materials needed for the realization of this beautiful necklace:
- Knitting yarn, colors: red and green.
- Knitting needle, number 5.
- Scissors.
- Liquid silicone.
Paso a paso para la realización del lindo collar tejido a crochet:
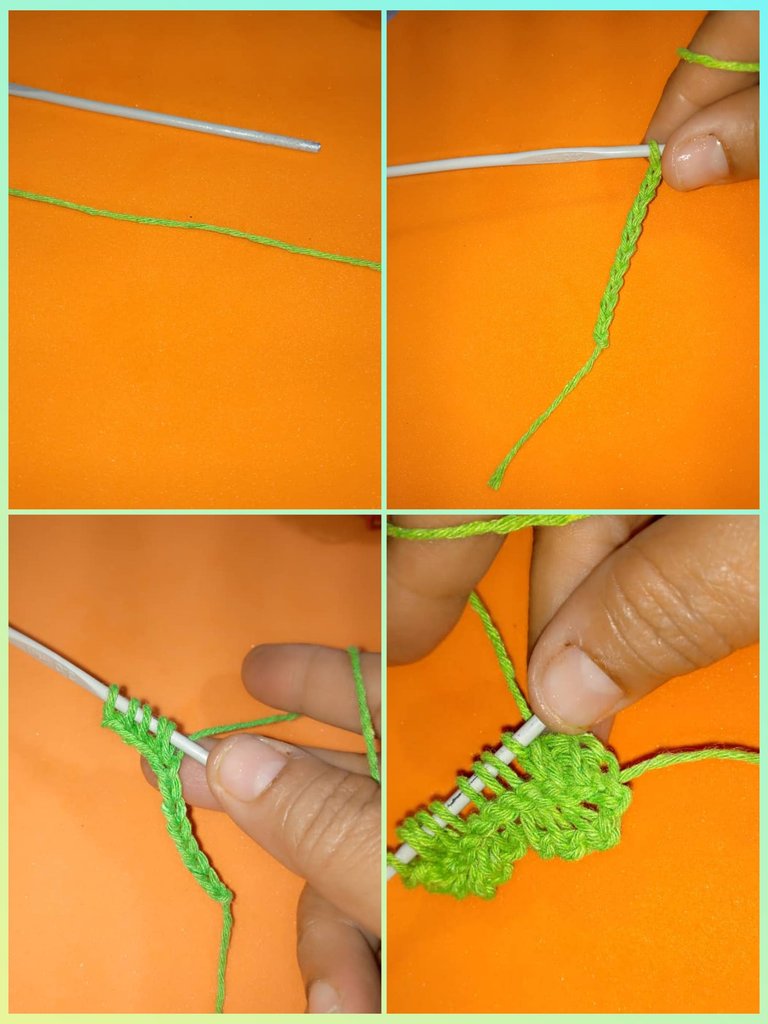
- Lo primero que haremos es las hojas del collar,tomamos el hilo verde y la aguja , comenzamos a hacer 10 cadenetas, luego agarrar una lazada y meter la aguja en el penúltimo punto , tomar otra lazada y tomar el siguiente punto, así se va a realizar hasta el punto número uno.
- Luego se va sacando de a dos puntos , tomando lazada.
- Cuando llegue al final de ese lado, haremos lo mismo del otro lado y así de esa manera se forma una hoja.
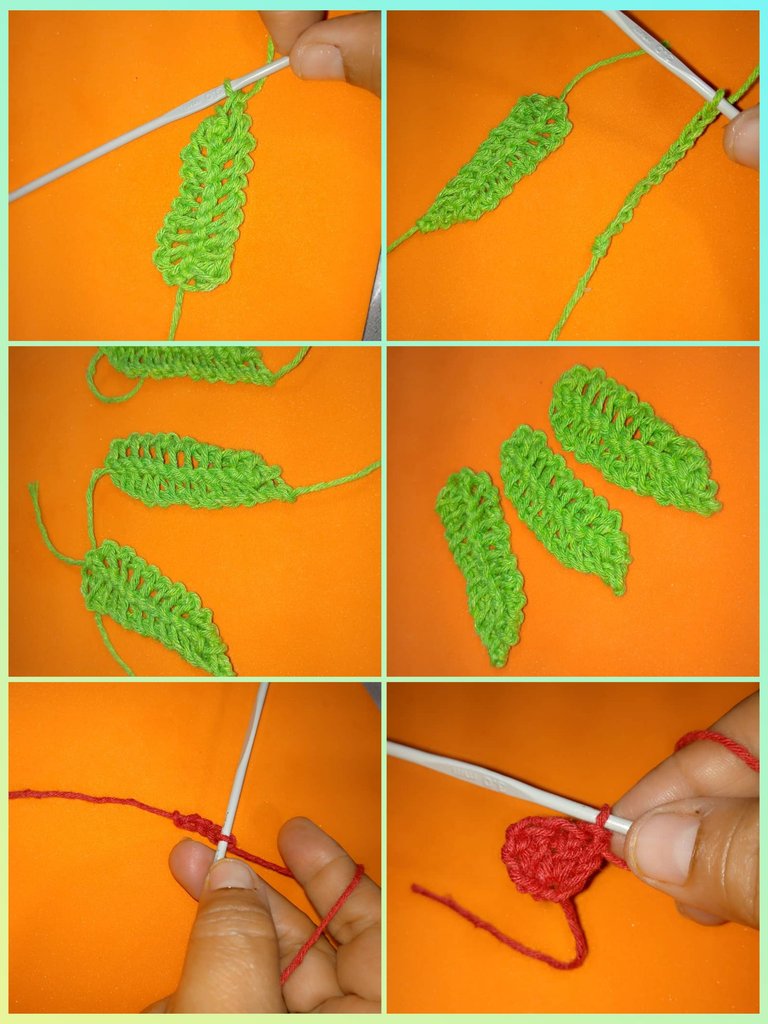
- Se hará de igual manera en las otras tres hojas .
- Para hacer el centro de la flor , tomamos el hilo rojo y la aguja, hacer cuatro cadenas, en el primer punto hacer tres puntos altos. voltear el motivo hacen un punto alto al principio y en el medio hacer un aumento de puntos altos y en el otro punto uno alto.
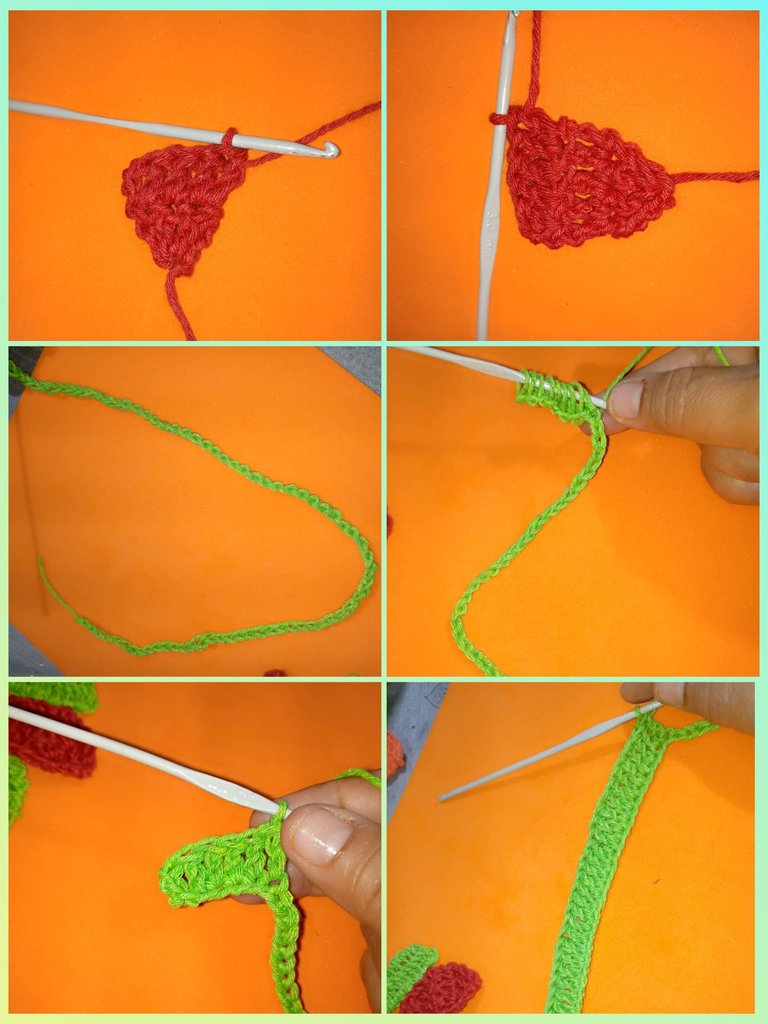
- Volteamos el motivo y hacemos un punto alto en el primer punto una reducción en los siguientes puntos y un punto alto para terminar la vuelta. Luego un punto alto y una disminución.
- Para la última vuelta , una disminución. Y así queda este motivo.
- Con el hilo verde se hace 60 cadenas , y a cada cadena se hace un punto alto, esto sería el cordón de la cadena.
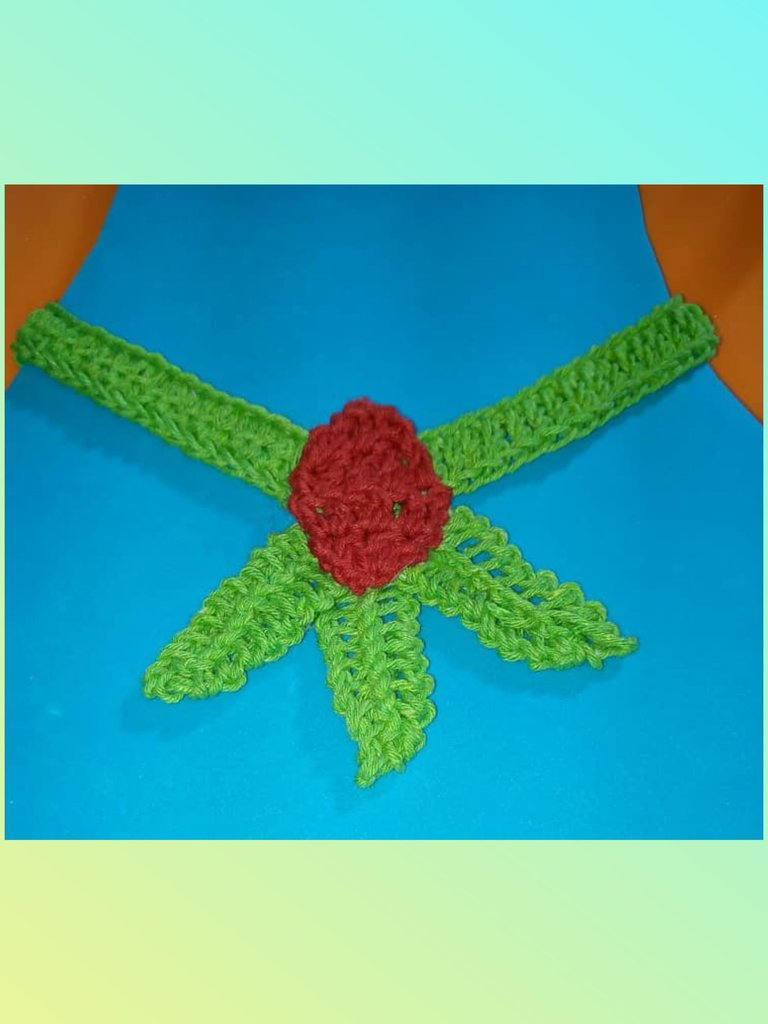
- Teniendo todo listo, procedemos a pegar cada una de las parte con silicón líquido. Y listo, podemos ver el lindo collar.
Step by step for the realization of the cute crochet knitted necklace:
- The first thing we will do is the leaves of the necklace, we take the green thread and the needle, we begin to make 10 chains, then grab a loop and put the needle in the penultimate stitch, take another loop and take the next stitch, so it is going to be done until the stitch number one.
- Then you pull out two stitches at a time, taking a loop.
- When you reach the end of that side, we will do the same on the other side and in this way a leaf is formed.
- It will be done in the same way in the other three leaves.
- To make the center of the flower , we take the red thread and needle, make four chains, in the first stitch make three high stitches. turn the motif make a high stitch at the beginning and in the middle make an increase of high stitches and in the other stitch one high stitch.
- Turn the motif over and make a double crochet in the first stitch, a decrease in the following stitches and a single crochet to finish the round. Then a double crochet and a decrease.
- For the last row, a decrease. And this is how this motif looks like.
- With the green yarn we make 60 chains, and to each chain we make a double crochet, this would be the cord of the chain.
- Having everything ready, we proceed to glue each of the parts with liquid silicone. And ready, we can see the beautiful necklace.

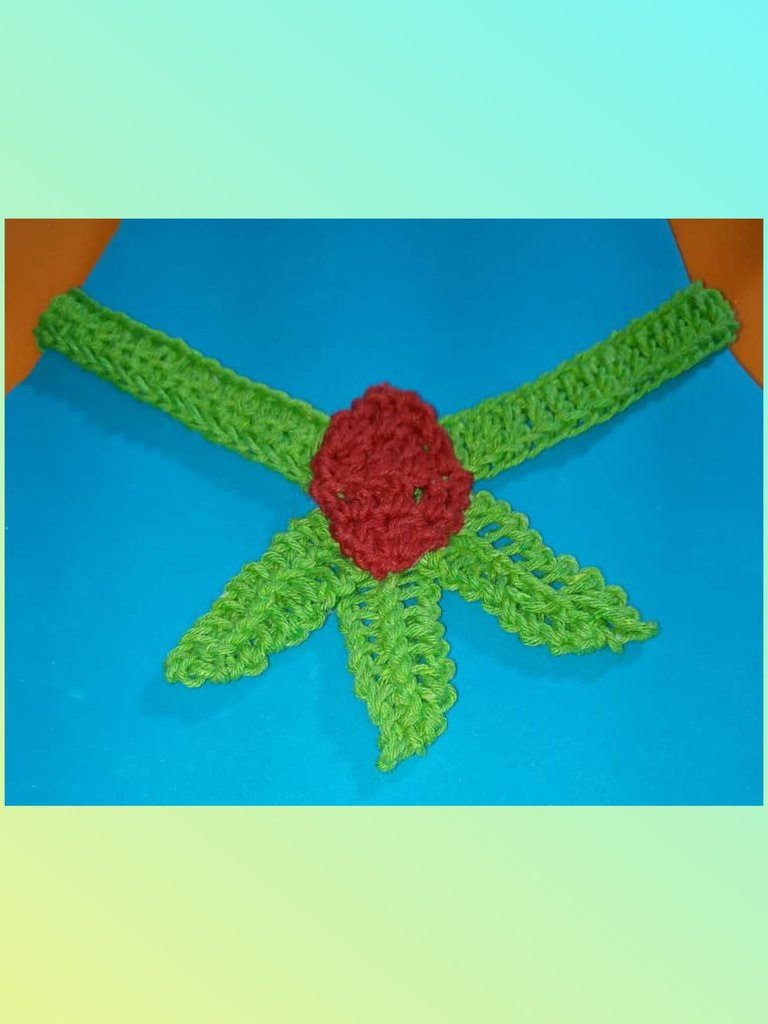
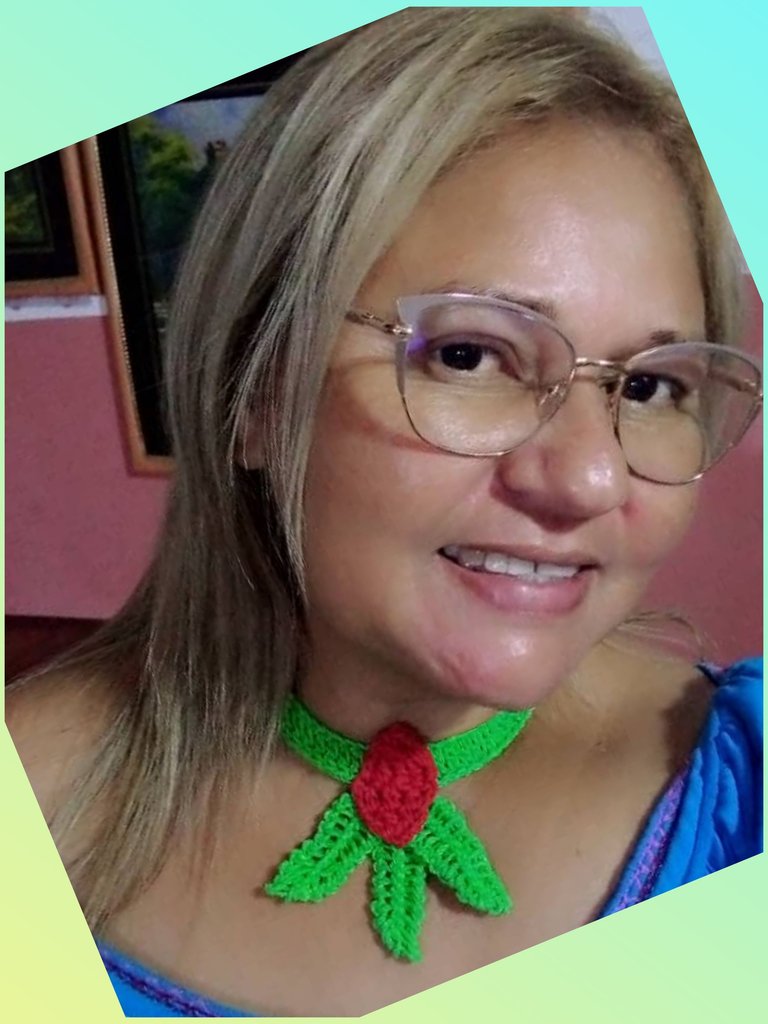
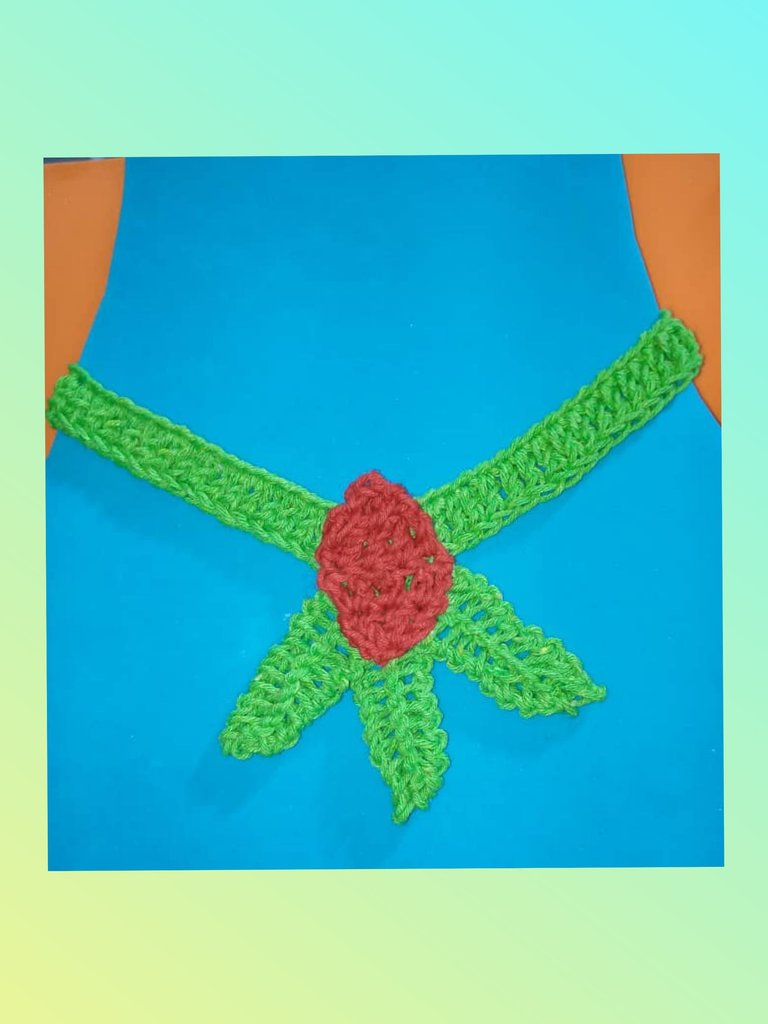
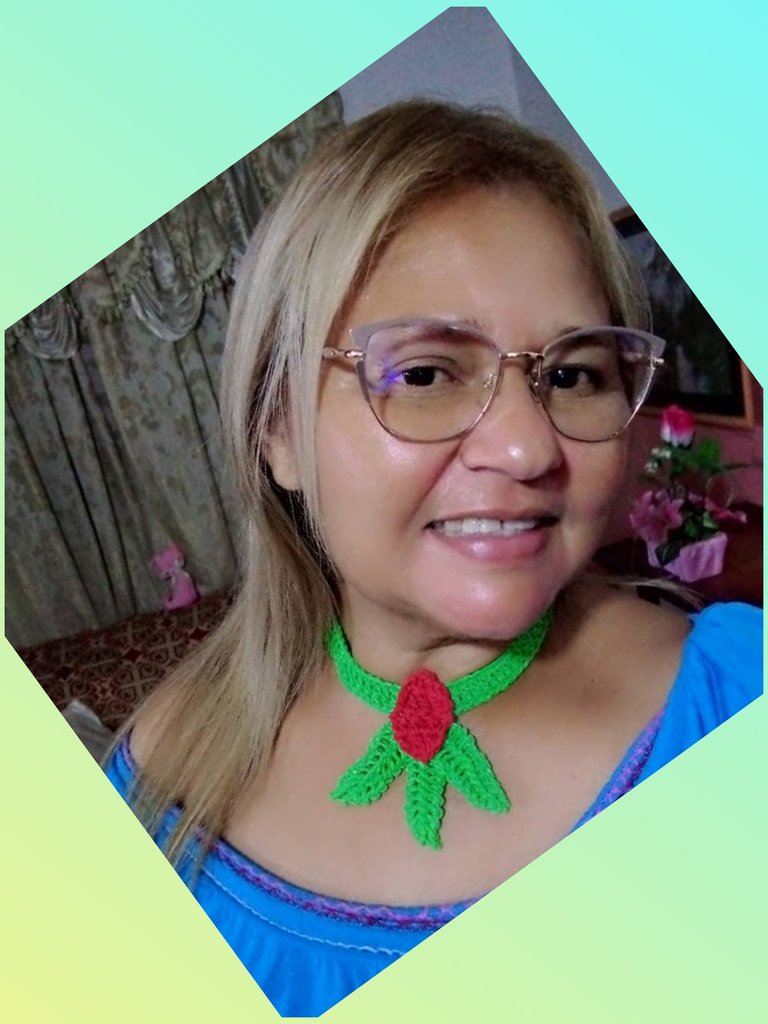
Aquí el resultado final del lindo collar tejido a crochet , inspirado en Matador de Ranúnculos de splinterlands
Here is the final result of the cute crocheted necklace, inspired by splinterlands' Matador of Buttercups.
Gracias por leer y comentar mi post, espero que sea de su agrado. Las fotos son mías, tomadas con teléfono Infinix, editada con incollage y traducido con DEEPL.
Gracias por leer y comentar mi post, espero que sea de su agrado. Las fotos son mías, tomadas con teléfono Infinix, editada con incollage y traducido con DEEPL.
Gracias por el apoyo @splinterboost , saludos.
Wow! This is so gorgeous and your necklace looks so nice on you. You did a flawless job and we love how beautiful it turned out. Great job and thanks for sharing.
selected by @ibbtammy
Ay gracias #diyhub, siempre con esas lindas palabras. Muchas bendiciones. Saludos.
Te quedo ingenioso este collar, casi coincidimos, hoy tenía pensado inspirarme con este personaje, solo que no logre llegar temprano para dedicarme con mi inspiración.
Hola @lauracraft , si, que casualidad de tener la misma inspiración por el mismo personaje. Espero ver tu post para el próximo concurso. Dios te bendiga. Saludos.
Hola querida, si mucha coincidencia, también espero poder hacer algo lindo para este próximo concurso.💞
Gracias por la Bendición, amén, igualmente Bendiciones para ti.💞
So beautiful
Si @sommylove , el collar quedo muy lindo. Dios te bendiga
Have you heard about the new Splinterlands Community PRAETORIA?
Give it a tour and check out the community for real Splinterlands conversation, ideas, feedback & creativity from Praetoria’s citizens.
muy lindo, excelente te quedo!
very nice, excellent!
Congratulations @josdelmi! You have completed the following achievement on the Hive blockchain And have been rewarded with New badge(s)
Your next target is to reach 5500 replies.
You can view your badges on your board and compare yourself to others in the Ranking
If you no longer want to receive notifications, reply to this comment with the word
STOPCheck out our last posts: