Week 359 | My Splinterlands Art Contest Entry | Goblin Psychic
I hope everyone is doing fine. 😁
Not a lot is happening for me now in Hive because I was quite busy for the month of August. 😆 Though that was the case, I make time for posting an entry every week for SPL! Hoping to keep my streak, hehe.
For this week, I chose Goblin Psychic to draw in my art style! ☺️ This character seemed like you can find in a secret tavern, hehe. 😄
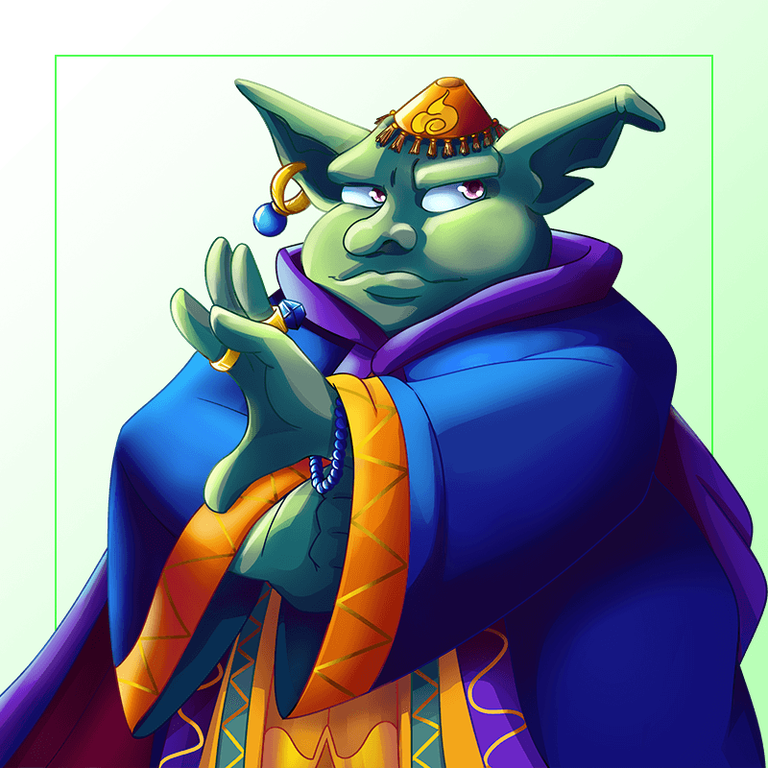
For this week, I chose Goblin Psychic to draw in my art style! ☺️
"The Magi Tower is where Goblins go to learn how to use psychic abilities. It isn't just a gift Goblins can learn, but due to the proximity of Gobson, Goblins tend to show up more frequently. The Magi who calls the tower home, enjoys teaching the art of using one's mind to move objects and read thoughts. Goblin Psychics use their abilities to perform work in Gobson or become adventurers and practice to become a full fledged Summoner."
More of Goblin Psychic's Lore in this link.
Art Process ✨
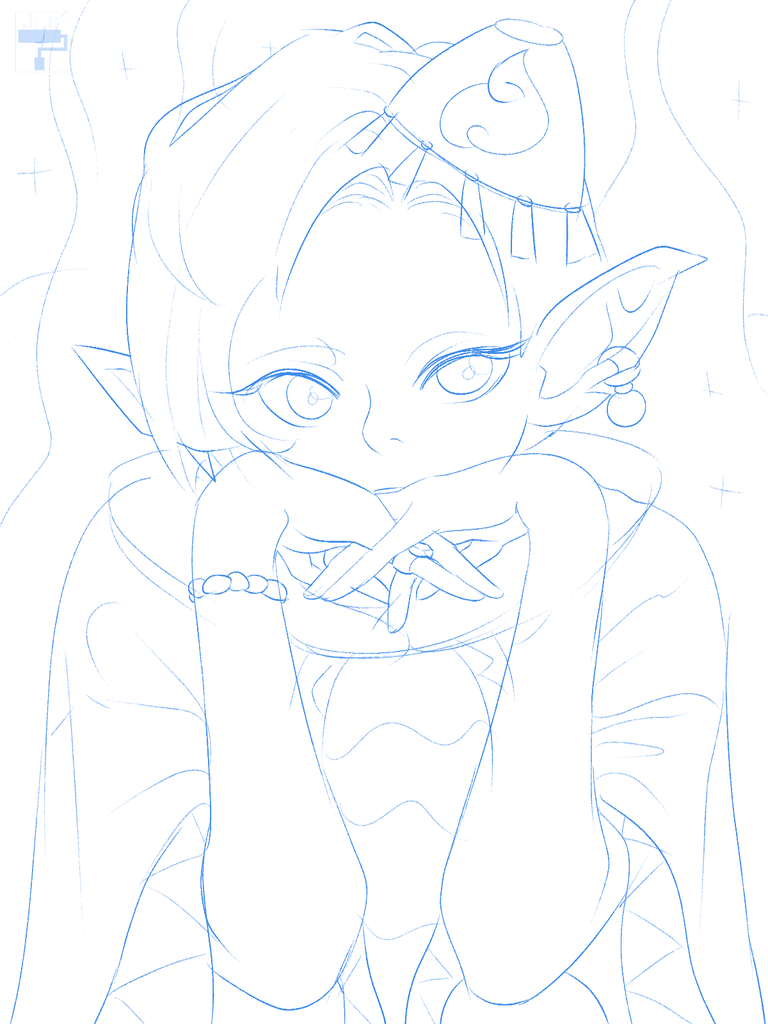
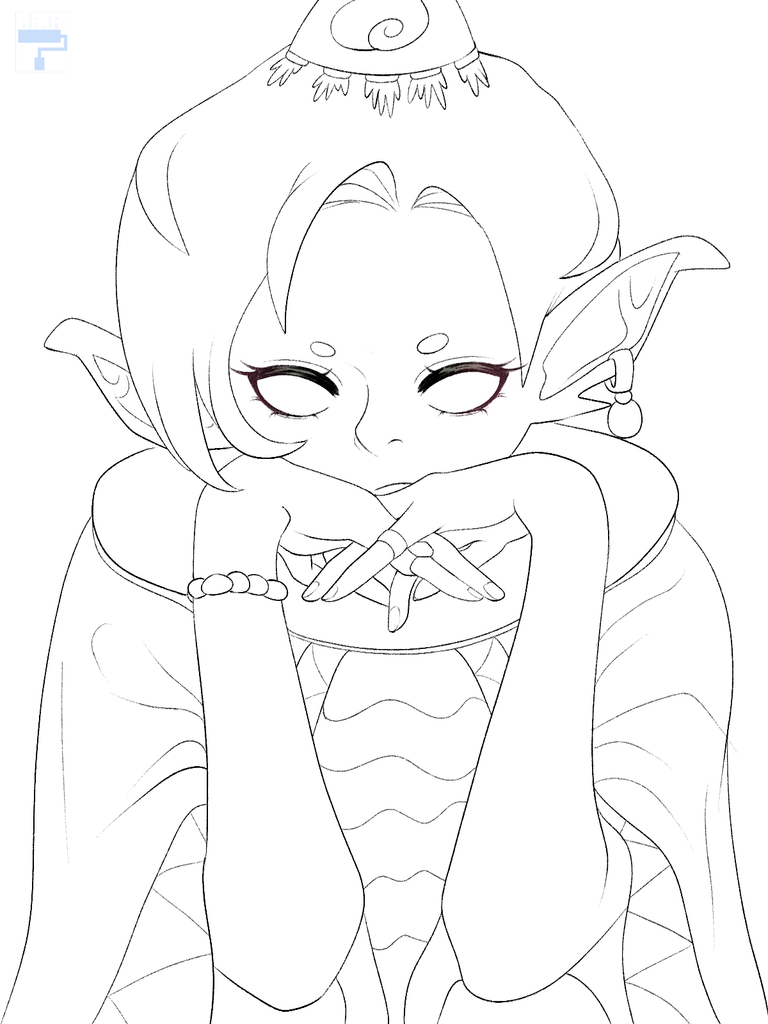
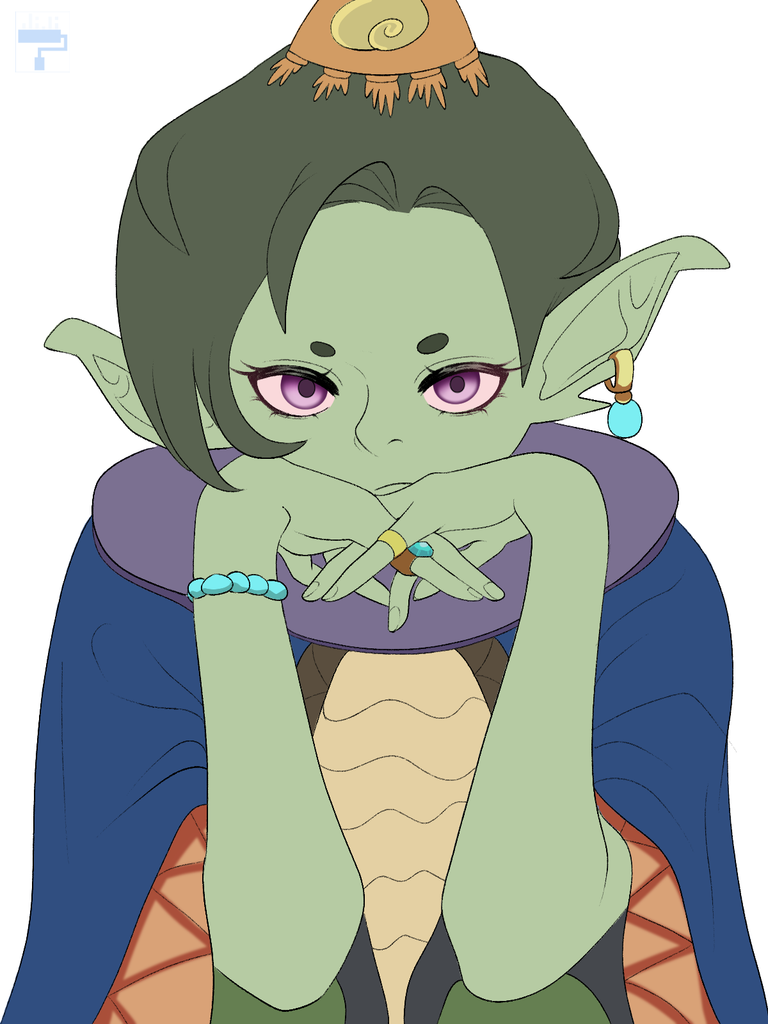
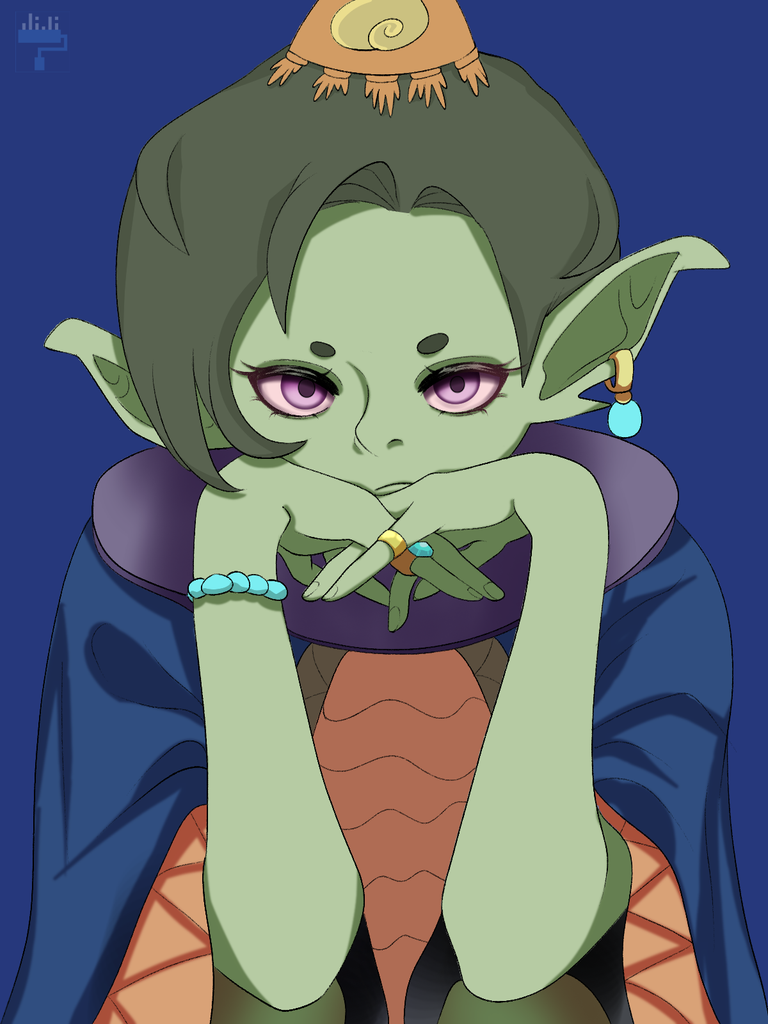
- base color and initial shading
I used a tool called a color picker to copy the colors from the original art. I then adjusted the colors by tweaking the saturation and hues. For a faster process, I used the bucket tool to fill the white space. For colors beyond the line, I used the eraser edge tool. Manually doing so will take much time. The next step was the shading. I just clipped another layer on top and started applying a darker color. Sometimes, I use the same color as the base color and then set it in multiply mode for the shading. For the background color, I used a navy blue and later on will add more details.
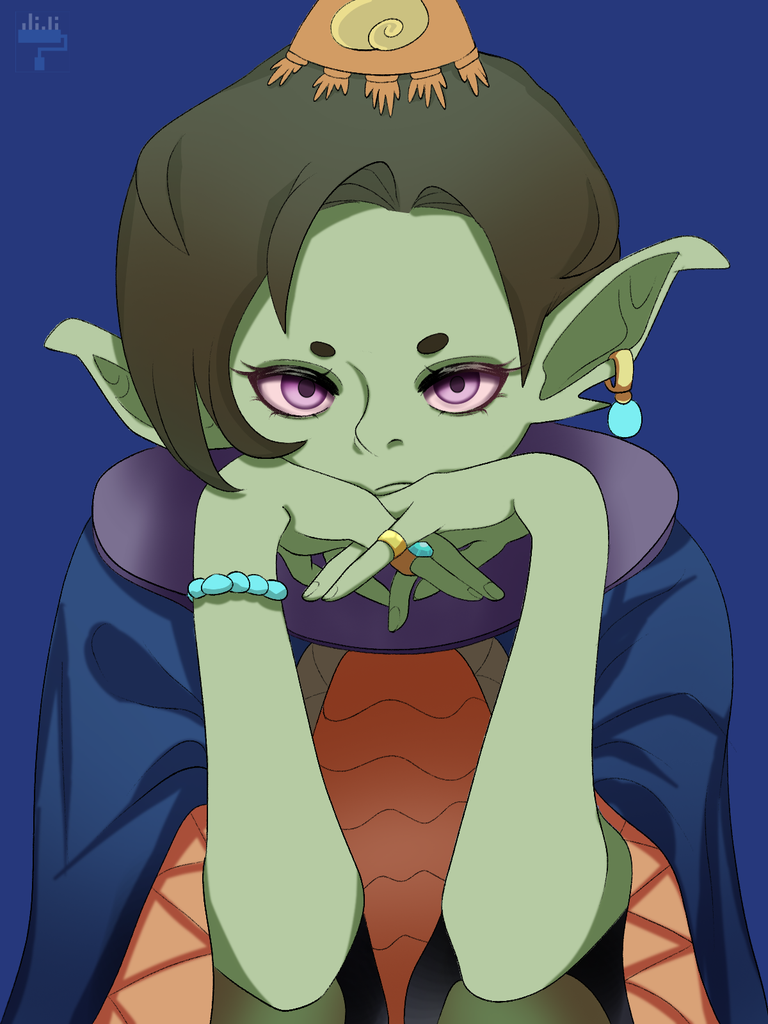
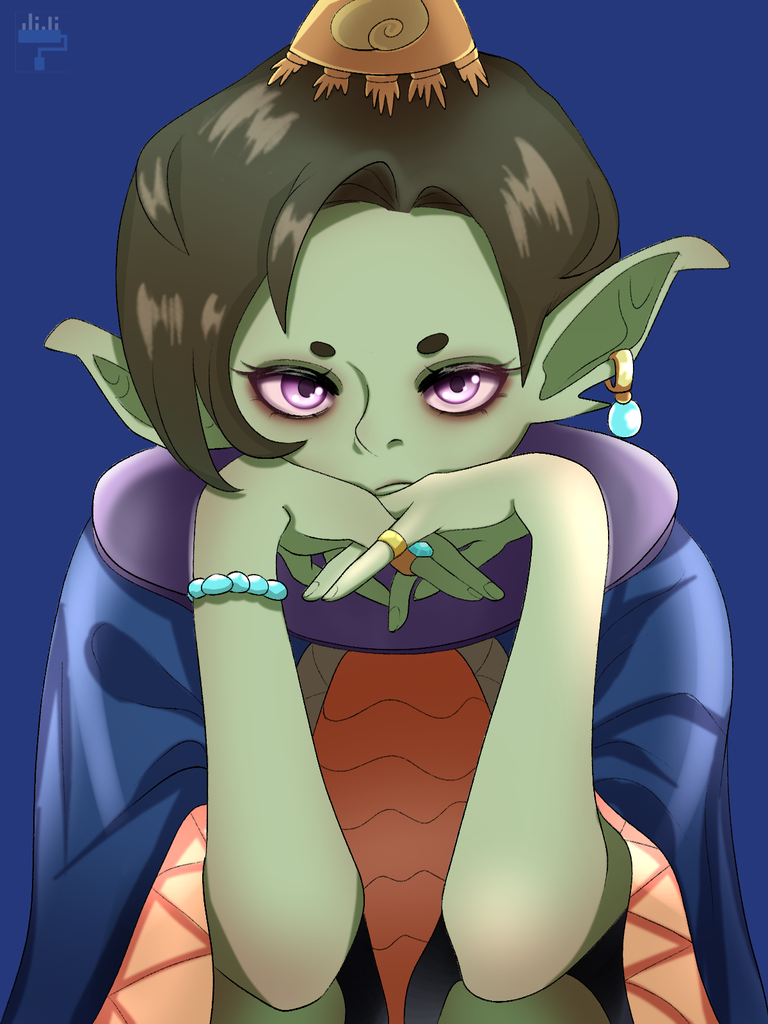
Using the same tools, I intensified the shading. I applied soft airbrush on the clothing for extra dimension. On this stage, I focused on the eyes, giving them more depth and shine. I used a soft airbrush for the shine. On the skin, I applied a subtle color of orange using, again, airbrush. For the accesories, I used the same brush and applied the shines.
Final Art
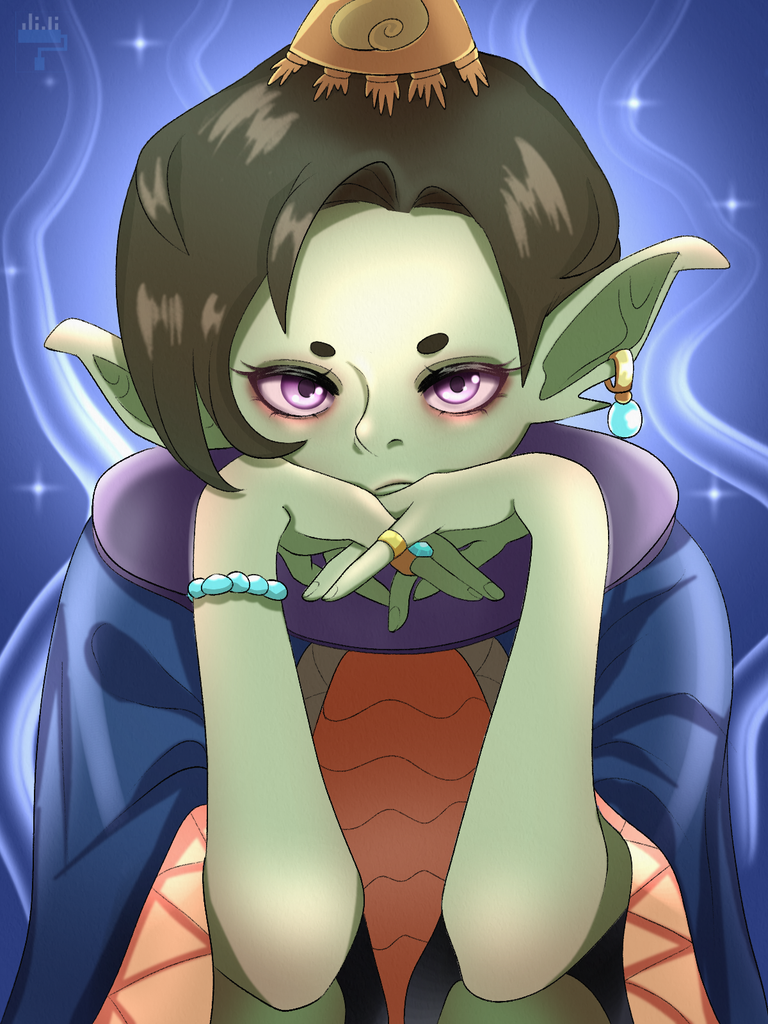
Since this character emits magic, I thought of giving a magical effect background. I looked for a tool to give a smoky effect. I just randomly drew some crooked lines and but it in the glow more. I blurred it out a little, but more for the dimension effect. Lastly, I applied some sparkles for a nuance effect.
Tadaaa! I hope I imparted some knowledge through my art process! 😊 Feel free to ask anything in the comment section, and I will answer to the best of my skill!! 🥳💕
Software: Clip Studio Paint Pro
That is it for this art blog. I will see you at the next one!
📸 All photos are owned and taken by me, otherwise credited. ©️jijisaurart
💖 NFT Showroom: Chibis on Hive
🖌 Open for commissions!! !😊
nice :)
https://x.com/AlienArtHive/status/1958146668227928427
Thanks for sharing! - @cieliss
