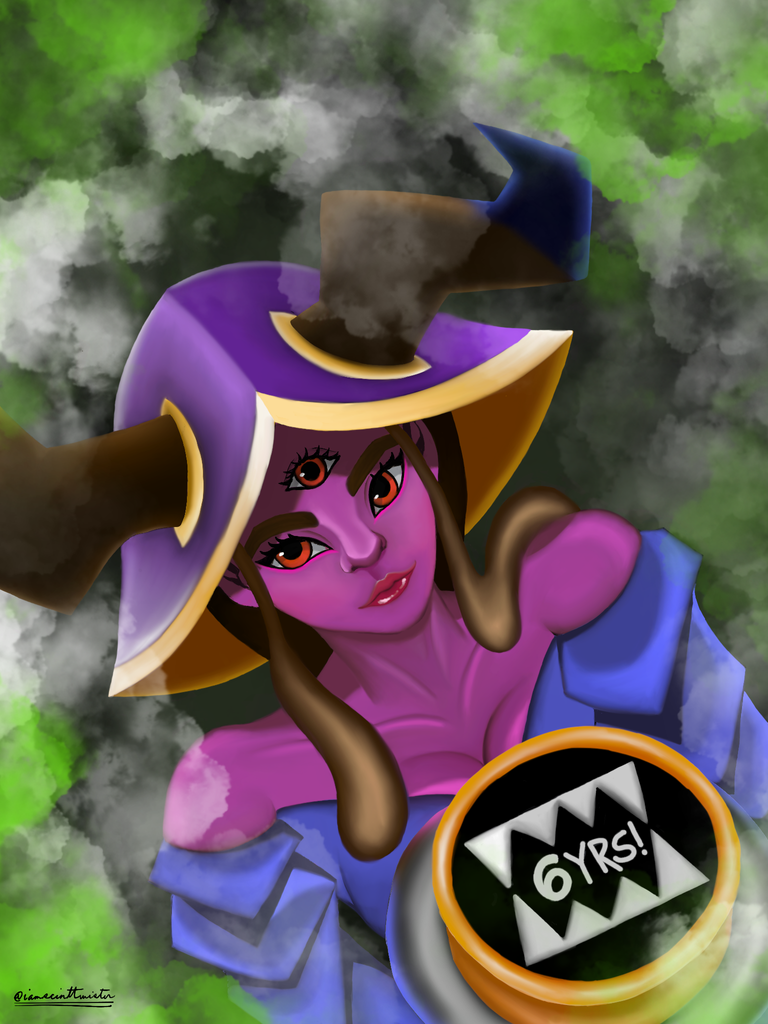
MY ENTRY FOR SPLINTERLANDS ART CONTEST WEEK 295: RUNESEER SEVAYA CELEBRATING SPLINTERLANDS 6 YEAR ANNIVERSARY!
HAPPY 6 YEARS ANNIVERSARY SPLINTERLANDS!

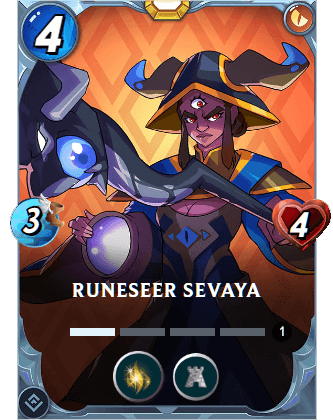
REFERENCE CARD: RUNESEER SEVAYA
🎨THE MATERIALS USED AND THE PROCESS 🎨
Materials used:
-ipad
-apple pencil
-procreate
Process:
In the process of making this fanart of Runeseer Sevaya, I think it took me around a total of 10-13 hours. I was waiting for the arrival of my ipad before I make a new splinterlands art contest entry. My sister lent it to me as a joke at first, maybe she saw my passion and dedication that I am putting on digital arts...😋 Well I really appreciate her for this and would hopefully pay her back with a stylized digital art of her and her husband in the near future.😁❤️
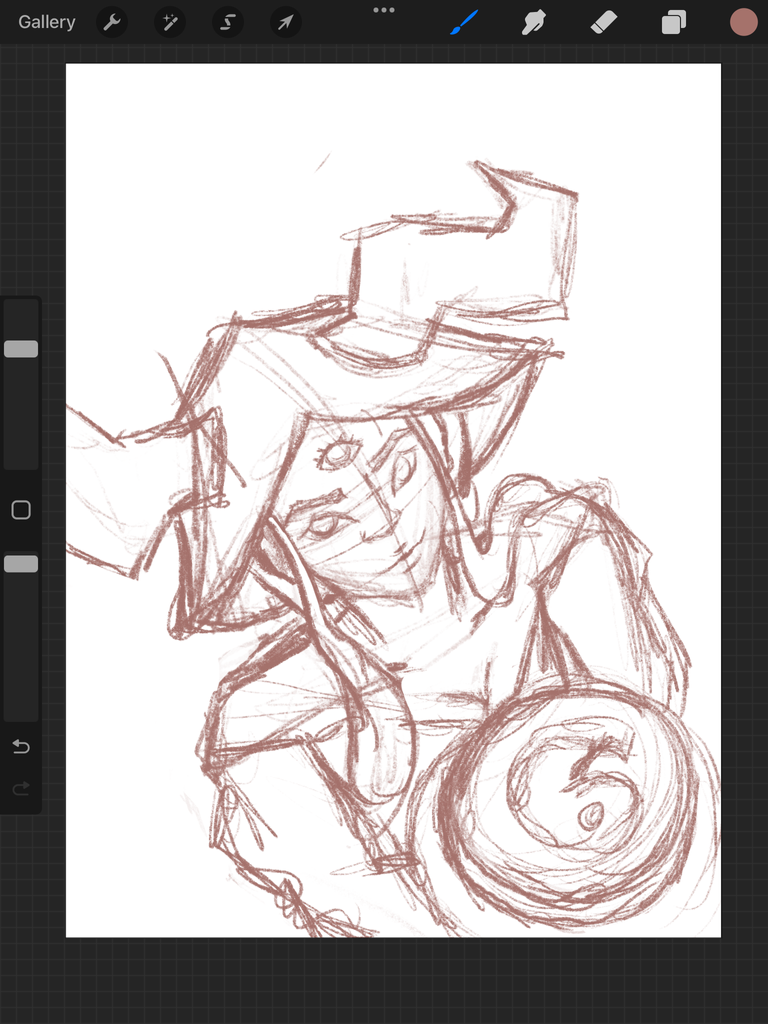
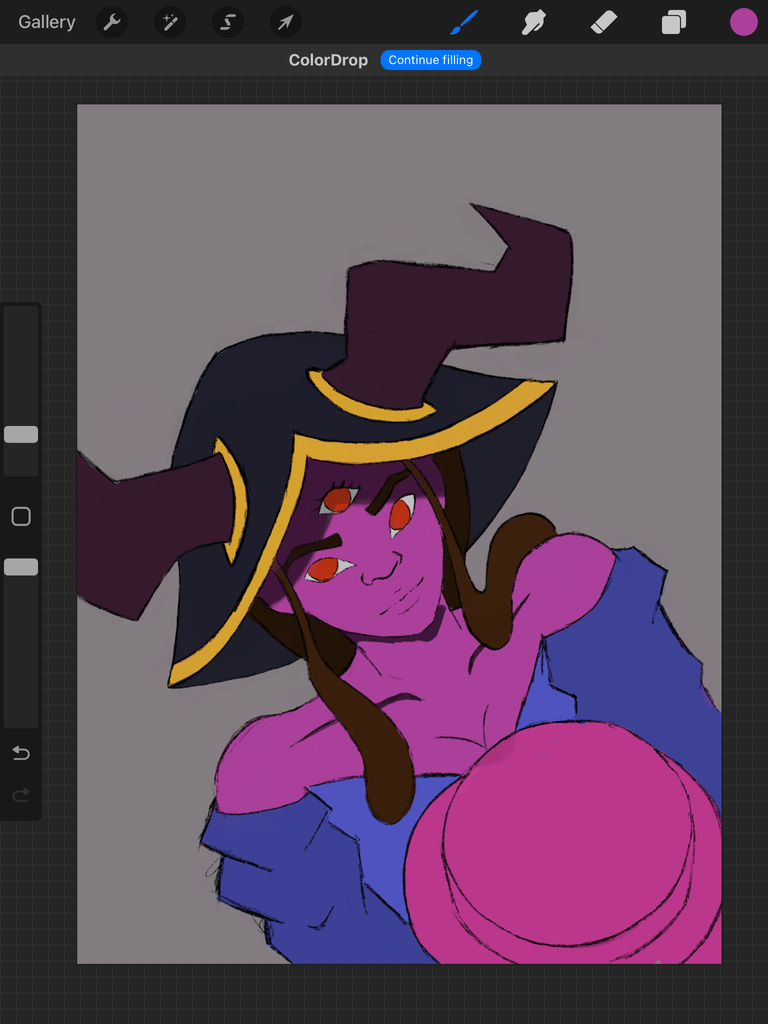
In creating the template, I started with some loose sketches and creating the initial outlines or my art piece. I tried to my the posture as natural as I can make it and also make it proportional.

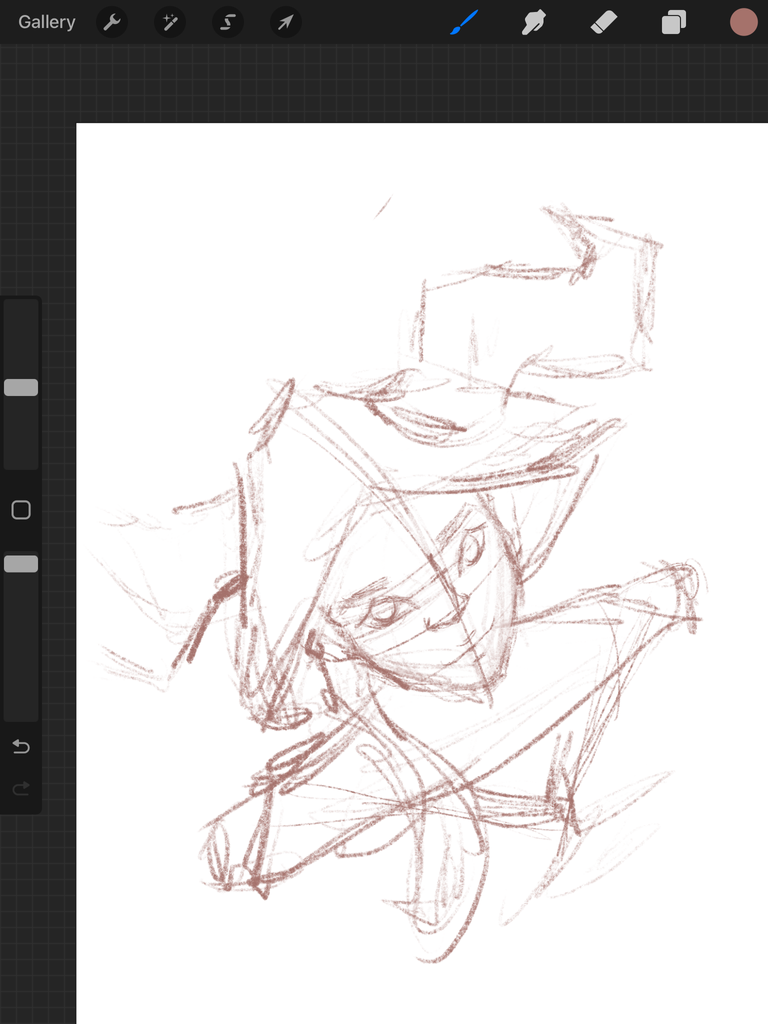
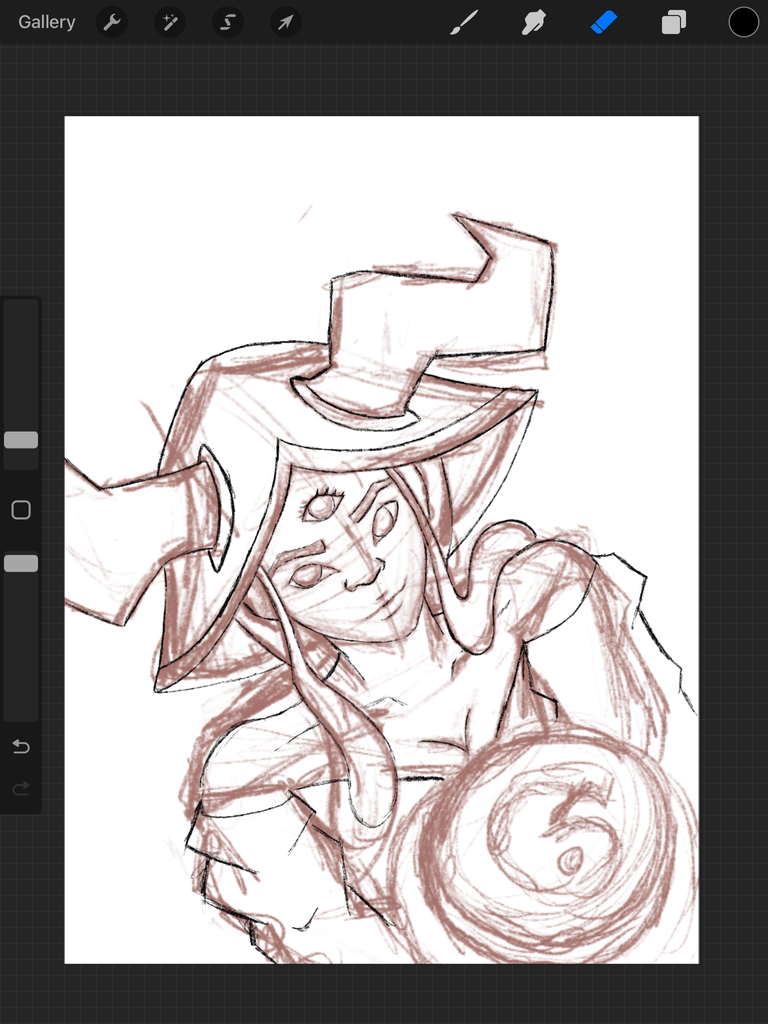
The black outline line is from another layer, I got this art tips from watching a lot of youtube tutorial in making the lineat of your artworks. I put this in a new layer since it would be easier for my to create a solid outlines for the final lineart. the next thing that I did was to create a new layer for the clipping mask or alpha lock.
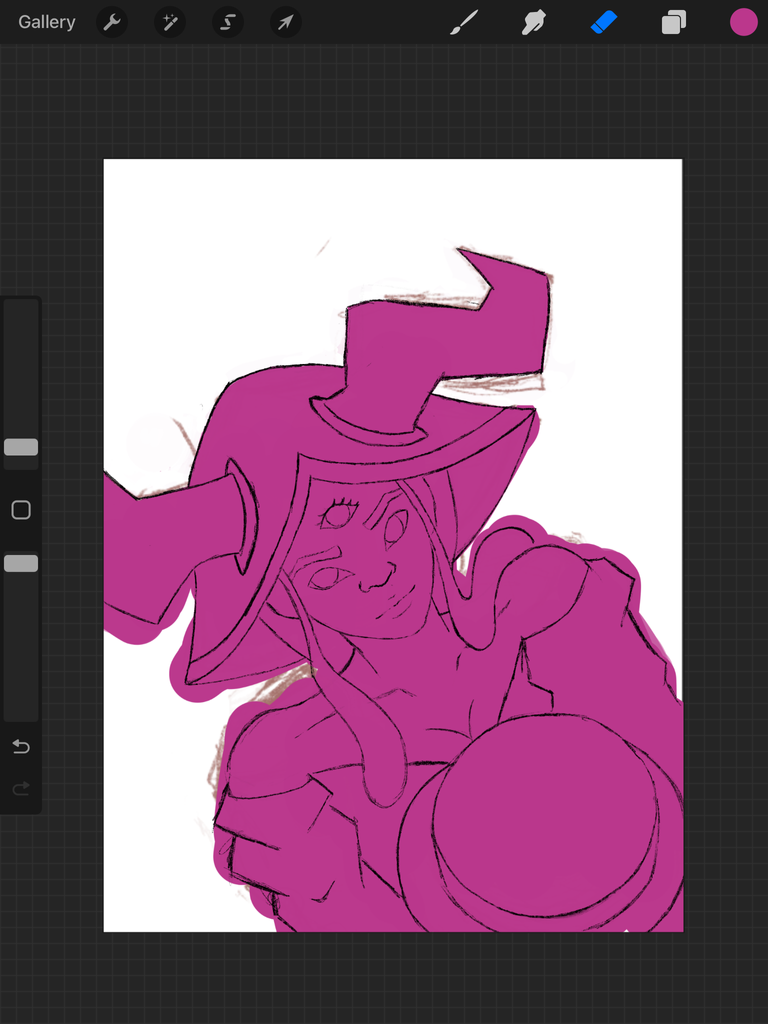
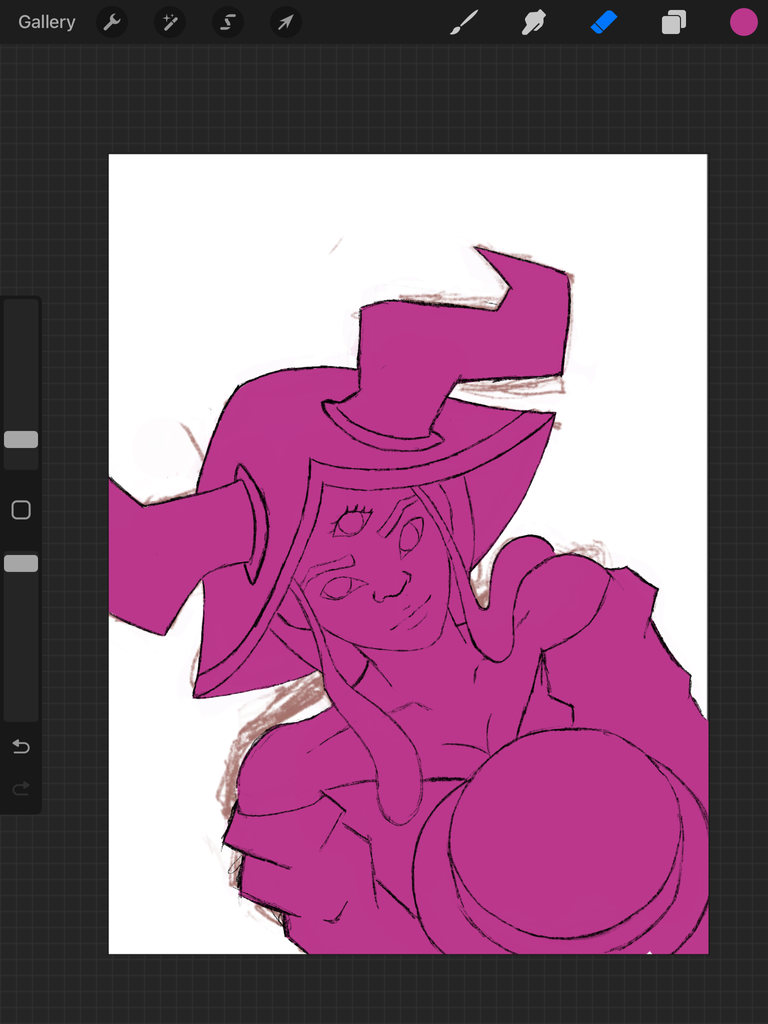

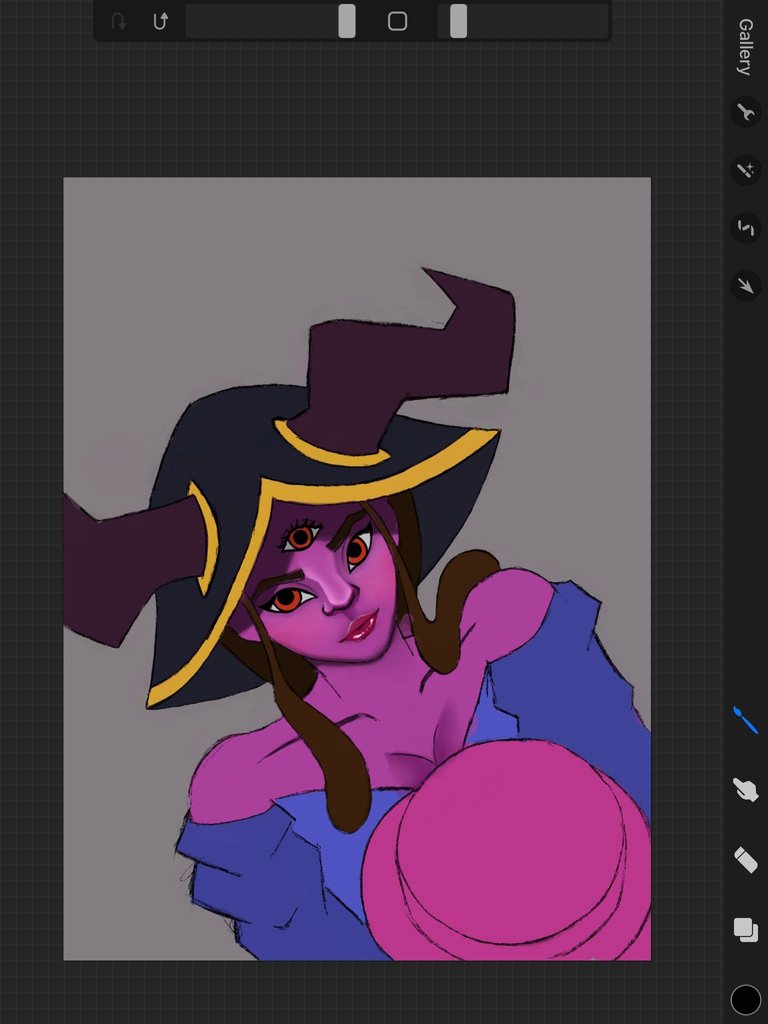
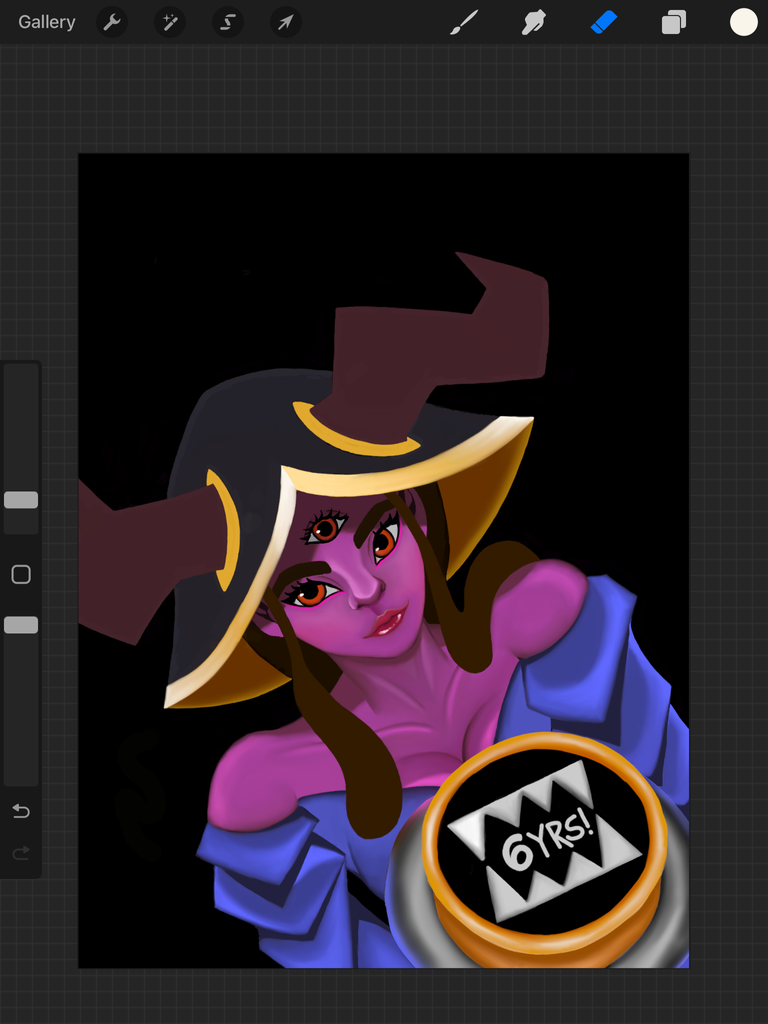
What I did here... after putting a new layer for clipping mask, I put the basic colors of the charaacter that Im drawing. This technique allows my to imagine how Im going to apply my shadows and highlight in my artwork. As you can see I got a little lost with the skin tone bacause im a bith new the the application so I kept in trying new shades. The next thing I did was to start shading, starting from the face working my way in te entire canvas.
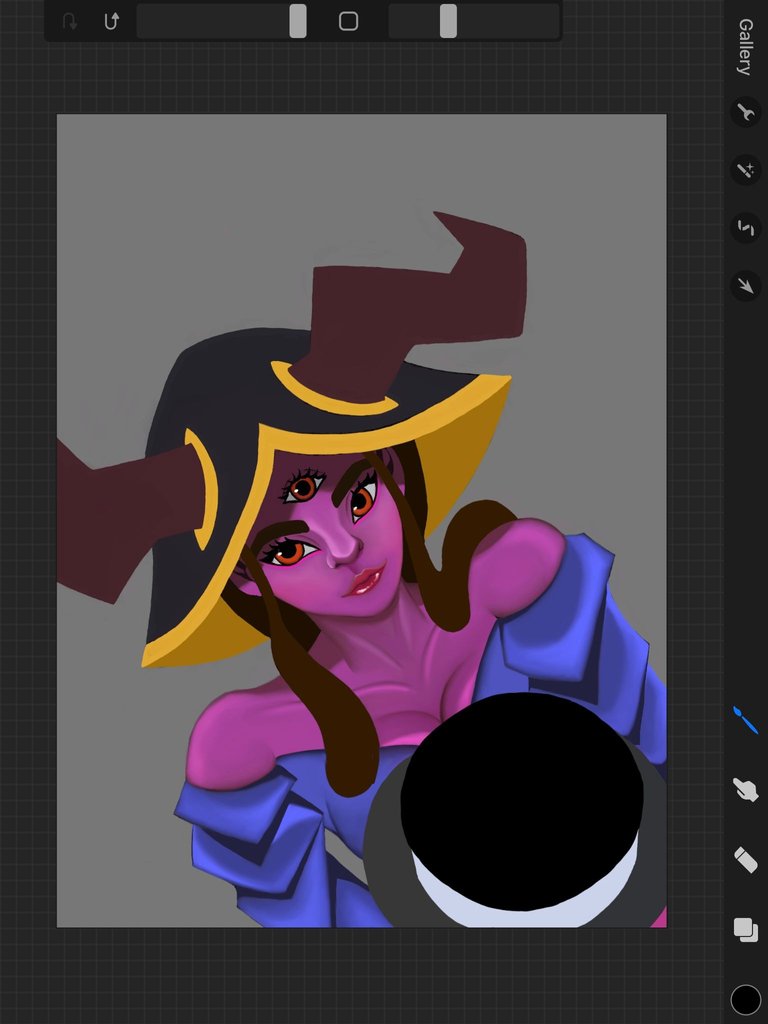
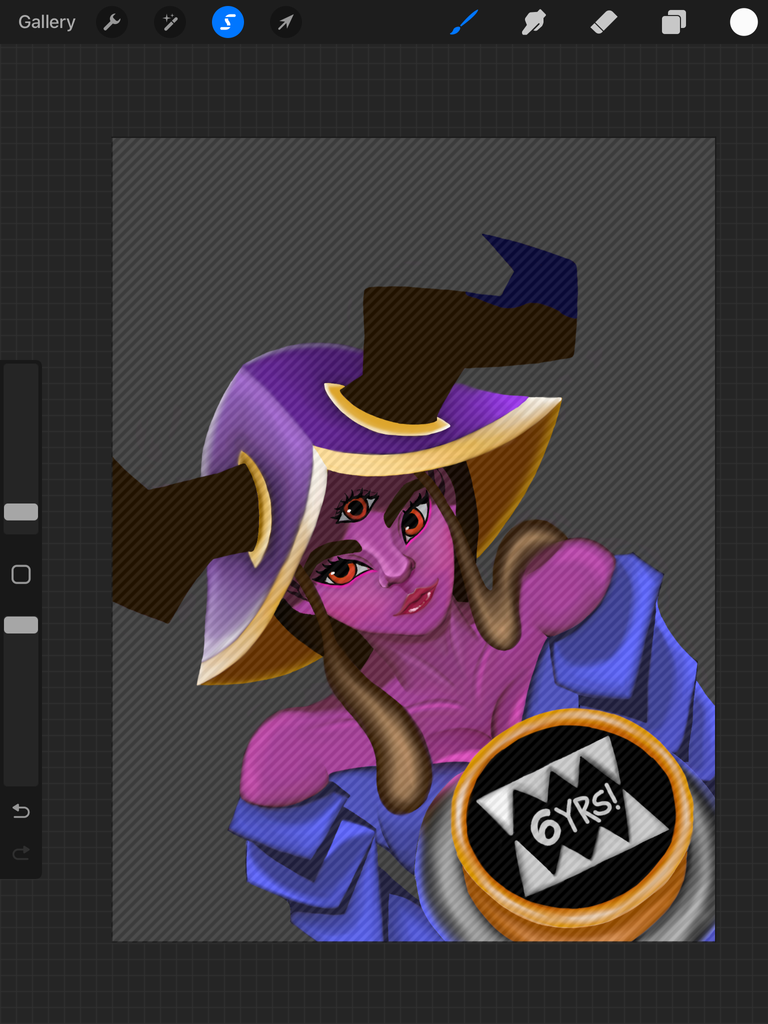
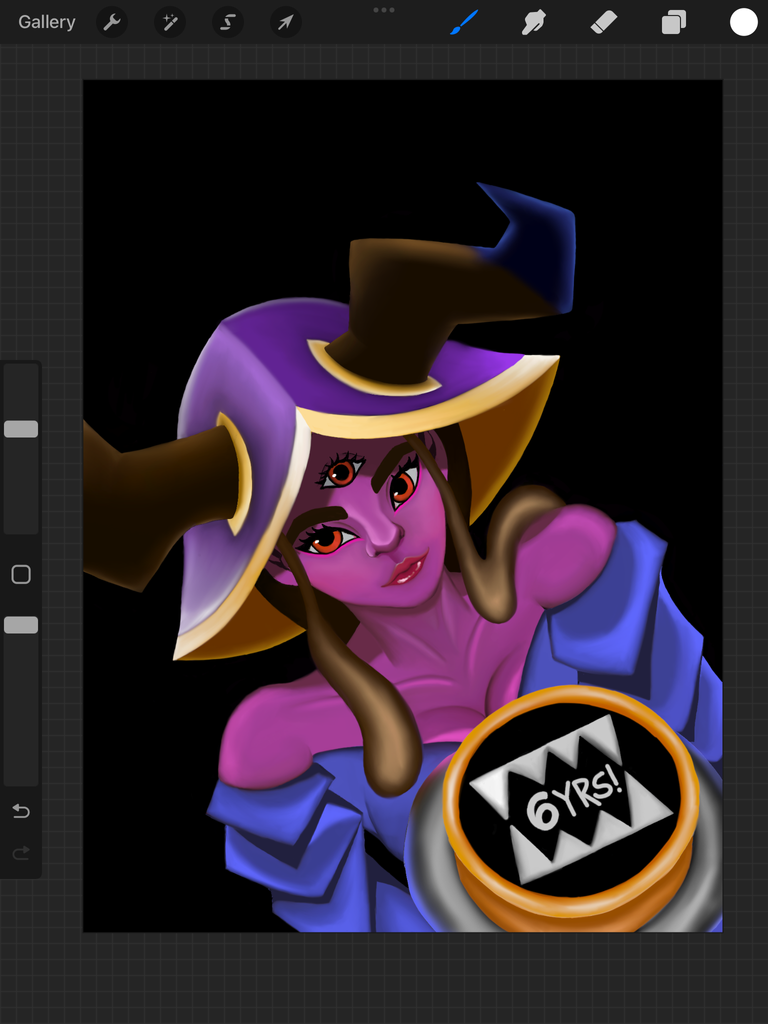
By this time I was done with the rendering of our character. I was a bit difficult for me since its my first time using the application, but hopefully Ill get better overtime. After the character, its now time to make the back ground and the forground of out art piece. For this particulart art piece, I only used the stock texture cloud brush in procreate in the background and foreground to create a focus on our character in the center.
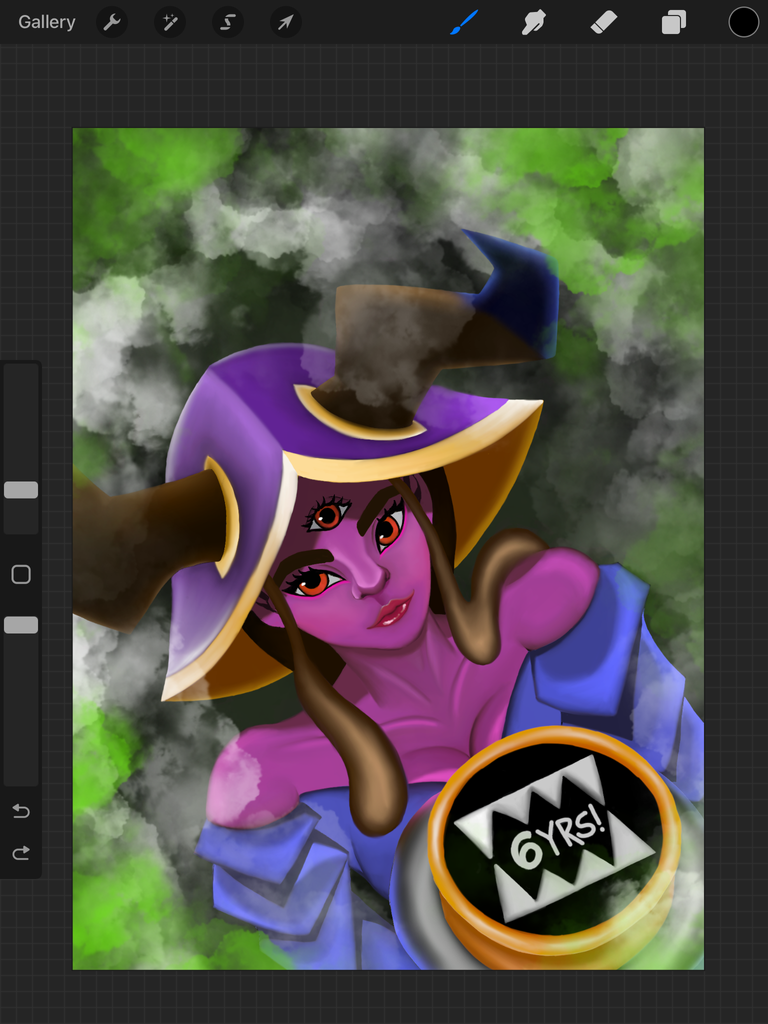
Both the background and the foreground are on different layers, this is very important especially to reduce the hassle in editing the final artwork.
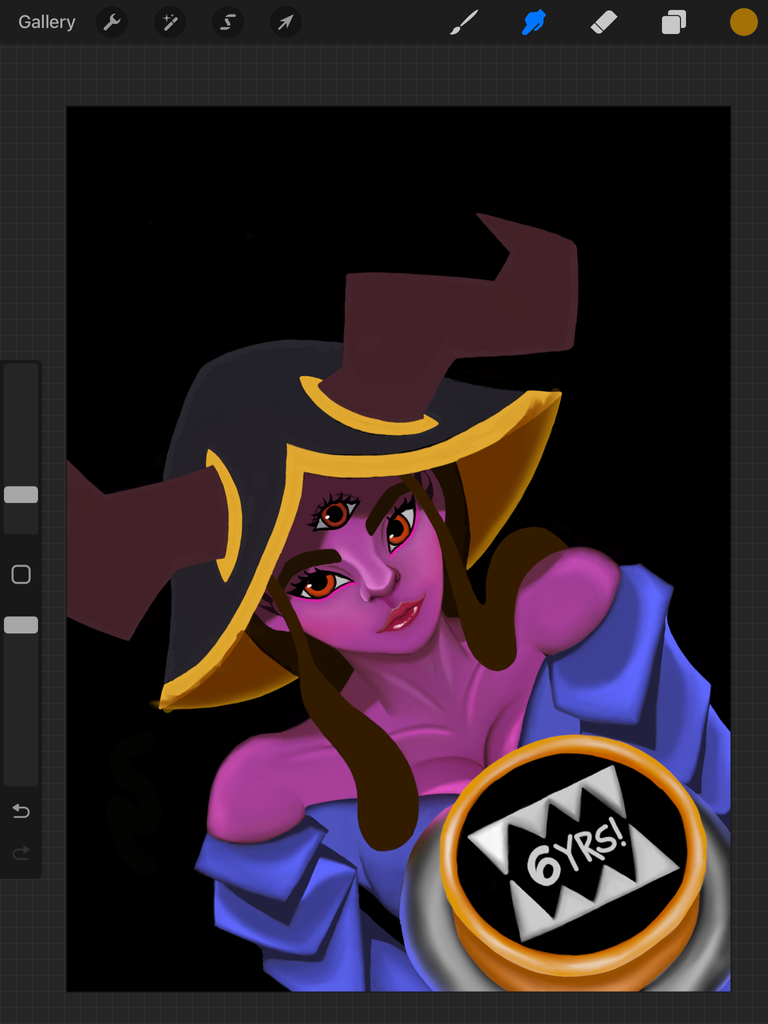
FINAL ARTWORK AND ENTRY FOR SPLINTERLANDS ART CONTEST:
So how was it? Did you like my new splinterlands art enty? Well, I hope that you guys liked my entry and at the same time enjoyed reading through this blog.😁
Good Luck to all entries this week!!💥💥
Thank you so much for taking your time in looking into my blog, until next time, take care ya'll and see ya later!👋😁 AND HAPPY 6 YEARS @splinterlands!💖
PS:
In cases that you got some free time, you can also visit my X account ( link is available in peakD profile), Im building my art portfolio there as a beginner artist here in hive! I would really appreciate some support🙇... Thanks in advance my dear friends and buddies!😌🤗
damn pretty good. i can see the similarity
I'm glad you found the resemblance bro hahaha
o.o thanks haha
You did so well! Yay, you got a generous and thoughtful sister! I guess we'll be seeing more artworks from you since you now have an ipad 😉
Thank you so much ate witty... Yes, my sister and her husband are a generous couple❤️❤️
Maybe after 2-3 months of drawing I can start showing you guys better quality drawings😅❤️