Splinterlands Art Contest 352 - Black Dragon Wood carved necklace Fan Art [ENG-ESP]
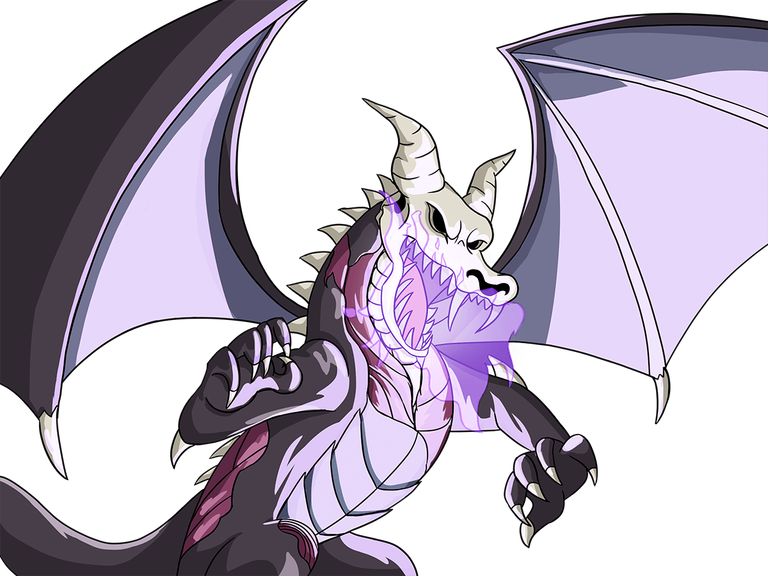
Hello dear friends, I hope you are all well. Today marks the beginning of a new month, and I hope it is filled with creativity for all of my friends who live in this wonderful community, as well as for all of those participating in the Splinterlands contest. This time, I want to introduce a new necklace I made, this time using the Black Dragon card, a character that I thought was great because of its design and because it is associated with the color black. That's why I decided to make this piece, which I colored black, and which is completely different from the ones I've made so far. I will briefly show you the step-by-step process so you can see how I made it. I hope you like it. Let's get started!
Hola queridos amigos, espero que se encuentren muy bien, hoy comenzamos un nuevo mes, y deseo que este lleno de mucha creatividad para todos los amigos que hacen vida en esta comunidad tan maravillosa y así también para todos aquellos que participan en el concurso de Splinterlands. En esta oportunidad, quiero presentar un nuevo collar realizado por mi, esta vez utilizando la carta Black Dragon, un personaje que se me hizo genial por su diseño y porque está asociado al color negro de ahí me surgió hacer esta pieza a la cual le puse color negro y se diferencia en todo de las que he realizado hasta ahora. Mostraré brevemente el proceso paso a paso para que puedan apreciar como la hice, espero que les guste, comencemos!

 |  | |
|---|---|---|
 |  |
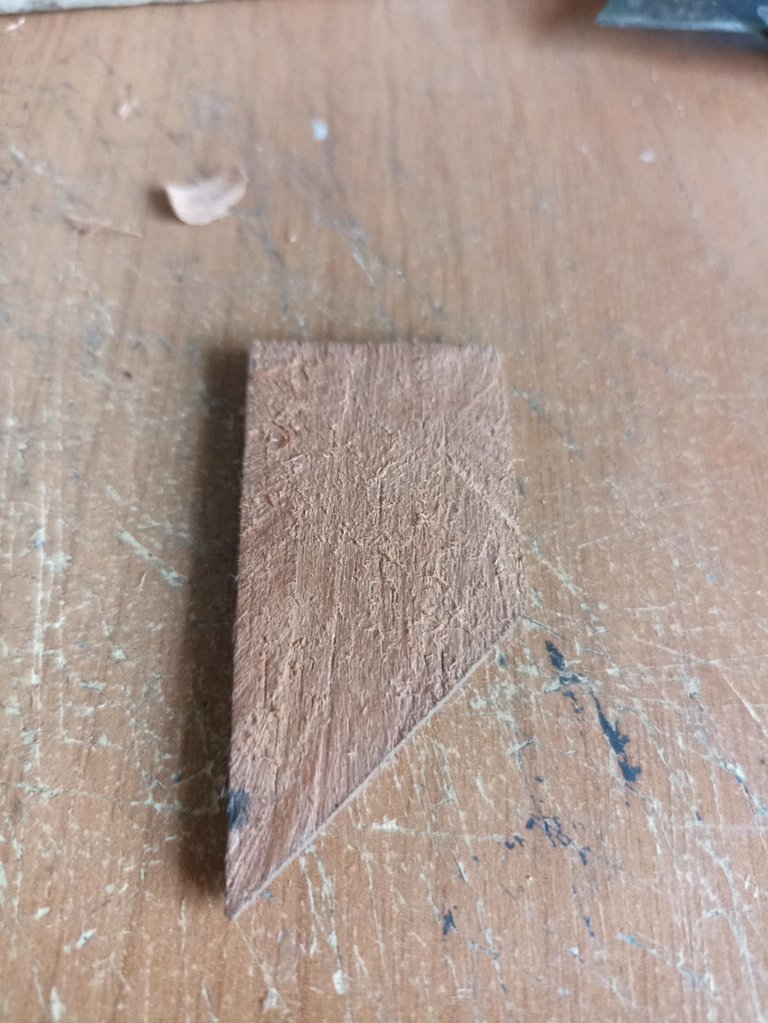
Since my goal this time was to paint the piece, I didn't insist on a special color for the wood, and the wood I use every day is harder to find. So I used a small piece of wood from previous jobs, which I only had to make a few cuts and sand to leave it very polished and better work the piece.
Como esta vez mi objetivo es pintar la pieza no insistí en un color especial para la madera, además de que la madera que uso cada día es mas difícil encontrar, así que utilicé un pequeño pedazo de madera de trabajos anteriores, a la cual solo debía hacer unos cortes y lijarla para dejarla muy pulida y trabajar mejor la pieza.
 |  | |
|---|---|---|
 |  |
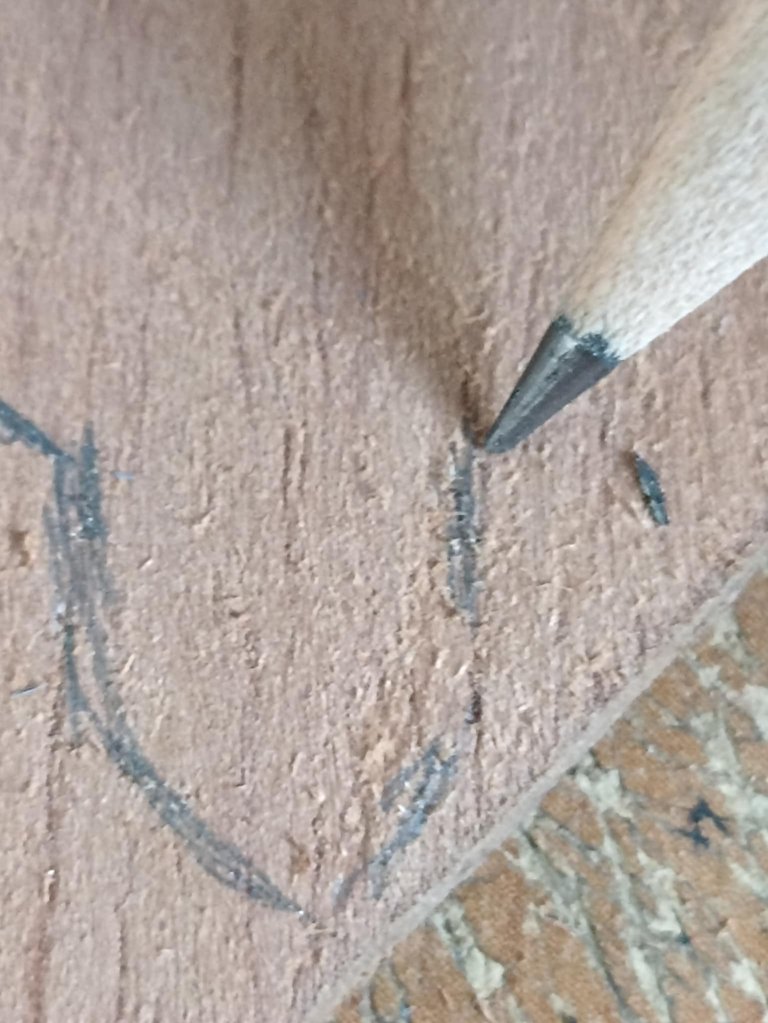
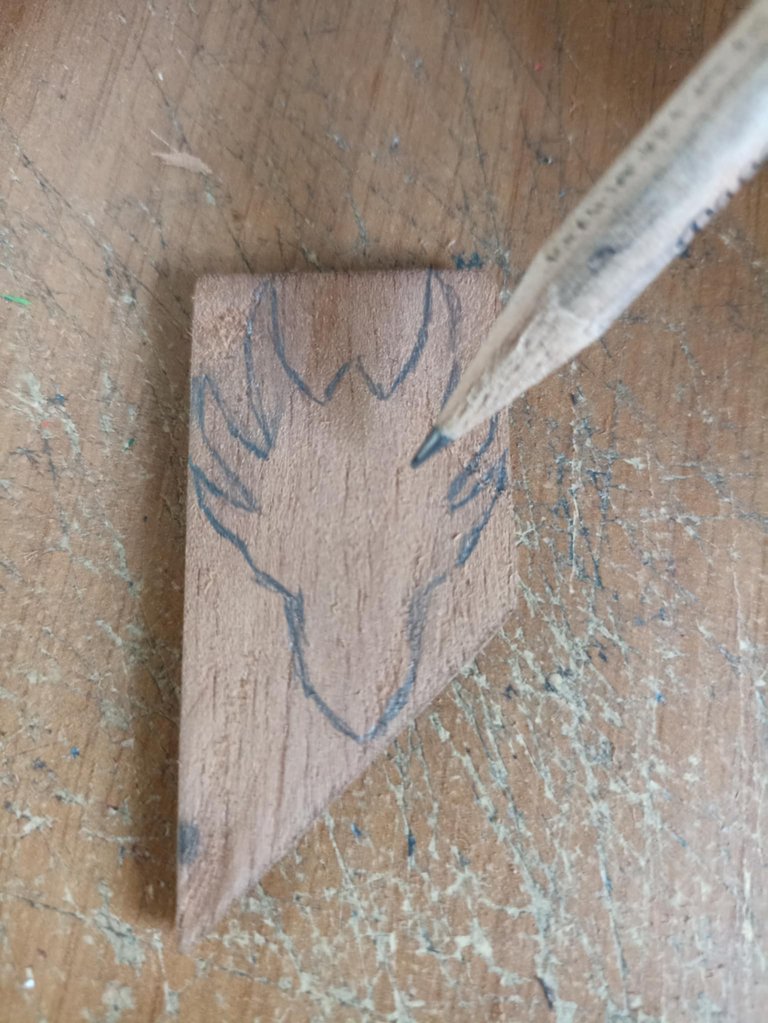
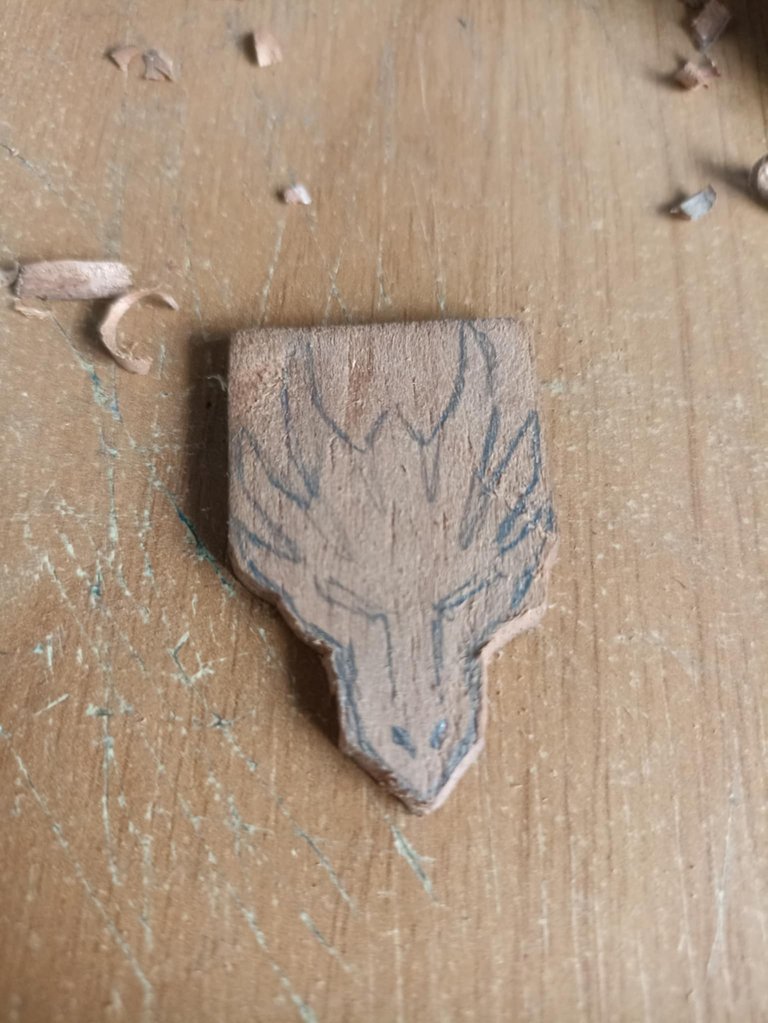
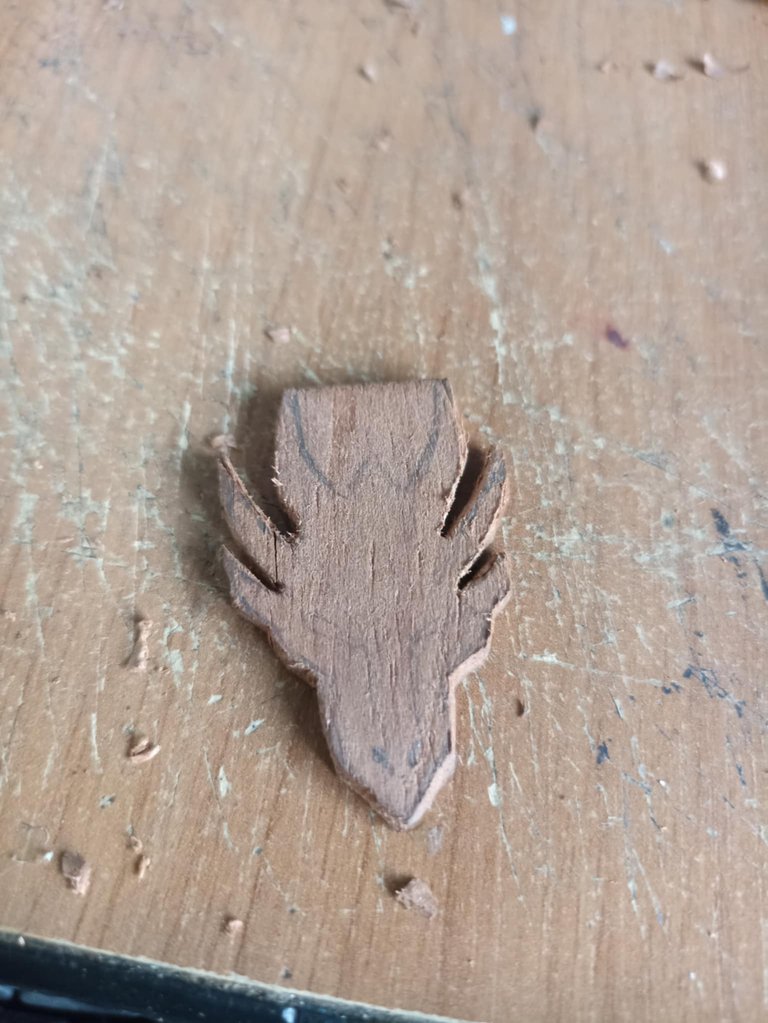
It wasn't easy to design the dragon's head, as I wanted it to be a symbol that stood out, especially the horns, so I drew it with several horns. However, later on, things didn't turn out as expected, but thanks to constant practice, I've learned to improvise when things don't go as expected.
No fue fácil diseñar la cabeza del dragón, ya que quería que fuera un símbolo que resaltara, especialmente los cuernos, así que lo dibujé con varios cuernos. sin embargo, mas adelante las cosas no salieron como esperaban, pero gracias a la práctica constante he aprendido a improvisar cuando las cosas no salen como esperaba.
 |  | |
|---|---|---|
 |  |
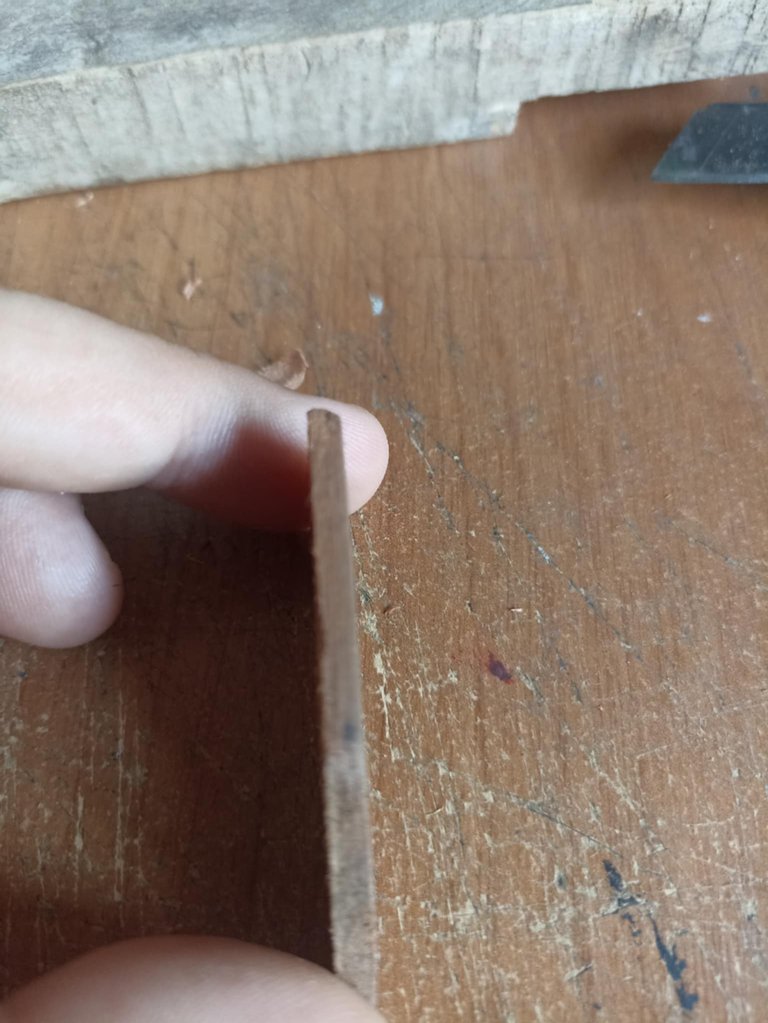
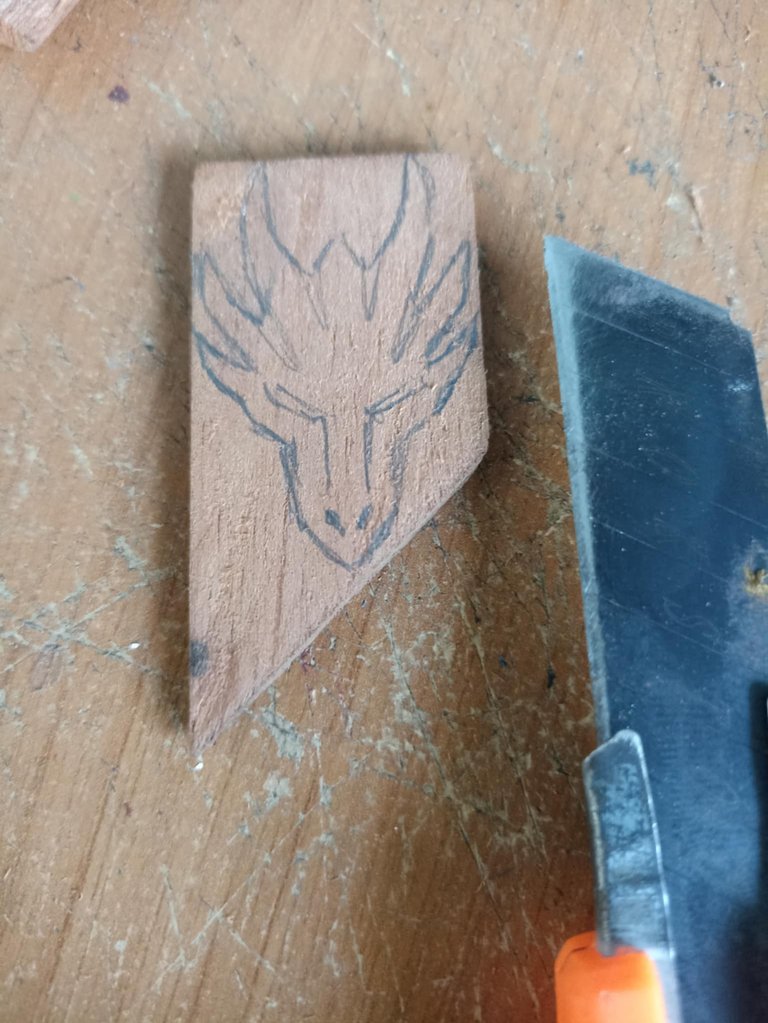
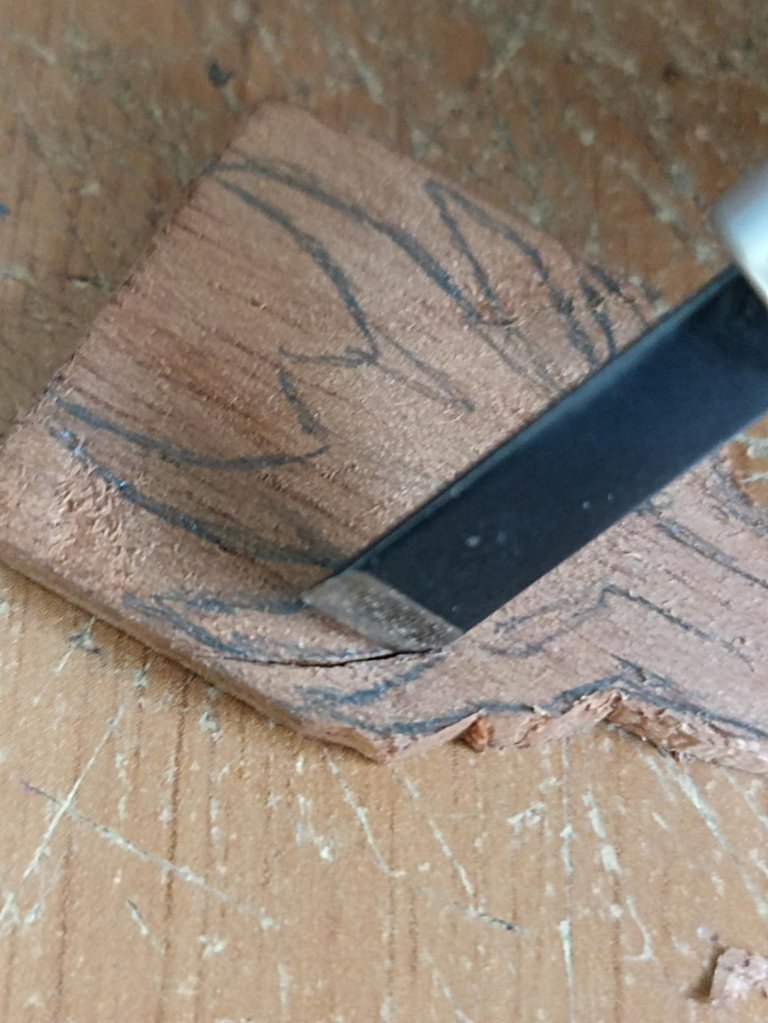
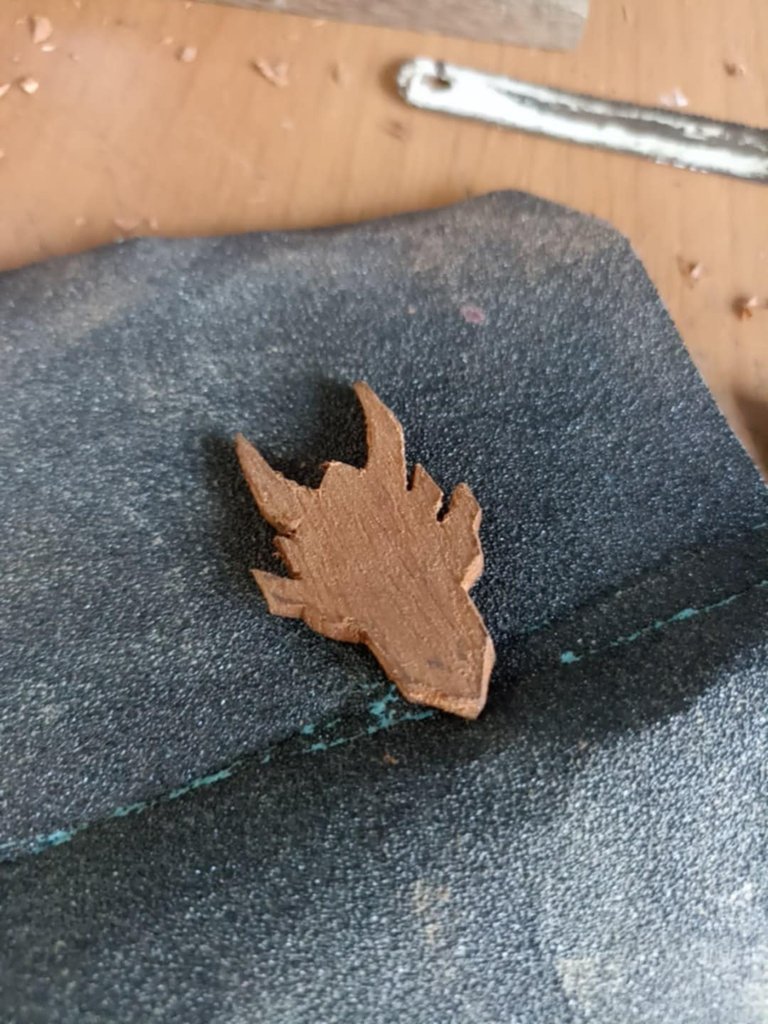
I started by trimming the edges. To trim off this excess wood, I use a larger, sharp blade, like a school knife used for cutting paper or cardboard. So, to cut, I'll start at the bottom of the piece, while for the horns, I'll use a different type of blade.
Comencé cortando los bordes, para rebajar esta madera sobrante lo hago con una hoja afilada más grande, como la de un cúter escolar, utilizado para cortar papel o cartón. Así que para cortar comienzo en la parte inferior de la pieza, mientras que para los cuernos, utilizaré otra clase de cuchillas.
 |  | |
|---|---|---|
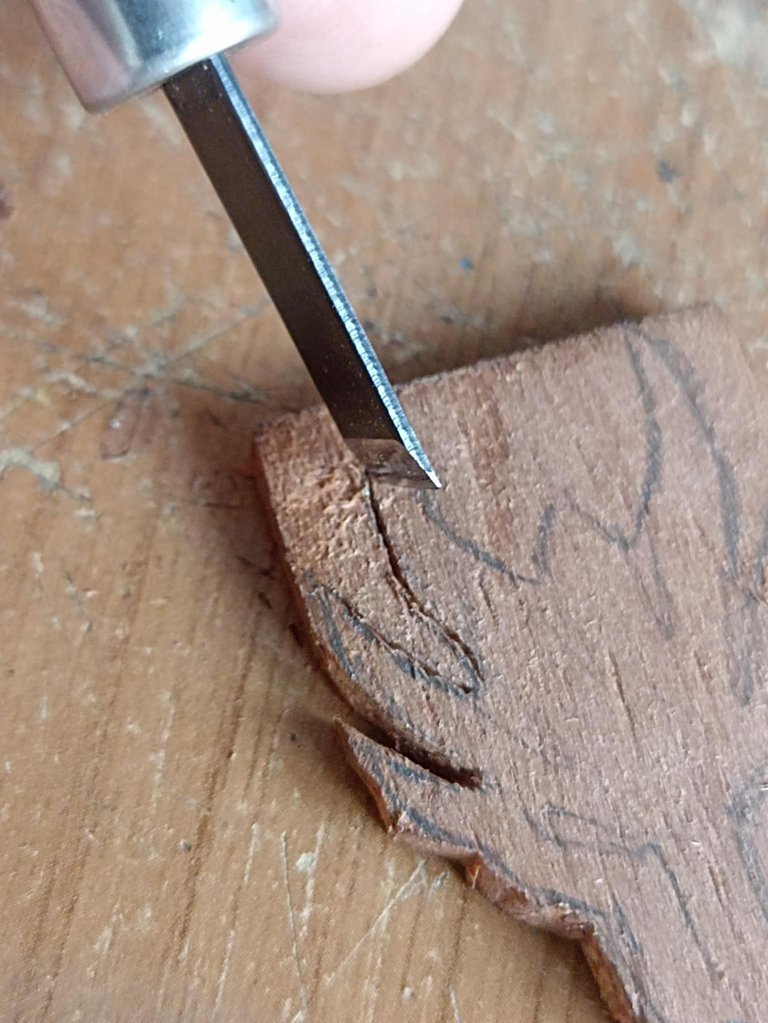 | 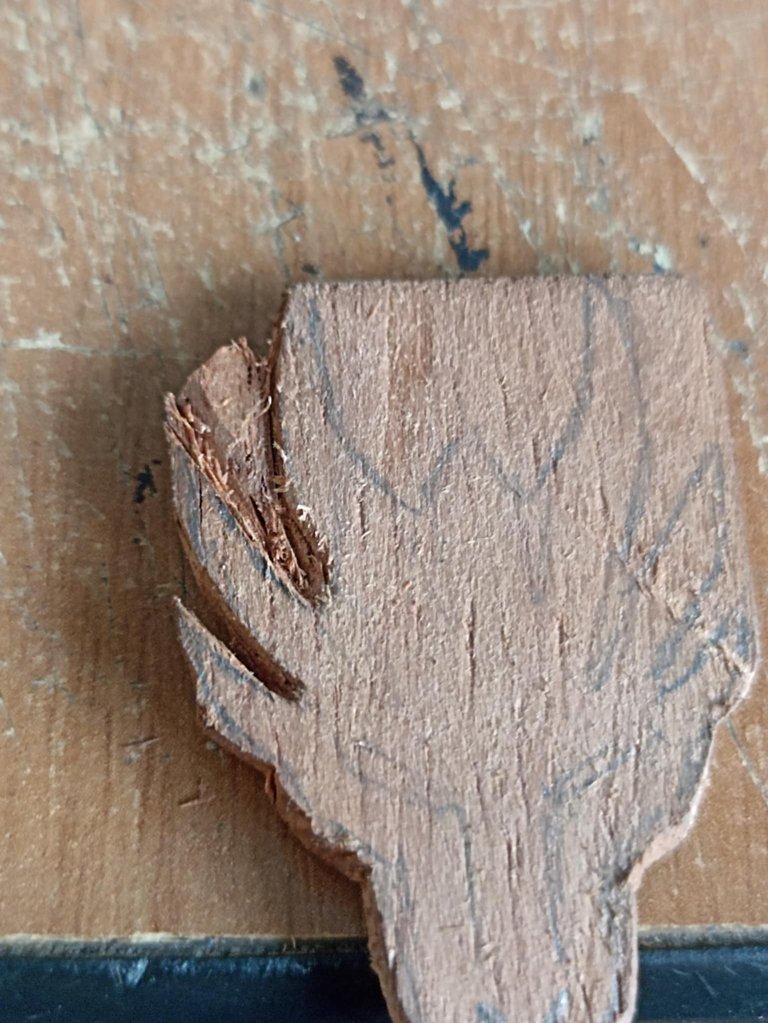 |
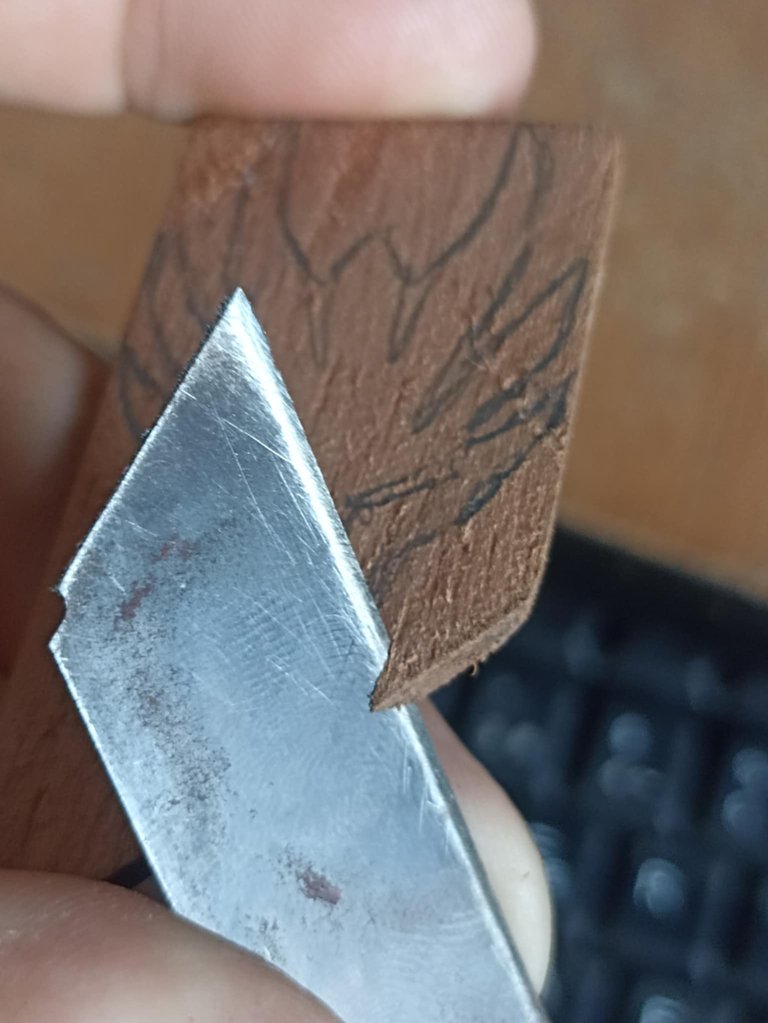
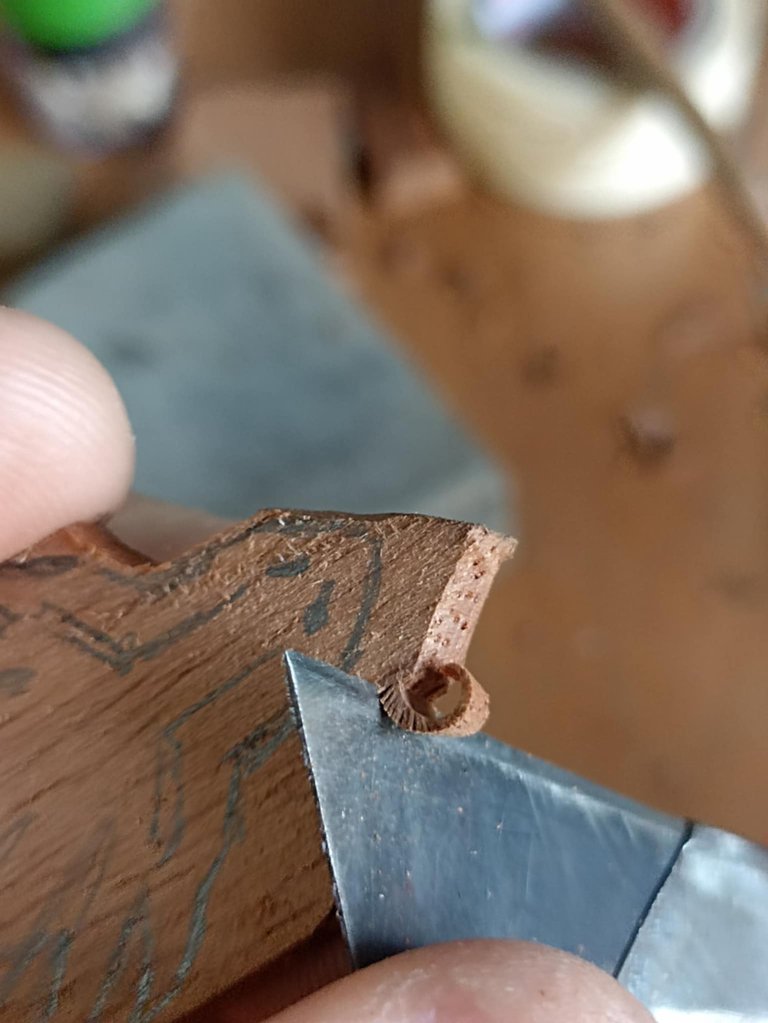
Next, I begin carving the horns, a very difficult part to do since the space is very limited, although I use knives with the smallest teeth, useful for this type of cut. I gradually make the cuts, being careful not to damage the wood.
Seguidamente comienzo a tallar los cuernos, una parte muy dificil de hacer ya que el espacio es muy reducido, aunque utilizo cuchillas con las hijas más pequeñas, útiles para esta clase de cortes. Así poco a poco voy haciendo los corte, teniendo cuidado de no estropear la madera.
 |  | |
|---|---|---|
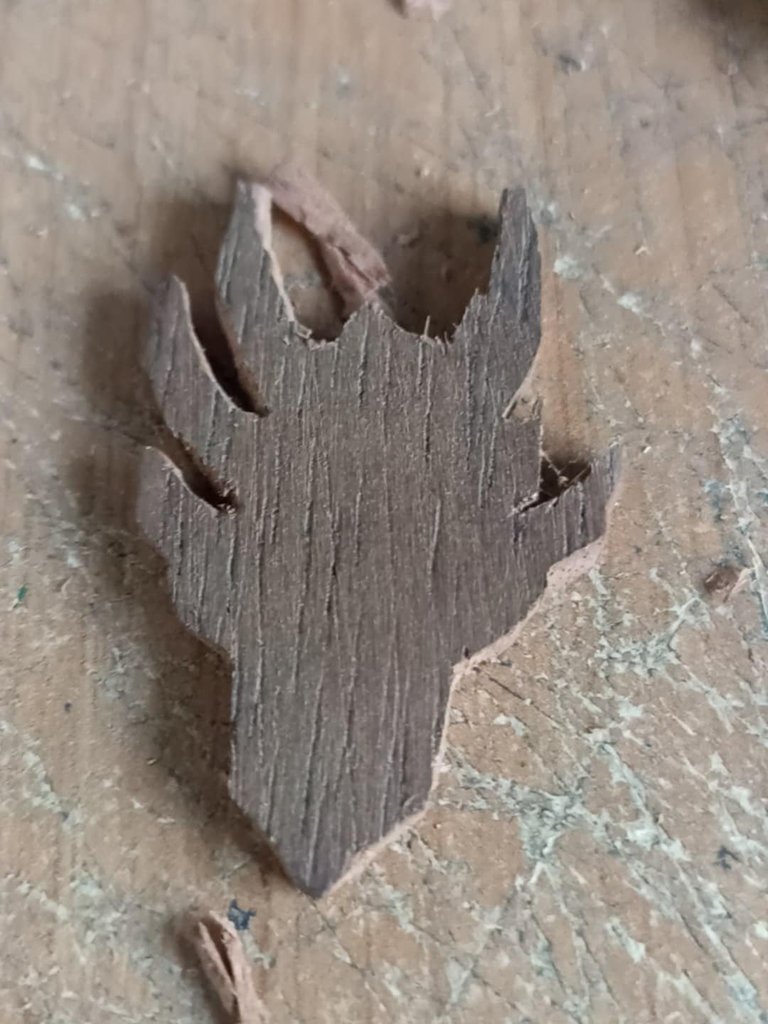 |  |
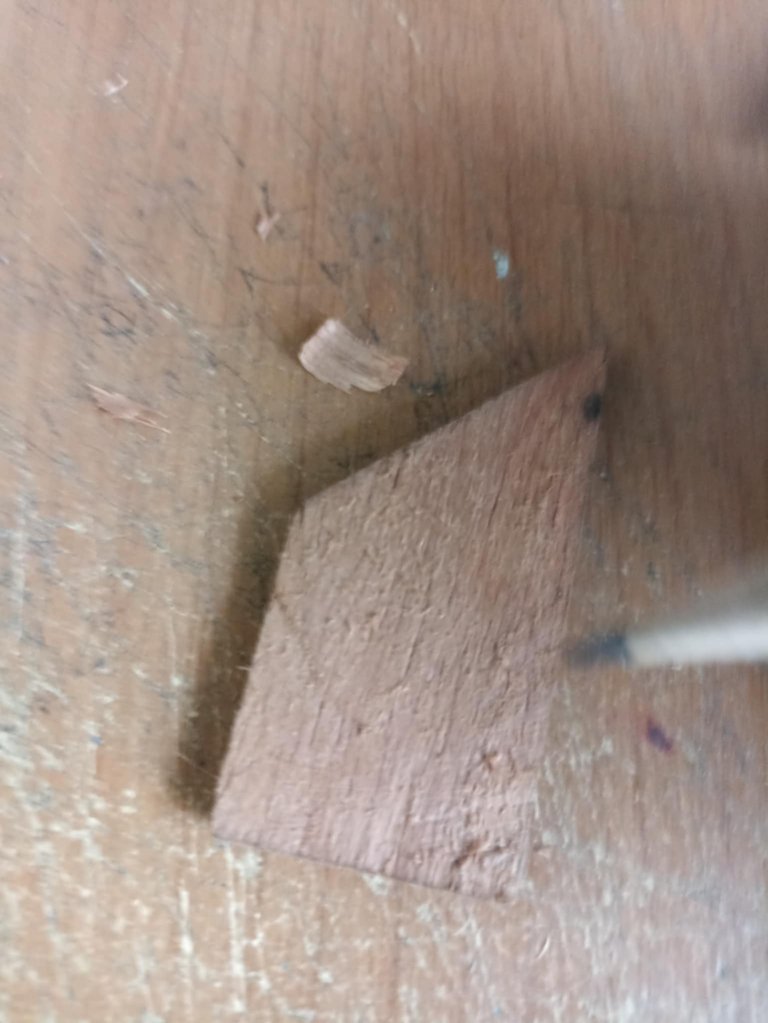
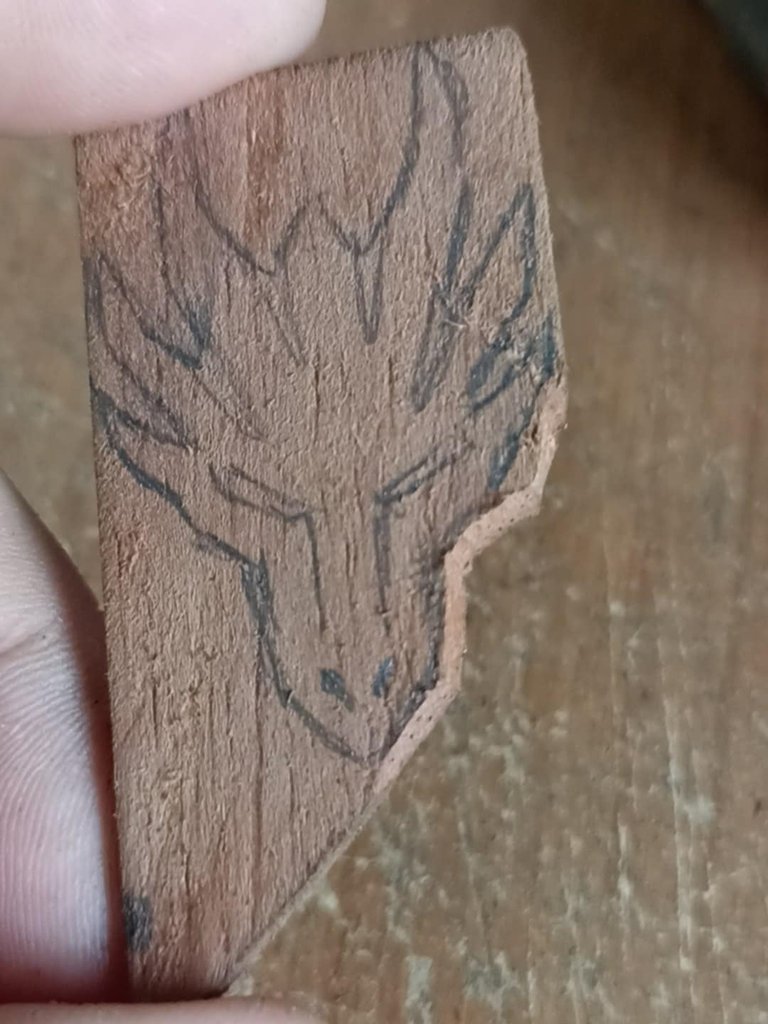
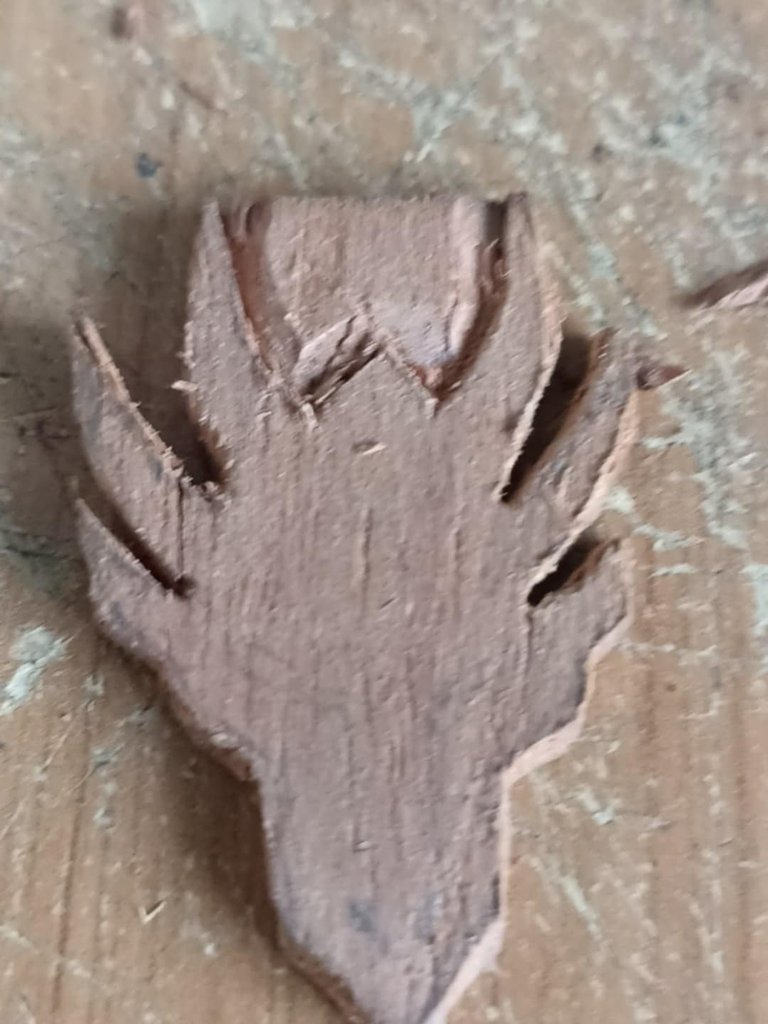
While carving the horns, the accident I feared most occurred: some of them cracked because the shape was too small and the blade too large for movement. But as I said before, I improvised, giving it a new design while I continued carving, but without losing the essence of my idea.
Tallando los cuernos ocurrió el accidente que más temía, algunos se agrietaron, porque la forma era muy pequeña y la hojilla demasiado grande para el movimiento, pero como dije antes, improvisé así que le fui dando un nuevo diseño mientras seguía tallando, pero que no perdiera la esencia de mi idea.
 |  | |
|---|---|---|
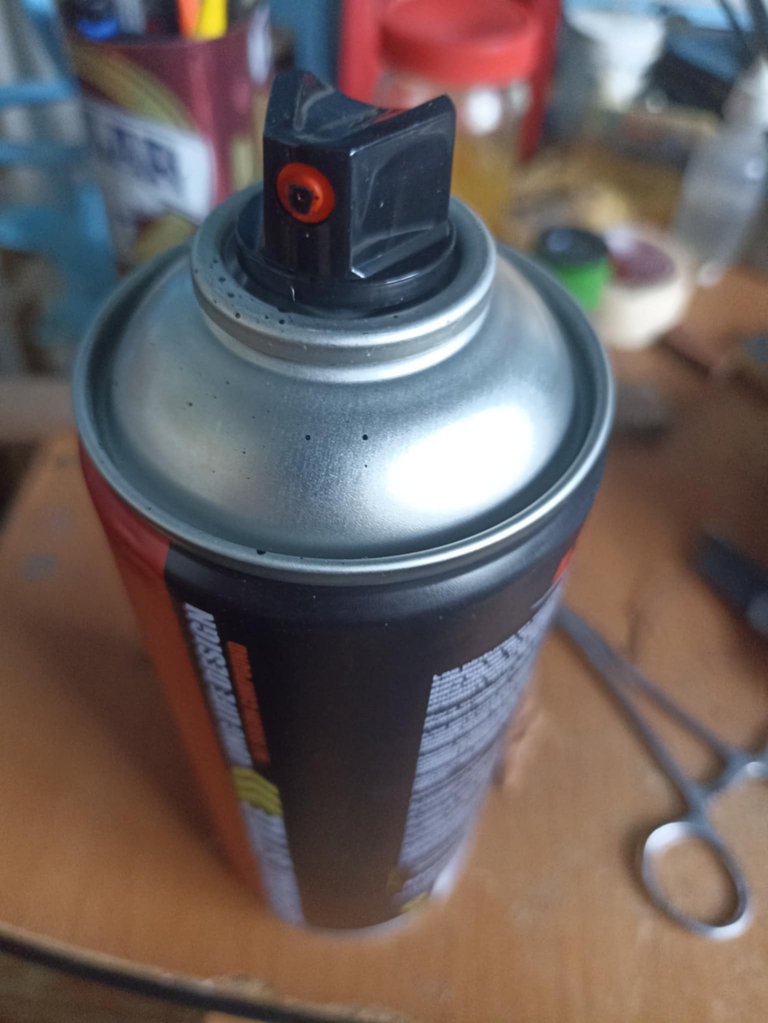 | 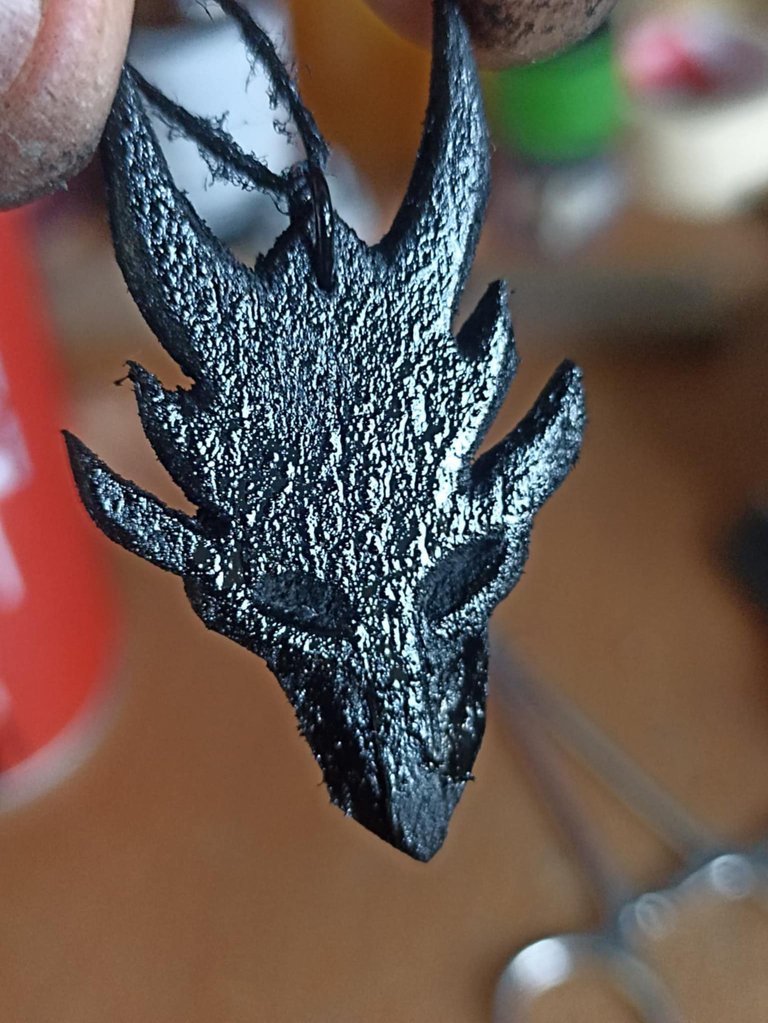 |
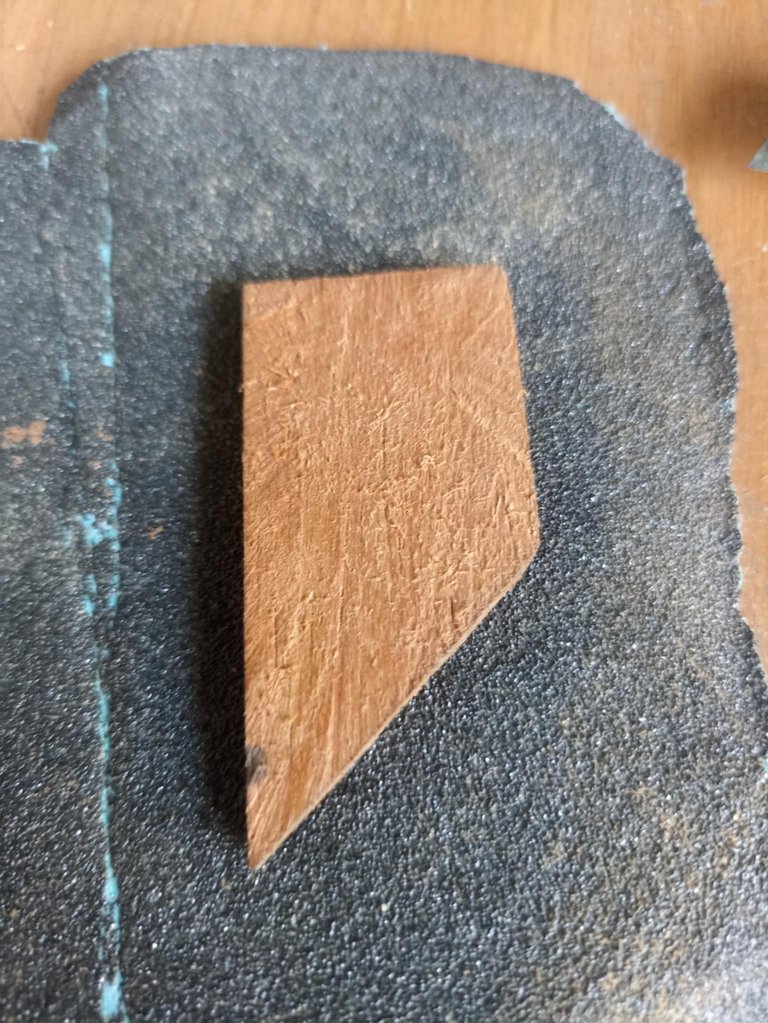
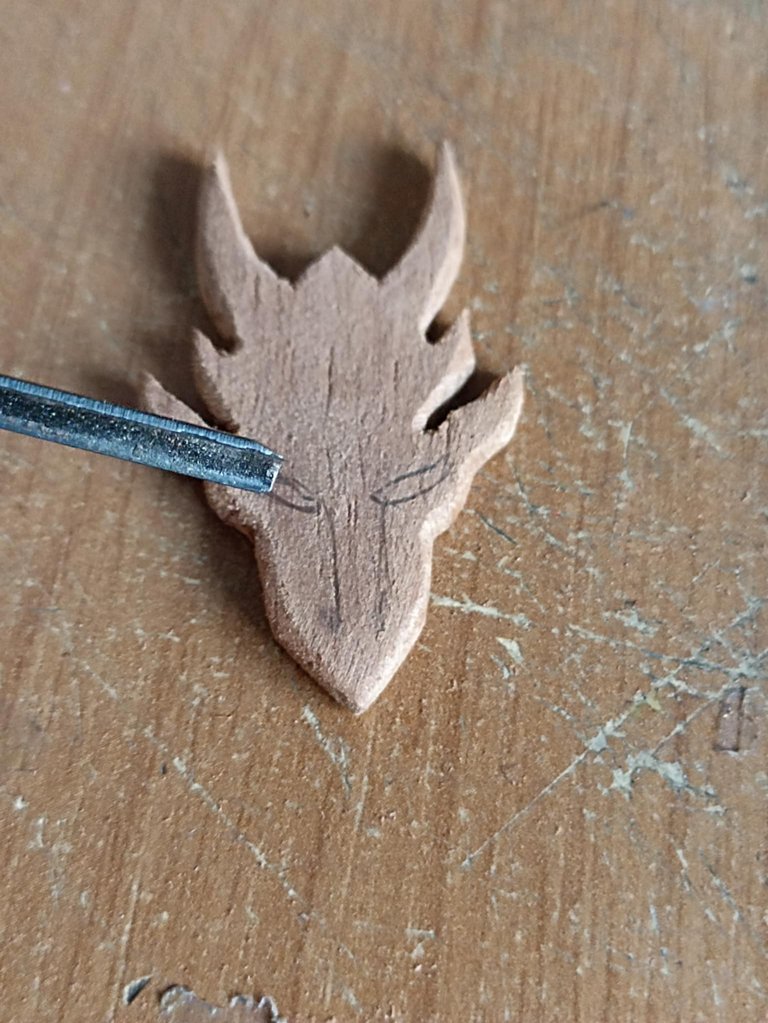
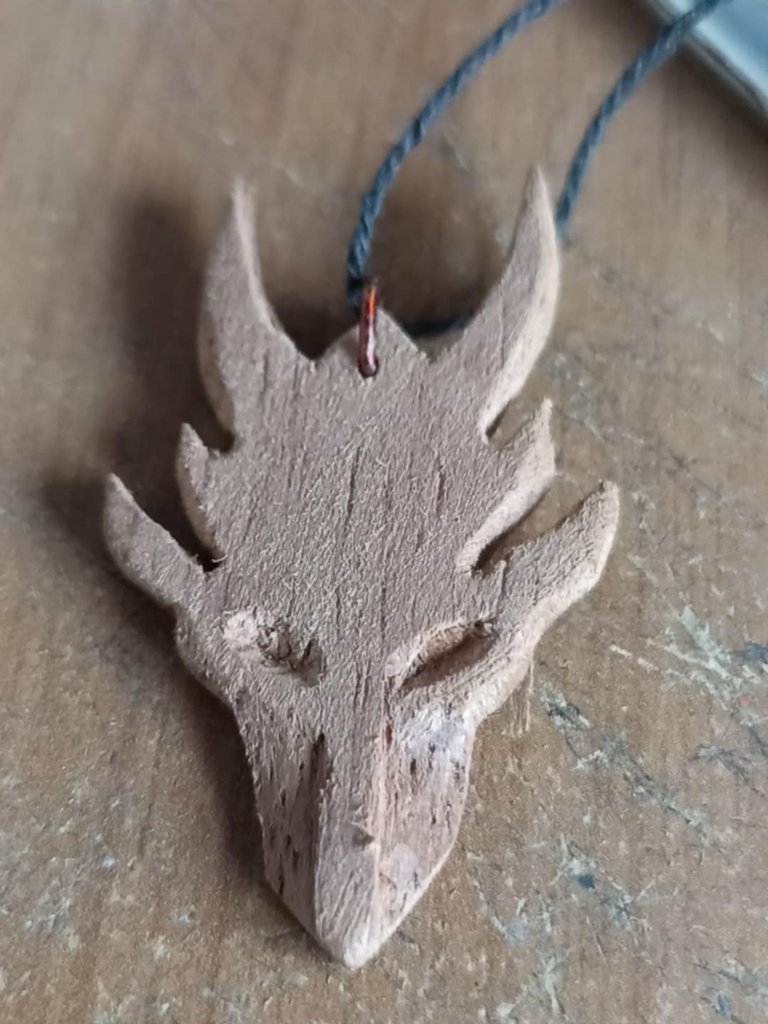
Then, for a good finish, I begin sanding the entire piece, little by little and part by part. Then, with a very small knife, I begin carving the eyes and giving the face more volume. Once finished, I use black spray paint to paint the piece; this paint is glossy black, so a glossy varnish isn't necessary. I applied three coats of paint to give it a better look and let it dry for an hour, and that's how it was finished.
Luego para un buen acabado comienzo a lijar toda la pieza, poco a poco y parte por parte, después con una cuchilla muy pequeña comienzo a tallar los ojos y le doy mejor volumen al rostro. Unavez terminada utilizo pintura negra en espray para pintar la pieza, esta pintura es negro brillante, por lo que no es necesario barniz brillantes. Pude 3 capas de pintura para que quedara mejor y deje secar por una hora y así quedó finalizado.
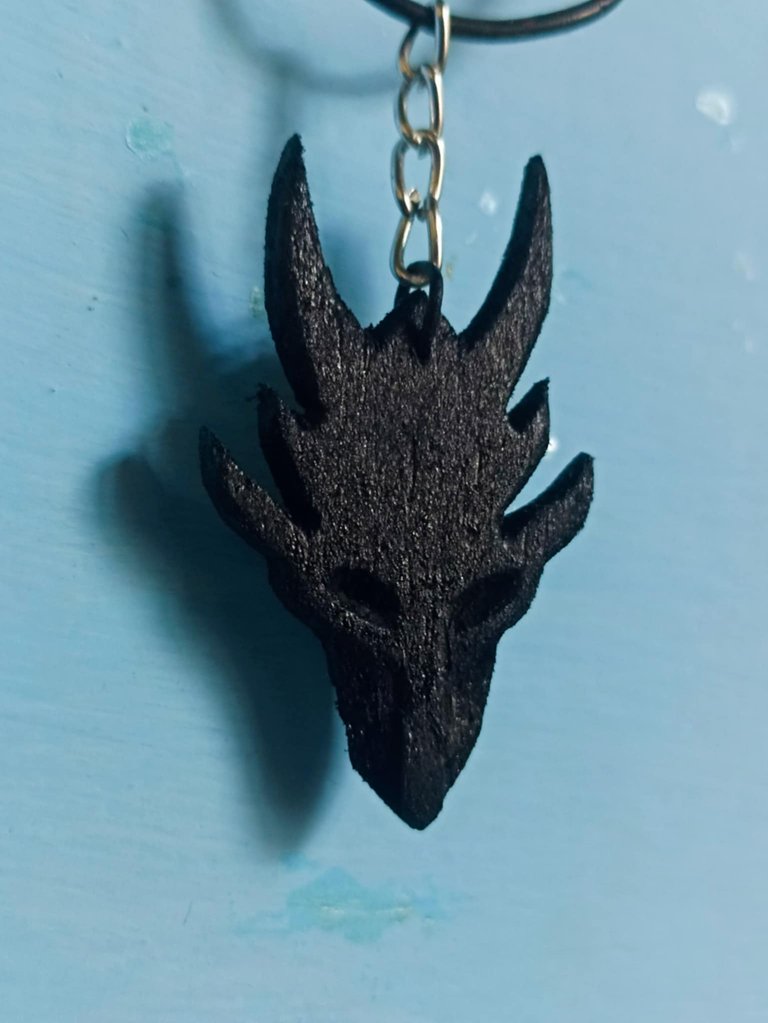
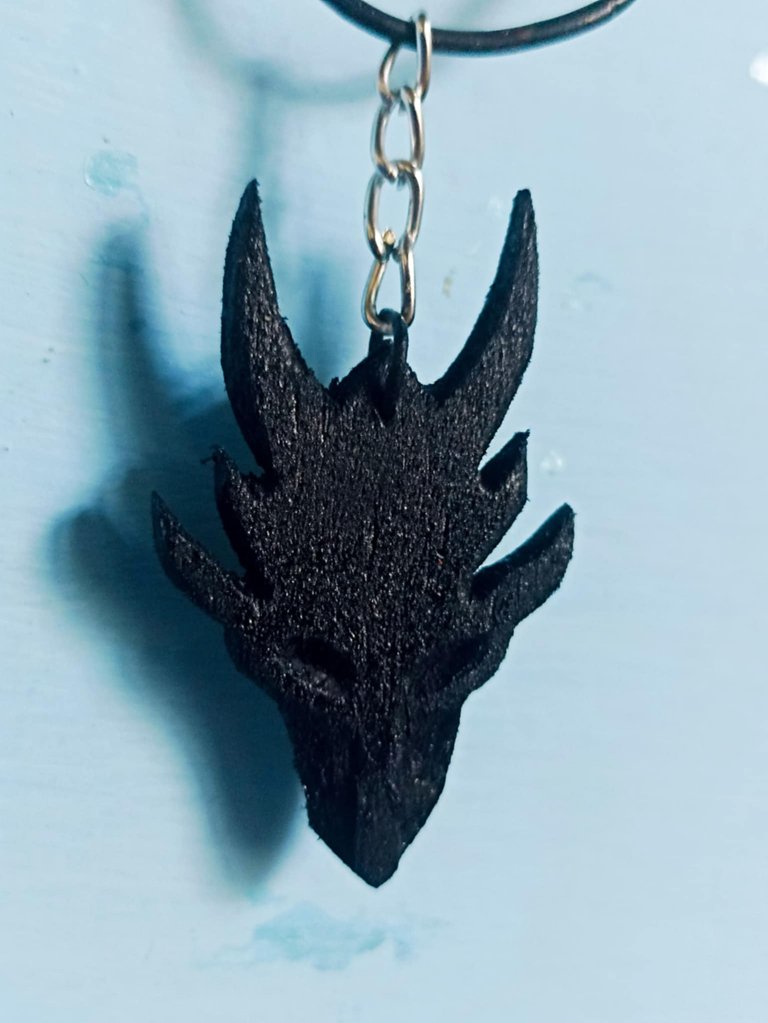
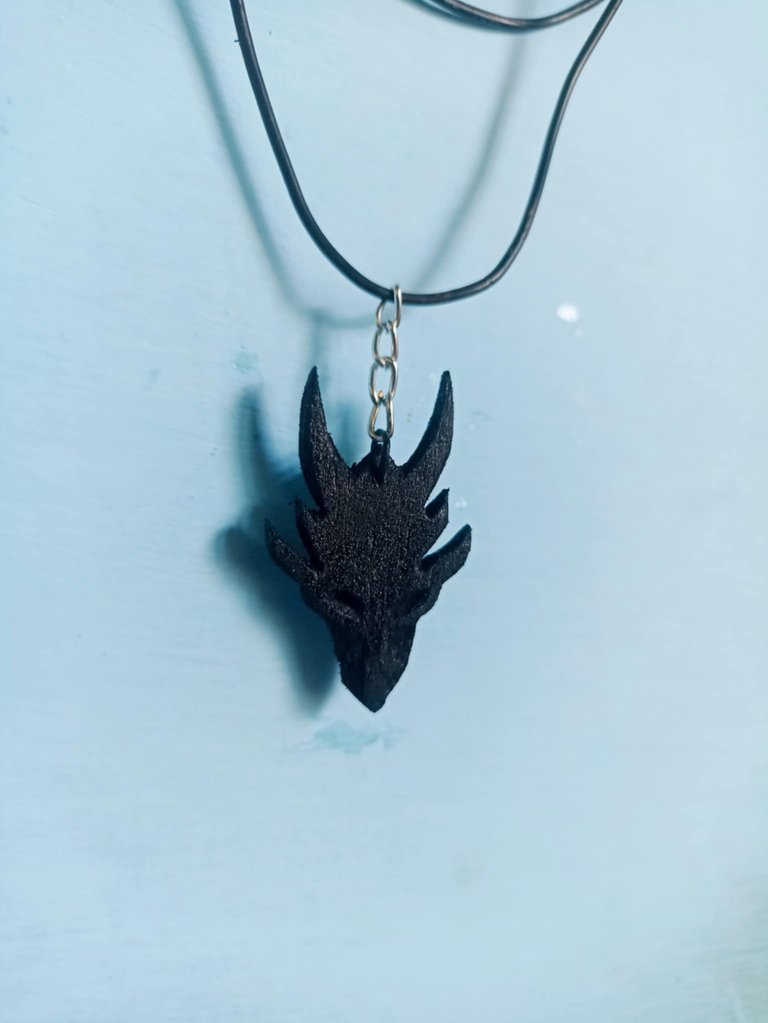
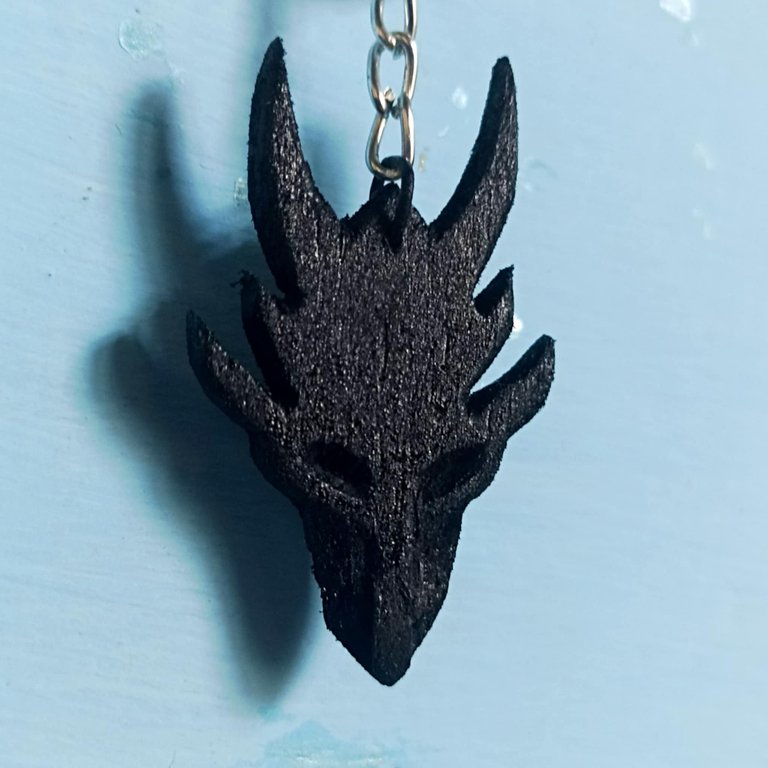
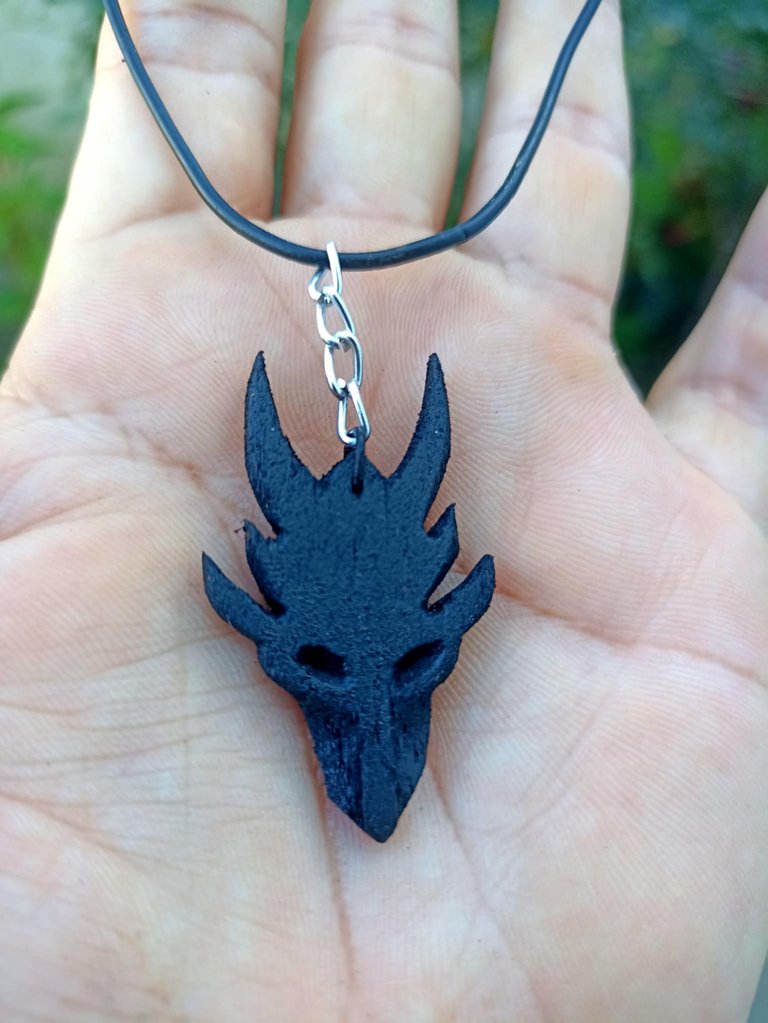
What did you think of the result? I think I got the color right; this black spray paint looks great, and I like its shiny tone. The moment I put the necklace on, I was very impressed, and despite the accidents, I really liked the final finish. I hope you liked it too and enjoyed it. It's always a pleasure for me to share my creations with you. Until next time, I'll say goodbye. Best regards.
Qué les ha parecido el resultado? Creo que acerté con el color, este spray negro pinta muy bien y me gusta es etono brillante. n el momento en el que le puse el collar quedé muy impresionado, y el acabado final a pesar de los accidentes me gustó muchisimo. Espero que a ustedes también le haya gustado y lo hayan disfrutado, para mi siempre es un gusto poder compartir mis creaciones con ustedes, me despido hasta la próxima. Saludos.
Congratulations @fixie! You have completed the following achievement on the Hive blockchain And have been rewarded with New badge(s)
Your next payout target is 20000 HP.
The unit is Hive Power equivalent because post and comment rewards can be split into HP and HBD
You can view your badges on your board and compare yourself to others in the Ranking
If you no longer want to receive notifications, reply to this comment with the word
STOPCheck out our last posts:
Este dije ha quedado increíble✨ el diseño es muy bonito y el color negro hace que se vea poderoso y elegante!
Amigo tú te quedó genial como siempre haciendo un fascinante trabajo.
Muchísima suerte en el concurso.
!HUG
!PIZZA
@dayadam, sorry! You need more to stake more $PIZZA to use this command.
The minimum requirement is 20.0 PIZZA staked.
More $PIZZA is available from Hive-Engine or Tribaldex
Gracias querida mía 🤗🤗