Splinterlands Art Contest 351 - Wooden carved keychain of Franz Ruffmane's Hammer [ENG-ESP]
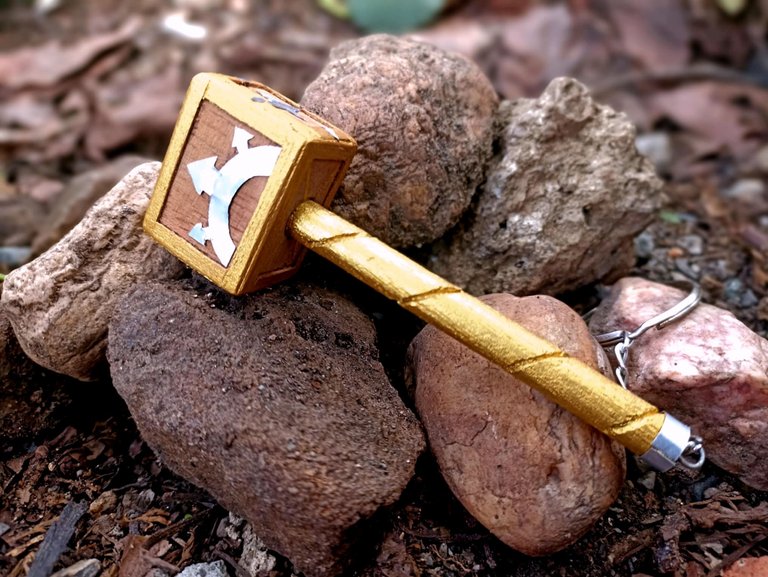

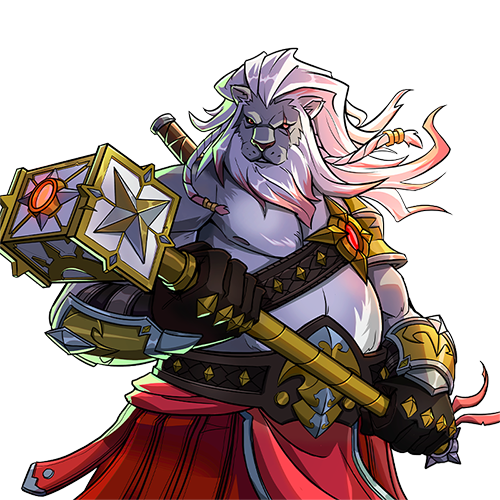
Hello Jewelry friends, to all the Splinterlands fans, I hope you are all doing well. I want to thank you because last week my fan art drawing received a special mention among the winners. I am truly pleased. And with that feeling in mind, I want to share with you my contribution for this week's contest. I have made a handmade project, a wooden keychain carved in wood. This keychain is about the powerful hammer that accompanies the character Franz Ruffmane. This hammer looks truly amazing with those golden edges and stars on the sides. I made it with various materials, using recycled materials. Here I briefly explain how the process was. I hope you like it.
Hola amigos de Jewelry a todos los fanáticos de Splinterlands, espero que todos se encuentren muy bien, quiero dar las gracias porque la semana pasada mi dibujo fan art obtuvo una mención especial entre los ganadores, de verdad me siento muy complacido. Y con ese sentimiento en mente es que quiero compartir con ustedes mi aporte para el concurso de esta semana, he realizado un trabajo hecho a mano, un llavero tallado en madera, este llavero se trata del poderoso martillo que acompaña al personaje Franz Ruffmane, este martillo se ve realmente asombroso con esos bordes dorados y estrellas por los costados. Lo hice con materiales variados, utilizando el reciclaje, aquí les comento brevemente como fue el proceso, espero que les guste.

 |  | |
|---|---|---|
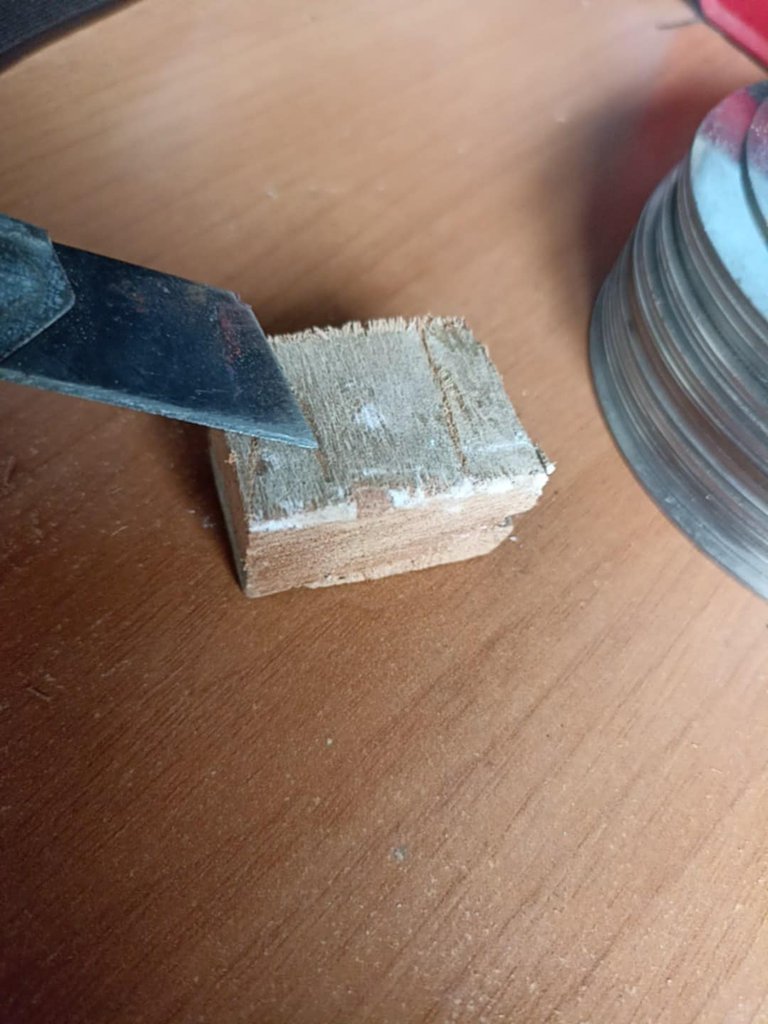 | 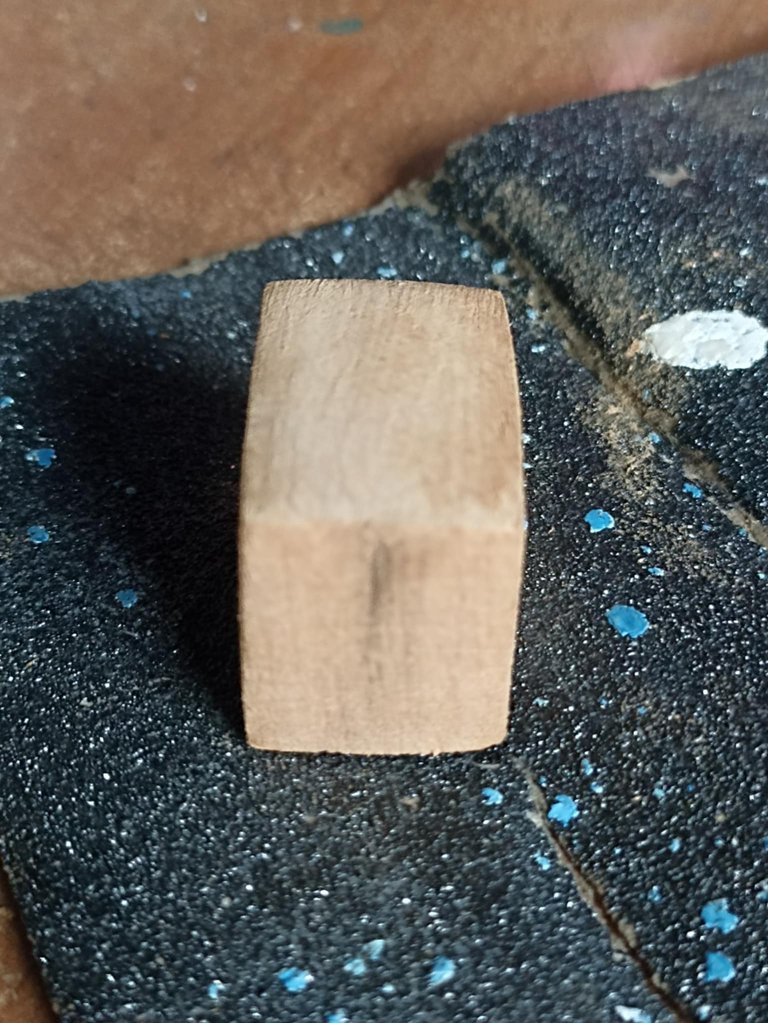 |
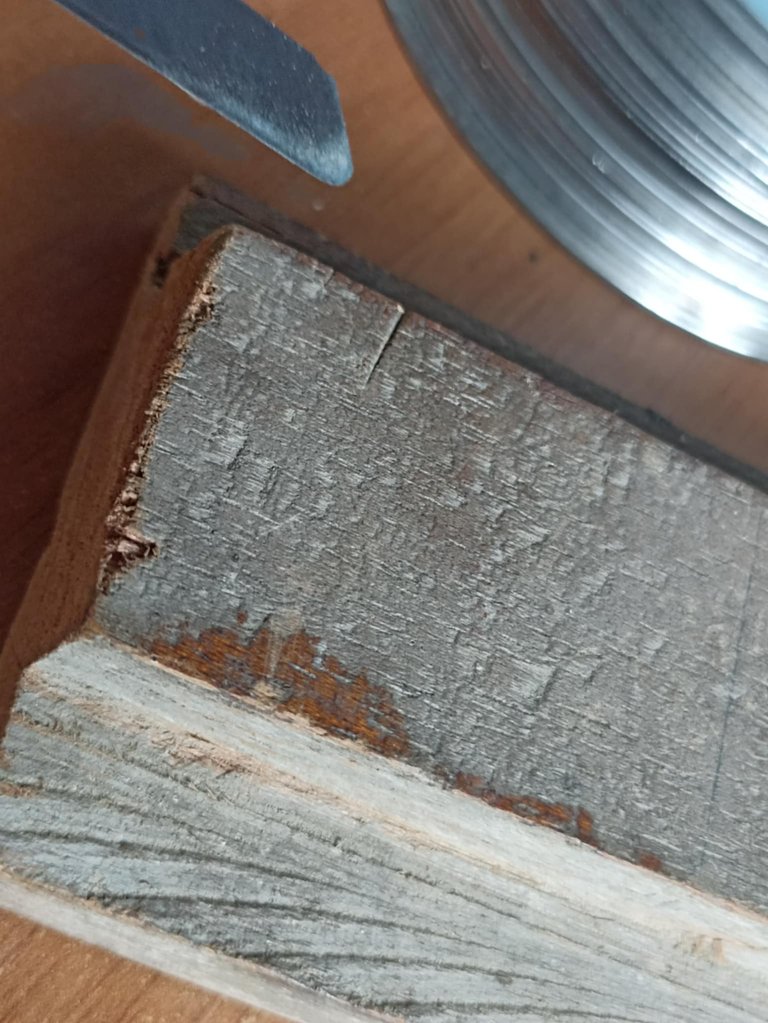
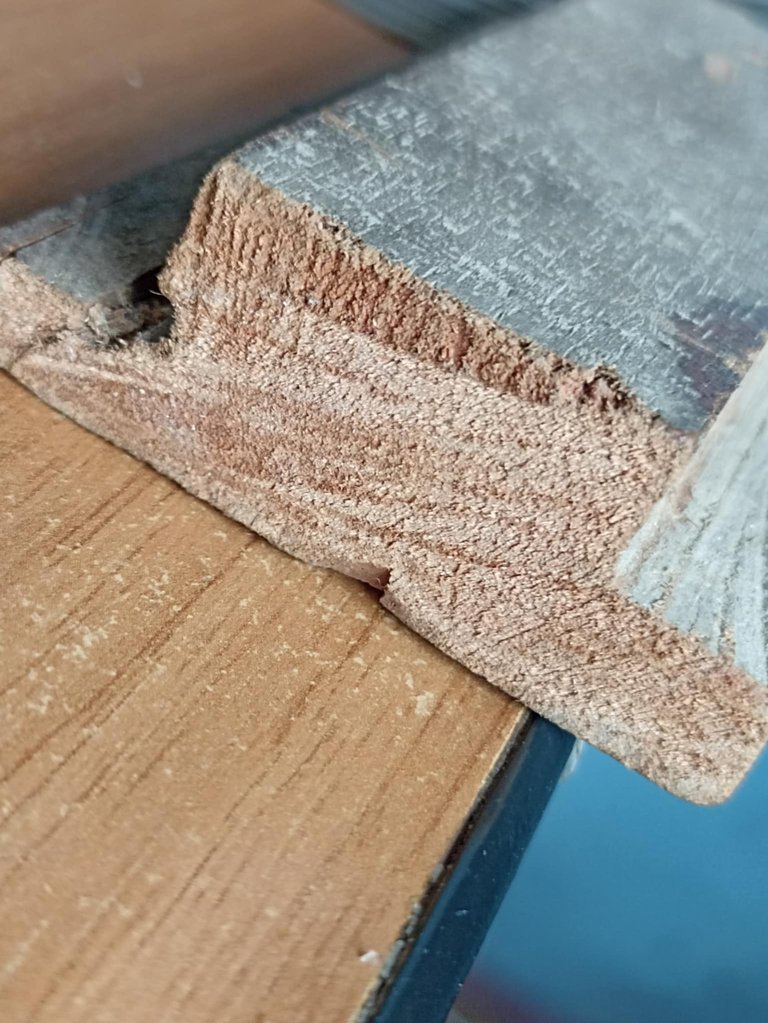
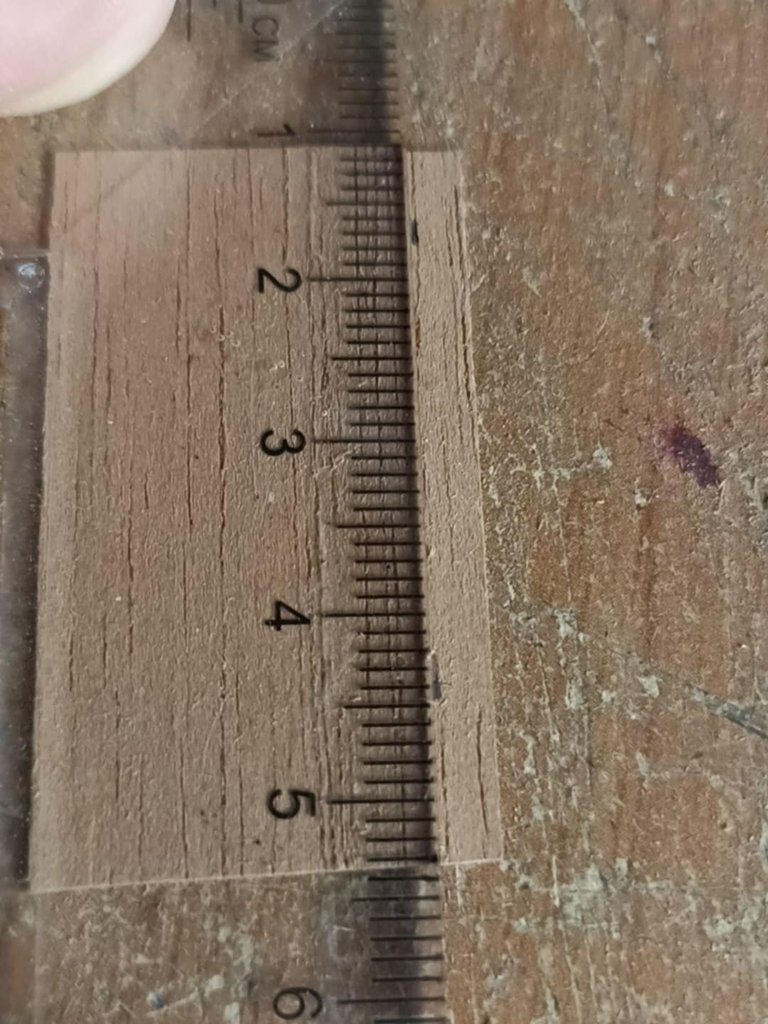
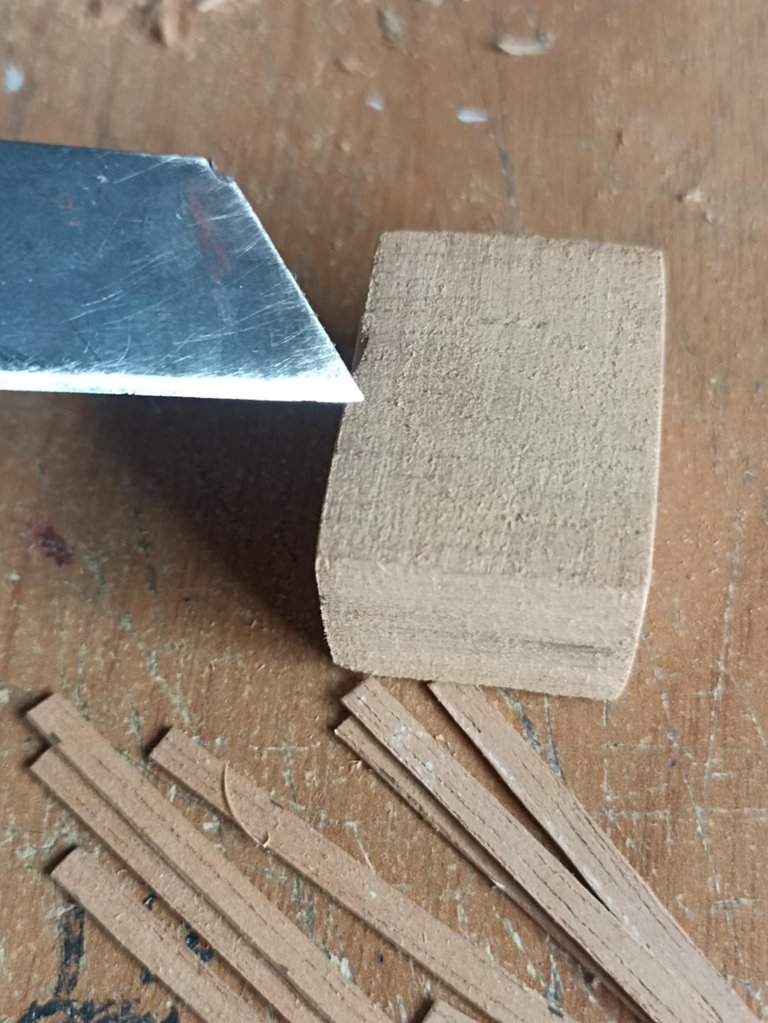
I made the piece in two parts: first, the square top, since it's larger and has more detail, and then the handle, which is a little easier. So, I used a piece of wood from which I took a smaller one, 3 centimeters by 2 centimeters, and cut it into a cube. After that, I used sandpaper to shape it and smooth the entire area. I also used wood that was cut thinner, just 2 millimeters thick, useful for making thin pieces.
La pieza la he realizado en dos partes, en primer lugar la parte superior cuadrada, ya que es más grande y tiene más detalles y después el mango que es un poco más fácil. Así que utilizo un pedazo de madera del cual saco uno más pequeño de 3 centímetros por 2 centímetros, lo corte en forma de cubo, después de eso con una lija comencé a darle forma y limpiar toda la zona para dejarla pulida. También utilicé madera que esta recortada de forma más fina, apenas 2 milímetros de grosor útil para hacer piezas finas.
 |  |  |
|---|---|---|
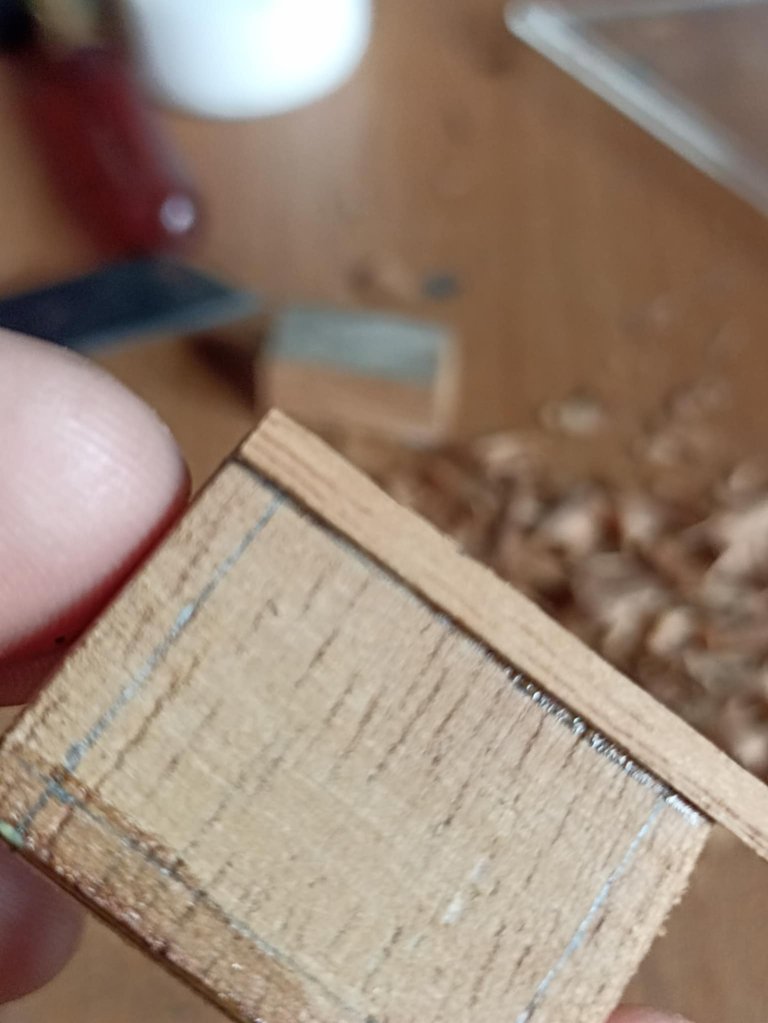 | 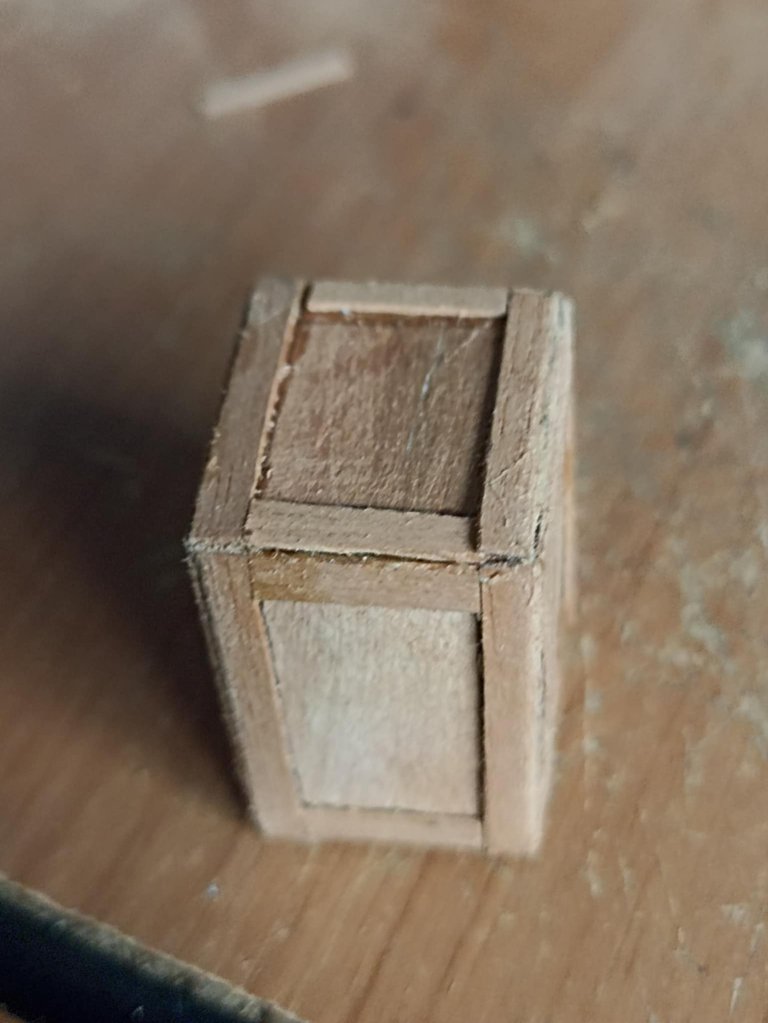 |  |
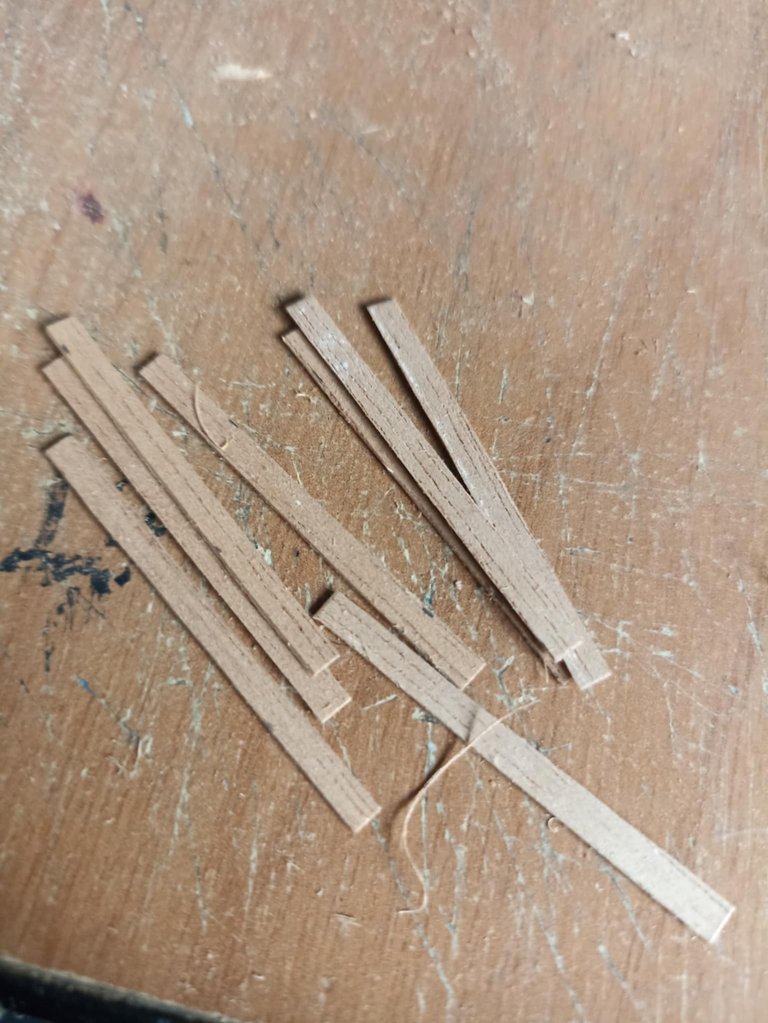
Then, from the thinner wood mentioned above, I cut several 3-millimeter strips. These strips were used on each edge of the wooden cube. So, I gradually placed them, depending on the side of the cube; the strips have different measurements.
Después, de la madera más fina mencionada antes, corto varias tiras de 3 milímetros, estas tiras eran en cada uno de los bordes del cubo de madera. Así que poco a poco las voy colocando, según la cara del cubo, las tiras tienen otra medida diferente.
 |  | |
|---|---|---|
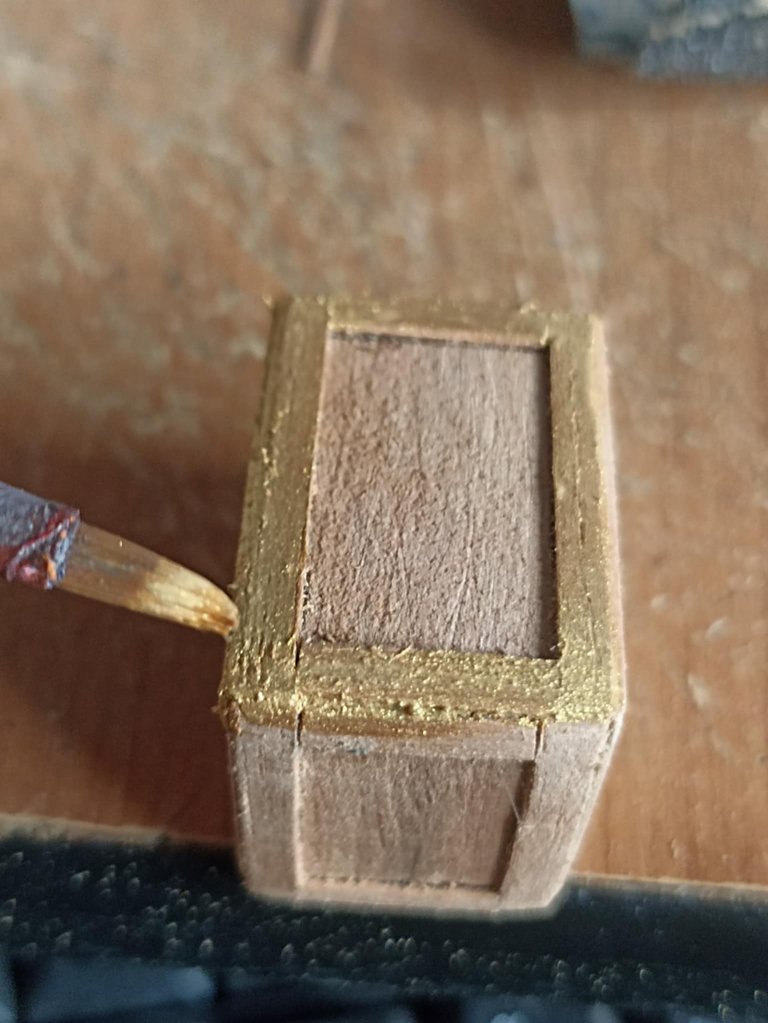 | 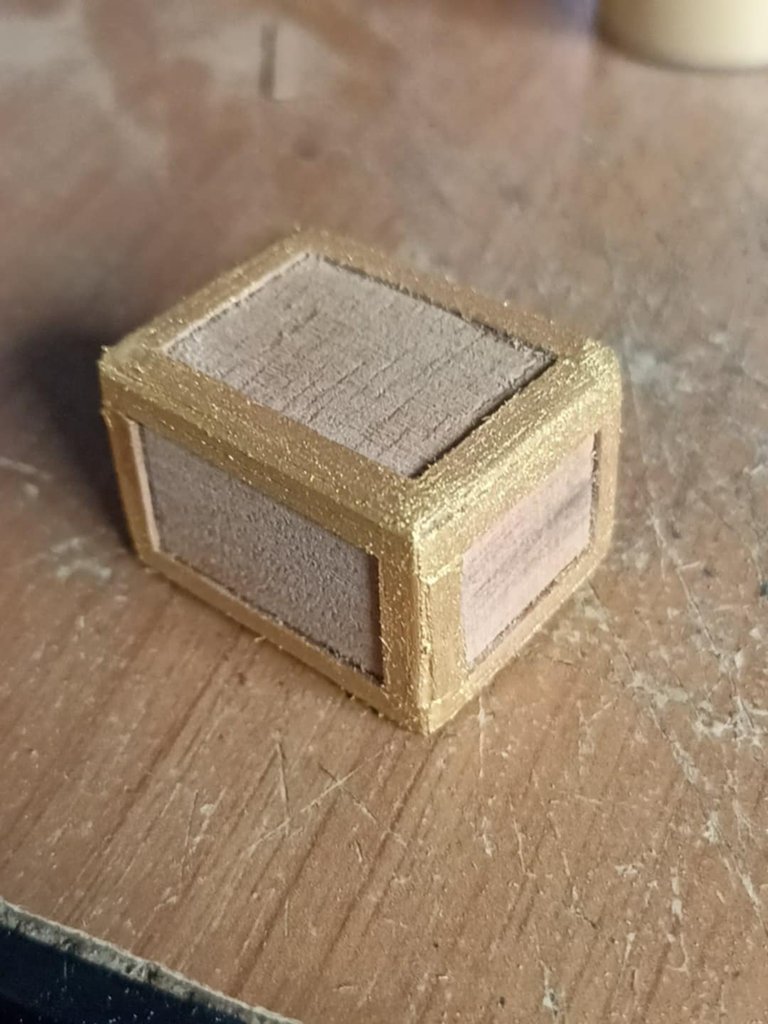 |
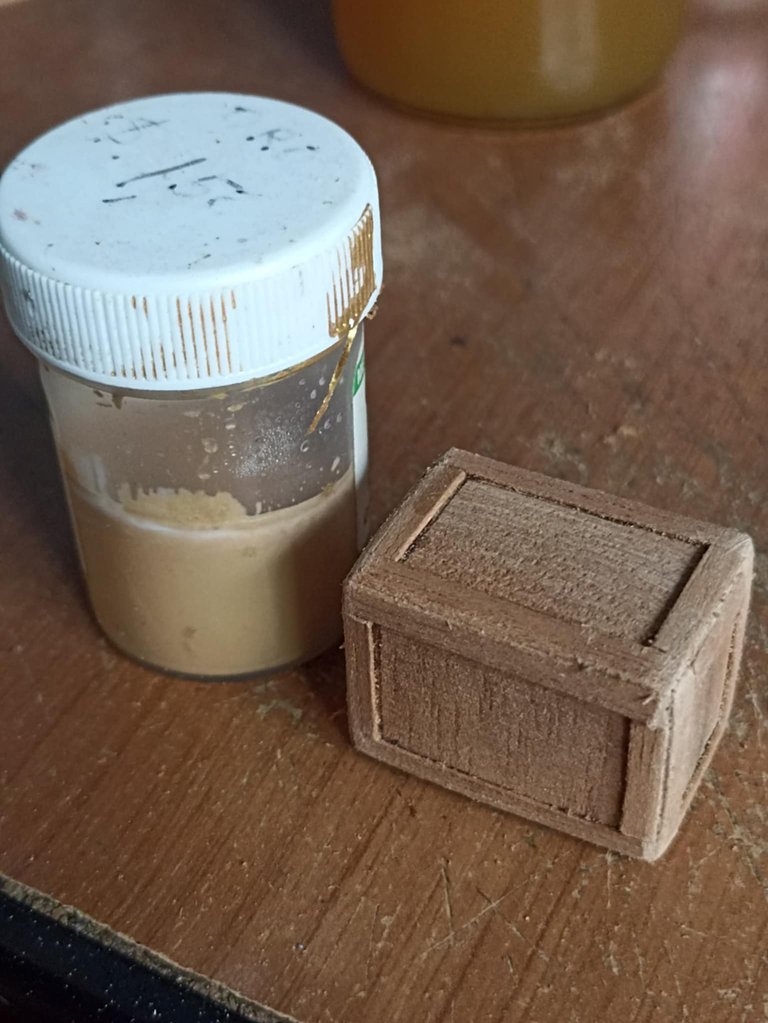
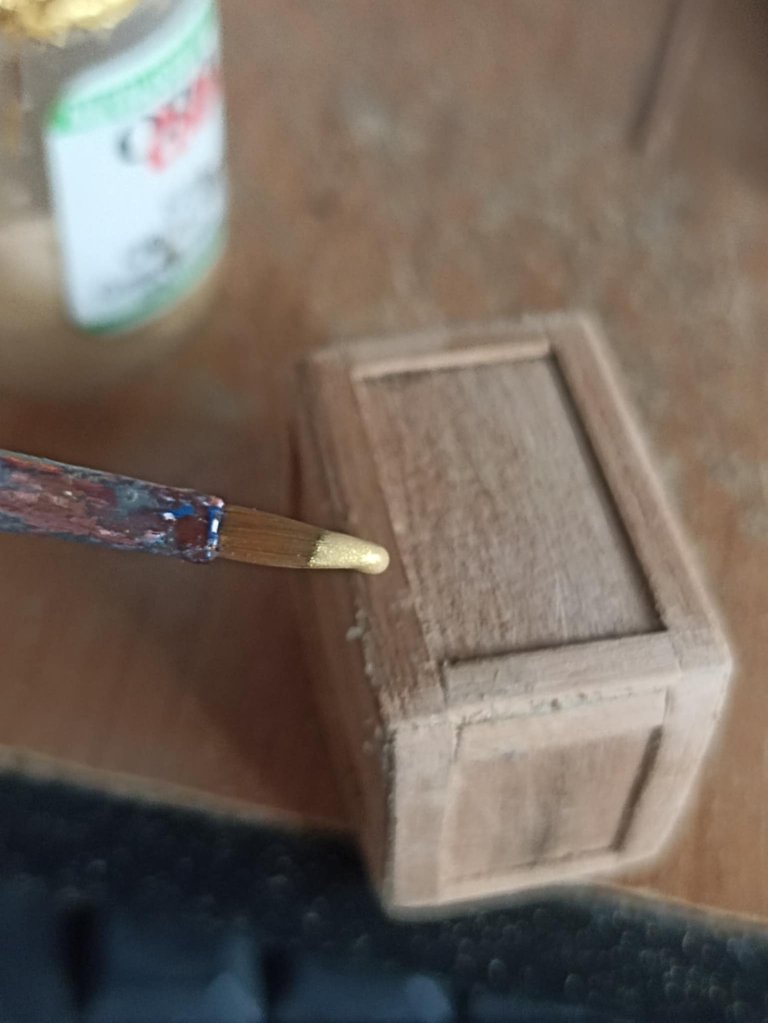
Once each of the wooden edges I placed on the cube is securely glued, I begin to paint them. To do this, I use gold paint. This paint is very pretty and dries very quickly since it's cold-cured. I paint all the edges until I get the perfect finish.
Una vez que cada uno de los bordes qde madera que fuí colocando en el cubo estan bien pegados comienzo a pintarlos, para ello utilizo pintura dorada, esta pintura es muy bonita y seca muy rápido ya que es pintura al frío. Así voy pintando todos los bordes hasta que el acabado sea el mejor.
 |  |  |
|---|---|---|
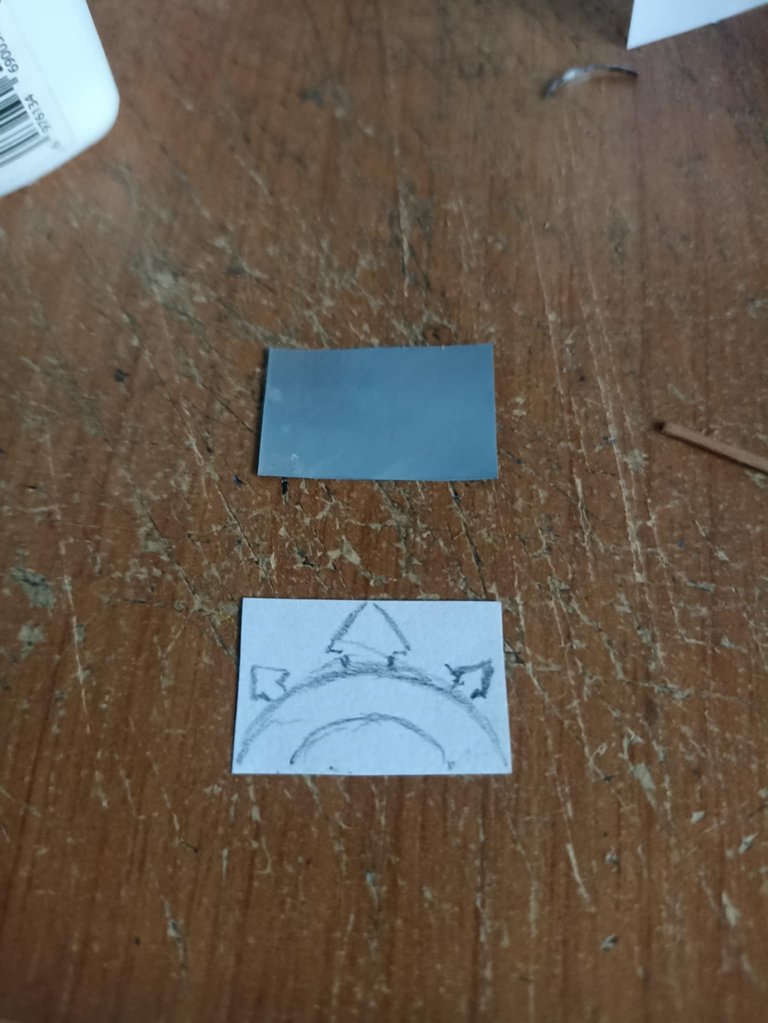 | 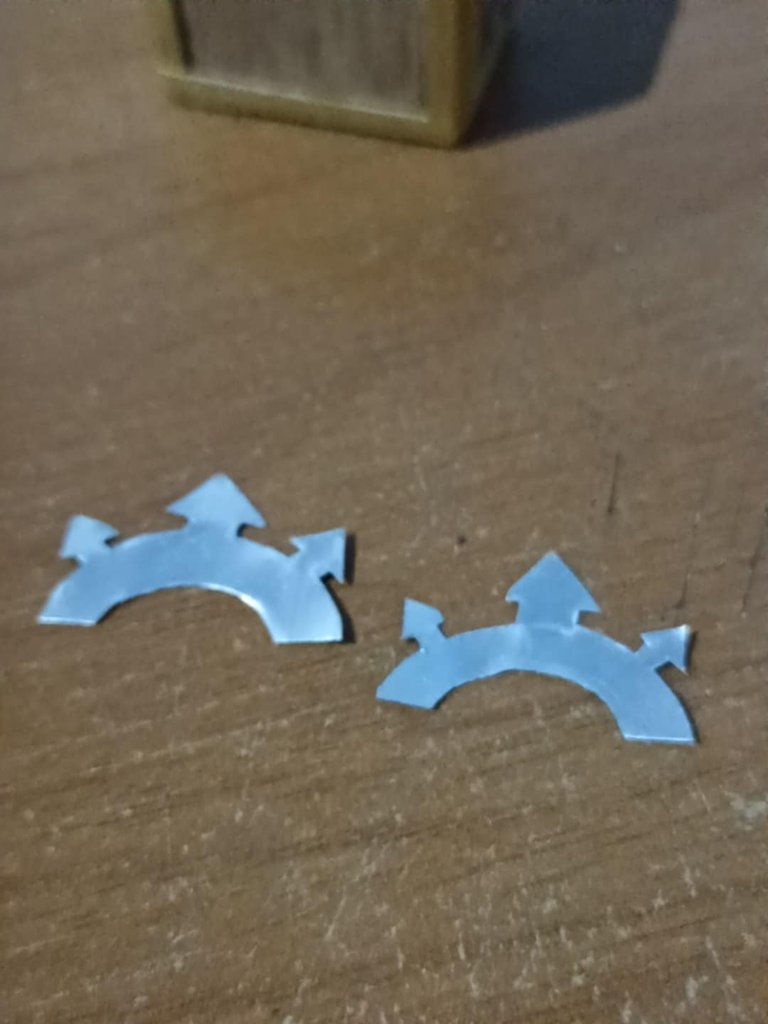 | 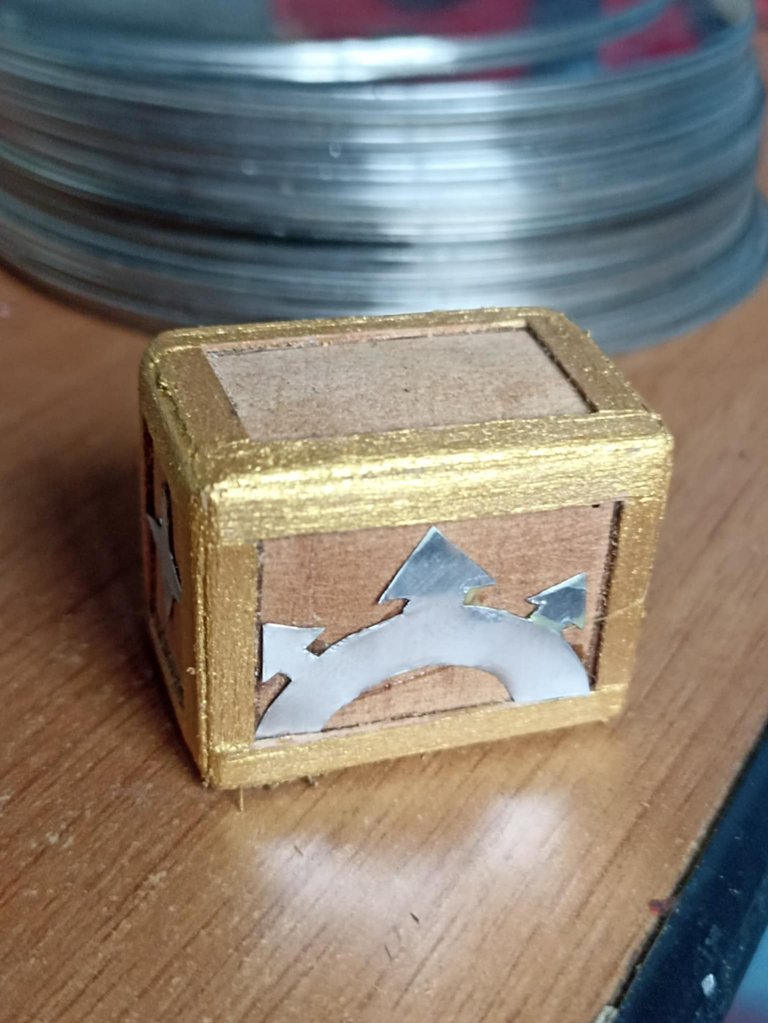 |
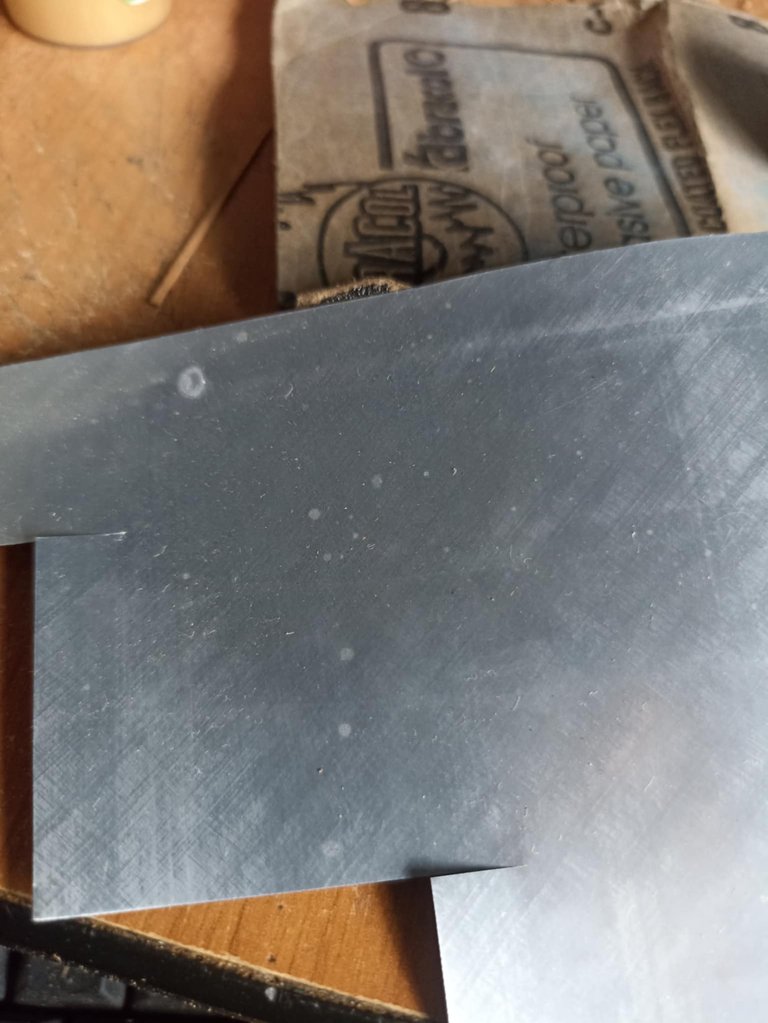
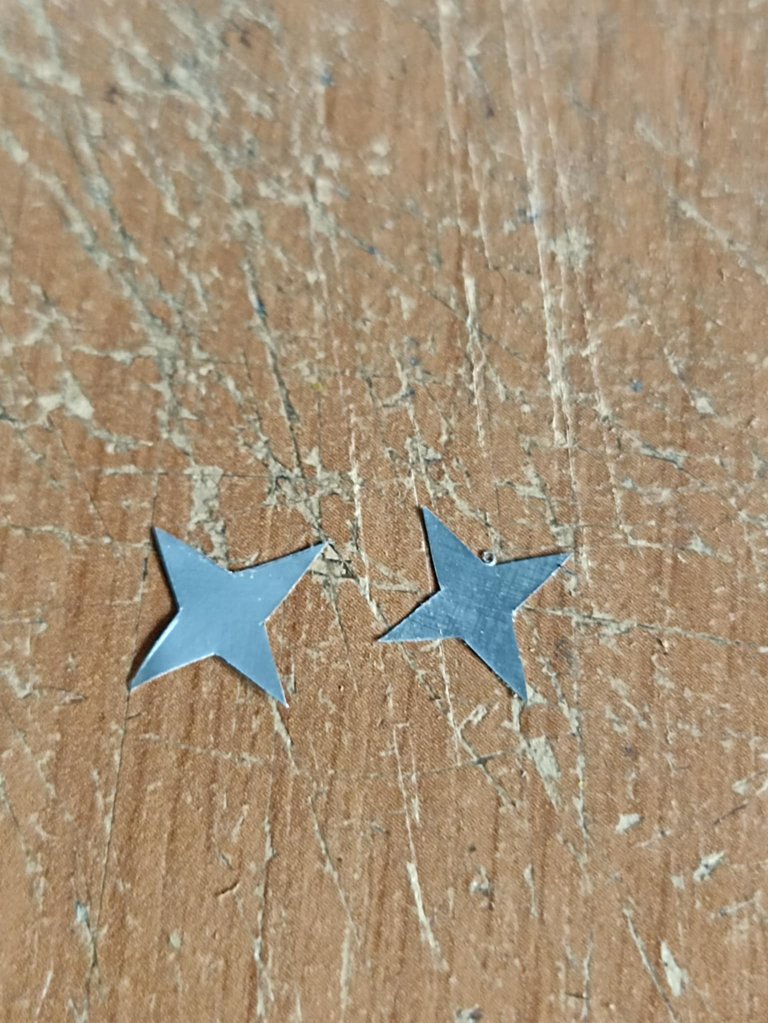
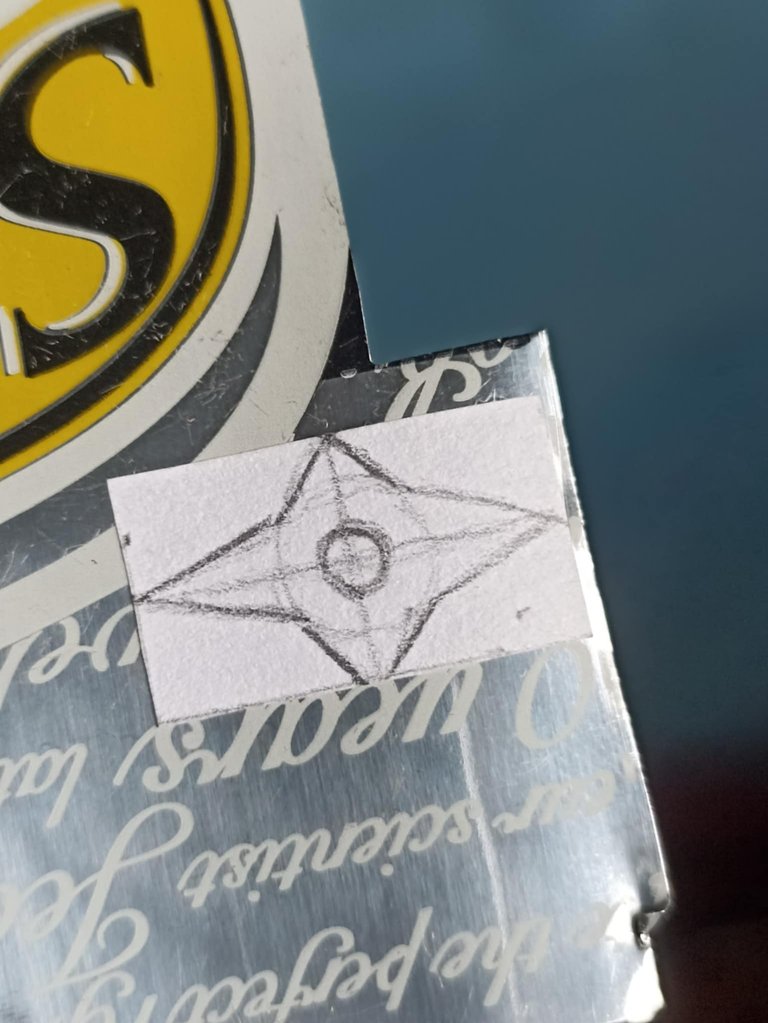
After working with wood, I started using aluminum, which I made from soda cans, mainly to make the details that go on the cube, like the stars. To make them more precise, I make paper templates, which I glue onto the can, gradually cutting them out, and then glueing them into place.
Después de haber trabajado con madera comienzo a utilizar aluminio, este lo saqué de latas de soda, principalmente para hacer los detalles que van en el cubo, como las estrellas. Para hacerlas mejor, realizo plantillas en papel las cuales pego encima de la lata para recortar poco a poco e ir poniendolas con pegamento en el lugar que les corresponde.
 |  | |
|---|---|---|
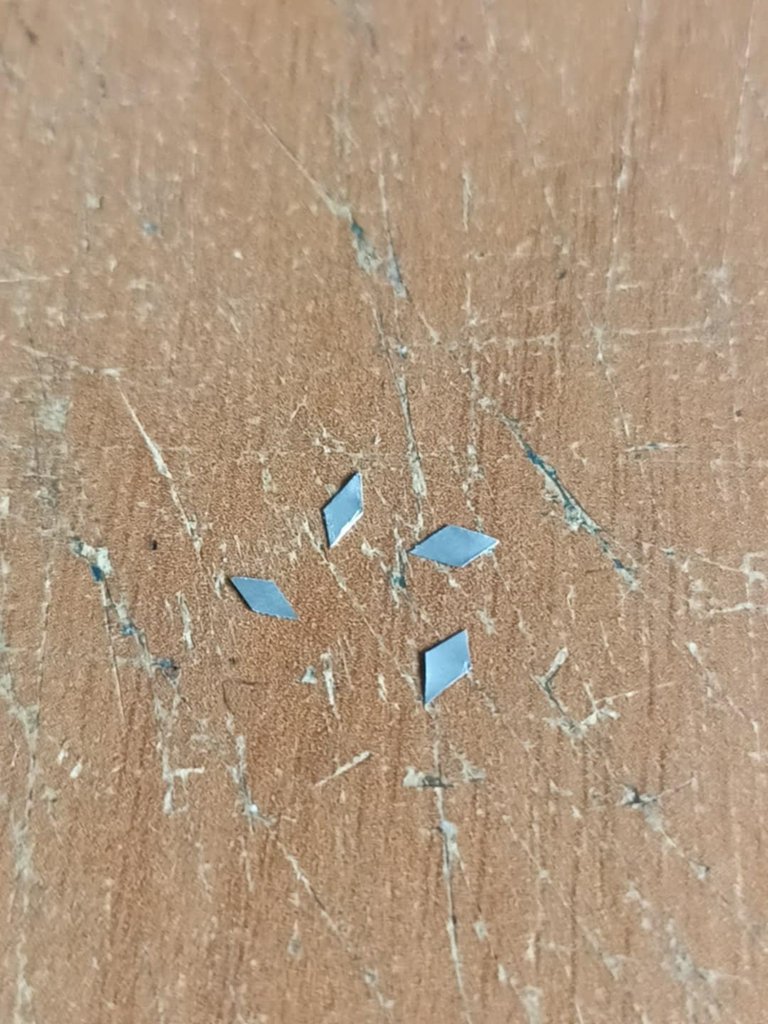 | 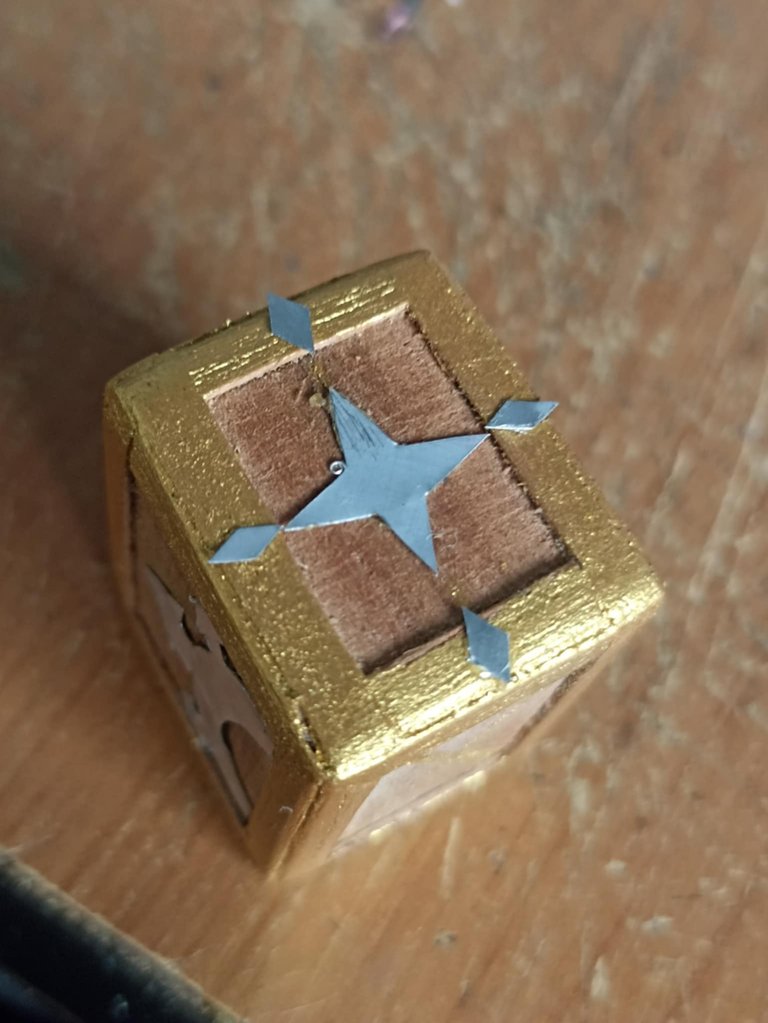 |
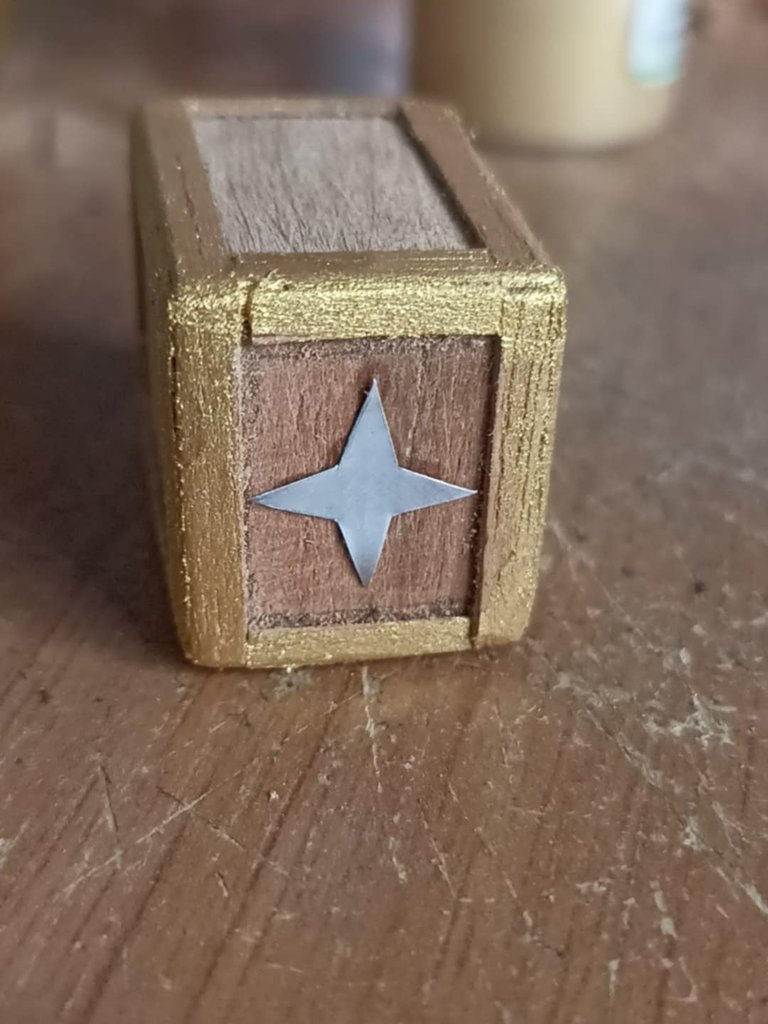
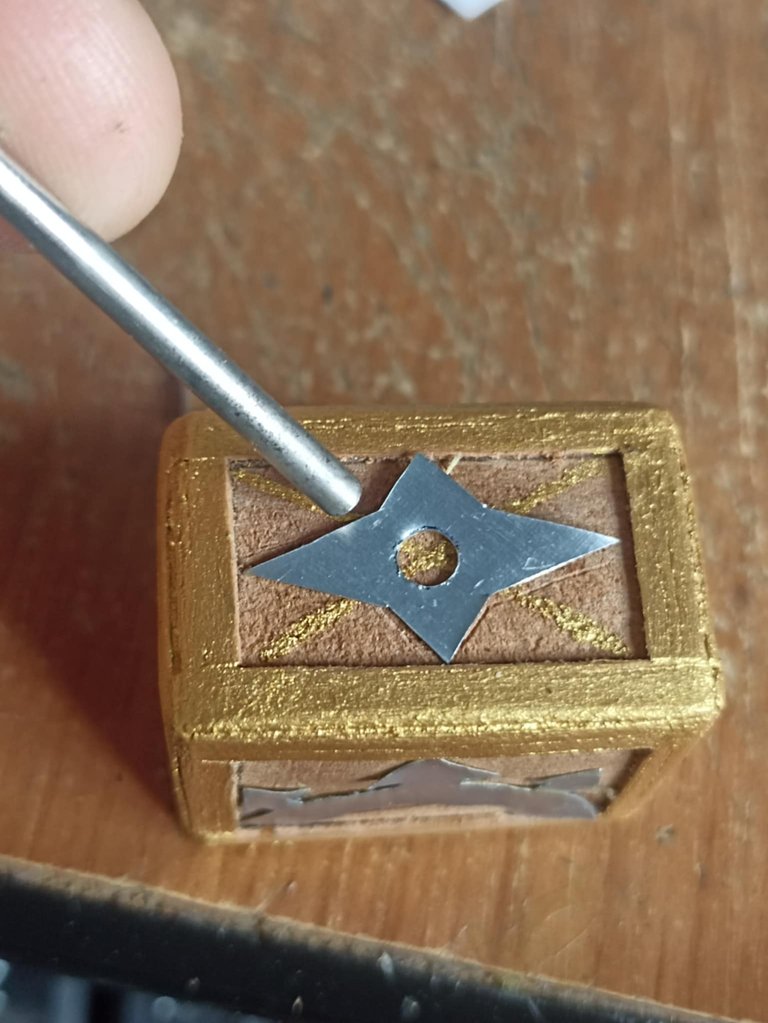
Of course, the top of the hammer couldn't be missing, which also bears a large four-pointed star. Likewise, on the sides are small diamond-shaped metal pieces, which appear to mark the four cardinal points.
No podía faltar por supuesto la parte superior del martillo que también lleva una gran estrella de 4 puntas. Así también en los lados laterales lleva pequeñas piezas de metal con forma de diamante, el cual parecen marcar los cuatro puntos cardinales.
 |  |  |
|---|---|---|
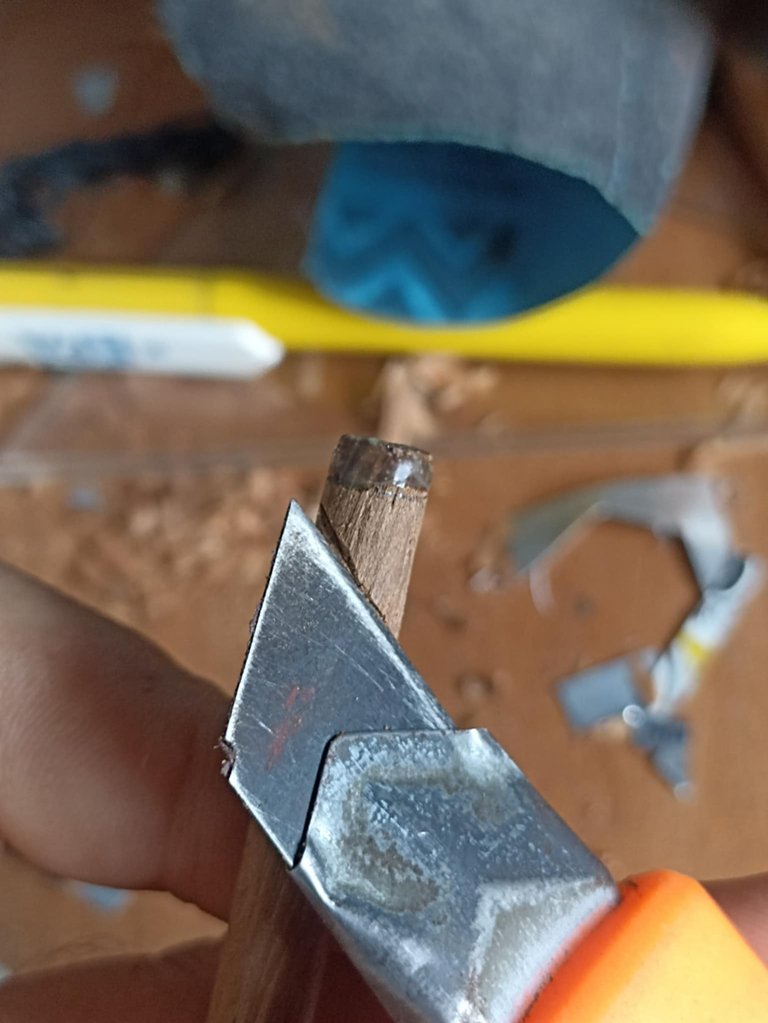 | 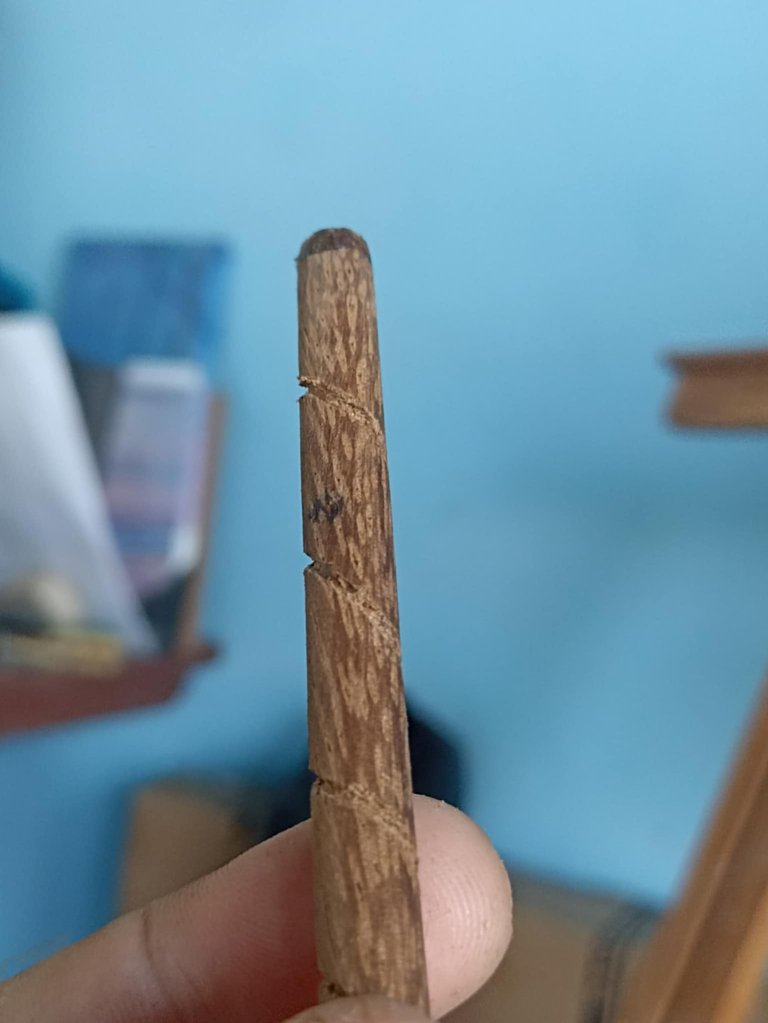 | 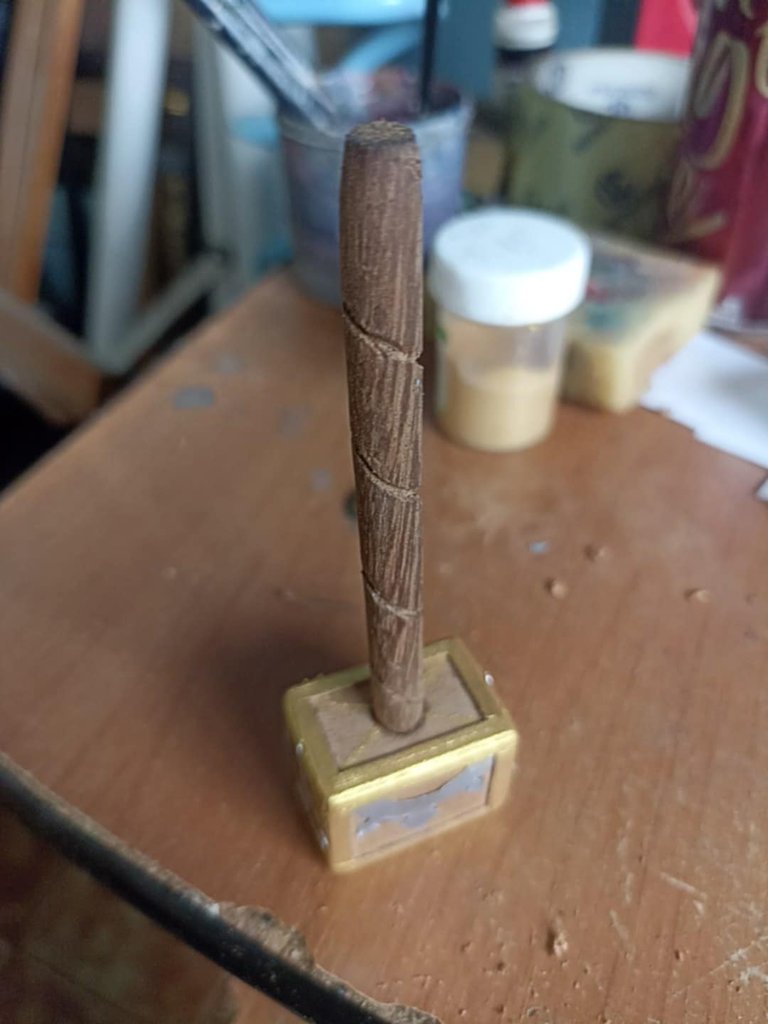 |
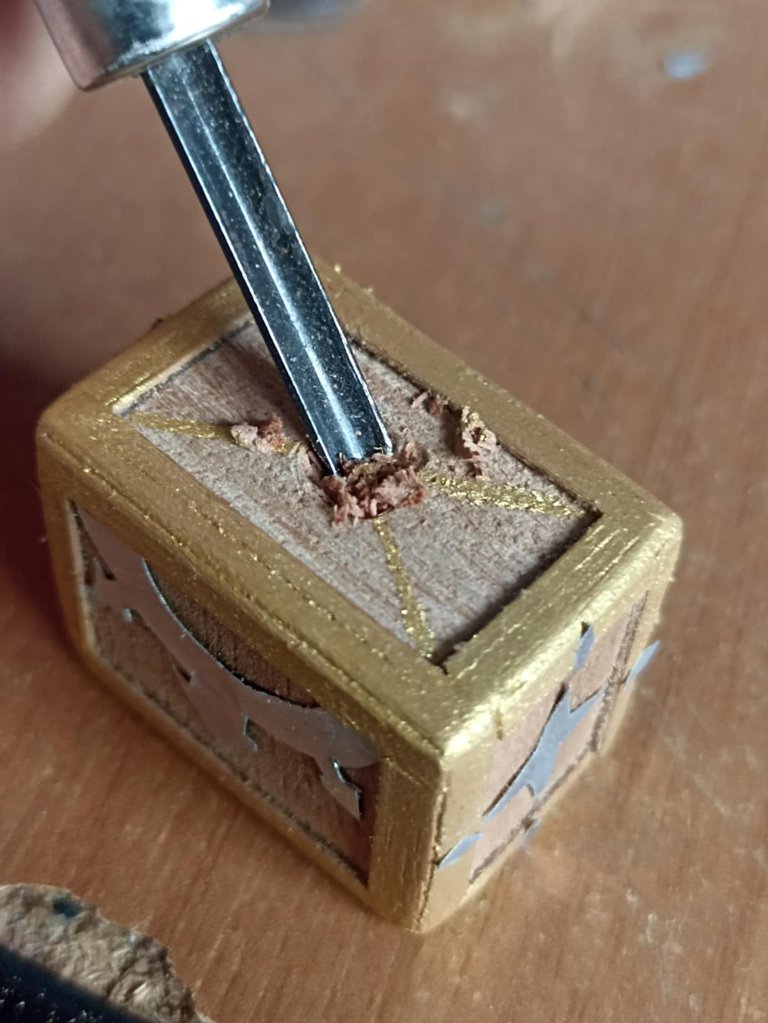
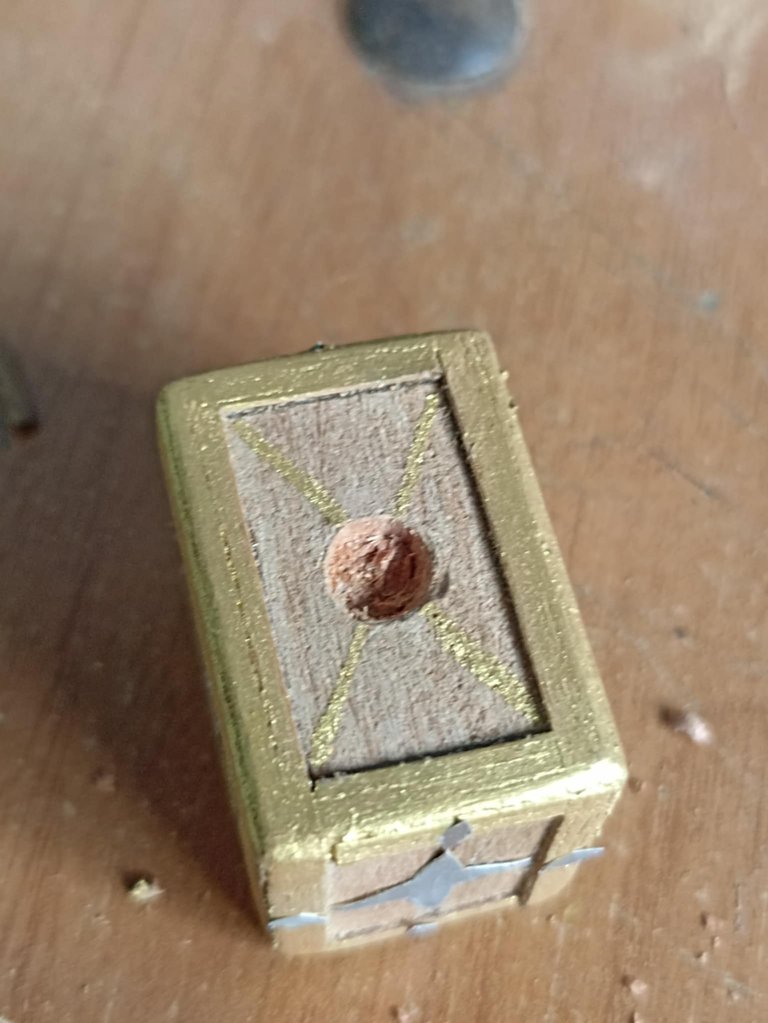
Next, I begin making the hammer handle, which I cut from a square piece of wood. I used a knife to shape it into a circle, and sandpaper to give it the perfect shape. I made a hole in the bottom of the hammer to fit the handle, but not before carving a spiral line around the handle, just like the original design.
Despues comienzo a hacer el mango del martillo el cual lo saqué d euna madera cuadrada pero con la navaja le fui dando forma circular, y con la lija terminé de darle la mejor forma. En la parte baja del martillo hice un agujero para poder meter el mango, no sin antes tallar una línea en espiral por todo el mango tal cual el diseño original.
 |  | |
|---|---|---|
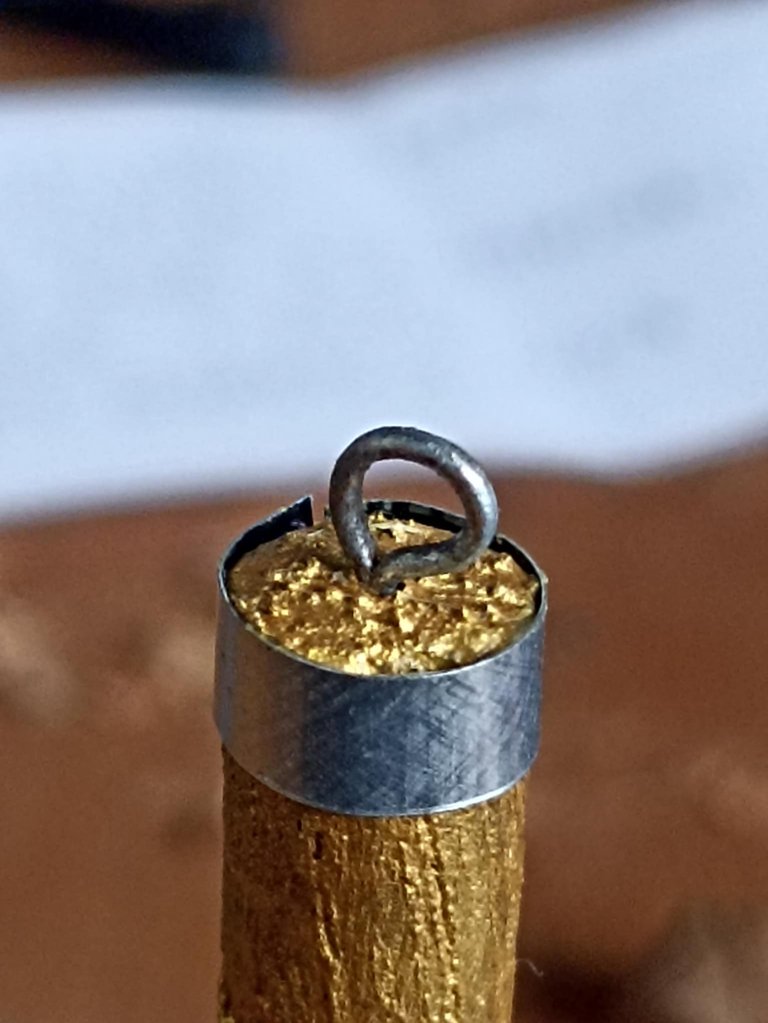 | 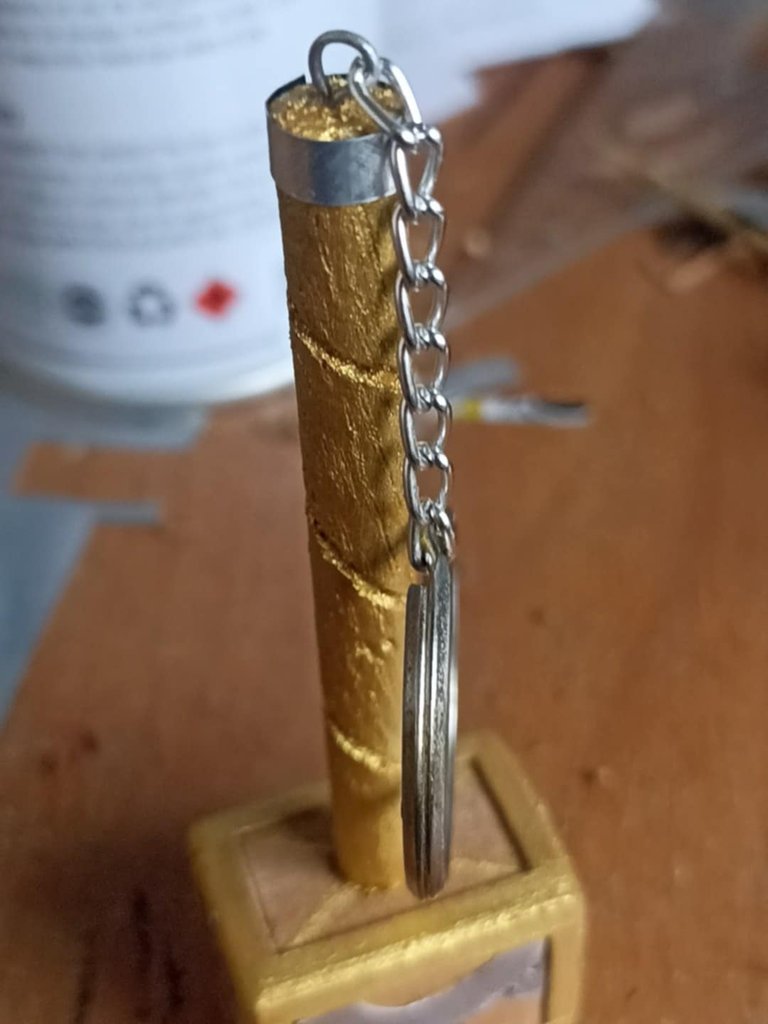 |
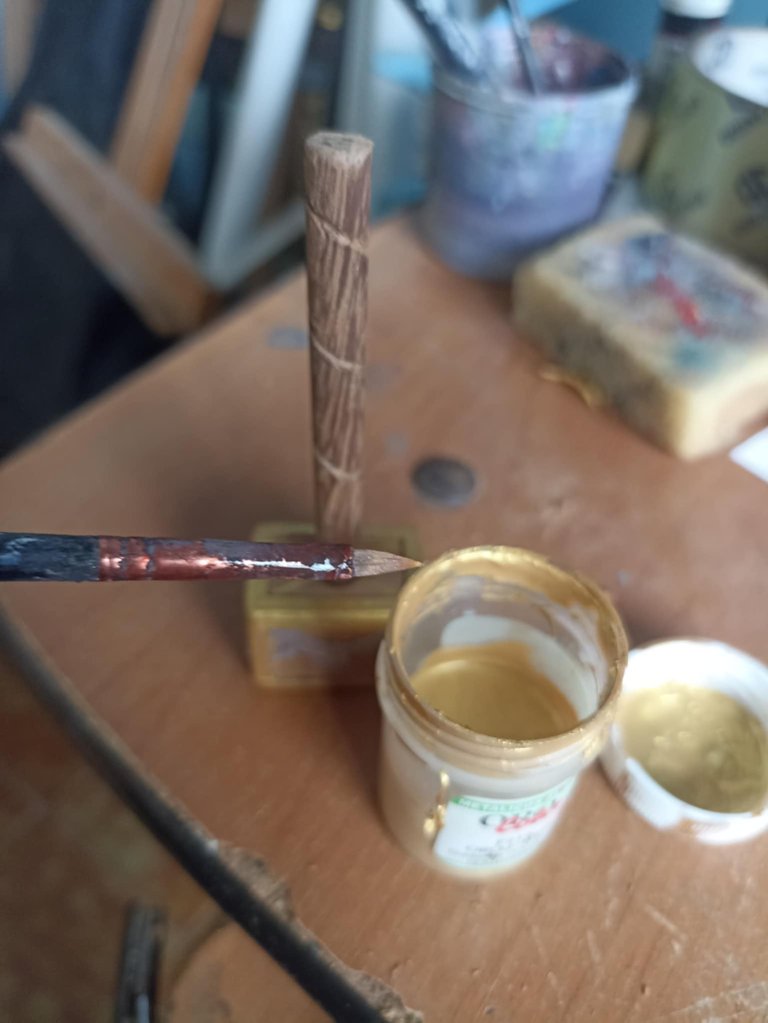
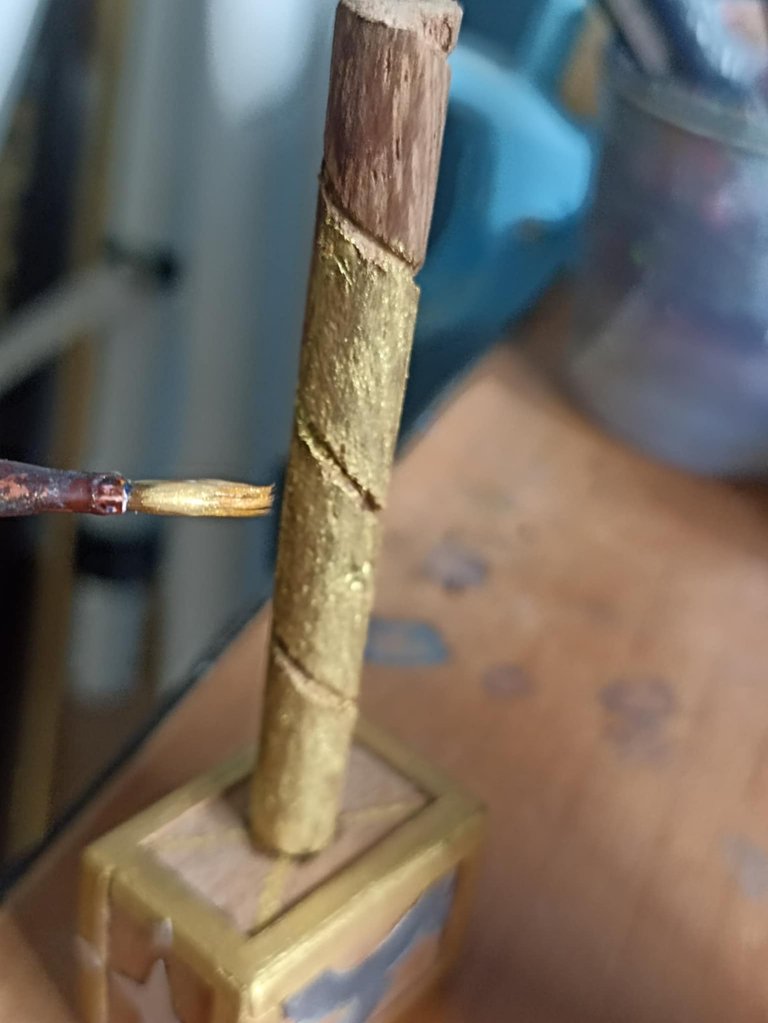
To finish the handle, I also painted it gold all over, and at the bottom or top, depending on how it is, I placed a ring through which the keychain chain will go, in this way it was finished.
Ya para finalizar el mango también lo pinté de color dorado por todas partes, y en la parte inferior o superior, dependiendo de como esté, coloqué una argolla por la cual ira la cadena del llavero, de esta manera quedó finalizado.
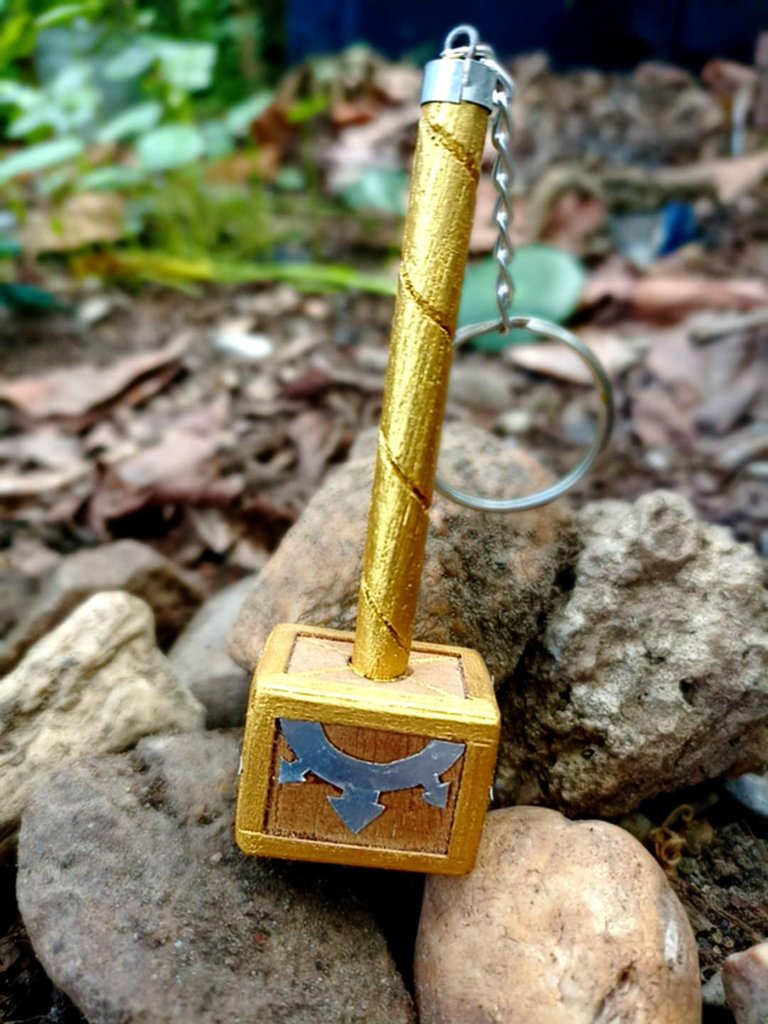
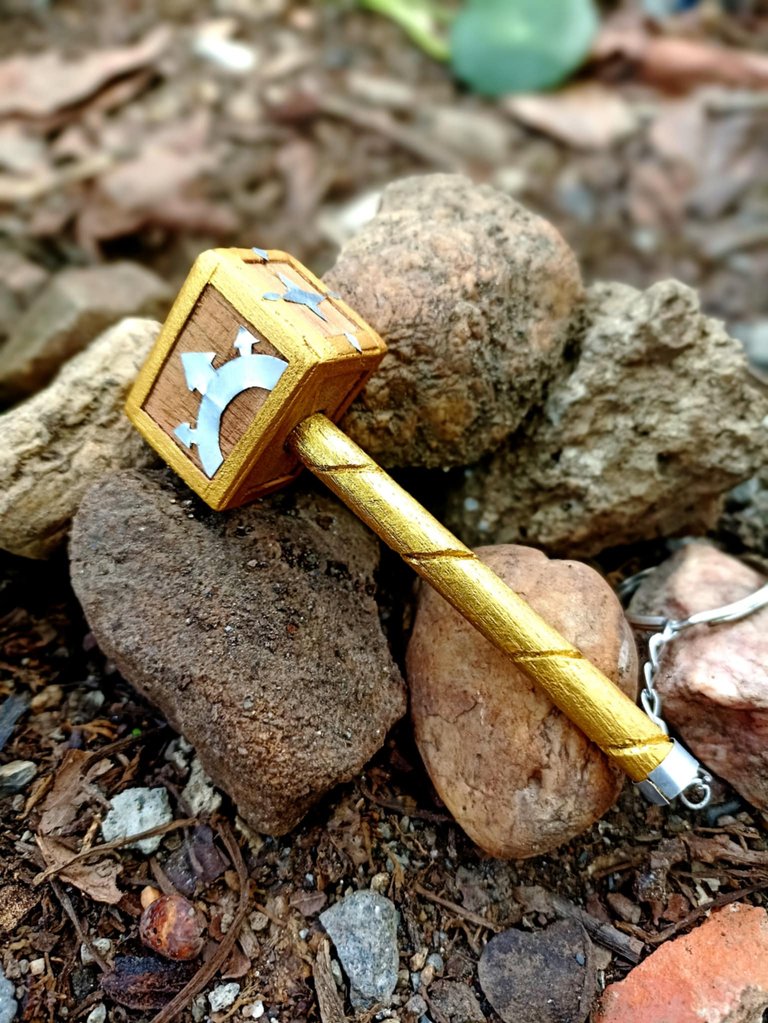
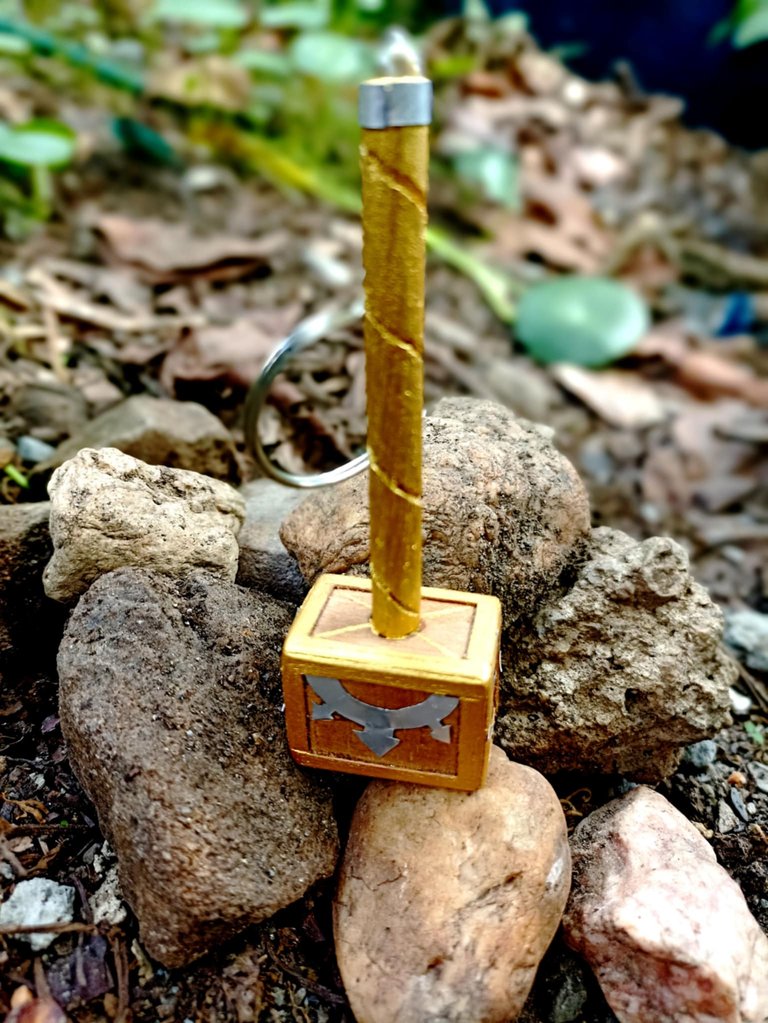

What did you think of the result? I really liked it, especially the gold edges. The aluminum details were a bit tricky, but I finally managed to get the most important ones right. The paint definitely gave it a better aesthetic; it reminds me a lot of Thor's hammer. I hope you like it; I did it with great pleasure. For now, I'll say goodbye. If you like it, feel free to leave your comments. See you soon!
Qué les ha parecido el resultado? a mi me gustó muchísimo, especialmente los bordes dorados, en cuanto a los detalles en aluminio fueron un poco complicados, pero al final pude hacer los más importantes. Sin duda la pintura le dió una mejor estética, me recuerda mucho al martillo del dios Thor. Espero que les haya gustado, lo hice con mucho gusto, por ahora me despido , si les ha gustado, pueden comentar sus apreciaciones, hasta pronto!
This is not just a keychain but a complete work of art and we love it. You are truly talented and we can’t wait to see your next craft.
Well done and thanks for sharing.
selected by @ibbtammy
It was a really fun creation. I was inspired by Thor's hammer, and the best part was the small details. Thank you so much for your support. Something new is coming soon.
Gran trabajo maestro! Te has vuelto un especialista con la madera. Excelente!
!discovery 30
Así vamos maestro poco a poco, aprendiendo para luego pasar a piezas más grandes!
This post was shared and voted inside the discord by the curators team of discovery-it
Join our Community and follow our Curation Trail
Discovery-it is also a Witness, vote for us here
Delegate to us for passive income. Check our 80% fee-back Program
Thanks!