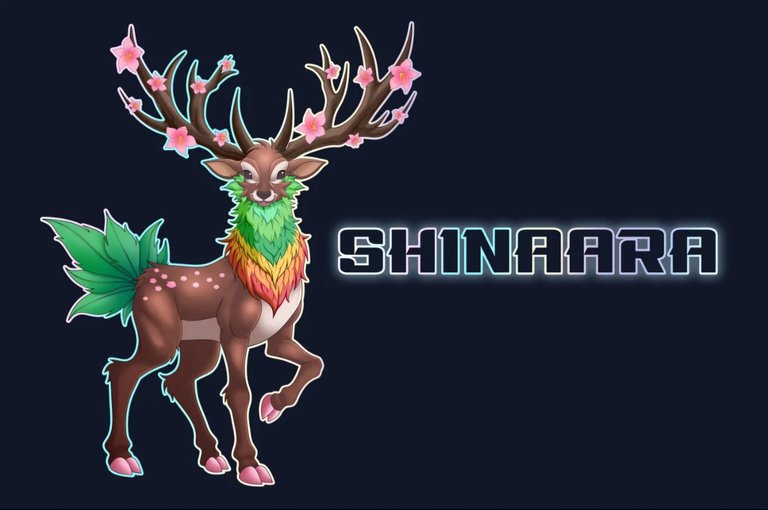
Shinaara's favorite place. Holozing Fan Art. [ENG+ESP]

Greetings, holo-fanatics.
Whenever I start working on a drawing, I always try not to complicate my life, but most of the time I end up doing the opposite. The drawing I share with you today was one of those cases. At first, I just wanted to draw Shinaara on a grassy knoll resting and that's all, but something inside me was screaming for a wooded background for the fan art.
Once I gave in to my impulses, I finished the concept design and, after I had the line art ready, the light bulb went off (I had an idea). I was going to do the background, yes, but I was going to do it with an effect that would save me a lot of work time and I really hoped it would turn out well; otherwise, I was going to spend a lot of time in front of the screen. If you want to know what effect I mean and how I did it, I invite you to read on.
Saludos holo-fanáticos.
Cada vez que comienzo a trabajar en un dibujo, siempre trato de no complicarme la vida, pero la mayoría de las veces termino haciendo todo lo contrario. El dibujo que les comparto el día de hoy fue uno de esos casos. En una primera instancia, solo quería dibujar a Shinaara sobre un montículo de hierba descansando y ya, pero algo dentro de mí pedía a gritos un fondo boscoso para el fan art.
Una vez cedí a mis impulsos, terminé el diseño conceptual y, luego de tener listo el line art, se me alumbró el bombillo (se me ocurrió una idea). Iba a hacer el fondo, sí, pero lo haría con un efecto que me ahorraría mucho tiempo de trabajo y de verdad esperaba que me saliera bien; de lo contrario, iba a pasar mucho tiempo frente a la pantalla. Si quieres saber a qué efecto me refiero y cómo lo hice, te invito a seguir leyendo.
Step by step // Paso a paso
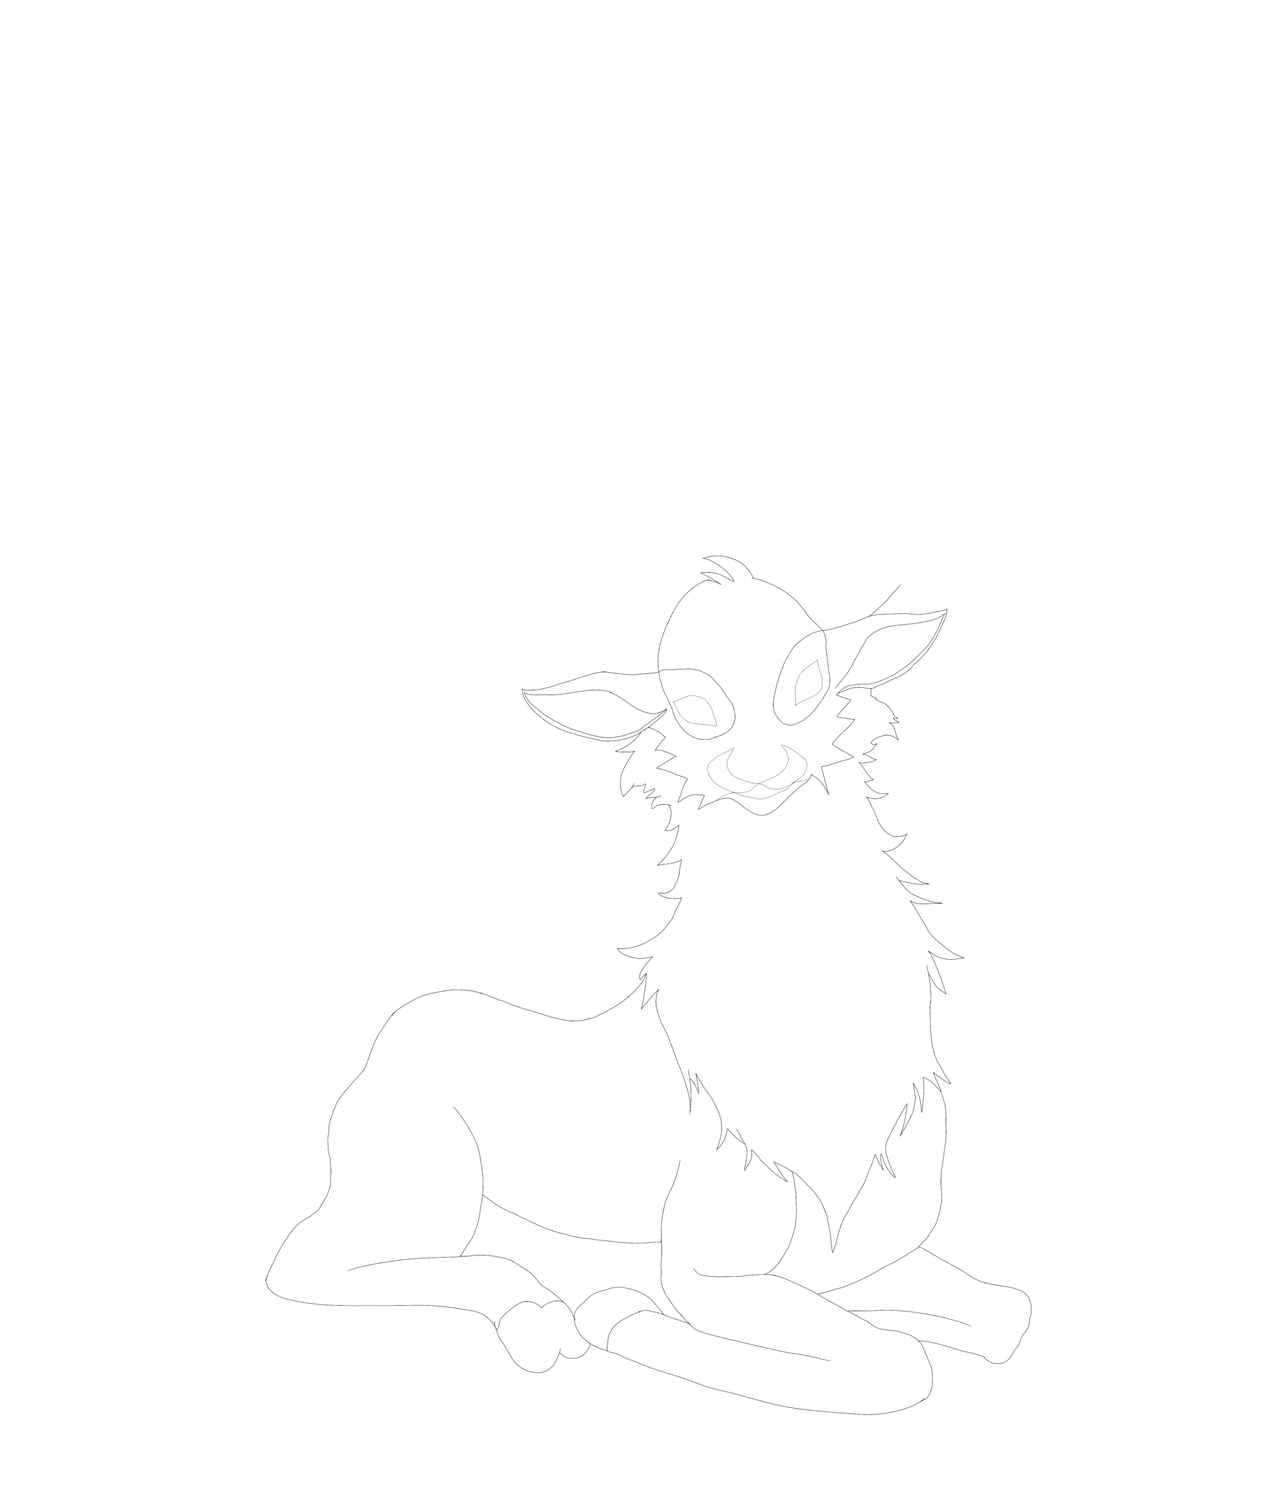
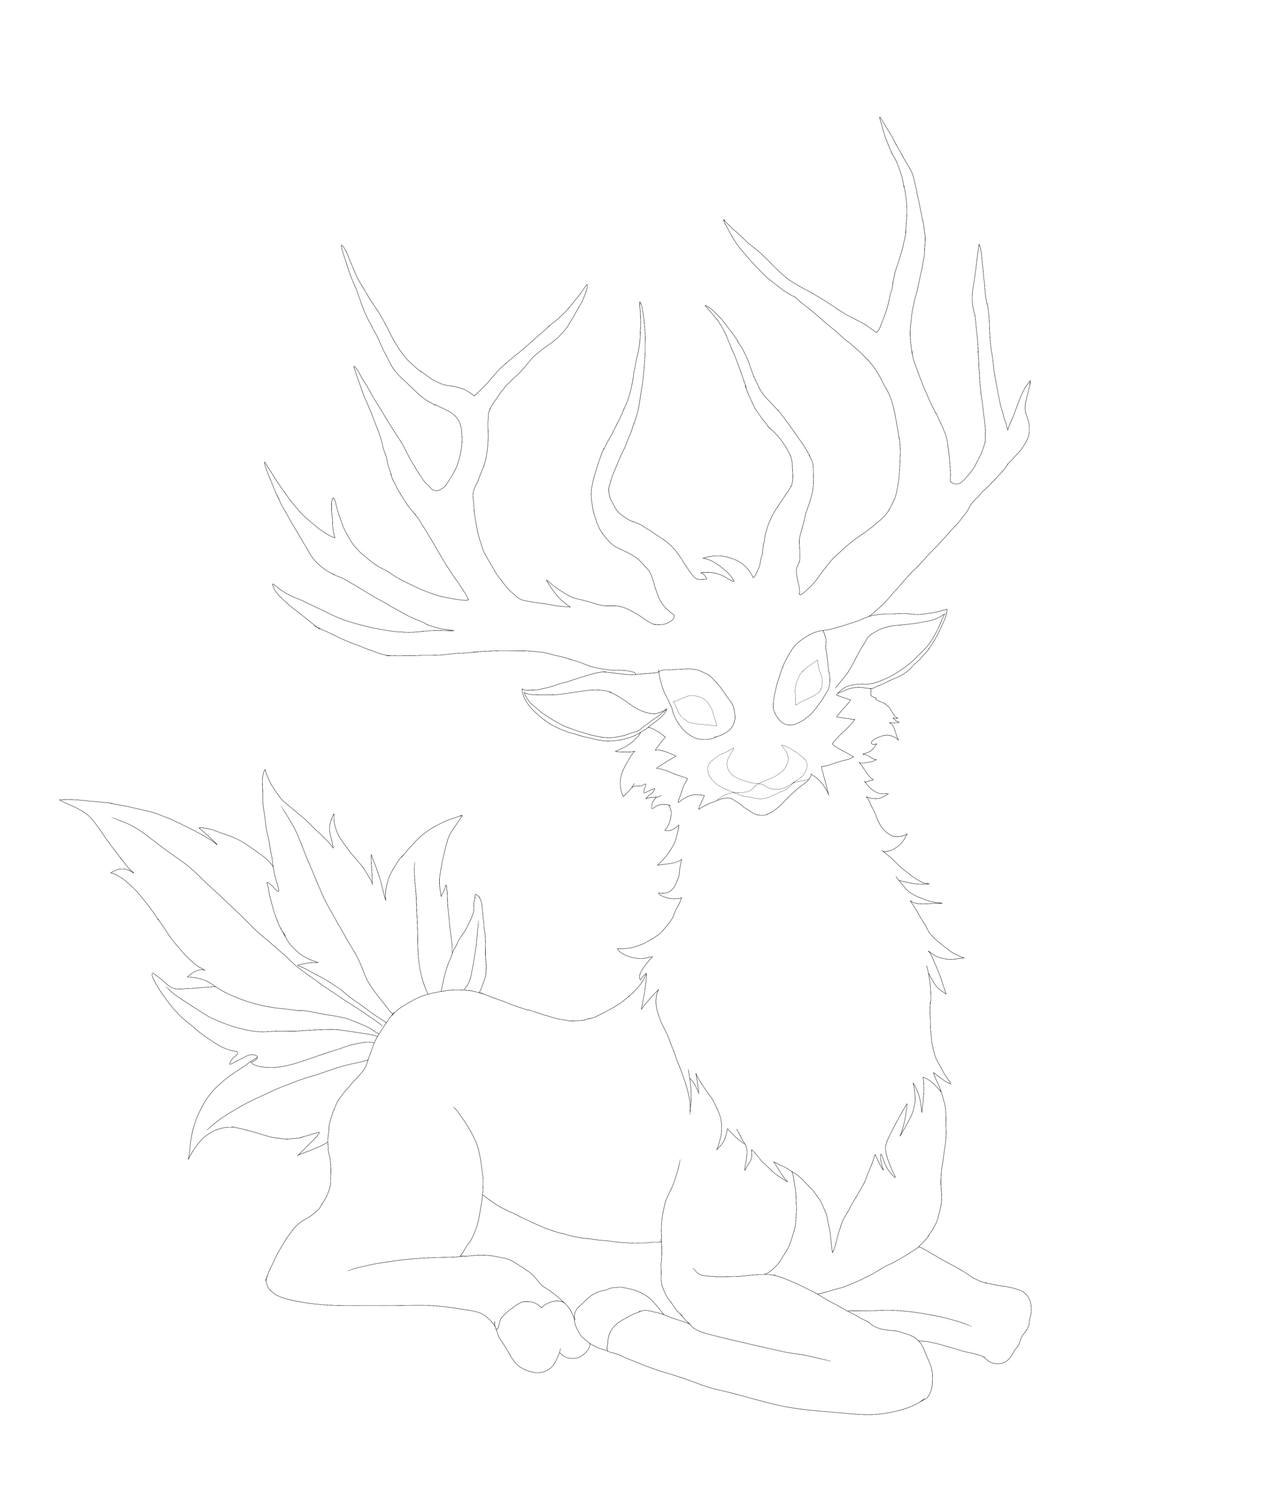
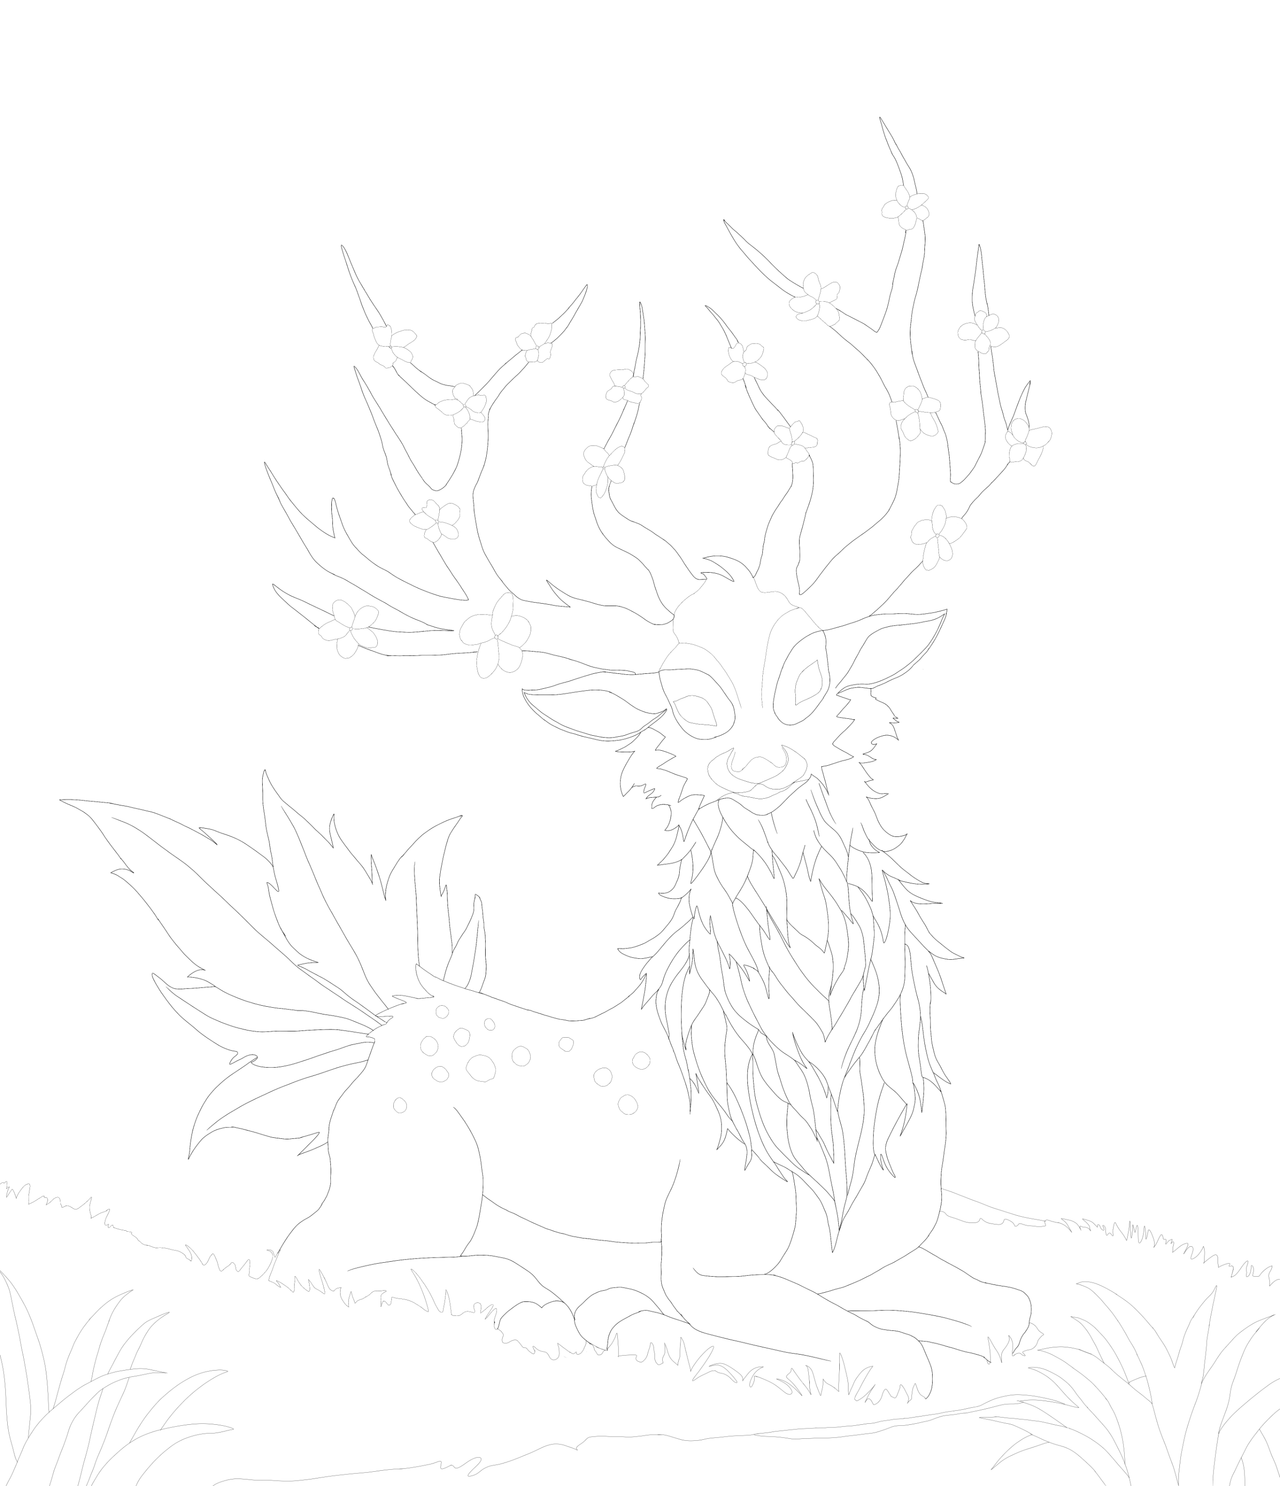
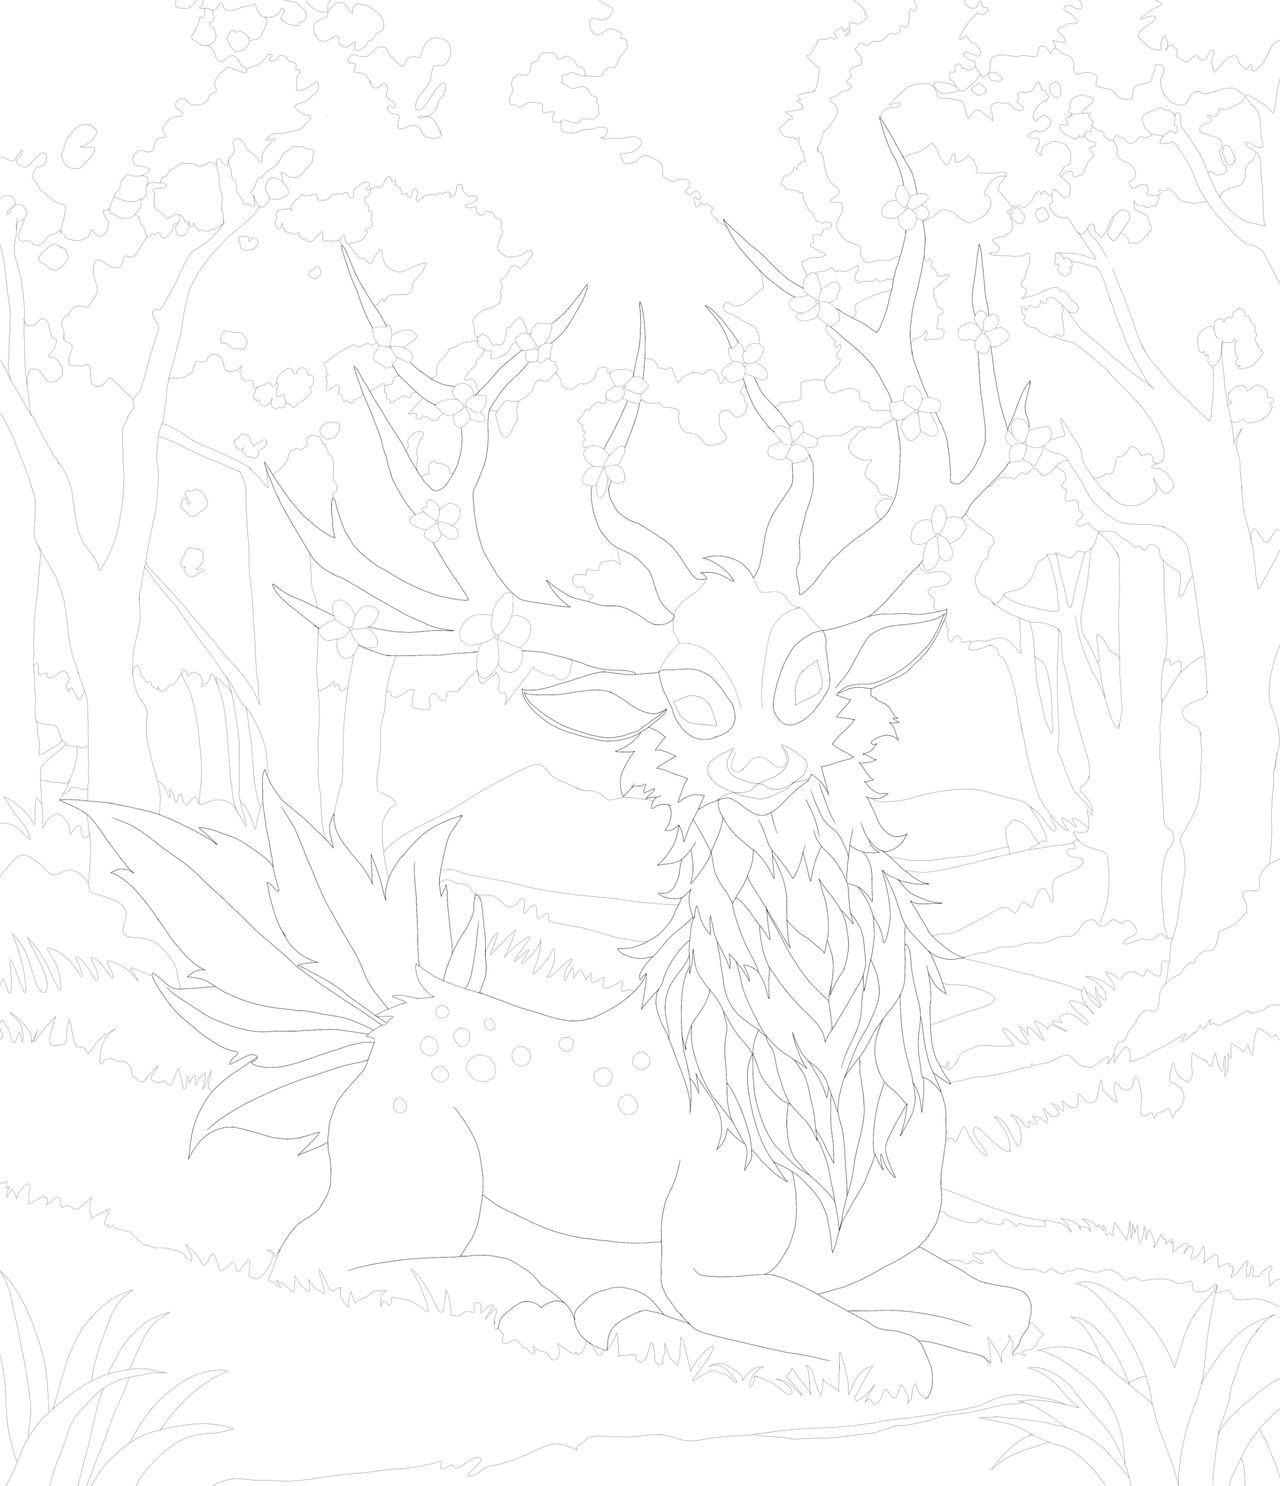
I started as usual by creating a new project, but this time using a resolution of 5000x6000 and a DPI of 500 to see how much my device could handle. For the character design, I chose to put Shinaara in a resting position in a central plane. I started by drawing the body, to which I then added the antlers and tail, and then included the details of the flowers and the tufts of fur on the chest.
Comencé como de costumbre creando un nuevo proyecto, pero esta vez utilizando una resolución de 5000x6000 y un DPI de 500 para ver cuánto podía aguantar mi dispositivo. Para el diseño del personaje, elegí poner a Shinaara en posición de descanso en un plano central. Empecé dibujando el cuerpo, al cual luego agregué la cornamenta y la cola, para posteriormente incluir los detalles de las flores y los mechones de pelaje del pecho.
 |
 |
 |
For the background I chose to create a grassy site with different elevations in the terrain and on each side of the background a few groups of trees that opened the way to a hill that was barely visible in the distance. Although it sounds unbelievable in words, most of it was improvised lines, which were gradually taking logic. As you can see in these images, the background is divided into three parts and it is not only to show you this way, but they are actually three different layers that later will have a differentiated treatment.
Para el fondo elegí crear un sitio cubierto de pasto con distintas elevaciones en el terreno y a cada lado del fondo unos grupos de árboles que abrían paso a una colina que apenas se veía a lo lejos. Aunque en palabras suena increíble, la mayor parte fueron trazos improvisados, los cuales iban tomando lógica poco a poco. Como podrán observar en estas imágenes, el fondo está dividido en tres partes y no solo es para mostrárselos así, sino que en realidad son tres capas distintas que más adelante tendrán un tratamiento diferenciado.
 |
 |
 |
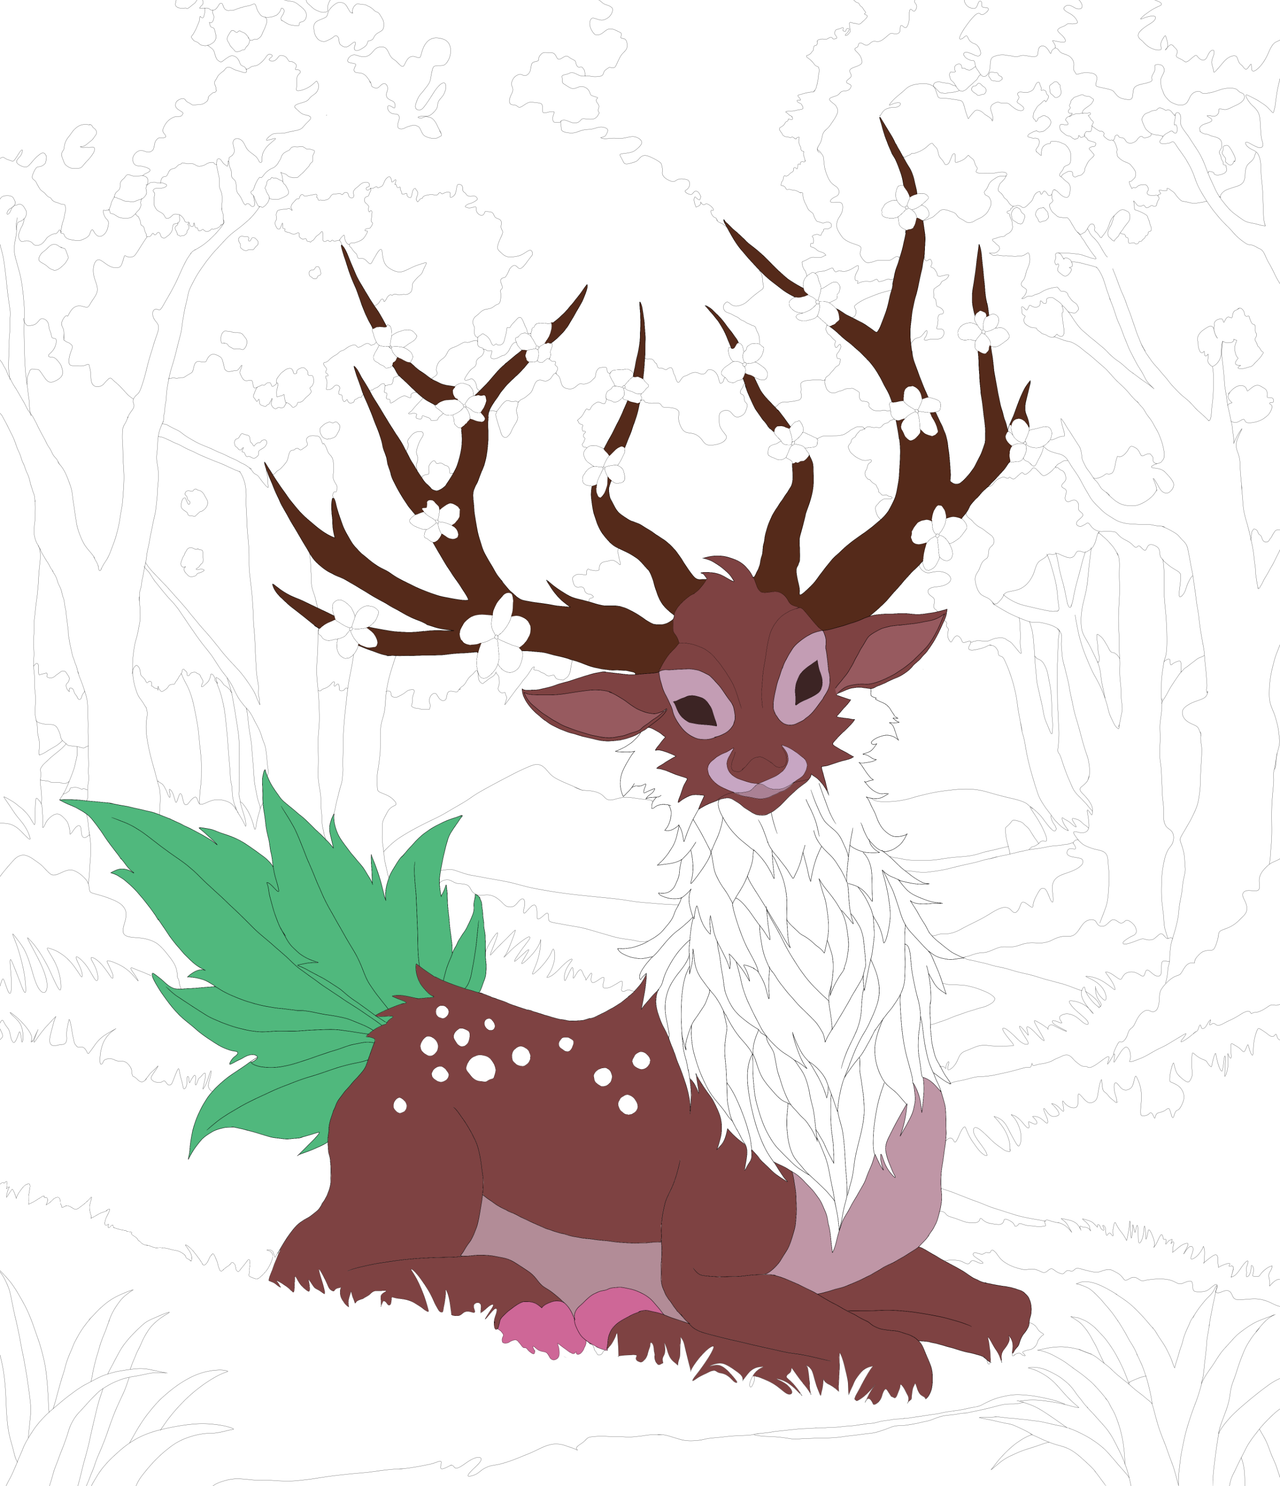
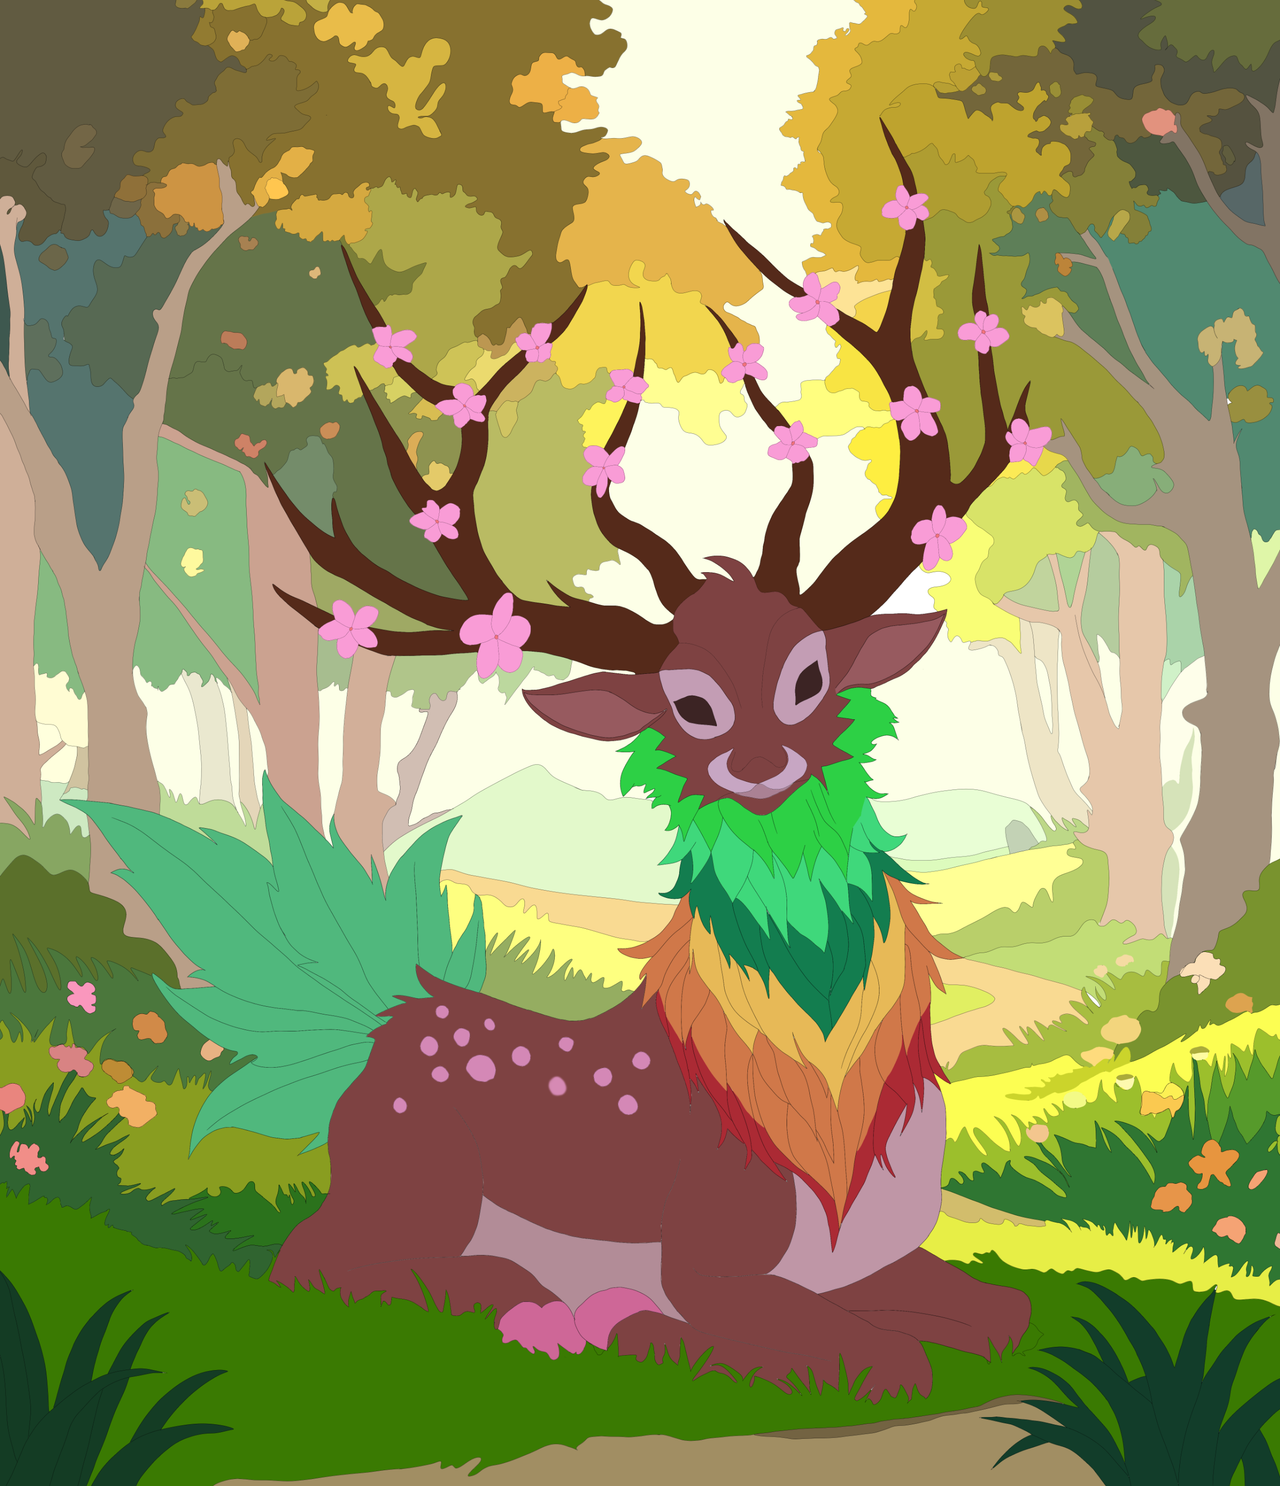
With the line art ready, I apply the first layers of color and, of course, I start with the focal point, which is the reindeer. I color the skin and, using the original drawing as a reference, I select this tone, but I darken it a little.
After the skin, the antlers, with a much darker tone, and then the tail, with a nice light green tone. Finally, the chest fur and here came the first problem. At no time did I notice that the original drawing had (x) amount of colored layers and at the time I thought it was a rainbow. In the end I had to figure out how to match some layers of colors, but I guess that's the fun of making a fan art.
Con el line art listo, paso a aplicar las primeras capas de color y, como no podía ser de otra forma, empiezo por el punto focal, el cual es el reno. Doy color a la piel y, utilizando el dibujo original como referencia, selecciono este tono, pero lo oscurezco un poco.
Luego de la piel, la cornamenta, con un tono mucho más oscuro, y seguidamente la cola, con un tono verde claro y agradable. Al final, el pelaje del pecho y aquí vino el primer problema. En ningún momento me fijé que el dibujo original tenía (x) cantidad de capas de colores y en su momento pensé que era un arcoíris. Al final tuve que ingeniármelas para que coincidieran algunas capas de colores, pero supongo que eso es lo divertido de hacer un fan art.
 |
 |
 |
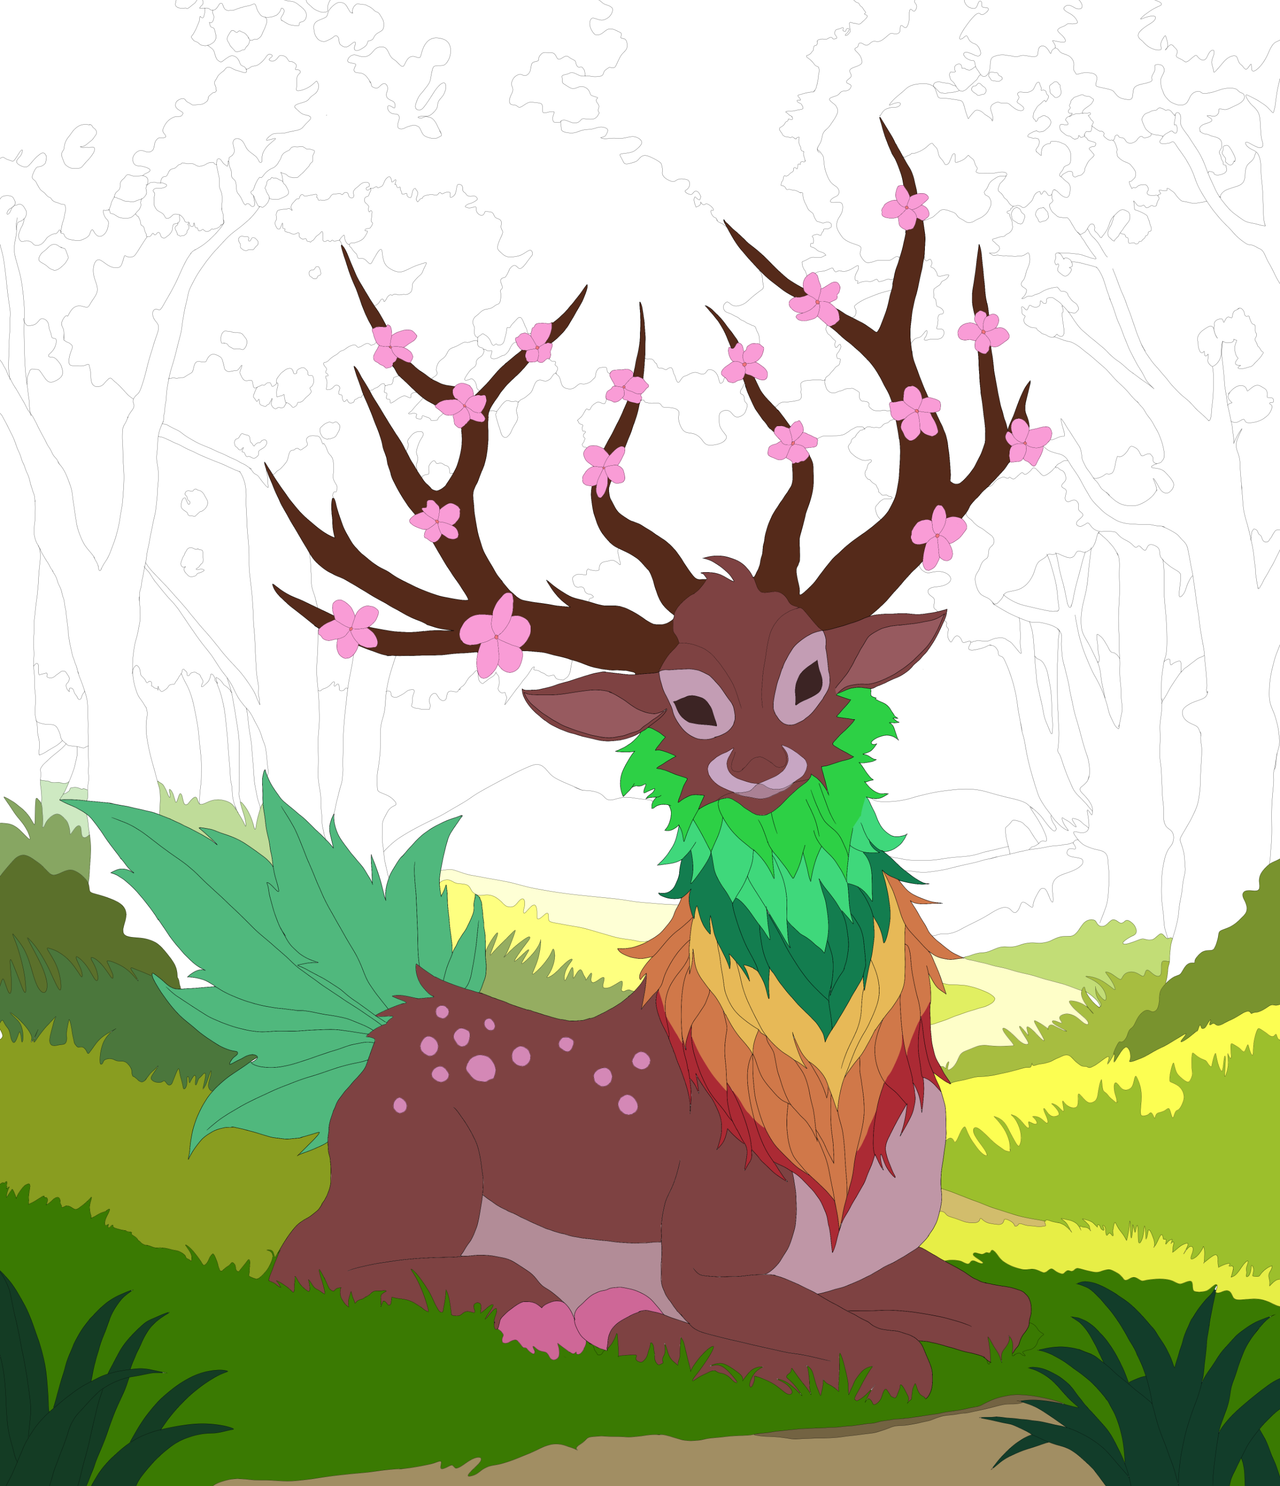
Finished with the reindeer, I moved on to the ground and then to the background. For the grass, I had the idea of transitioning parts of the ground from grass green to greenish yellow, using about 8 variations of the traditional grass green.
For the tree trunk I wanted to use dark carmelite, but it was already present in the antlers, so I opted to change it to a light carmelite or stick carmelite, as I like to call it. I had forgotten to mention it, but for the foliage of the trees I used a type of spotted pattern, very similar to military camouflage, which I colored in this step, using various types of greens that were lighter on the outside of the foliage, but darker on the inside, giving a sense of depth.
Terminado con el reno, pasé al suelo y posteriormente al fondo. En el caso del pasto, tenía la idea de hacer una transición por partes del terreno que pasase de un verde hierba a un amarillo verdoso, utilizando alrededor de 8 variaciones del verde pasto tradicional.
Para el tronco de los árboles quería utilizar carmelita oscuro, pero ya estaba presente en la cornamenta, así que opté por cambiarlo a un carmelita claro o carmelita palo, como me gusta llamarlo. Se me había olvidado mencionarlo, pero para el follaje de los árboles utilicé un tipo de patrón por manchas, muy semejante al camuflaje militar, al cual le di color en este paso, utilizando varios tipos de verdes que eran más claros en la parte exterior del follaje, pero más oscuros en el interior, dando sensación de profundidad.
 |
 |
 |
 |
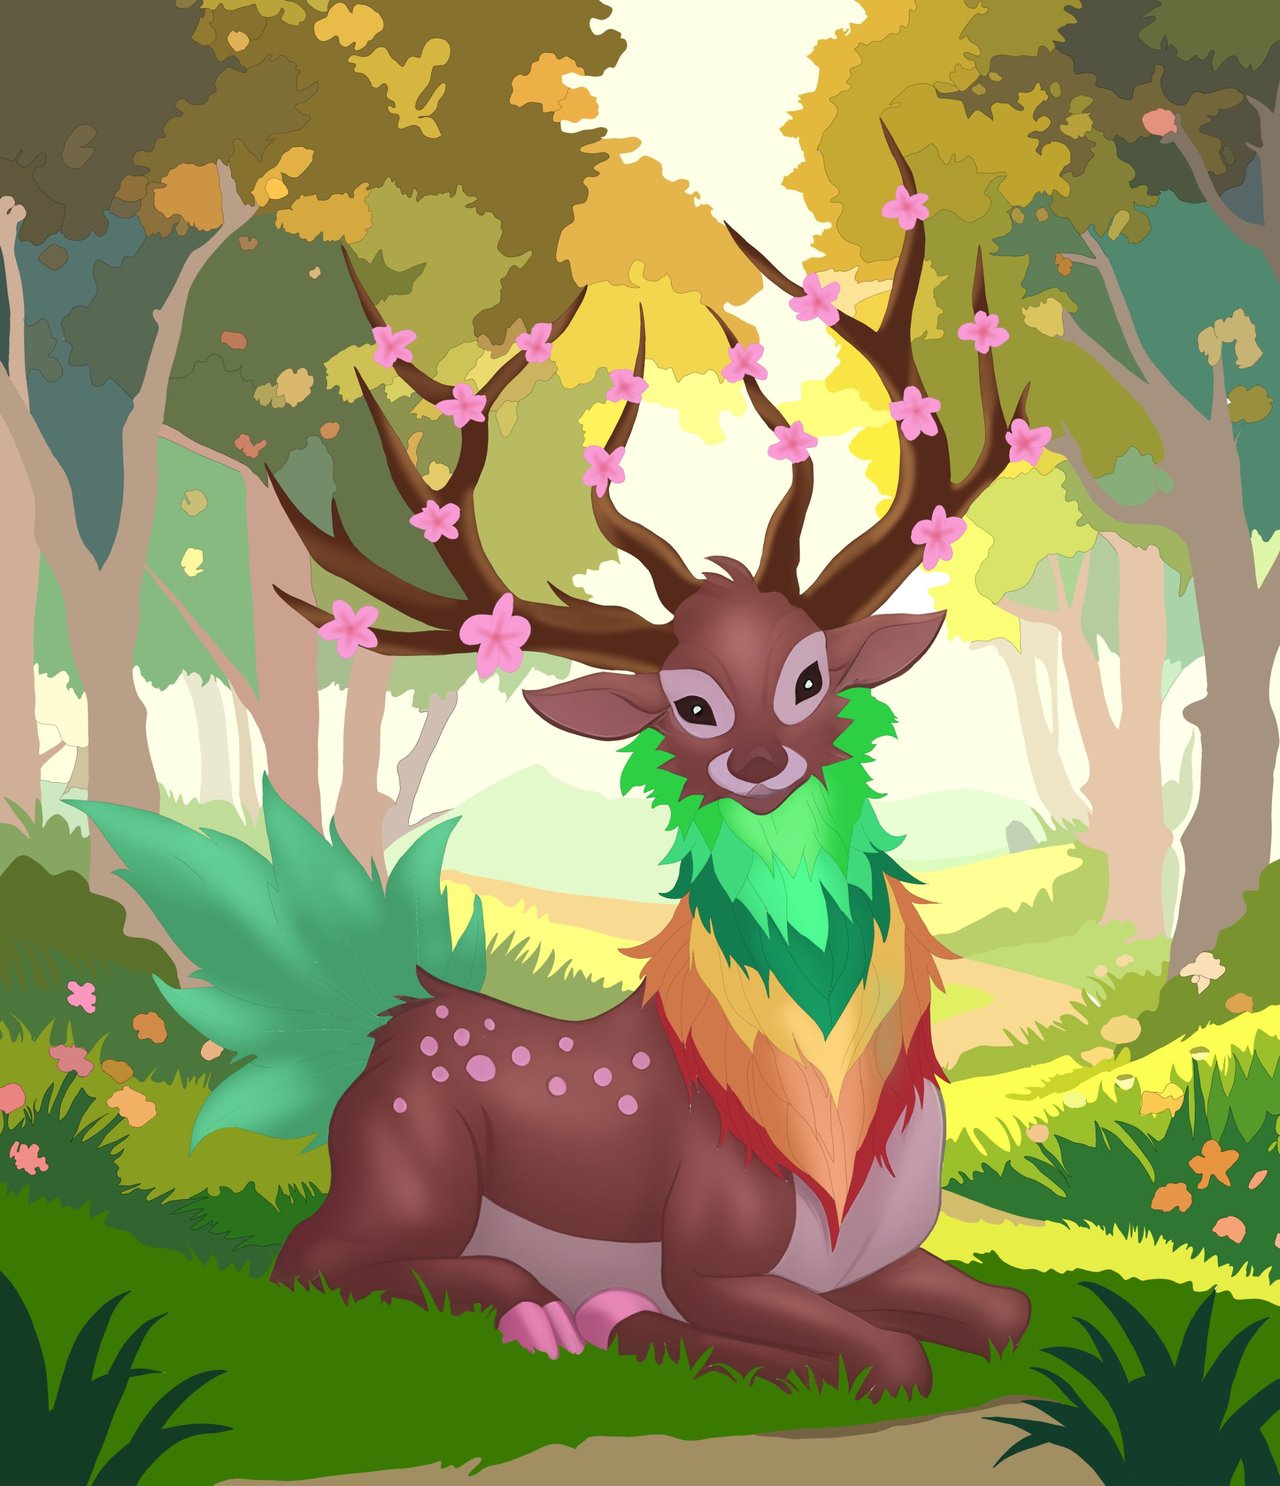
Now I just need to lighten the reindeer a bit and apply the shadows. In a new blank layer, I use the tool to select sections and touch the reindeer's body and face. With a soft airbrush and a variation of the skin color much lighter than the original. I make brush strokes in the areas of the forehead, back, thigh, shoulder and the top of the legs. On the tail and antlers I did something similar, but I had to change the selected region so it wouldn't blend in with the area I had worked on.
While I was at it, I also give some lighting in the central part of the neck fur and use a pearlescent color to make Shinaara's eyes glow. For the shading, I did the opposite option and, darkening the original color, I marked the joint sections, bordered the entire tail and drew a typical center line of the leaves and darkened the edge and outline of the chest fur tufts.
Ahora solo quedaría iluminar un poco el reno y aplicar las sombras. En una nueva capa en blanco, utilizo la herramienta para seleccionar secciones y toco el cuerpo del reno y su cara. Con un pincel aerógrafo suave y una variación del color de la piel mucho más clara que la original. Doy pinceladas en las áreas de la frente, el lomo, muslo, paleta y la parte superior de las patas. En la cola y cornamenta hice algo parecido, pero tuve que cambiar la región seleccionada para que no se mezclara con la zona en que había trabajado.
Ya que estaba en ello, también doy un poco de iluminación en la parte central del pelaje del cuello y utilizo un color perlado para hacer el brillo de los ojos de Shinaara. En el caso del sombreado, hice la opción opuesta y, oscureciendo el color original, marqué las secciones de las articulaciones, bordeé toda la cola y dibujé una línea central típica de las hojas y oscurecí el borde y contorno de los mechones del pelaje del pecho.
 |
 |
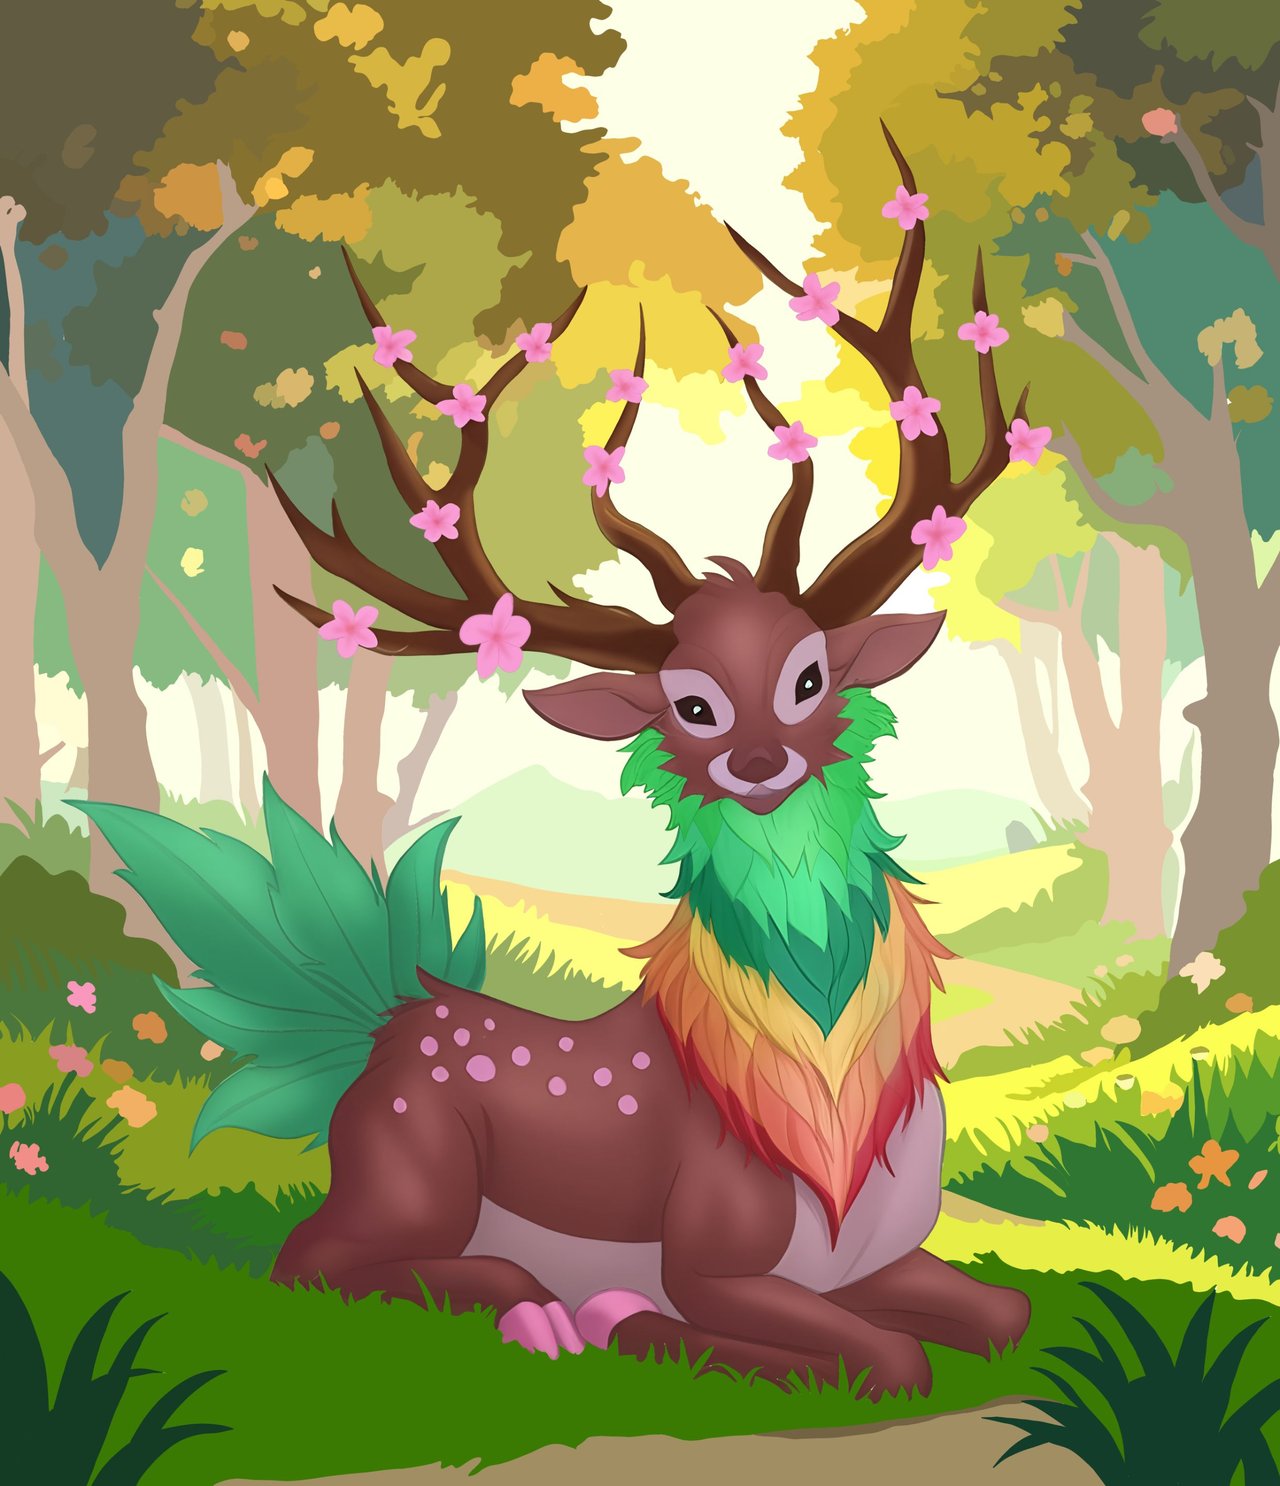 |
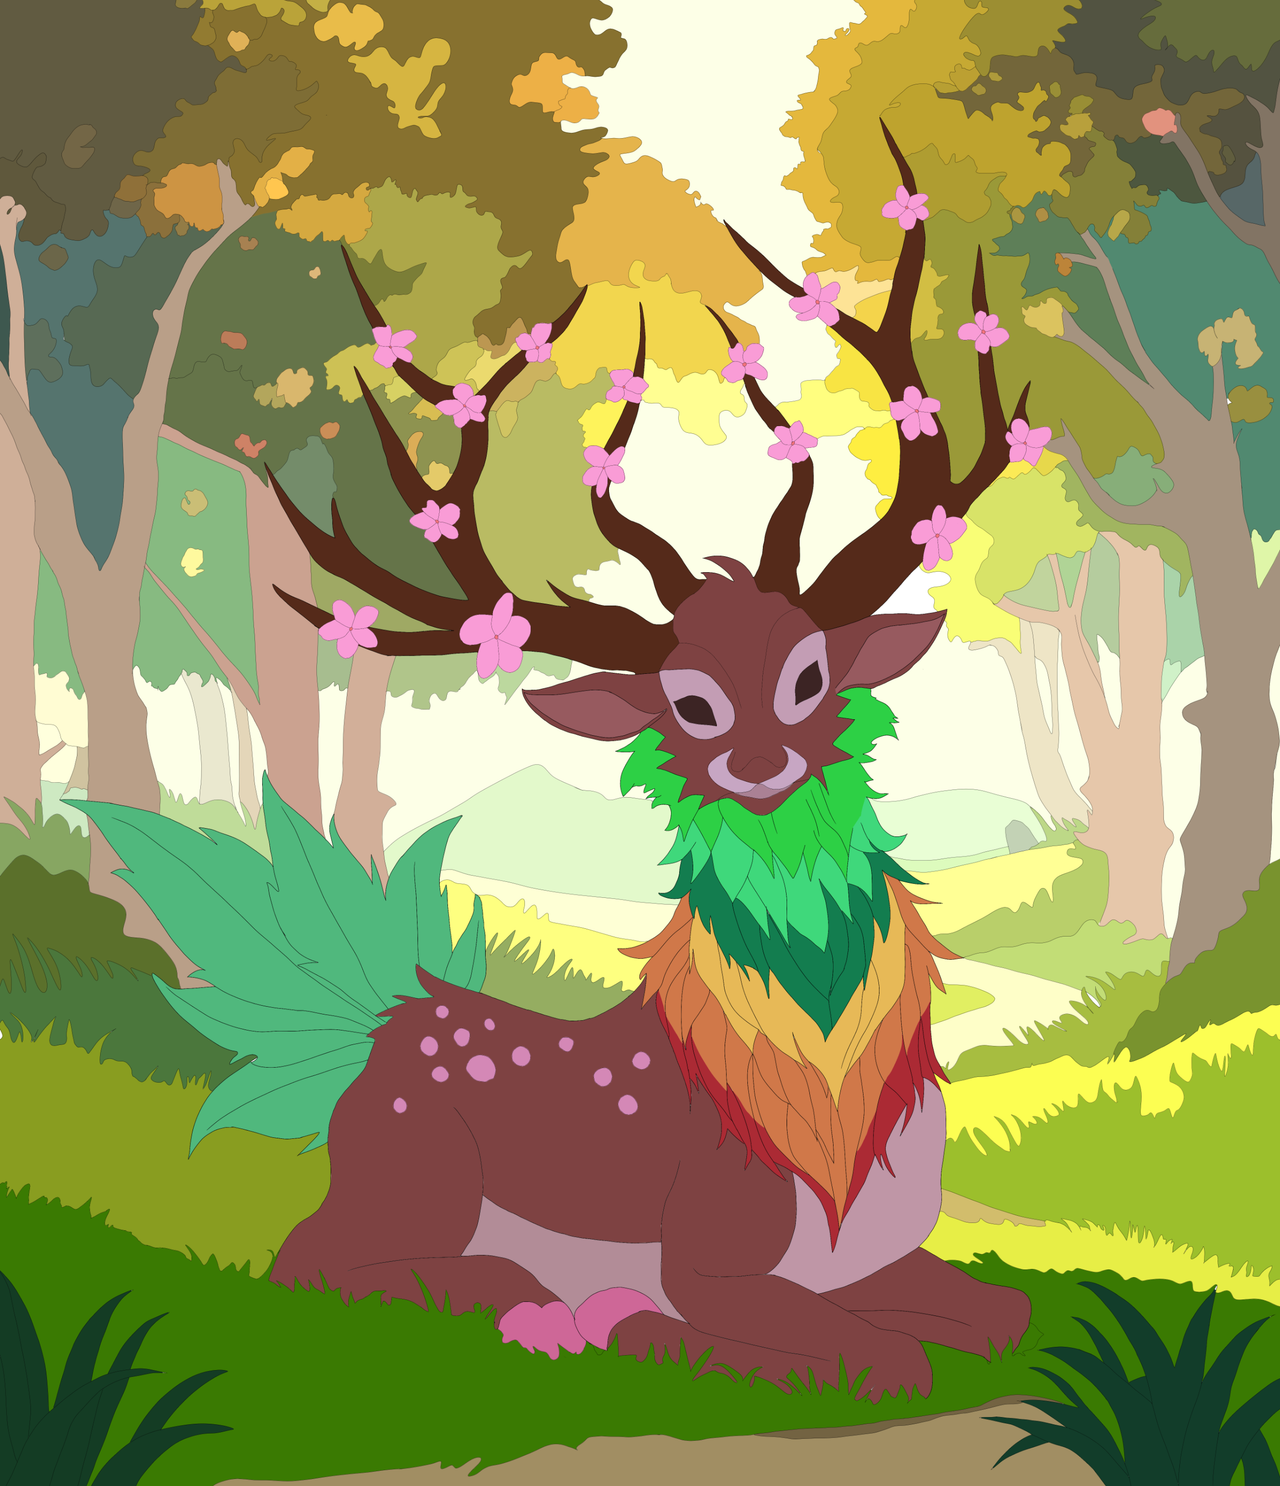
In the case of the grass on the ground and the background, I didn't want to get too complicated because I had taken too much time working on this drawing, so I opted to do two things. To the grass I added some relief using a collection of personal brushes, which allow me to create random shapes that, on a small scale and with opacity, give that volumetric sensation.
Remember that the background was divided into several layers? Well, what I did was to use the Gaussian Blur filter with strength 4 on the tree trunks and strength 8 on the foliage to create that blurred look all over the background, which not only gives prominence to the central character, but saved me a lot of work.
En el caso del pasto del suelo y el fondo, no quise complicarme mucho porque me había tomado demasiado tiempo trabajando en este dibujo, así que opté por hacer dos cosas. Al pasto le agregué algo de relieve utilizando una colección de pinceles personales, los cuales me permiten crear formas aleatorias que, a pequeña escala y con opacidad, dan esa sensación volumétrica.
¿Recuerdan que el fondo estaba dividido en varias capas? Pues lo que hice fue utilizar el filtro de Desenfoque gaussiano con fuerza 4 en los troncos de los árboles y fuerza 8 en el follaje para crear ese aspecto borroso en todo el fondo, el cual no solo le da protagonismo al personaje central, sino que me ahorró un montón de trabajo.
 |
 |
 |
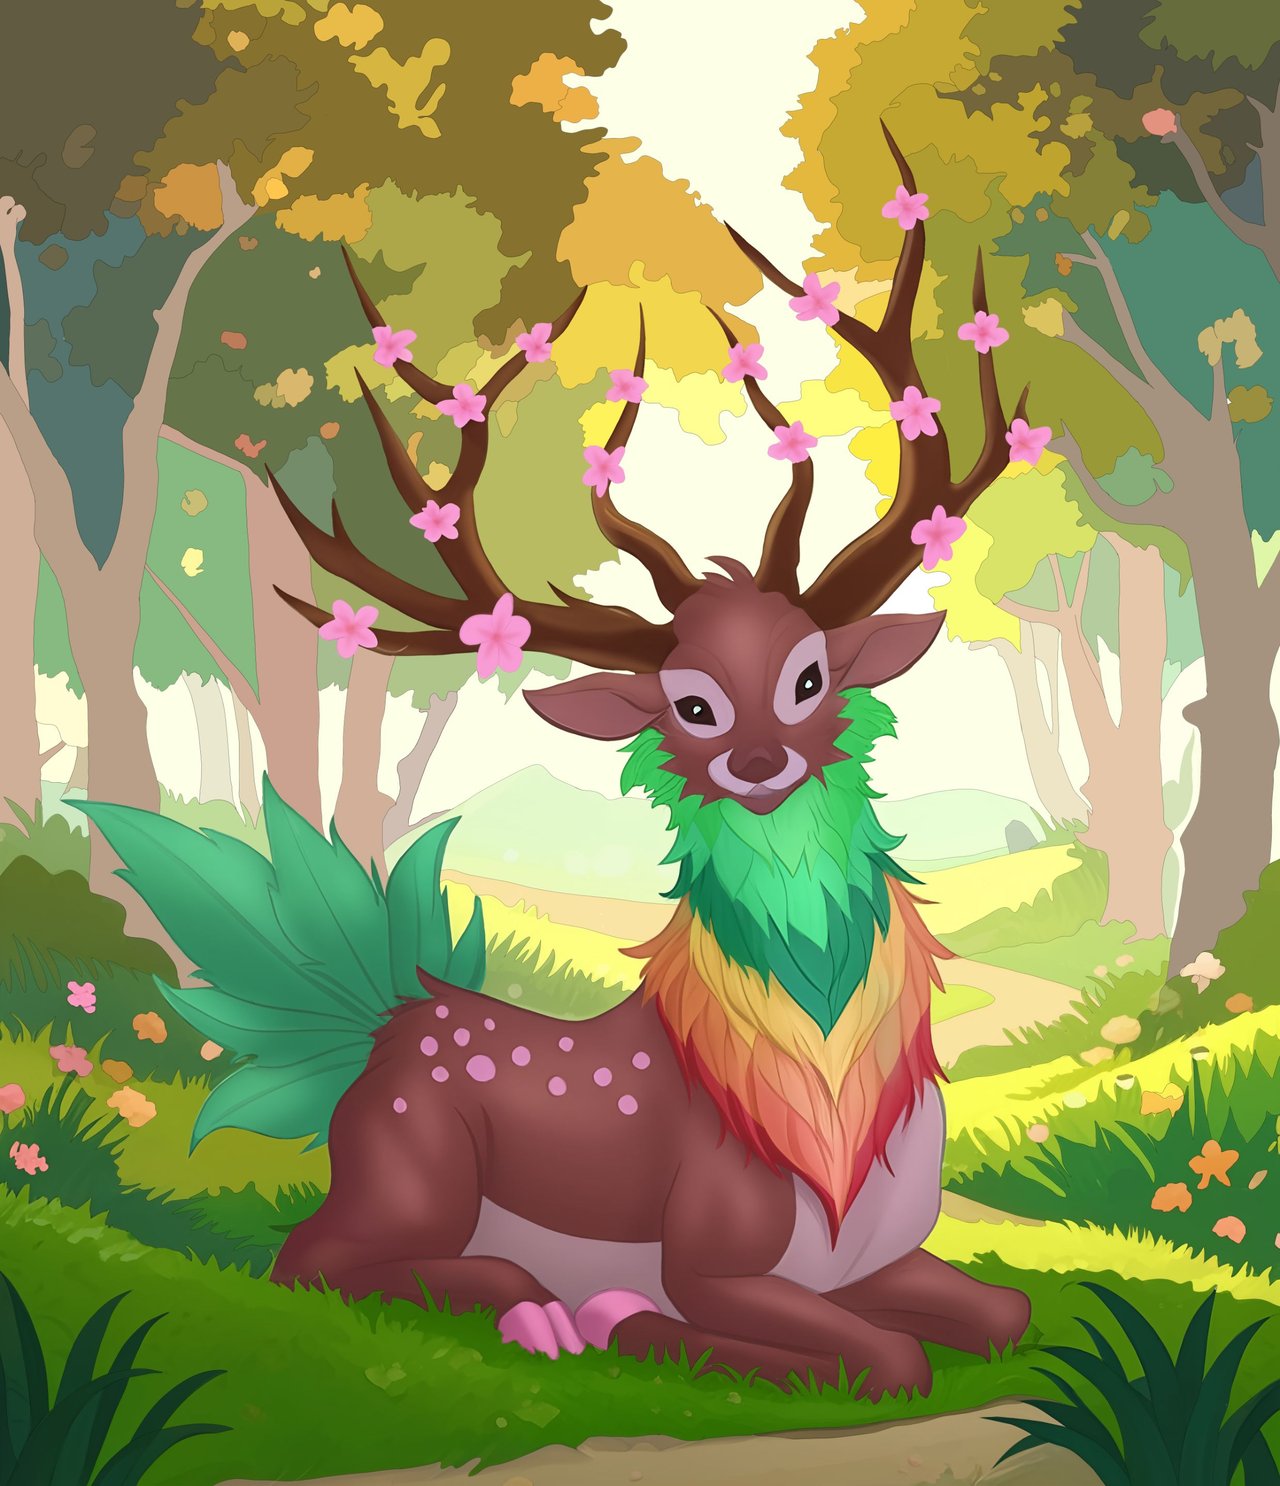
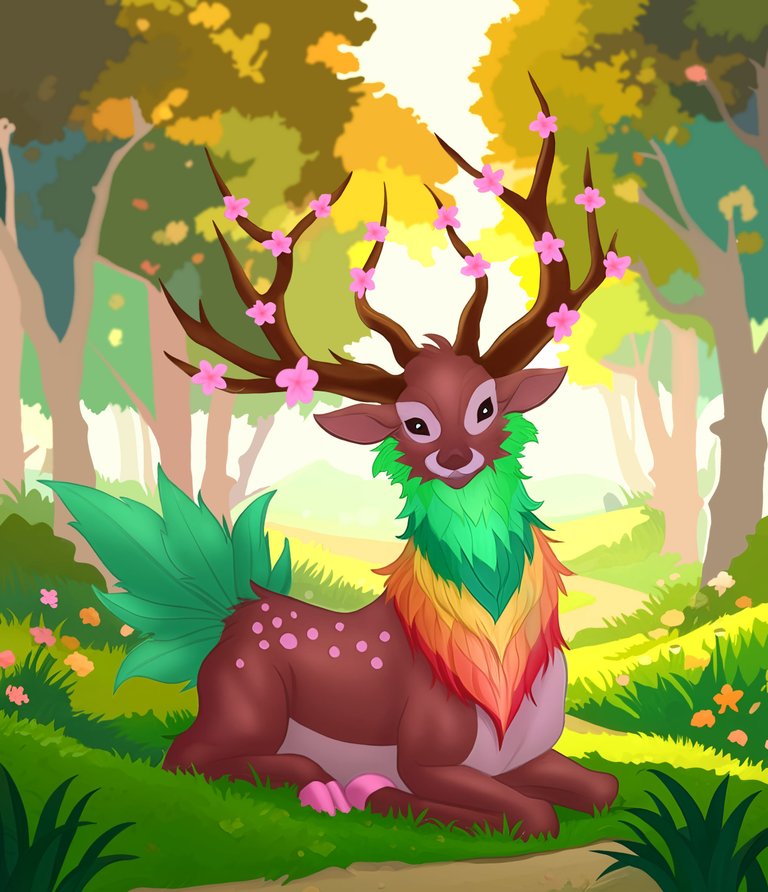
Finished Drawing // Dibujo Terminado
Finally, I exported the image in PNG format and from the gallery of my phone I increased the contrast to 10% and the saturation to 15%, obtaining these vibrant colors that I show below.
PS. The cover is made in Canvas and I applied filters to the image that sometimes give it a more unreal and striking finish than it really is.
Ya para terminar exporté la imagen en formato PNG y desde la galería de mi teléfono le subí el contraste a 10% y la saturación a 15%, obteniendo estos colores vibrantes que les muestro a continuación.
PD. El cover está hecho en Canvas y a la imagen le apliqué filtros que a veces le dan un acabado más irreal y llamativo de lo que es en realidad.

Credits and Resources // Créditos y Recursos
Cover page created in Canva
Translated by DeepL
Drawn using MediBang Paint
Image edited with my Samsung Galaxy A53

Cover page created in Canva
Translated by DeepL
Drawn using MediBang Paint
Image edited with my Samsung Galaxy A53
https://www.reddit.com/r/u_edeyglezsosa/comments/1k14hd8/shinaaras_favorite_place_holozing_fan_art/
The rewards earned on this comment will go directly to the people( @edeyglezsosa ) sharing the post on Reddit as long as they are registered with @poshtoken. Sign up at https://hiveposh.com. Otherwise, rewards go to the author of the blog post.