Splinterlands Battle Of The Week: Kraken The Wall

The Ruleset

- Rulesets - Up to Eleven & Heavy Metal
- Mana Cap - 20
- Active Elements -


Here's my starting lineup
Summoner: Kelya Frendul
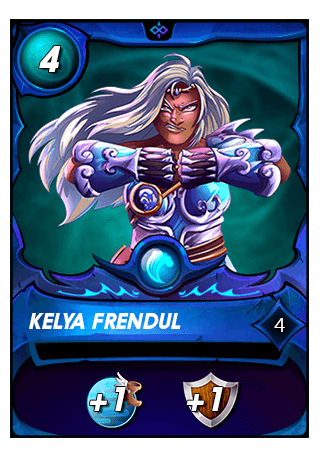
- With the ruleset and element pick that I got first summoner that popped in mind was Mylor Crowling but sadly my rental had just expired and therefore I could not play him
- So I settled with Kelya Frendul as Water element had most armored monster as Heavy Metal required
1st Position: The Kraken
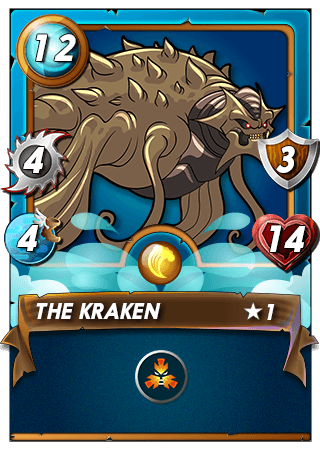
- The Kraken was my main tanks and damage dealer for this battle
- Main reason I like The Kraken here a lot is his Taunt ability and high hp
- The Kraken also had great amount of melee damage which was necessary because after playing him I only had 4 mana left
- Taunt - Draws the attacks of enemy units. Does not affect Reach, Scattershot, Wingbreak, or enemy units in the first position
2nd Position: Hardy Stonefish
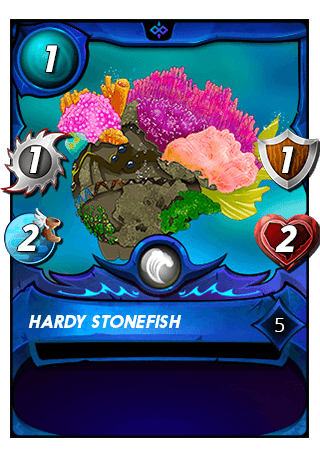
- Hardy Stonefish was here just because I picked him last and I only had 1 mana left to make a choice
- Just maybe he can get a single attack off or tank couple of attacks maybe it makes a difference better play him than not play any monster at all
3rd Position: Crustacean King
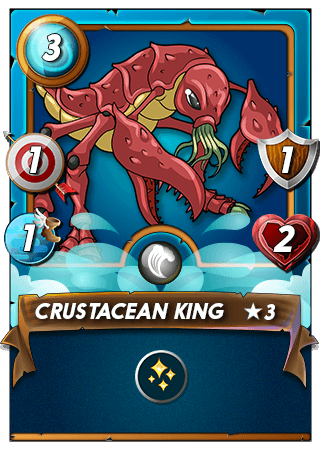
- Last but not least was my first and only healer for this team
- Crustacean King just here to help The Kraken stay alive and deal all the damage
- As the mana was quite low hopefully my enemy plays a lot of low damage monster which would allow me to out heal him for at best get to a very slow bleed
- Tank Heal - Each round, restores 1/3 of max health (rounded down) to the allied unit in the first position

Starting board
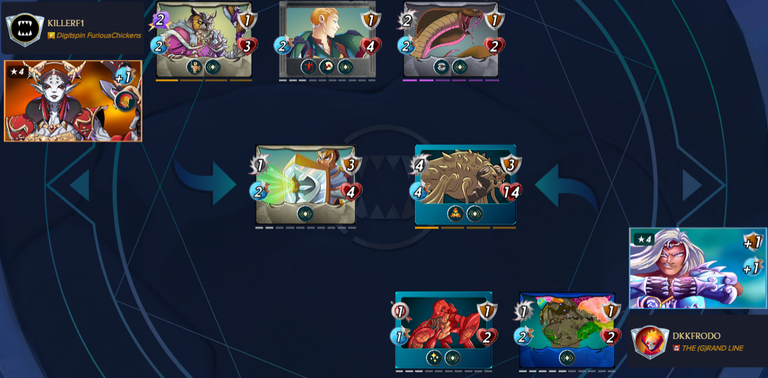
- The starting board was quite promising
- Even tho my enemy played a damage heavy team his monsters very all quite low hp
- If I manage to hit all of my Kraken attacks the battle should be secured
- But my predictions could still be off by a mile so lets start the battle and have a look

Here's how the battle went
1st & 2nd Round
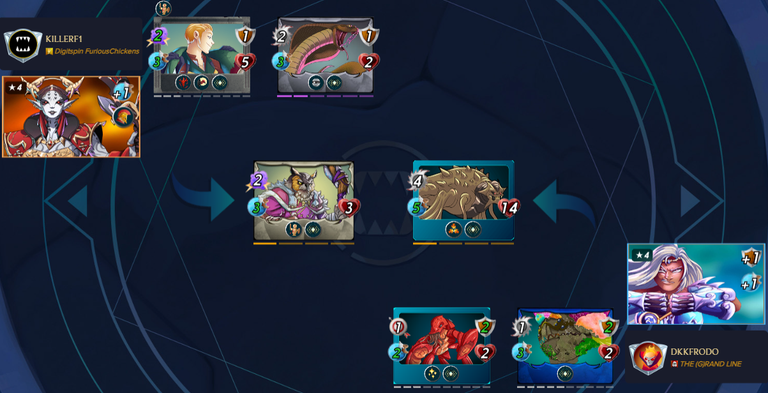
- After first two rounds my enemy had lost his first monster and was about to lose another one in the start of the next round
- After his next monster falls I am going to out heal all of my enemies damage which would secure me the victory
- Lets keep watching and find out how fast I managed to get to the end of the match
3rd Round
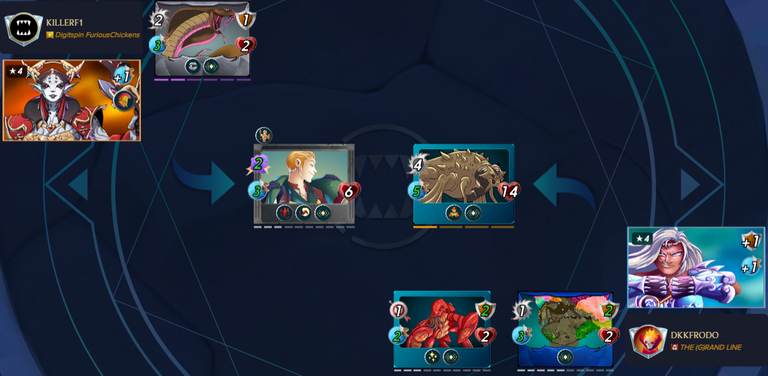
- 3nd Round came and went
- I managed to take down his second monster which 100% secured me the victory in this battle
- Now it is just a matter of time but lets make a one more stop when I finally took down his Helmet Kharafax
4th & 5th Round
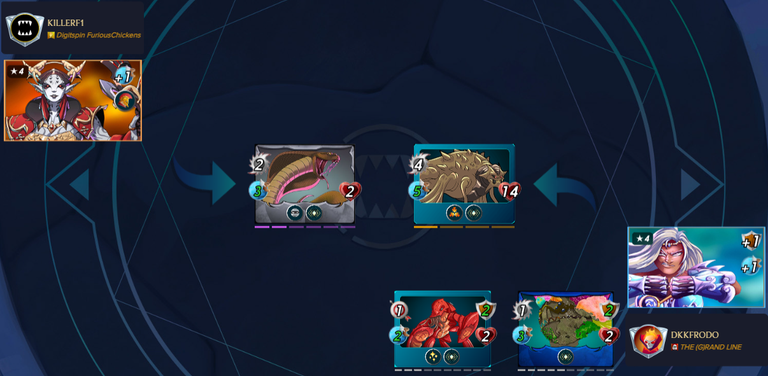
- It took me 2 round to take down my enemies Helmet Kharafax as he had rack up some great hp with Scavenger from the start of the battle
- Now I just needed to wait for the start of the next and hopefully final round and then face my victory
6th Round

- It took me 1 attack to kill my enemies last standing monster
- After his Uraeus had fallen I took the victory
- Battle Replay Link

Summary
- This battle was definitely heavily one sided but still fun to watch
- The strategy to take away from this battle is the basic Taunt and Tank Heal ability combo
- Also as all of my monsters survived the whole battle this match is a great example what kind of battle you should aim for in the survival mode in Splinterlands
- If you also would like to hop on the Splinterlands train feel free to use my Referral

Thanks for reading and thanks for all the upvotes, reblogs, comments and follows. And till the next challenge, KEEP BATTLING!
0
0
0.000
Thanks for sharing! - @underlock
