Splinterlands Art Contest // Scrunchies - Merdaali Guardian
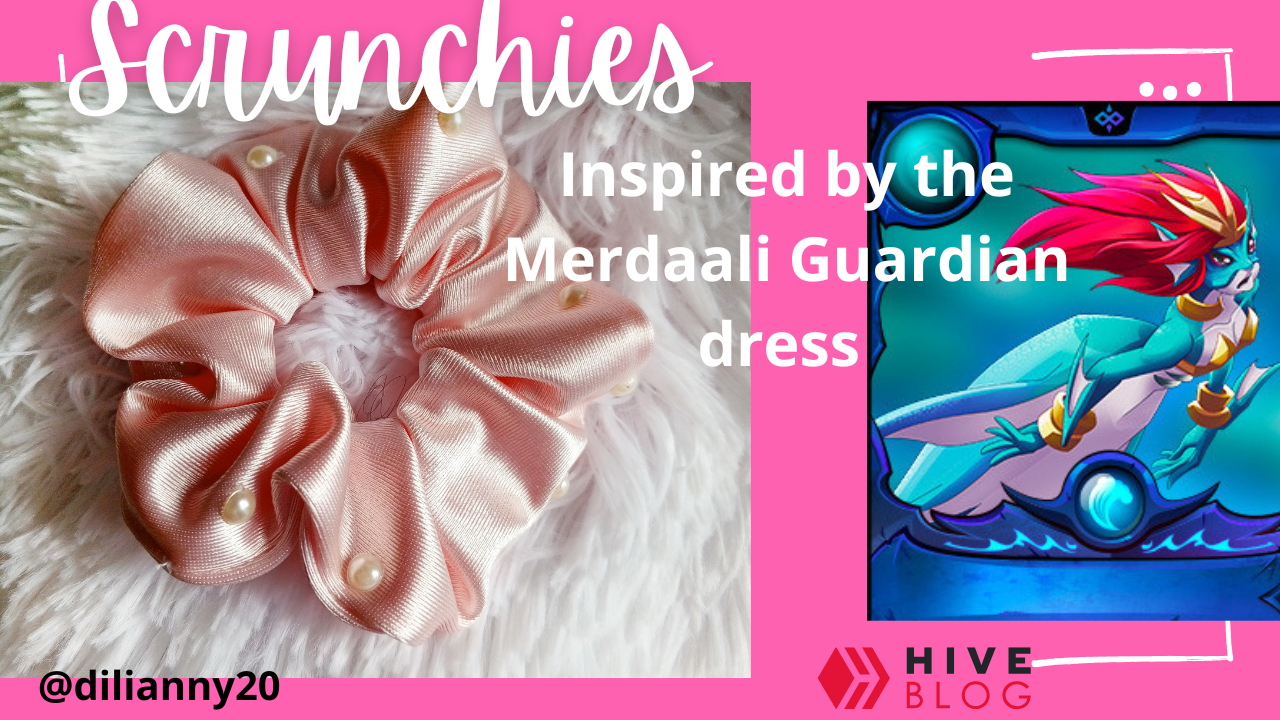
Hello friends of Hive, on this occasion I am pleased to share with you my participation in the Splinterlands Art challenge. The truth is I feel very happy because this ponytail is in fashion today, and the part of Guardian Merdaali's dress is the color of the scrunchie precisely for that reason, it was the inspiration for this creation.
Hola amigos de Hive, en esta oportunidad me complace compartir xon ustedes mi participación en el reto de Arte de splinterlands , la verdad me siento muy feliz porque wsta coleta esta de moda hoy en dia, y la parte del vestido de la guardian Merdaali es del color de la scrunchie precisame por eso, fue la inspiración para esta creación.
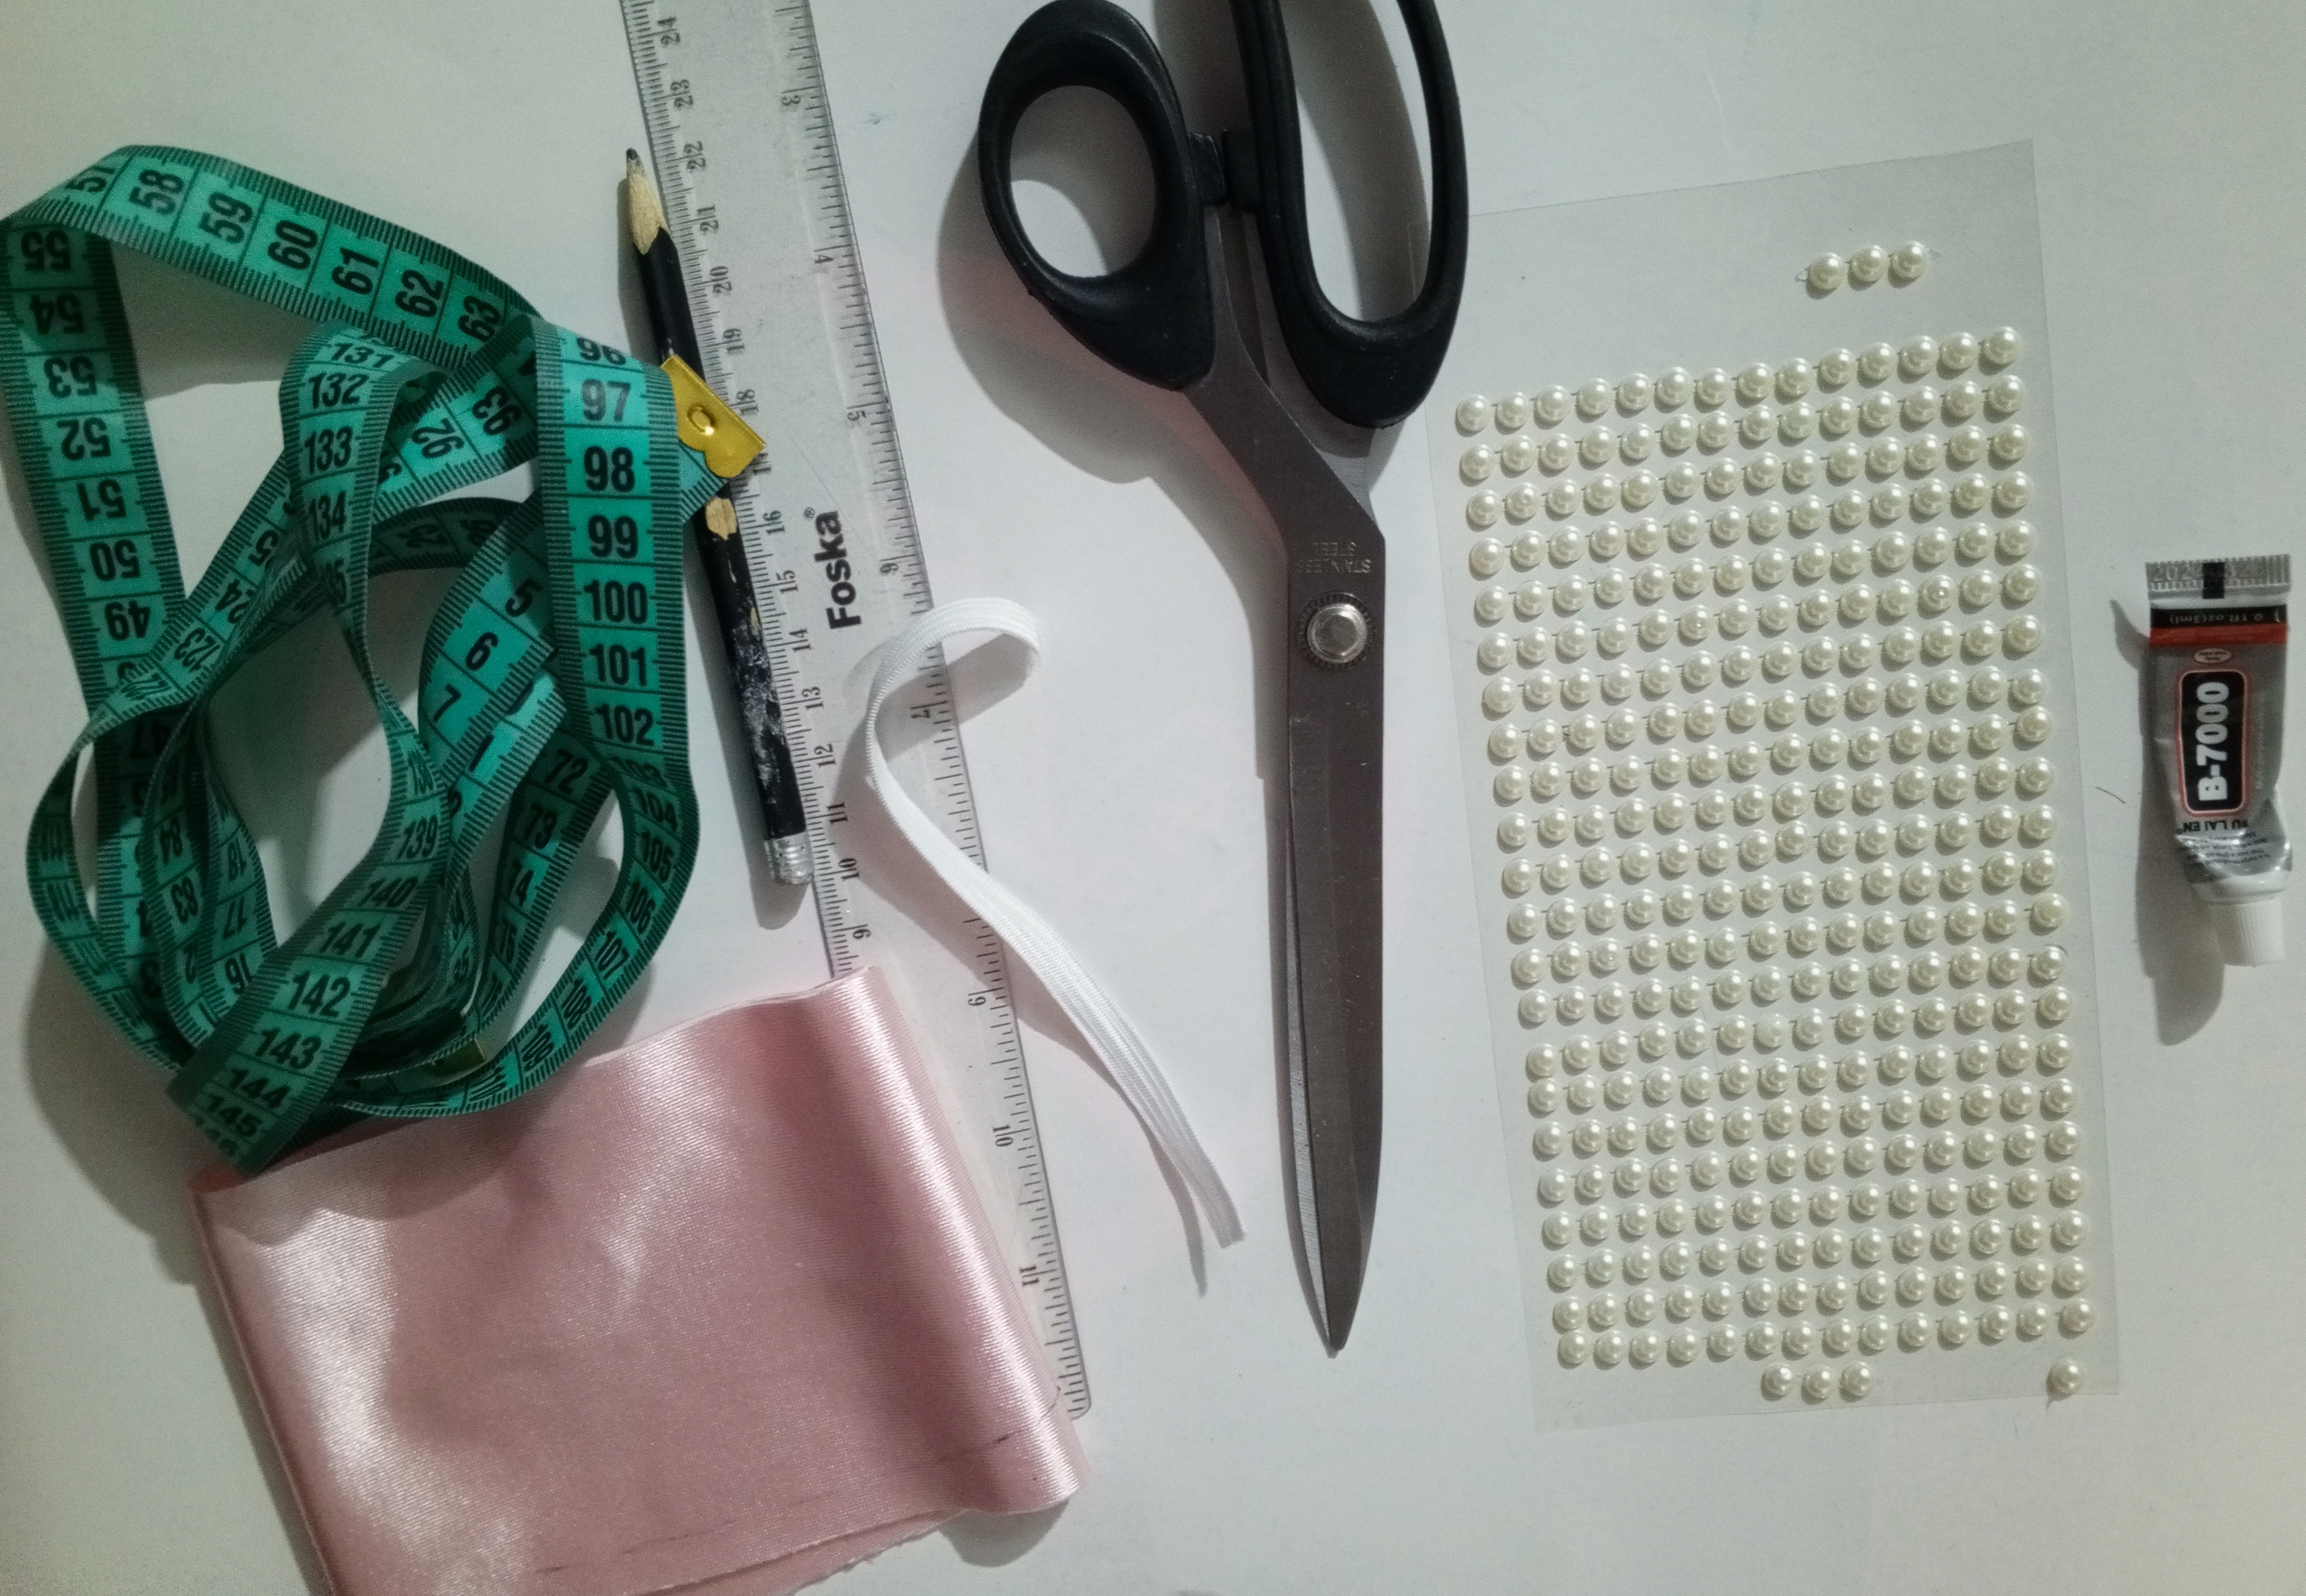
Materiales que utilicé.
Materials I used.
| Tijera | Cartulina blanca |
|---|---|
| Lápiz | Regla 📏 |
| Cinta métrica | Cinta elástica |
| Tela de satín | Piedras blancas |
| Pega de tela | Hilo y máquina de coser 🧵 |
Scissors White cardboard Pencil Ruler 📏 Tape measure Elastic tape Satin cloth White stones Fabric glue Thread and sewing machine 🧵
Pasos.
Steps.
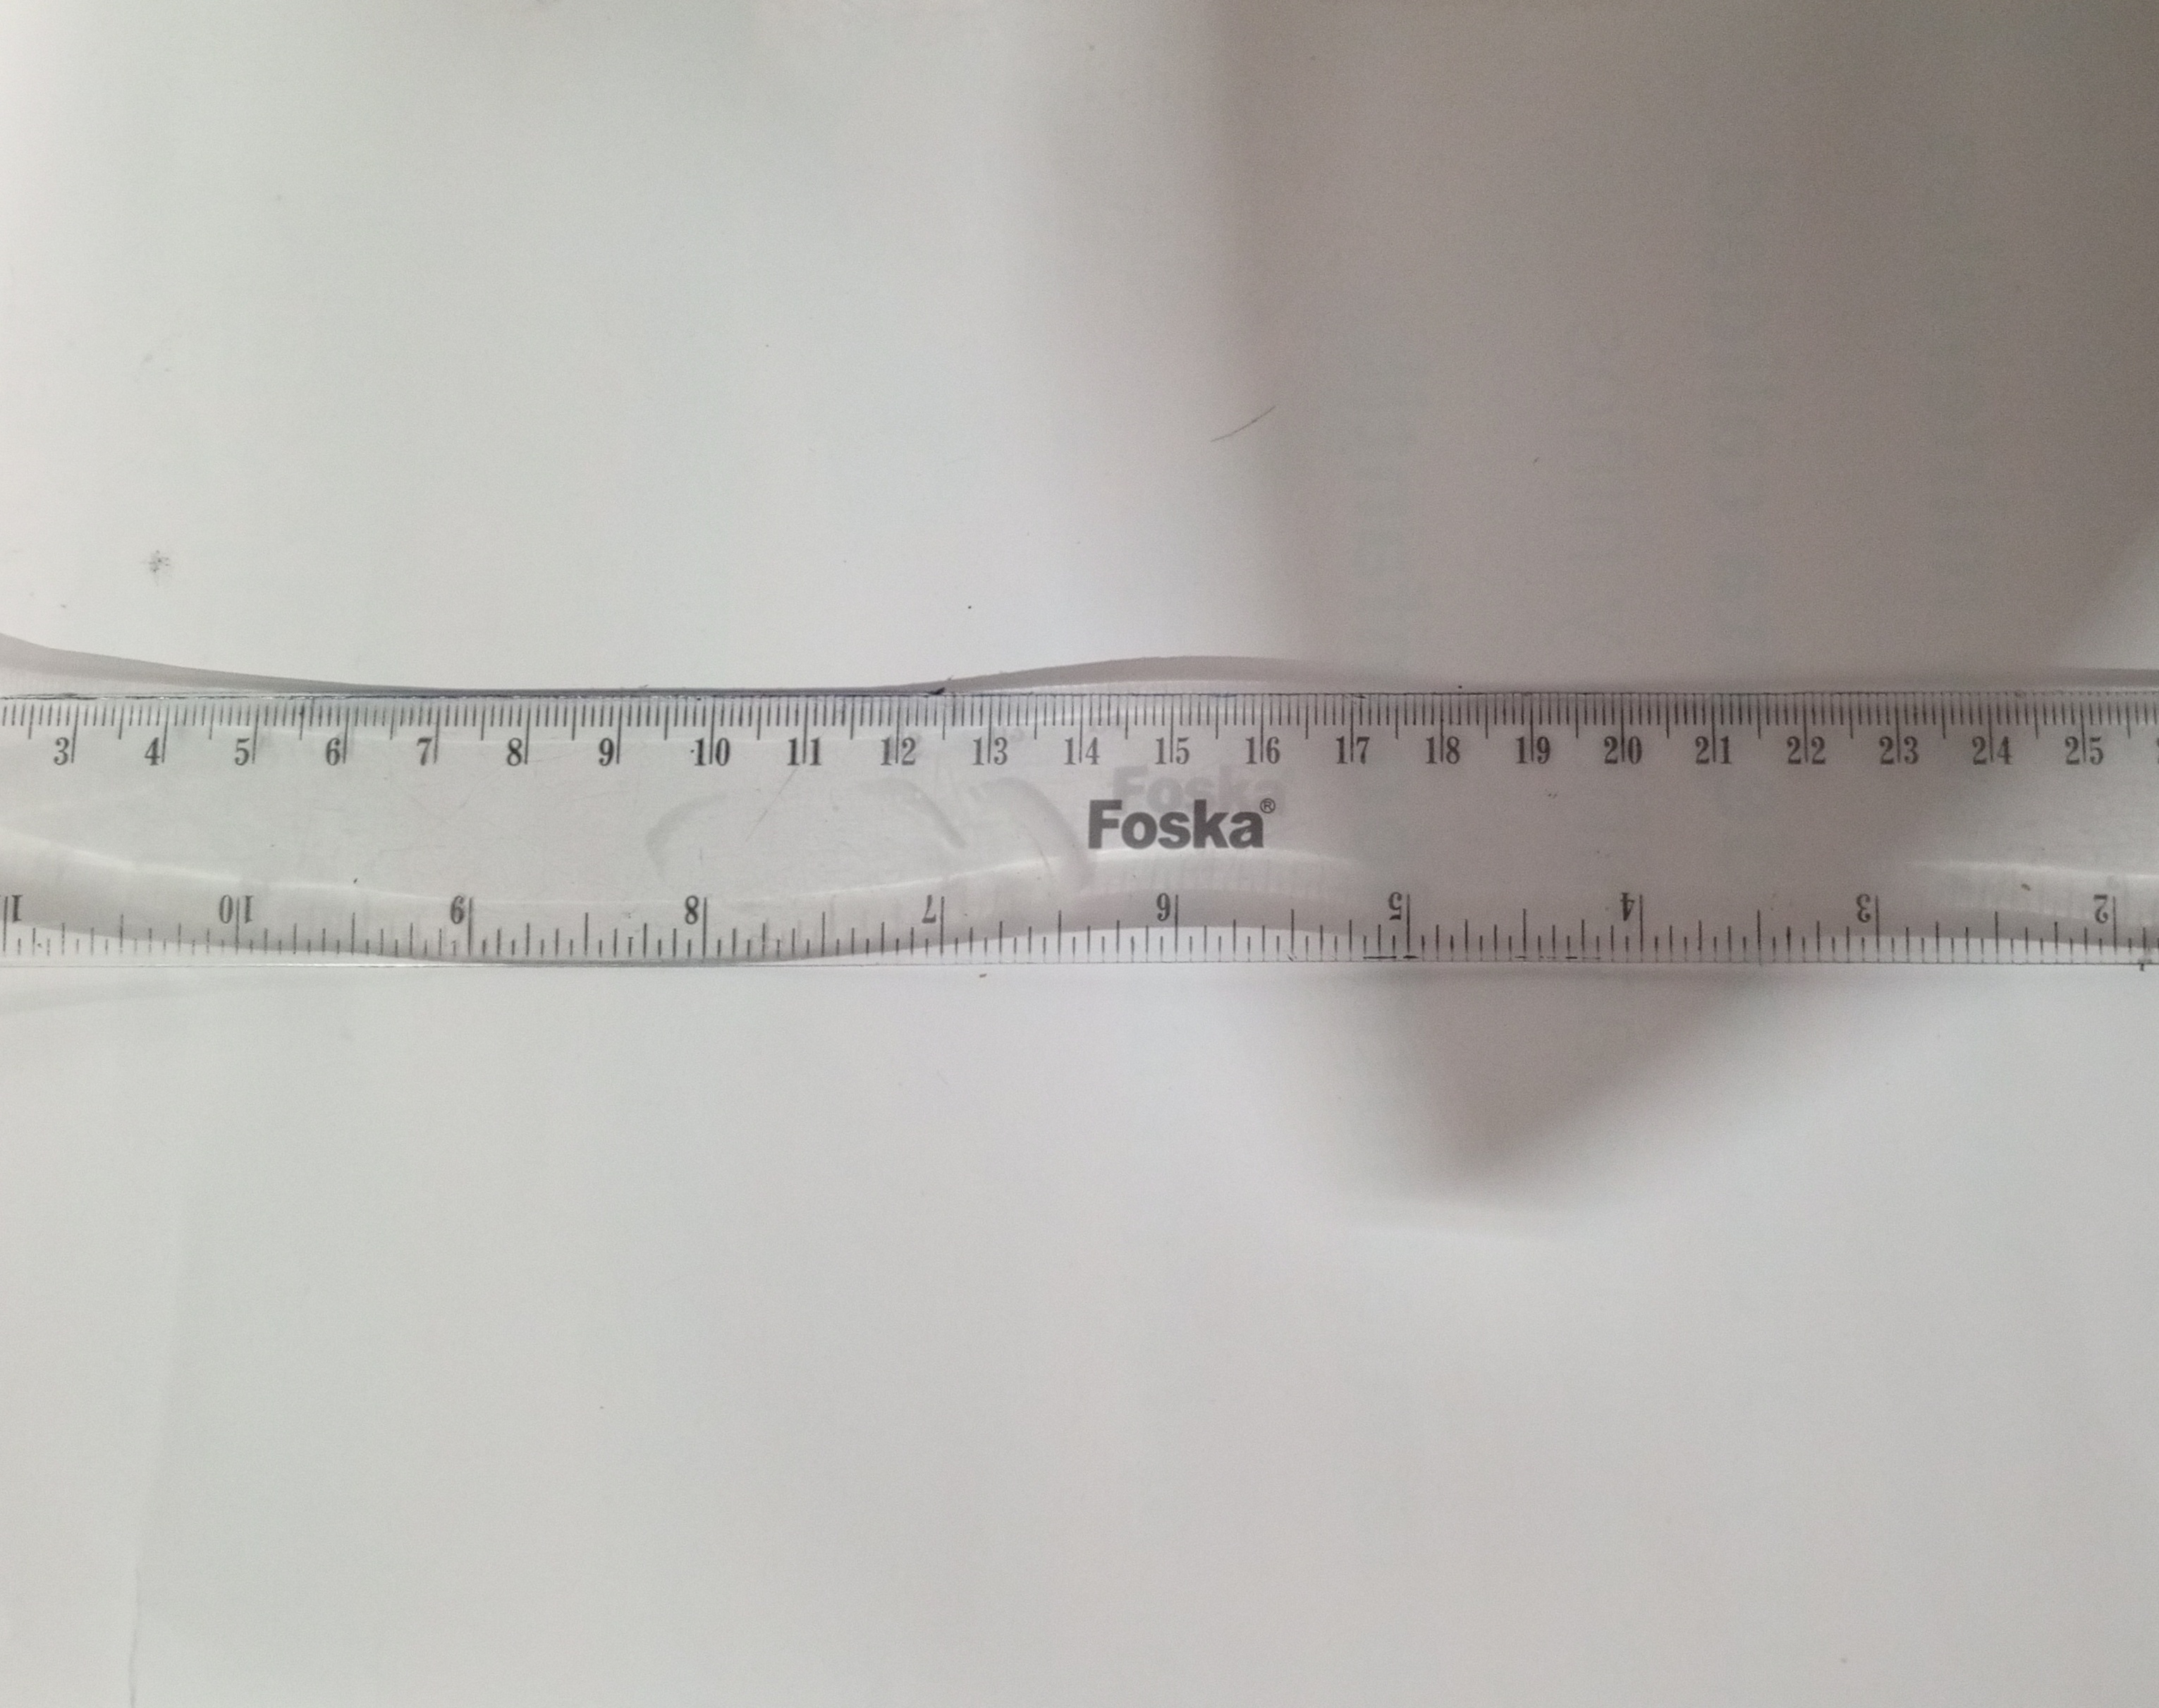
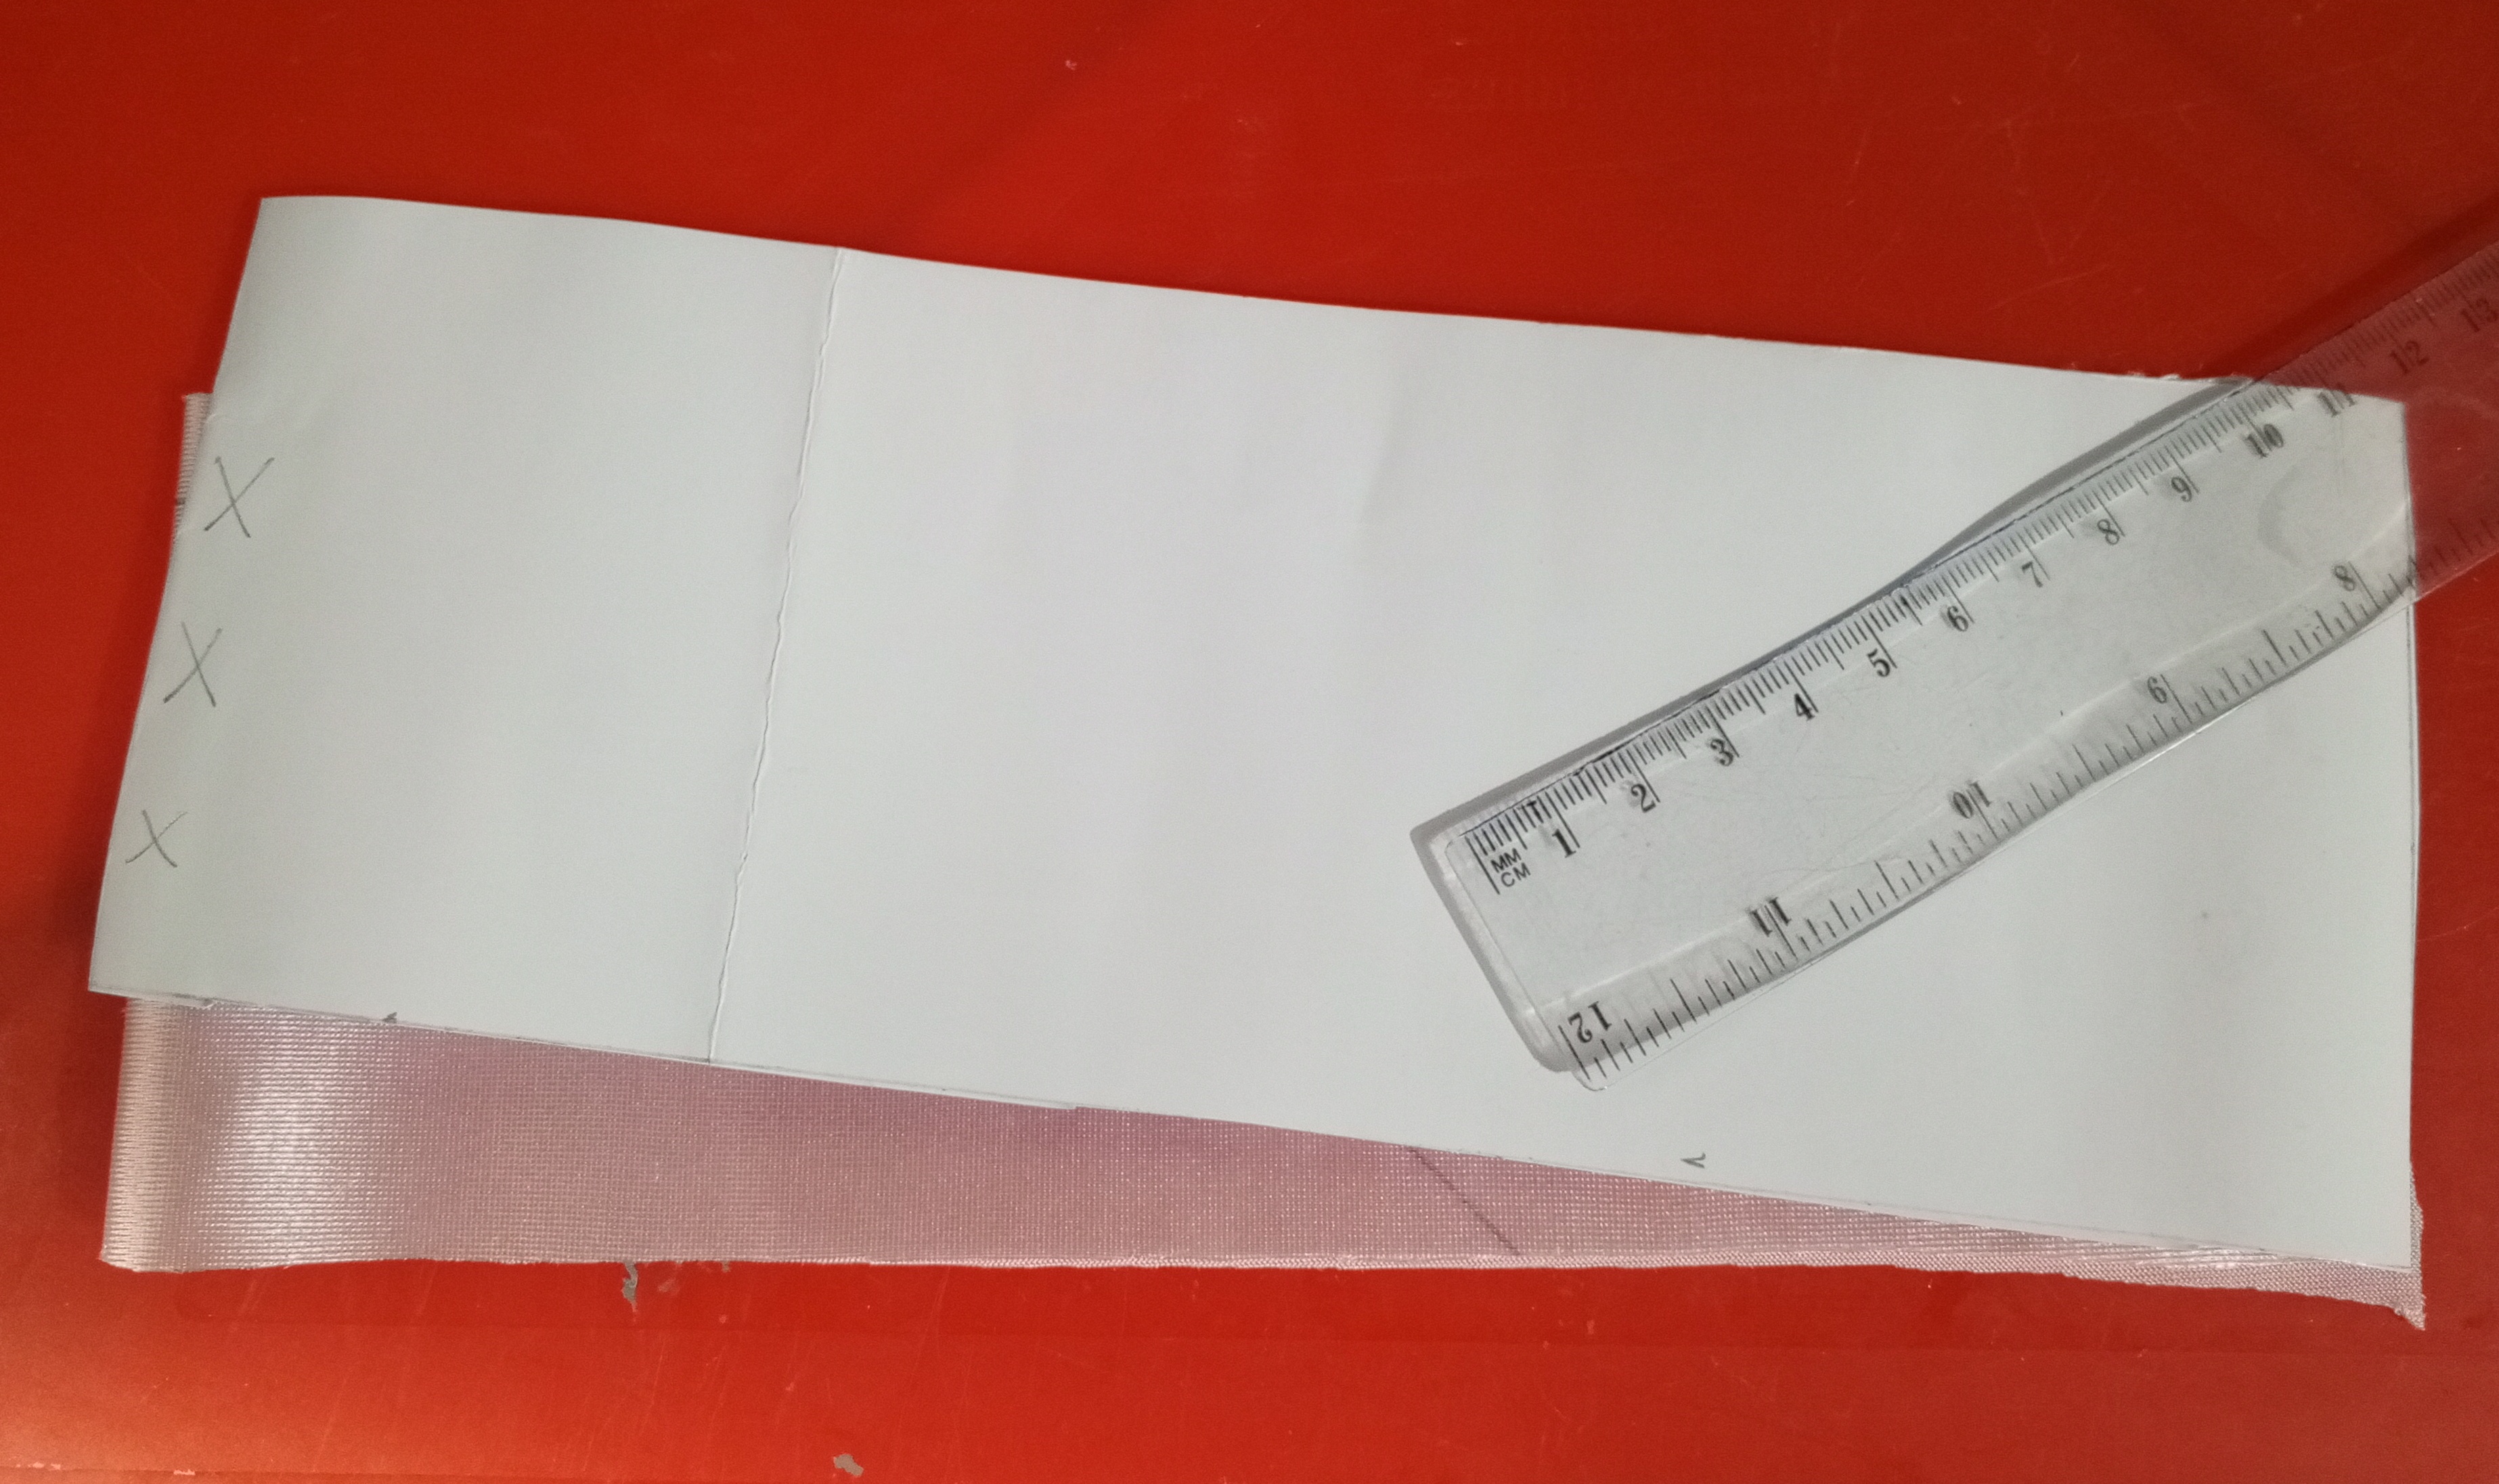
Lo primero que hice fue tomar la cartulina la regla y el lápiz y me di 25 cm de largo y 9 cm de ancho, realicé un rectángulo.
The first thing I did was to take the cardboard, the ruler and the pencil and I gave myself 25 cm long and 9 cm wide, I made a rectangle.
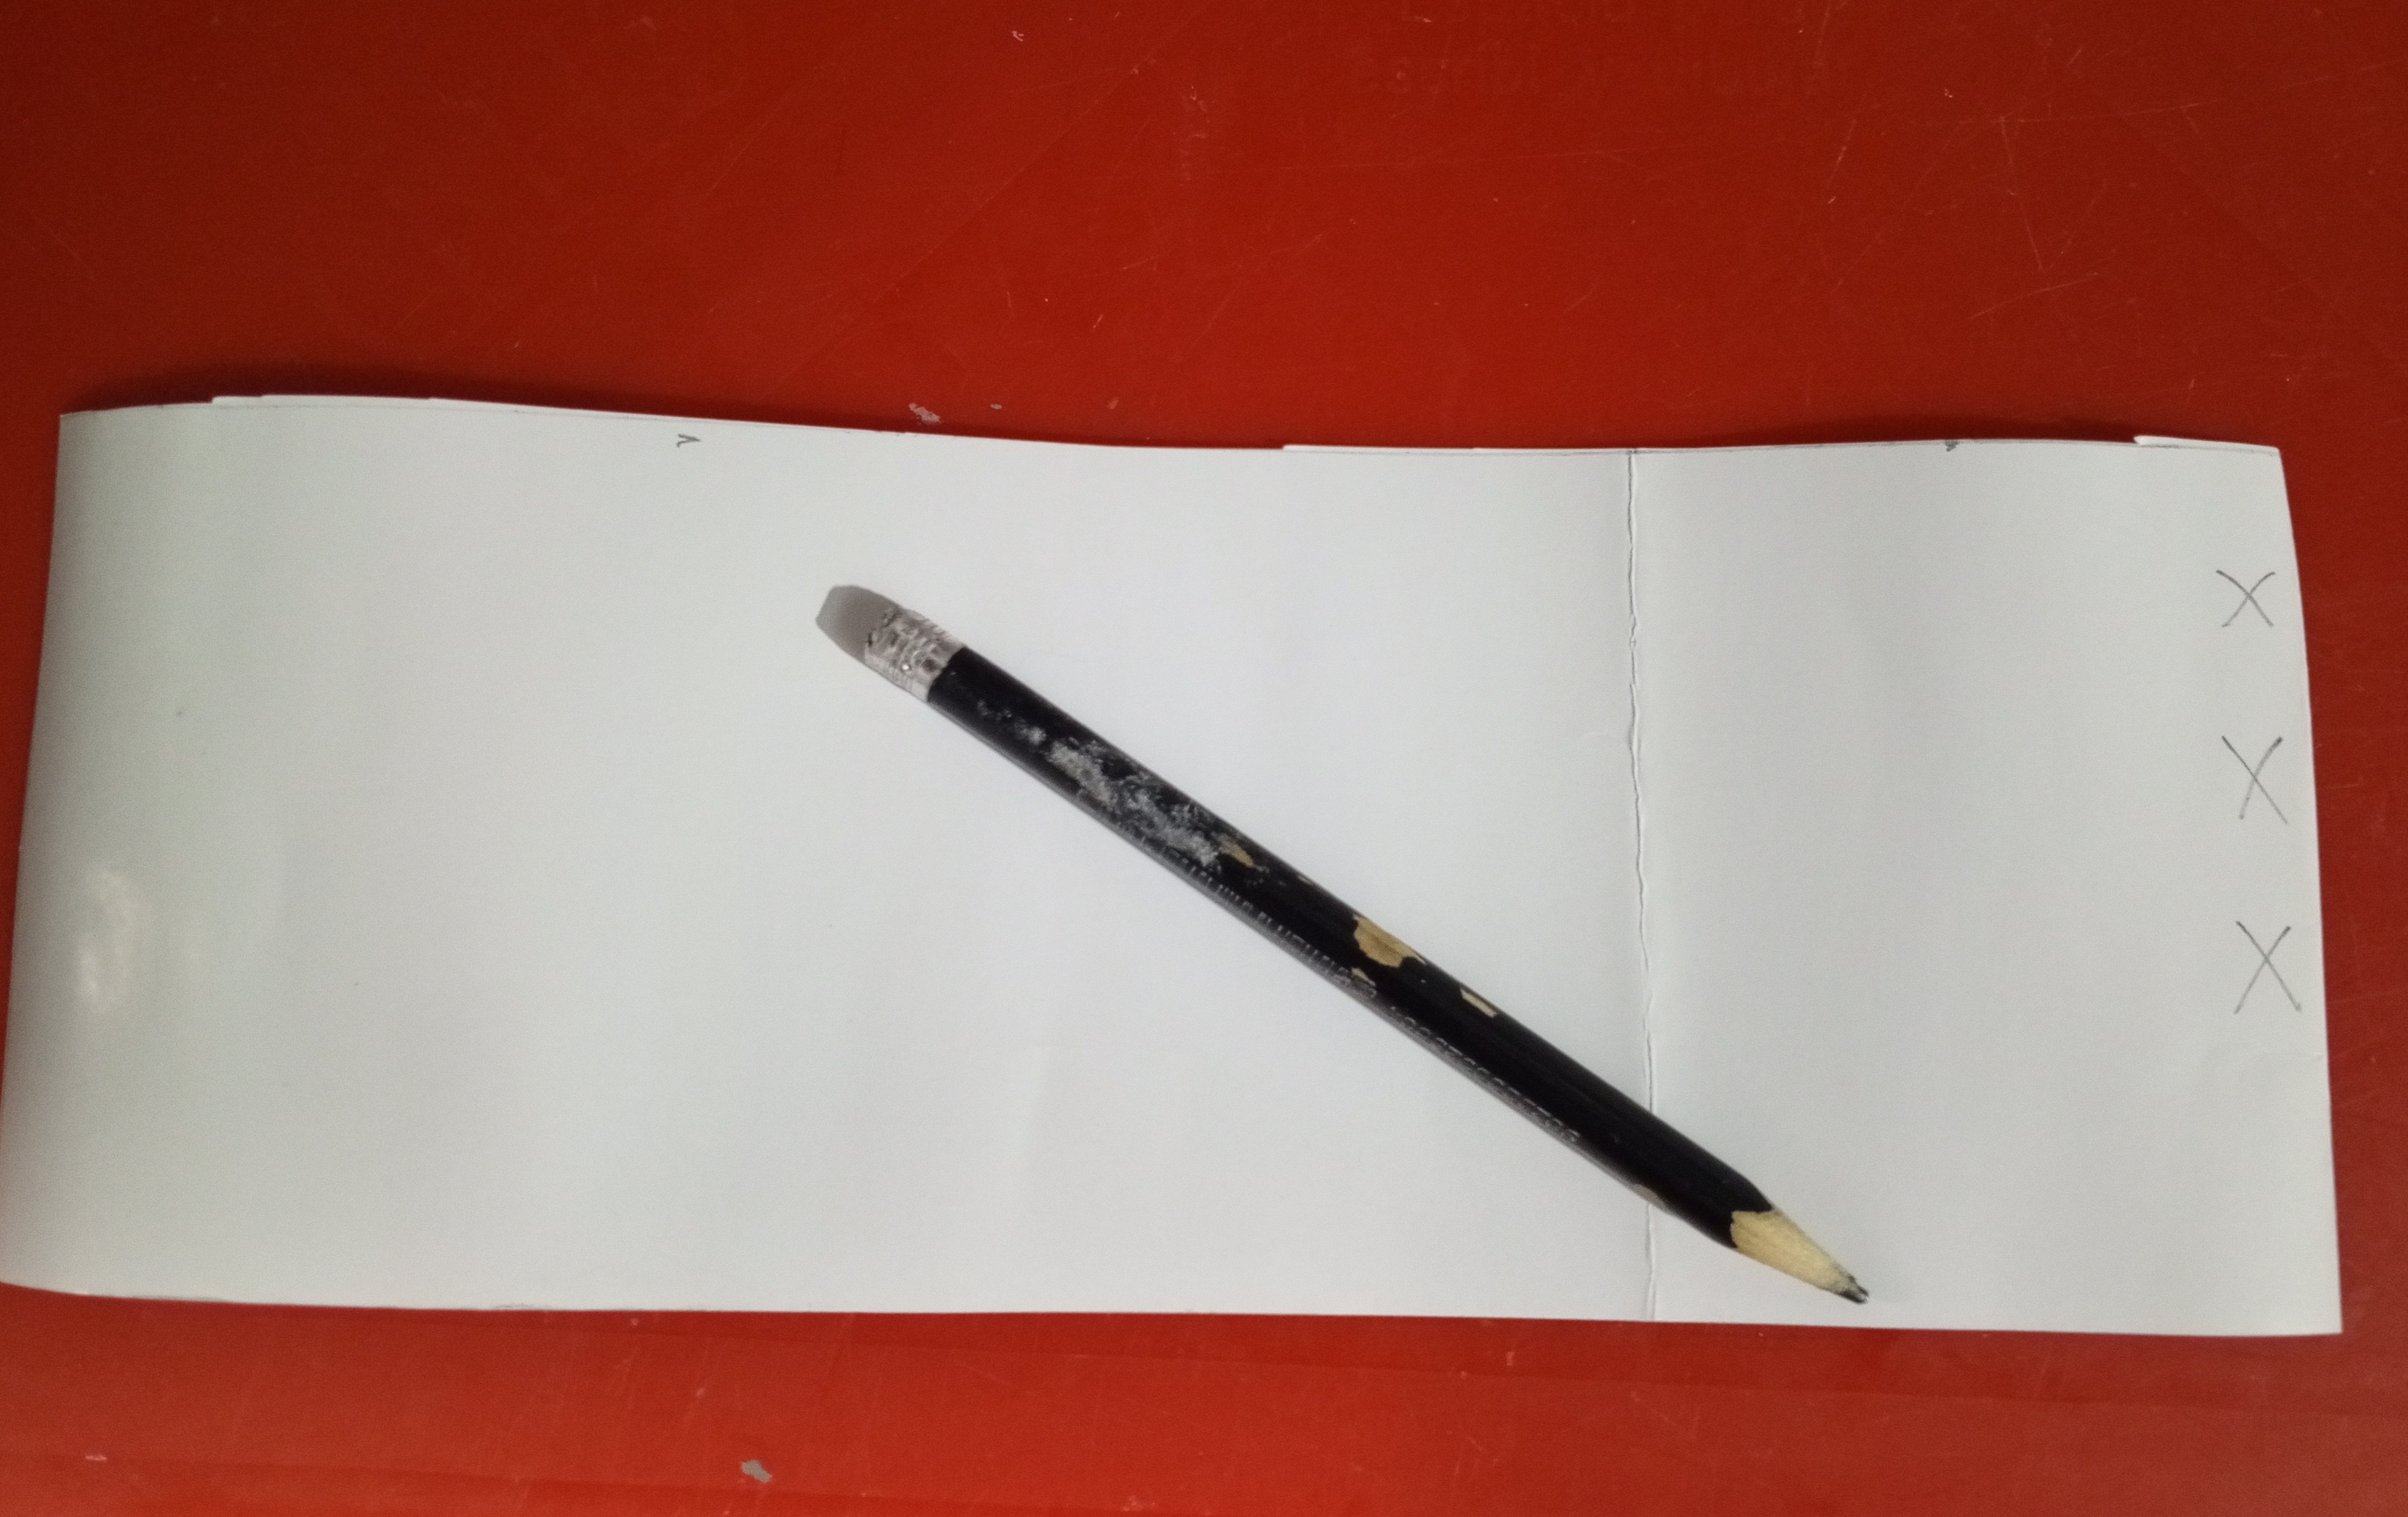
Después corté la cartulina y le coloqué varias x en la parte derecha, esto significa que cuando se vaya a colocar en la tela se debe doblar para así tener un total de 50 cm en tela.
Then I cut the cardboard and placed several x's on the right side, this means that when it is going to be placed on the fabric it should be folded to have a total of 50 cm in fabric.
Ahora coloque la cartulina en la tela respectivamente doblada, y realicé con la tijera el corte de tela, asegurándome que la pieza quedó con las medidas adecuadas.
Now place the cardboard on the fabric, respectively folded, and cut the fabric with the scissors, making sure that the piece is the right size.
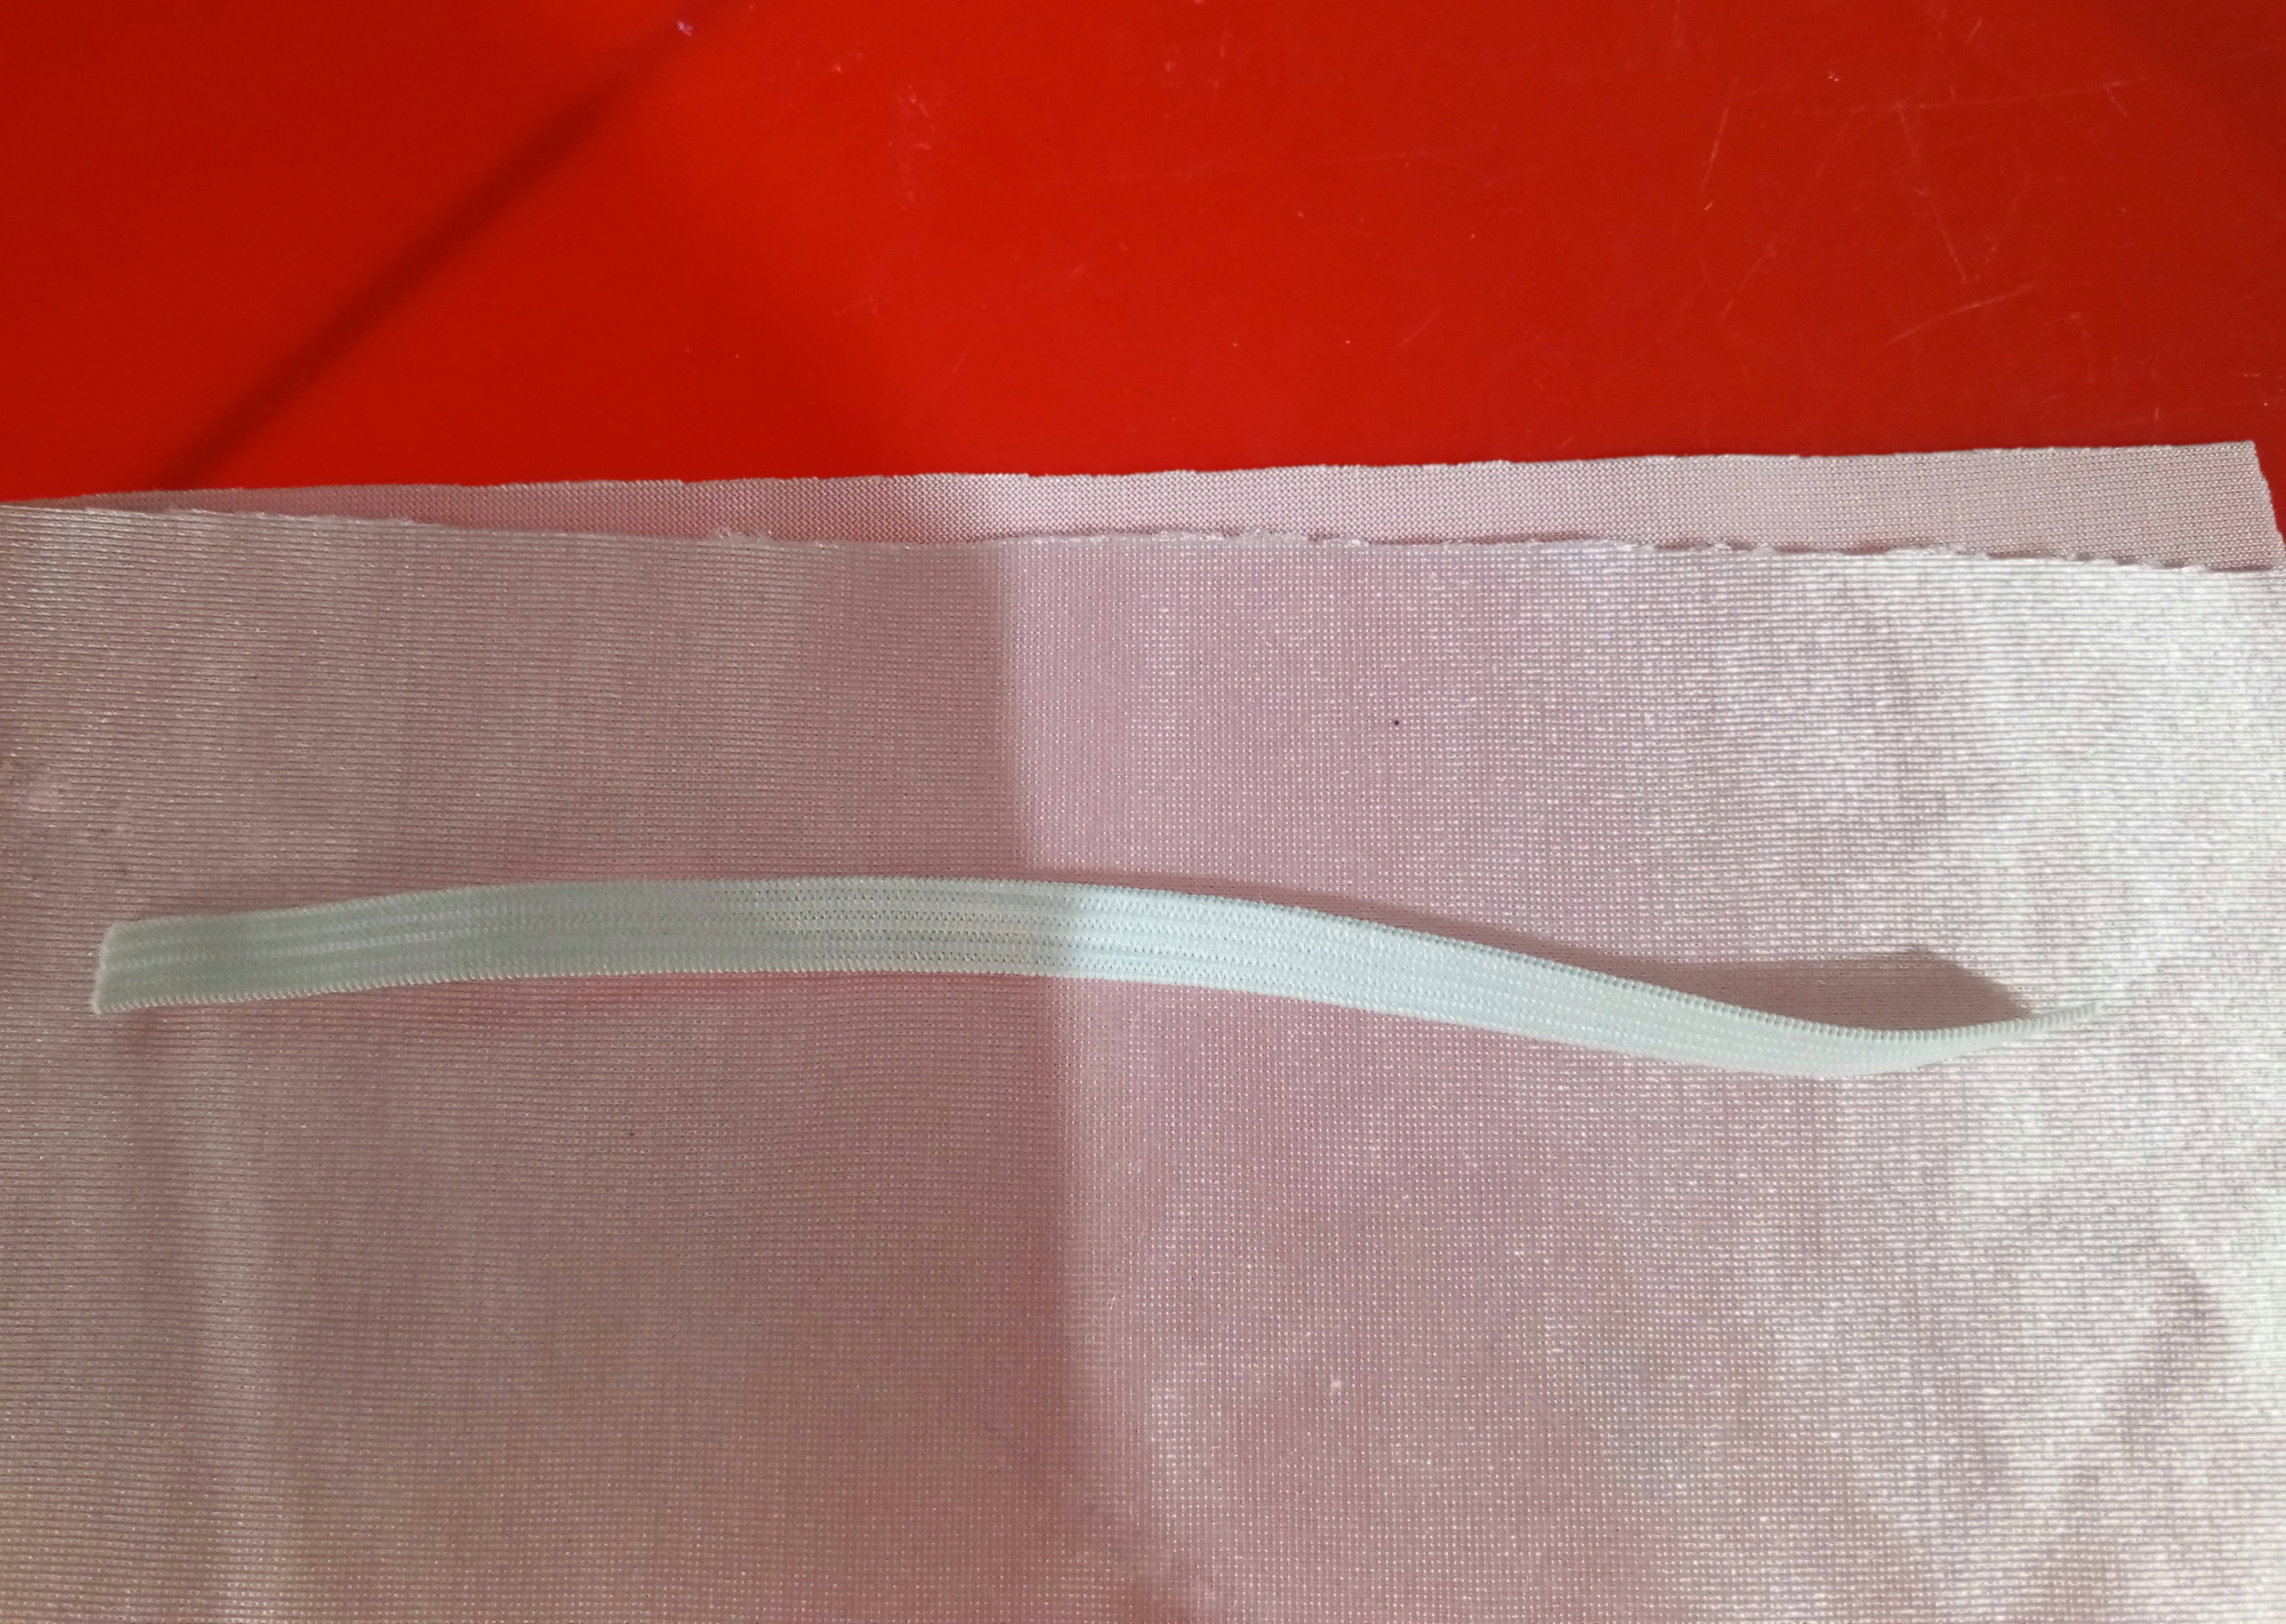
Después corté 15 cm de cinta elástica.
Then I cut 15 cm of elastic tape.
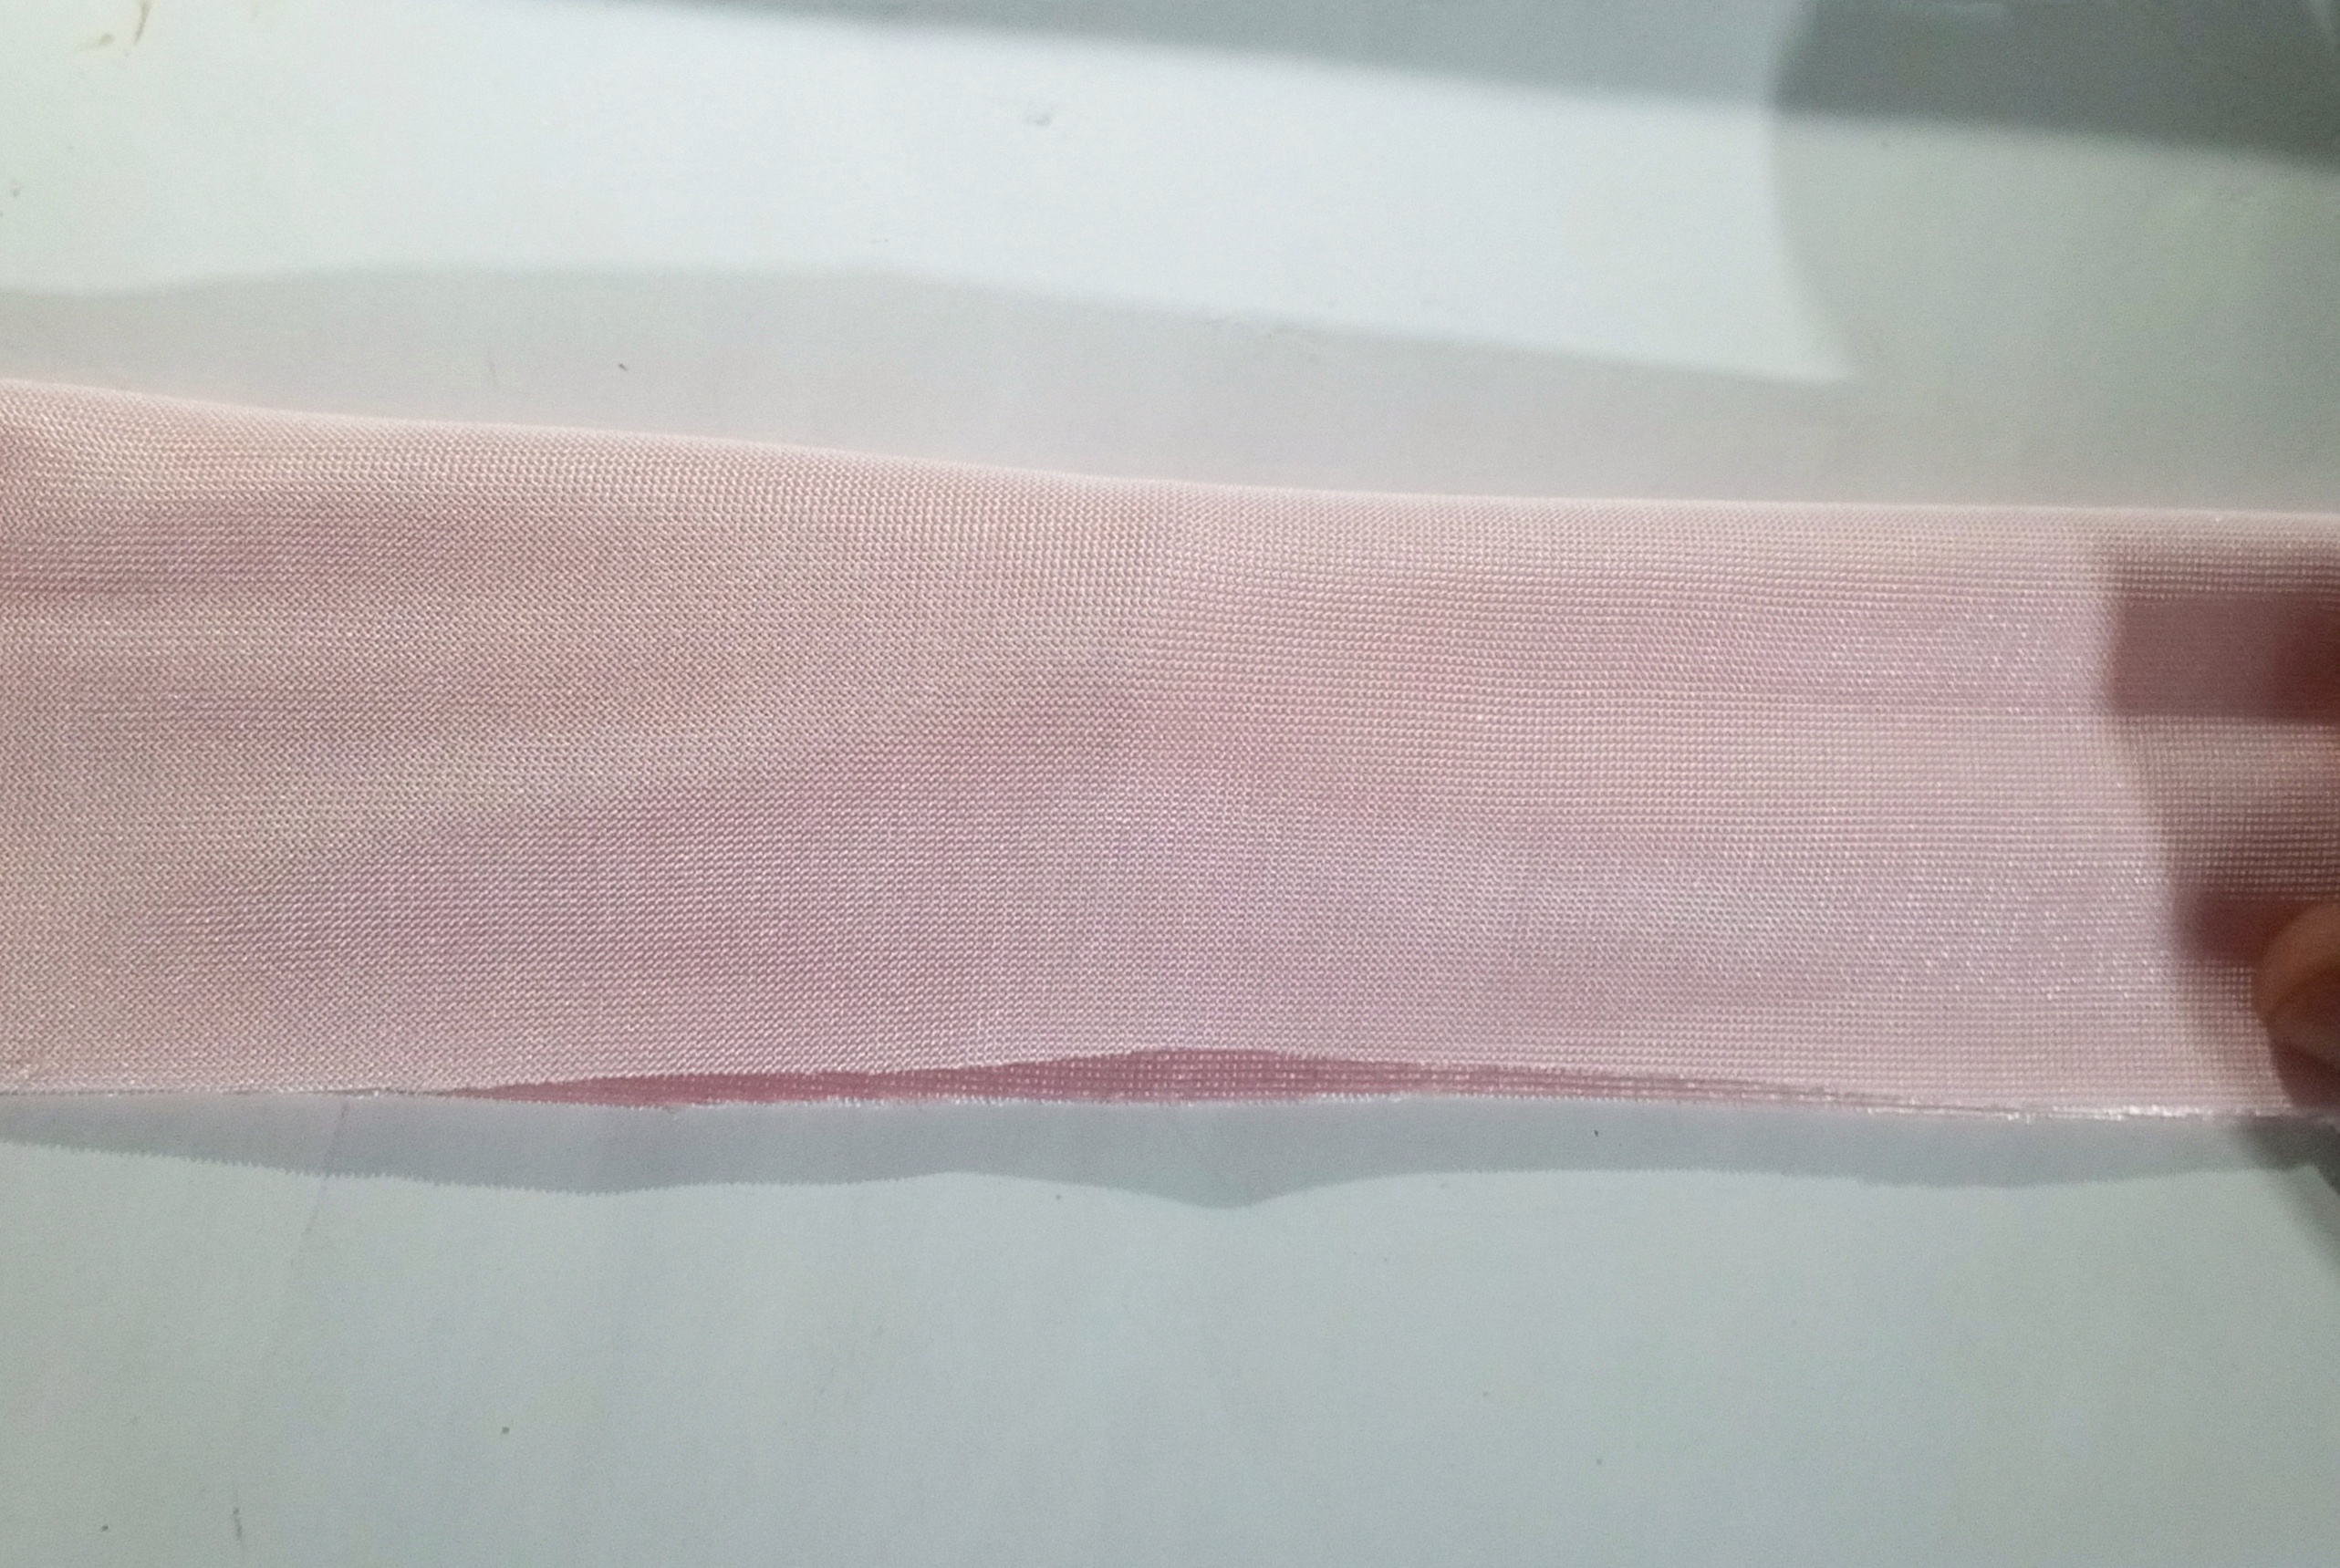
Luego tomé la tela de satín que había cortado y la doble a la mitad, pasé una costura recta en la parte lateral.
Then I took the satin fabric that I had cut and folded it in half, I passed a straight seam on the side.

Ahora voy a colocar la costura en el centro y voy a tomar la parte superior y voy a doblar dos veces, para realizar un dobles.
Now I'm going to place the seam in the center and I'm going to take the top and I'm going to fold it twice, to make a double.
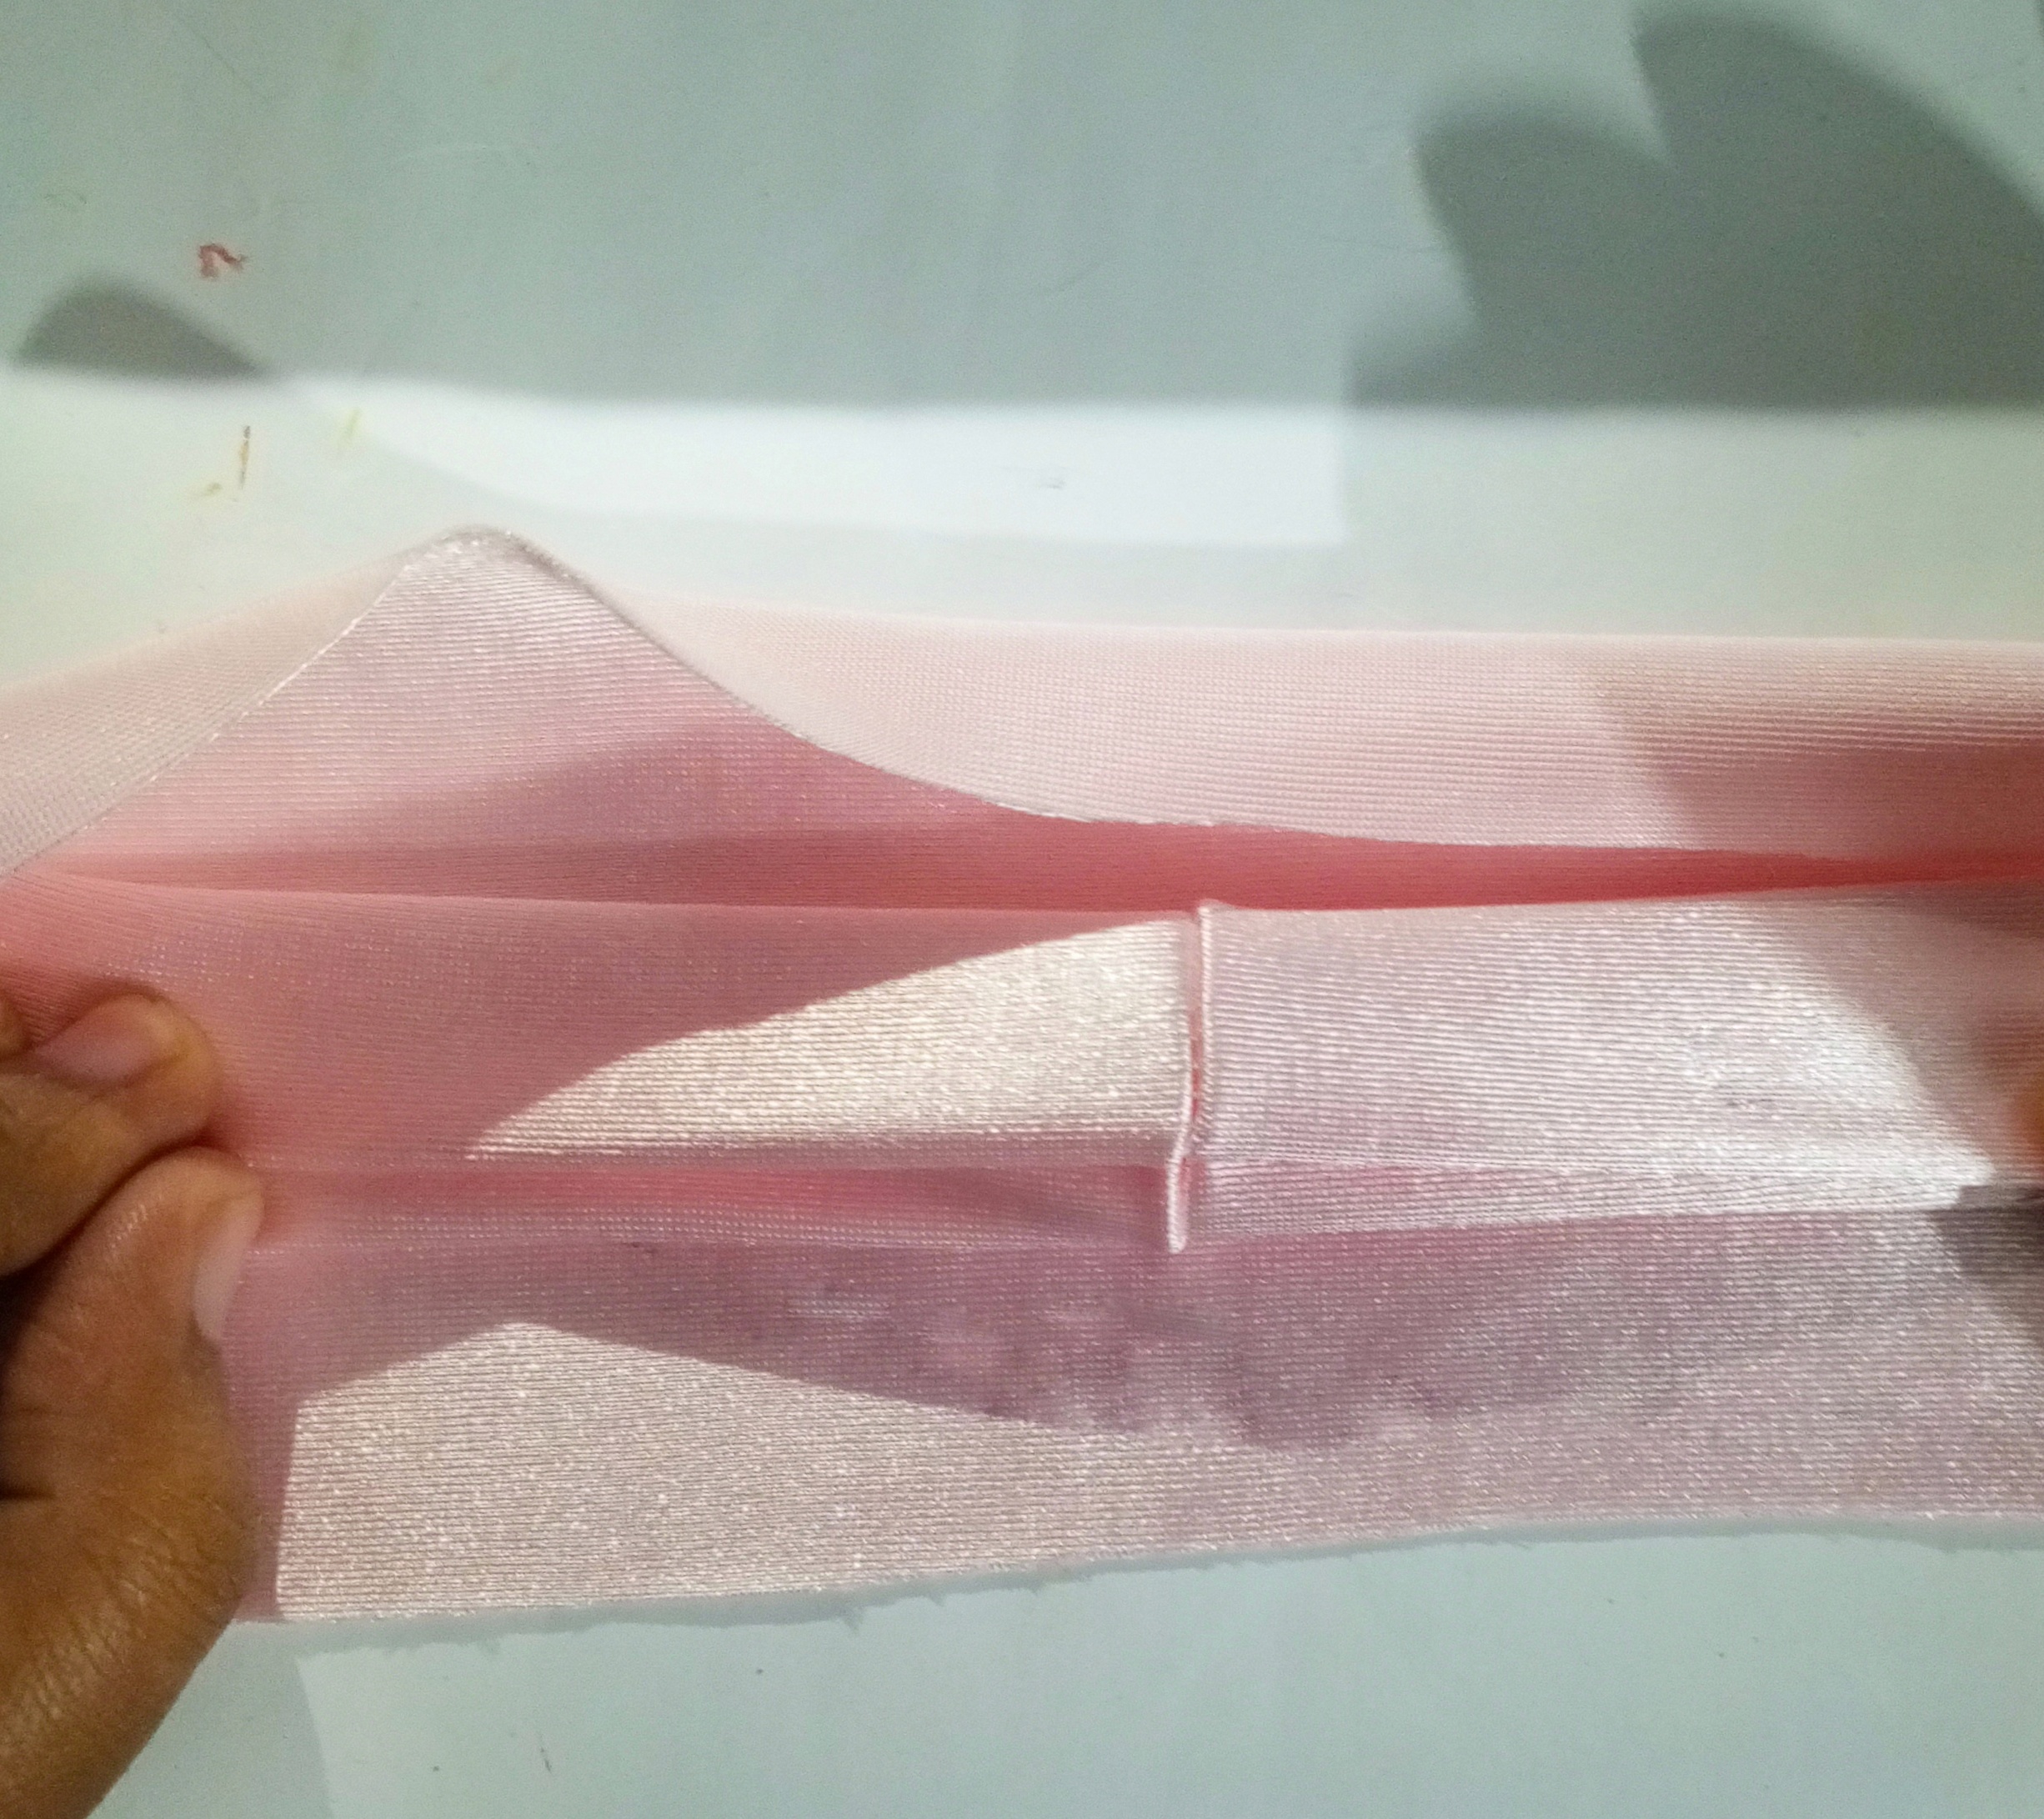
Después tomo la parte inferior y la coloco como si fuera un sándwich, envolviendo la parte que habíamos doblado, así debemos dejar esta pieza y podemos colocar alfiler para que no se mueva.
Then I take the lower part and place it as if it were a sandwich, wrapping the part that we had folded, so we must leave this piece and we can place a pin so that it does not move.
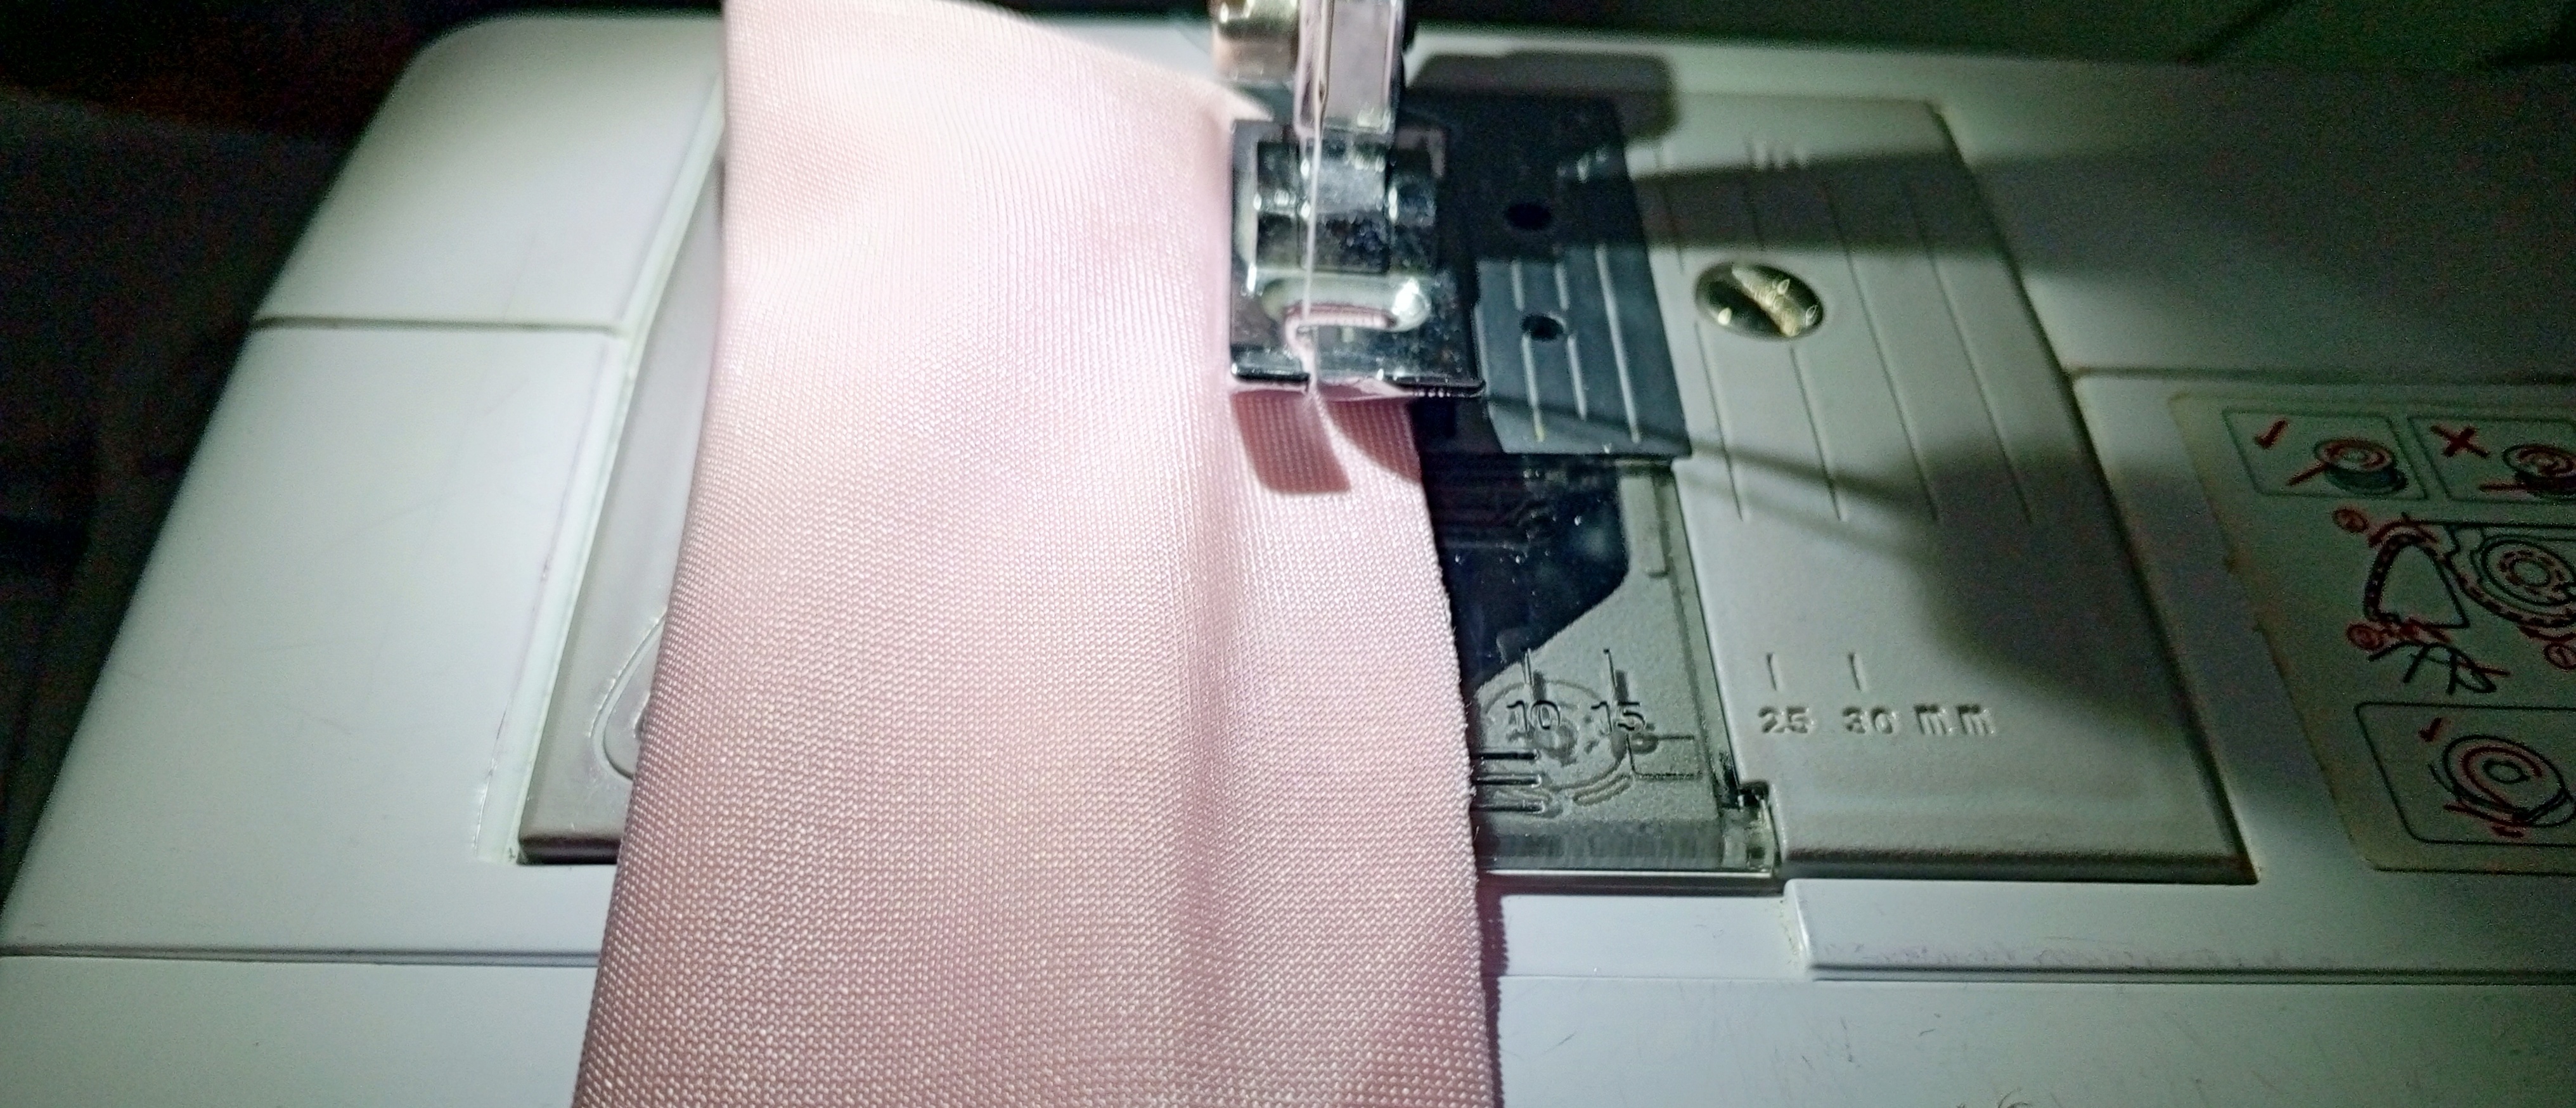
Después vamos a la máquina de coser y pasaremos una costura recta con mucho cuidado, luego vamos a ir sacando la parte que habíamos doblado y cosiendo hasta llegar al final de la pieza, debemos dejar un agujero de 3 cm para poder sacar la pieza.
Then we go to the sewing machine and we will sew a straight seam carefully, then we will take out the part that we had folded and sew until we reach the end of the piece, we must leave a hole of 3 cm to be able to take out the piece.
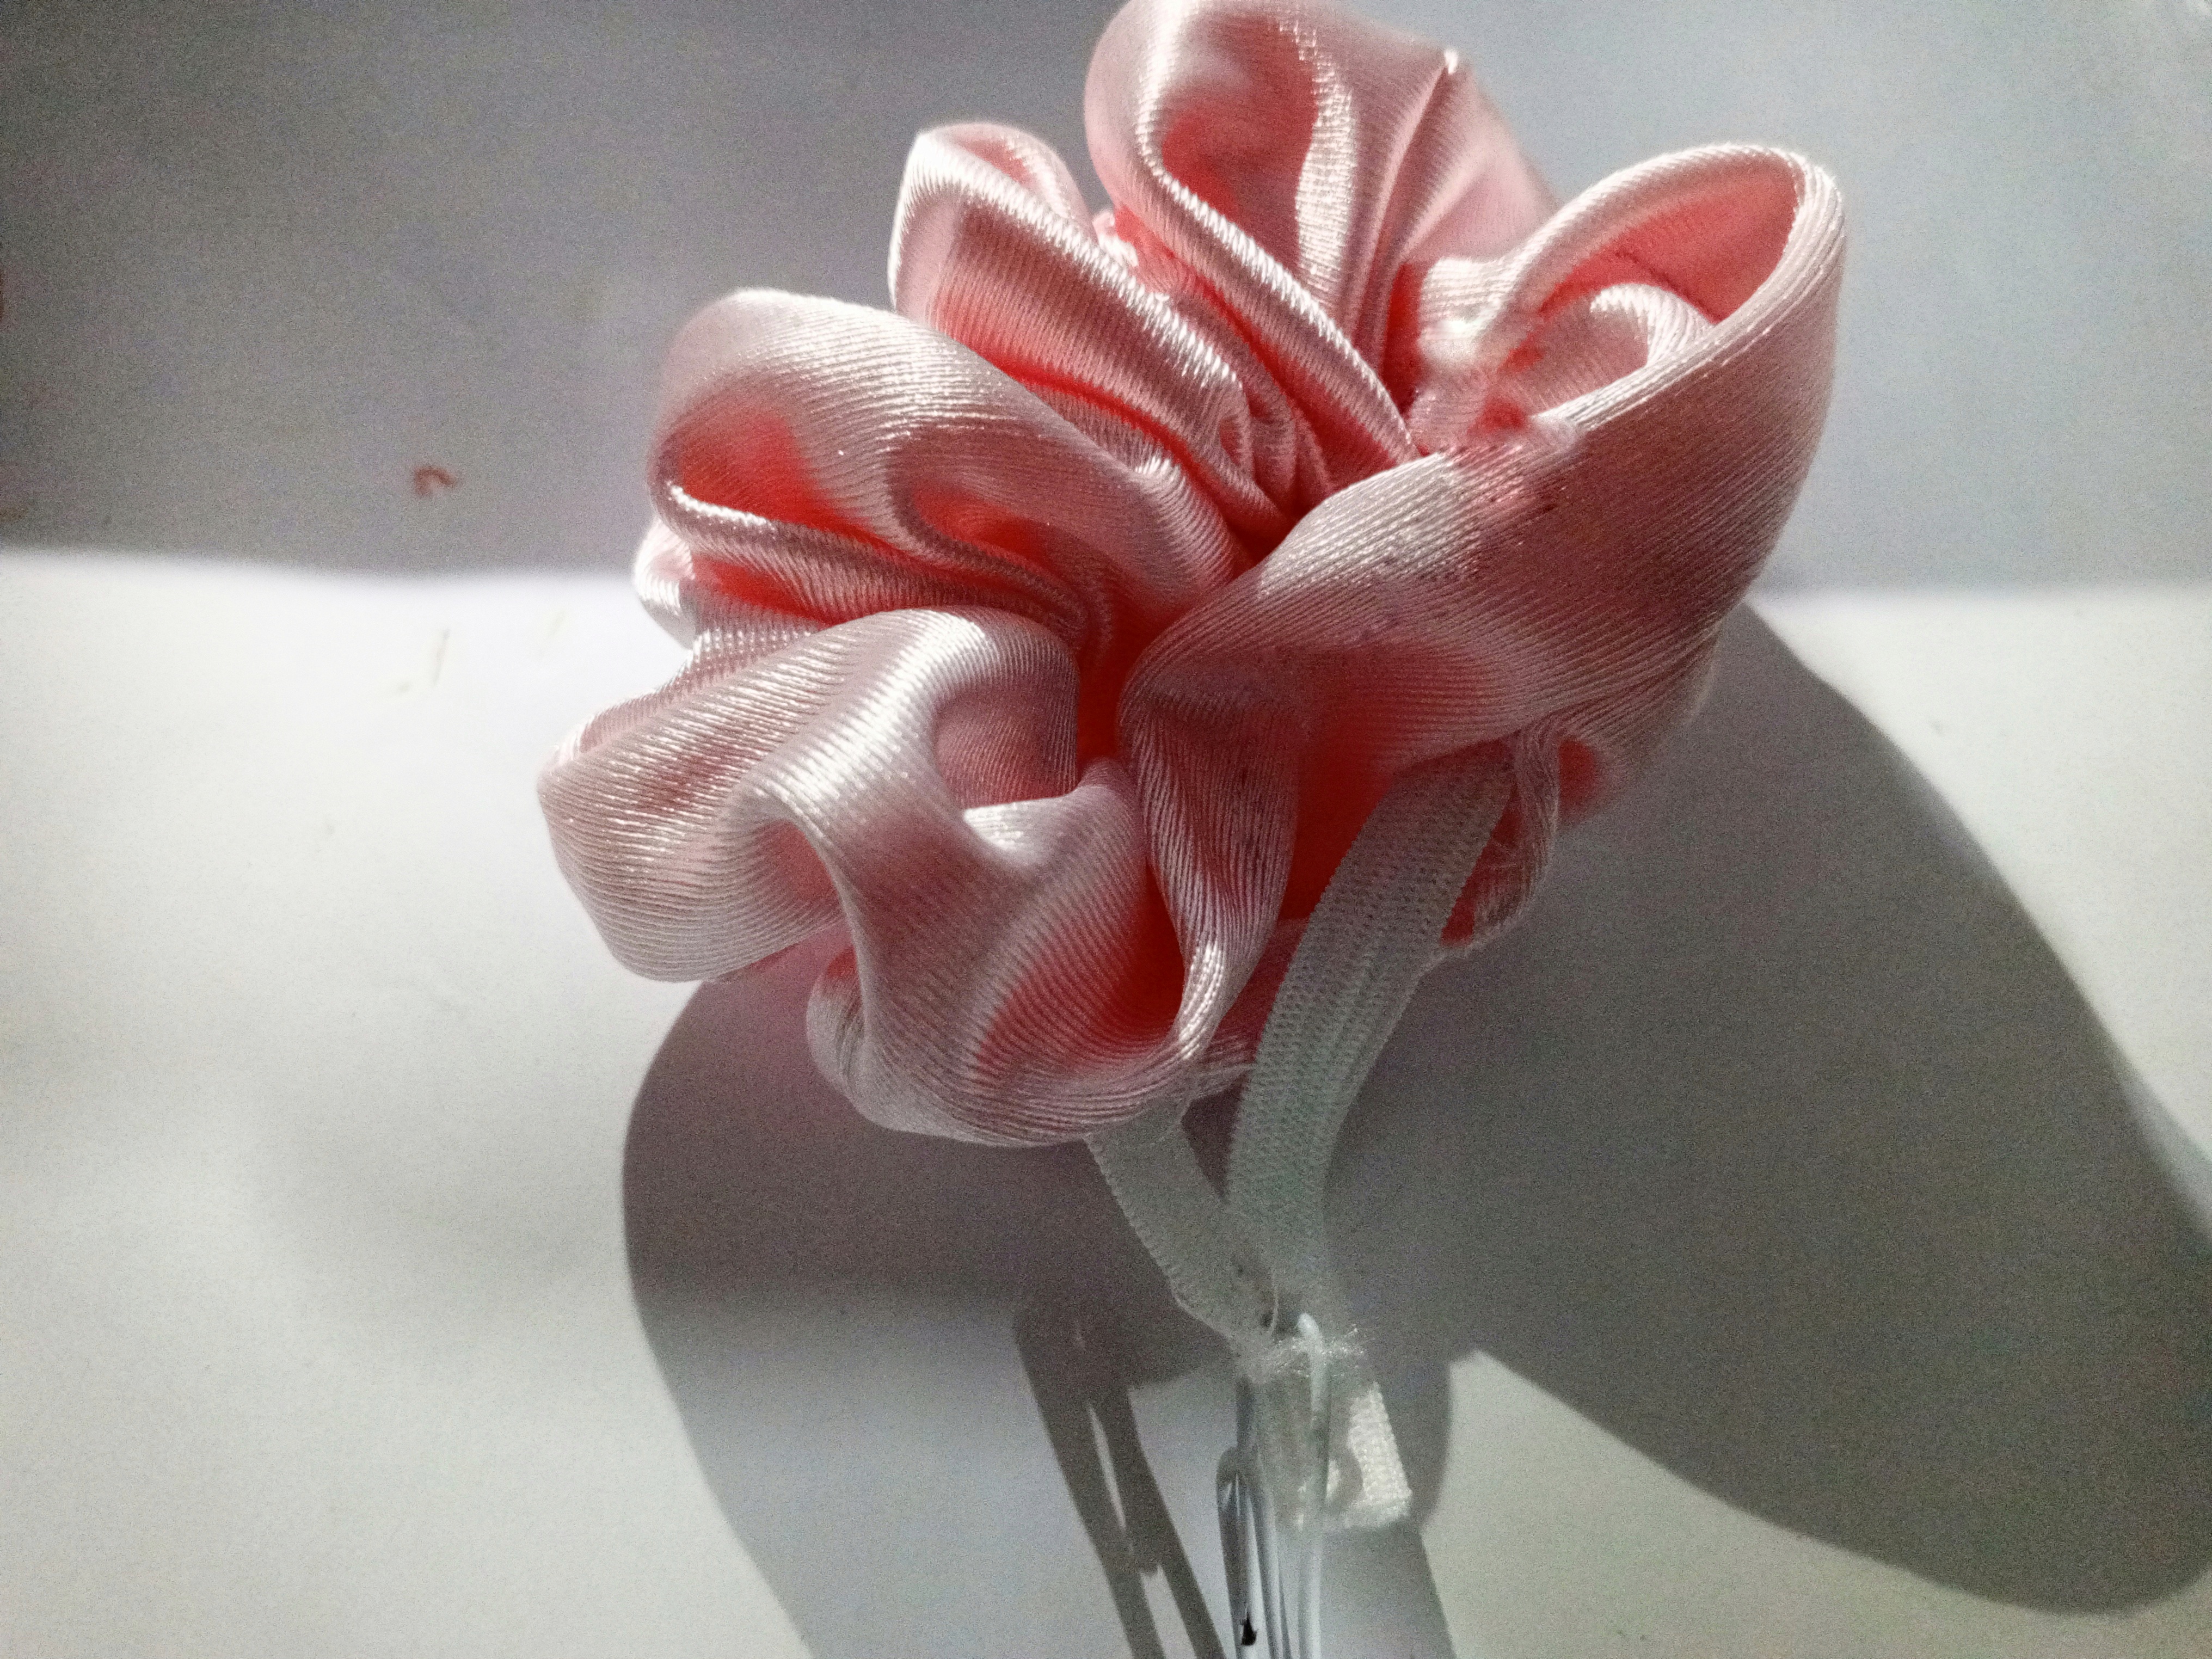
Luego vamos a tomar la cinta elástica y con ayuda de un gancho vamos a introducir toda la cinta elástica hasta llegar al final, vamos a amarrar con un nudo y luego vamos a pasar costura recta por la abertura.
Then we are going to take the elastic band and with the help of a hook we are going to introduce all the elastic band until we reach the end, we are going to tie a knot and then we are going to pass a straight seam through the opening.
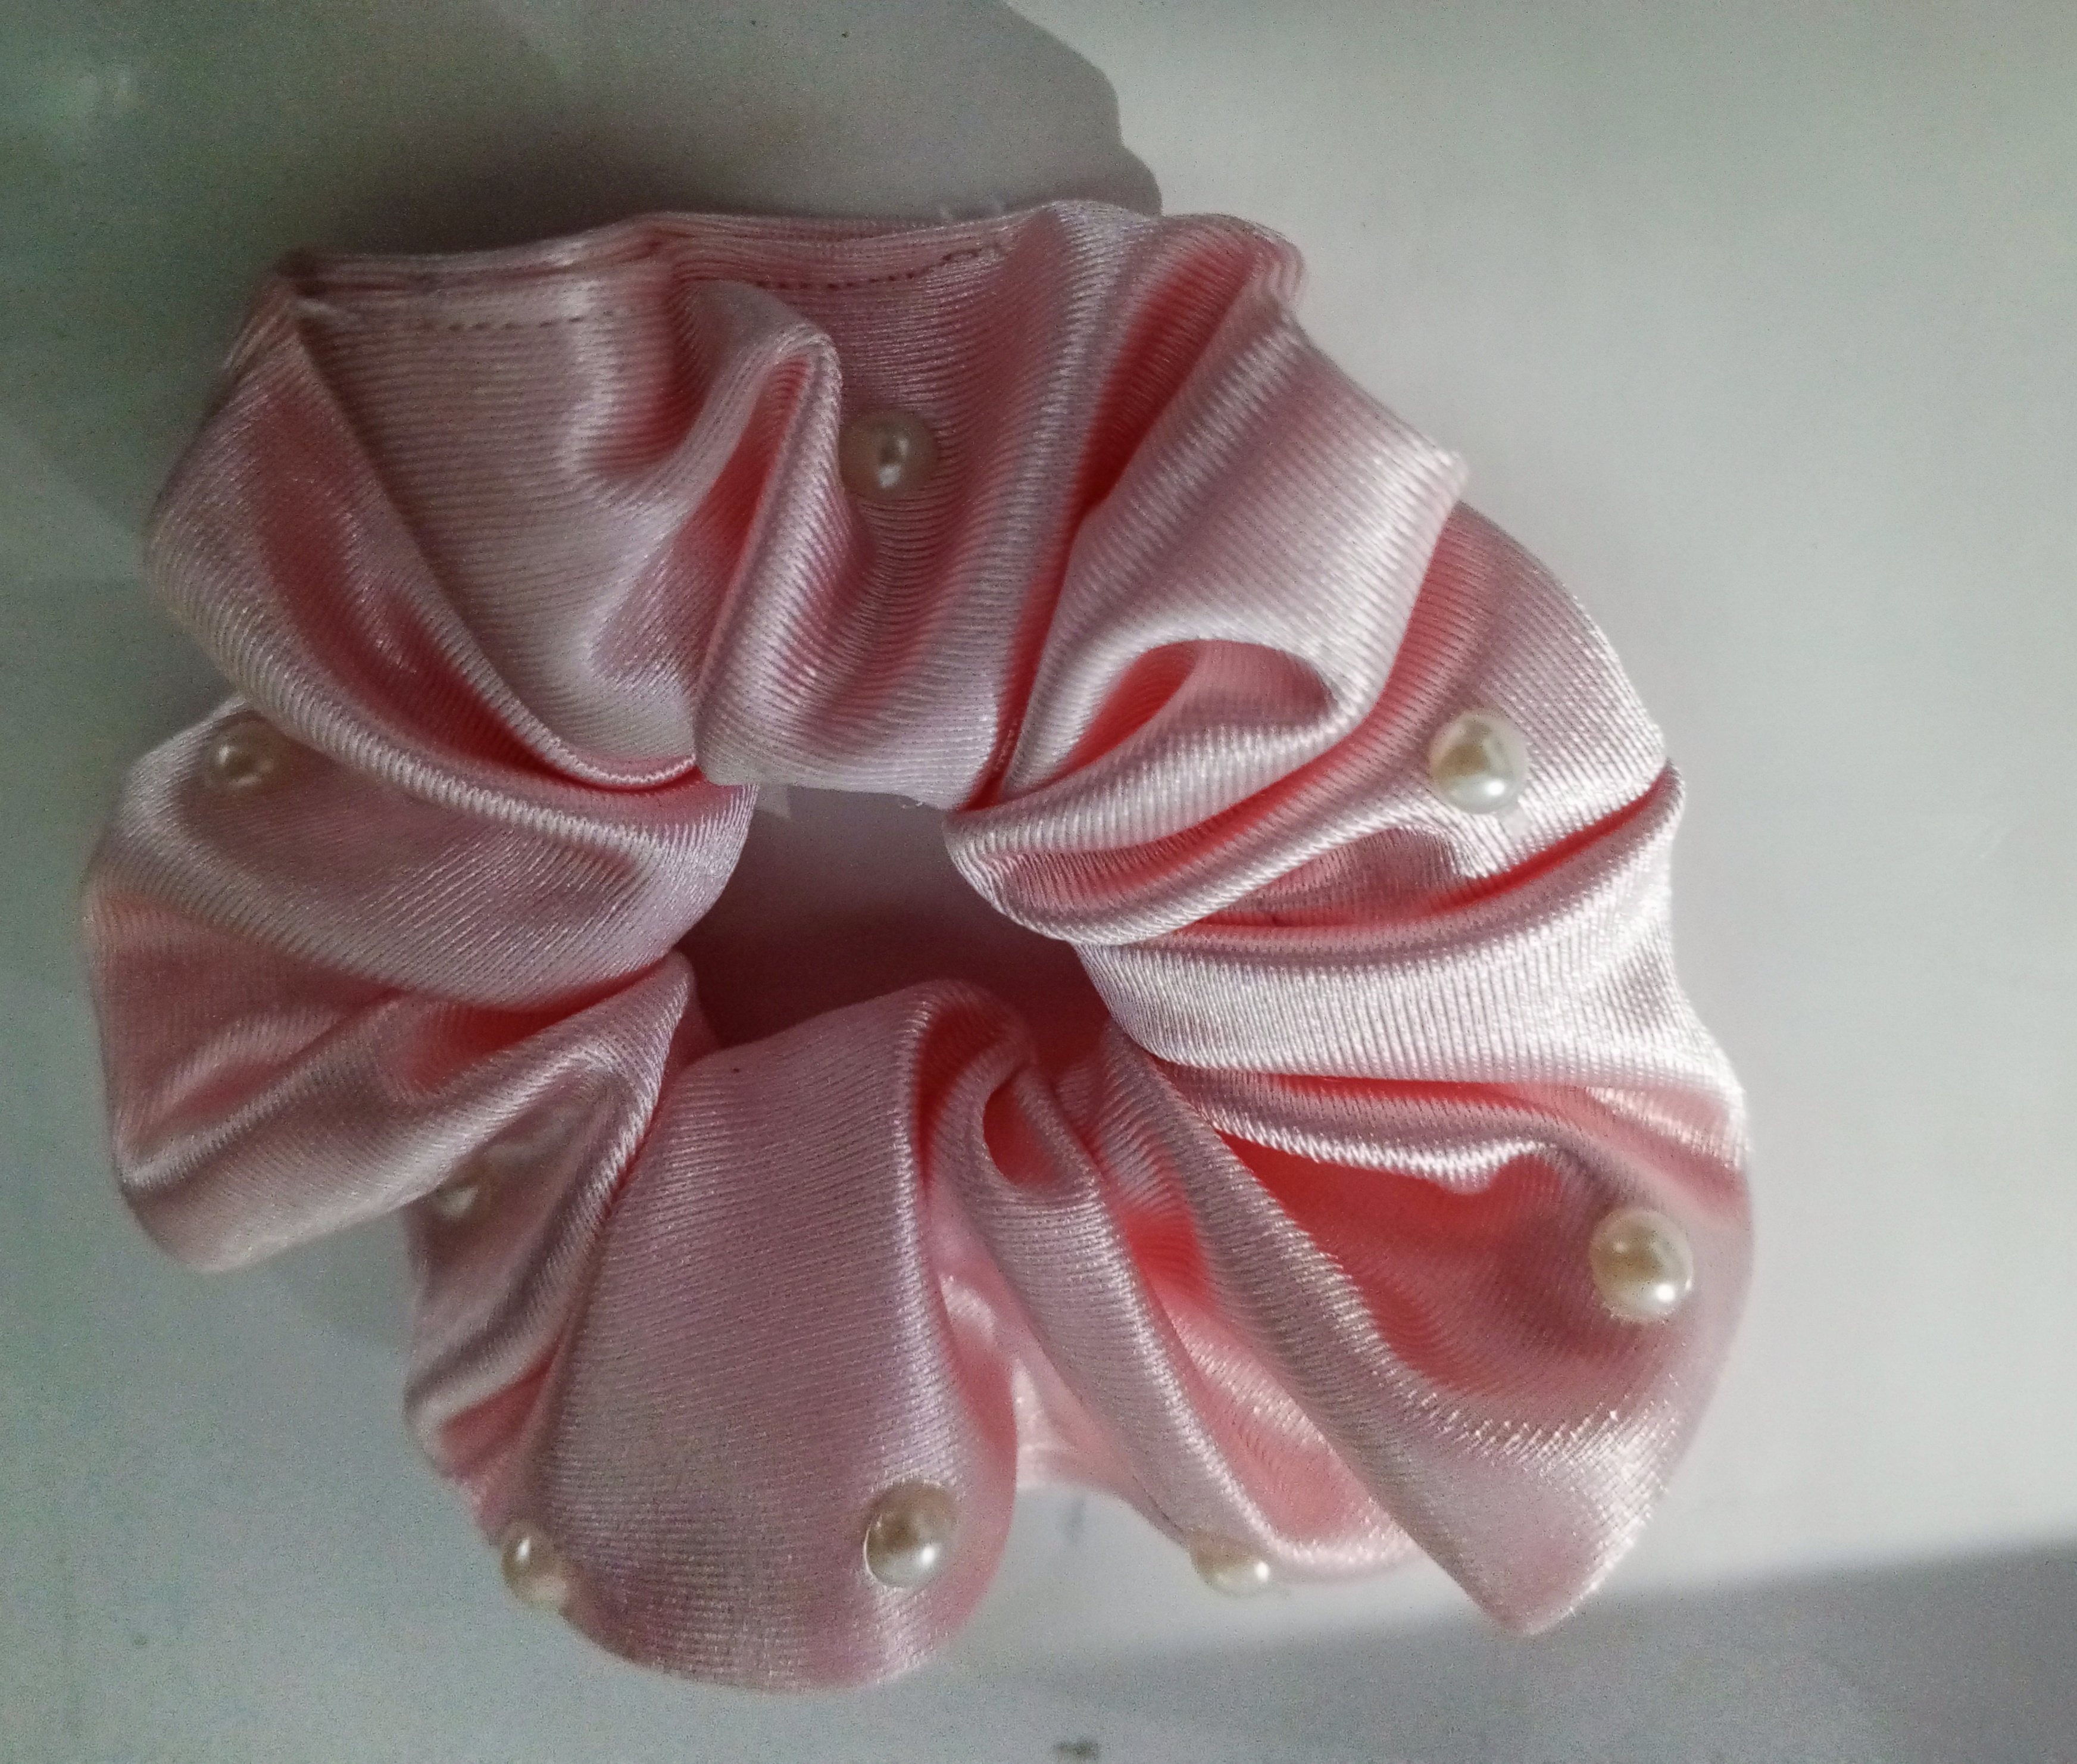
Una vez quedé lista la coleta, vamos a tomar las perlas y la pega de tela y vamos a ir pegando una por una con mucho cuidado para evitar que la pega no caiga en los dedos. Y así finalizamos este trabajo.
Once the ponytail is ready, we are going to take the beads and the fabric glue and we are going to glue them one by one, being very careful not to get the glue on our fingers. And so we finish this work.
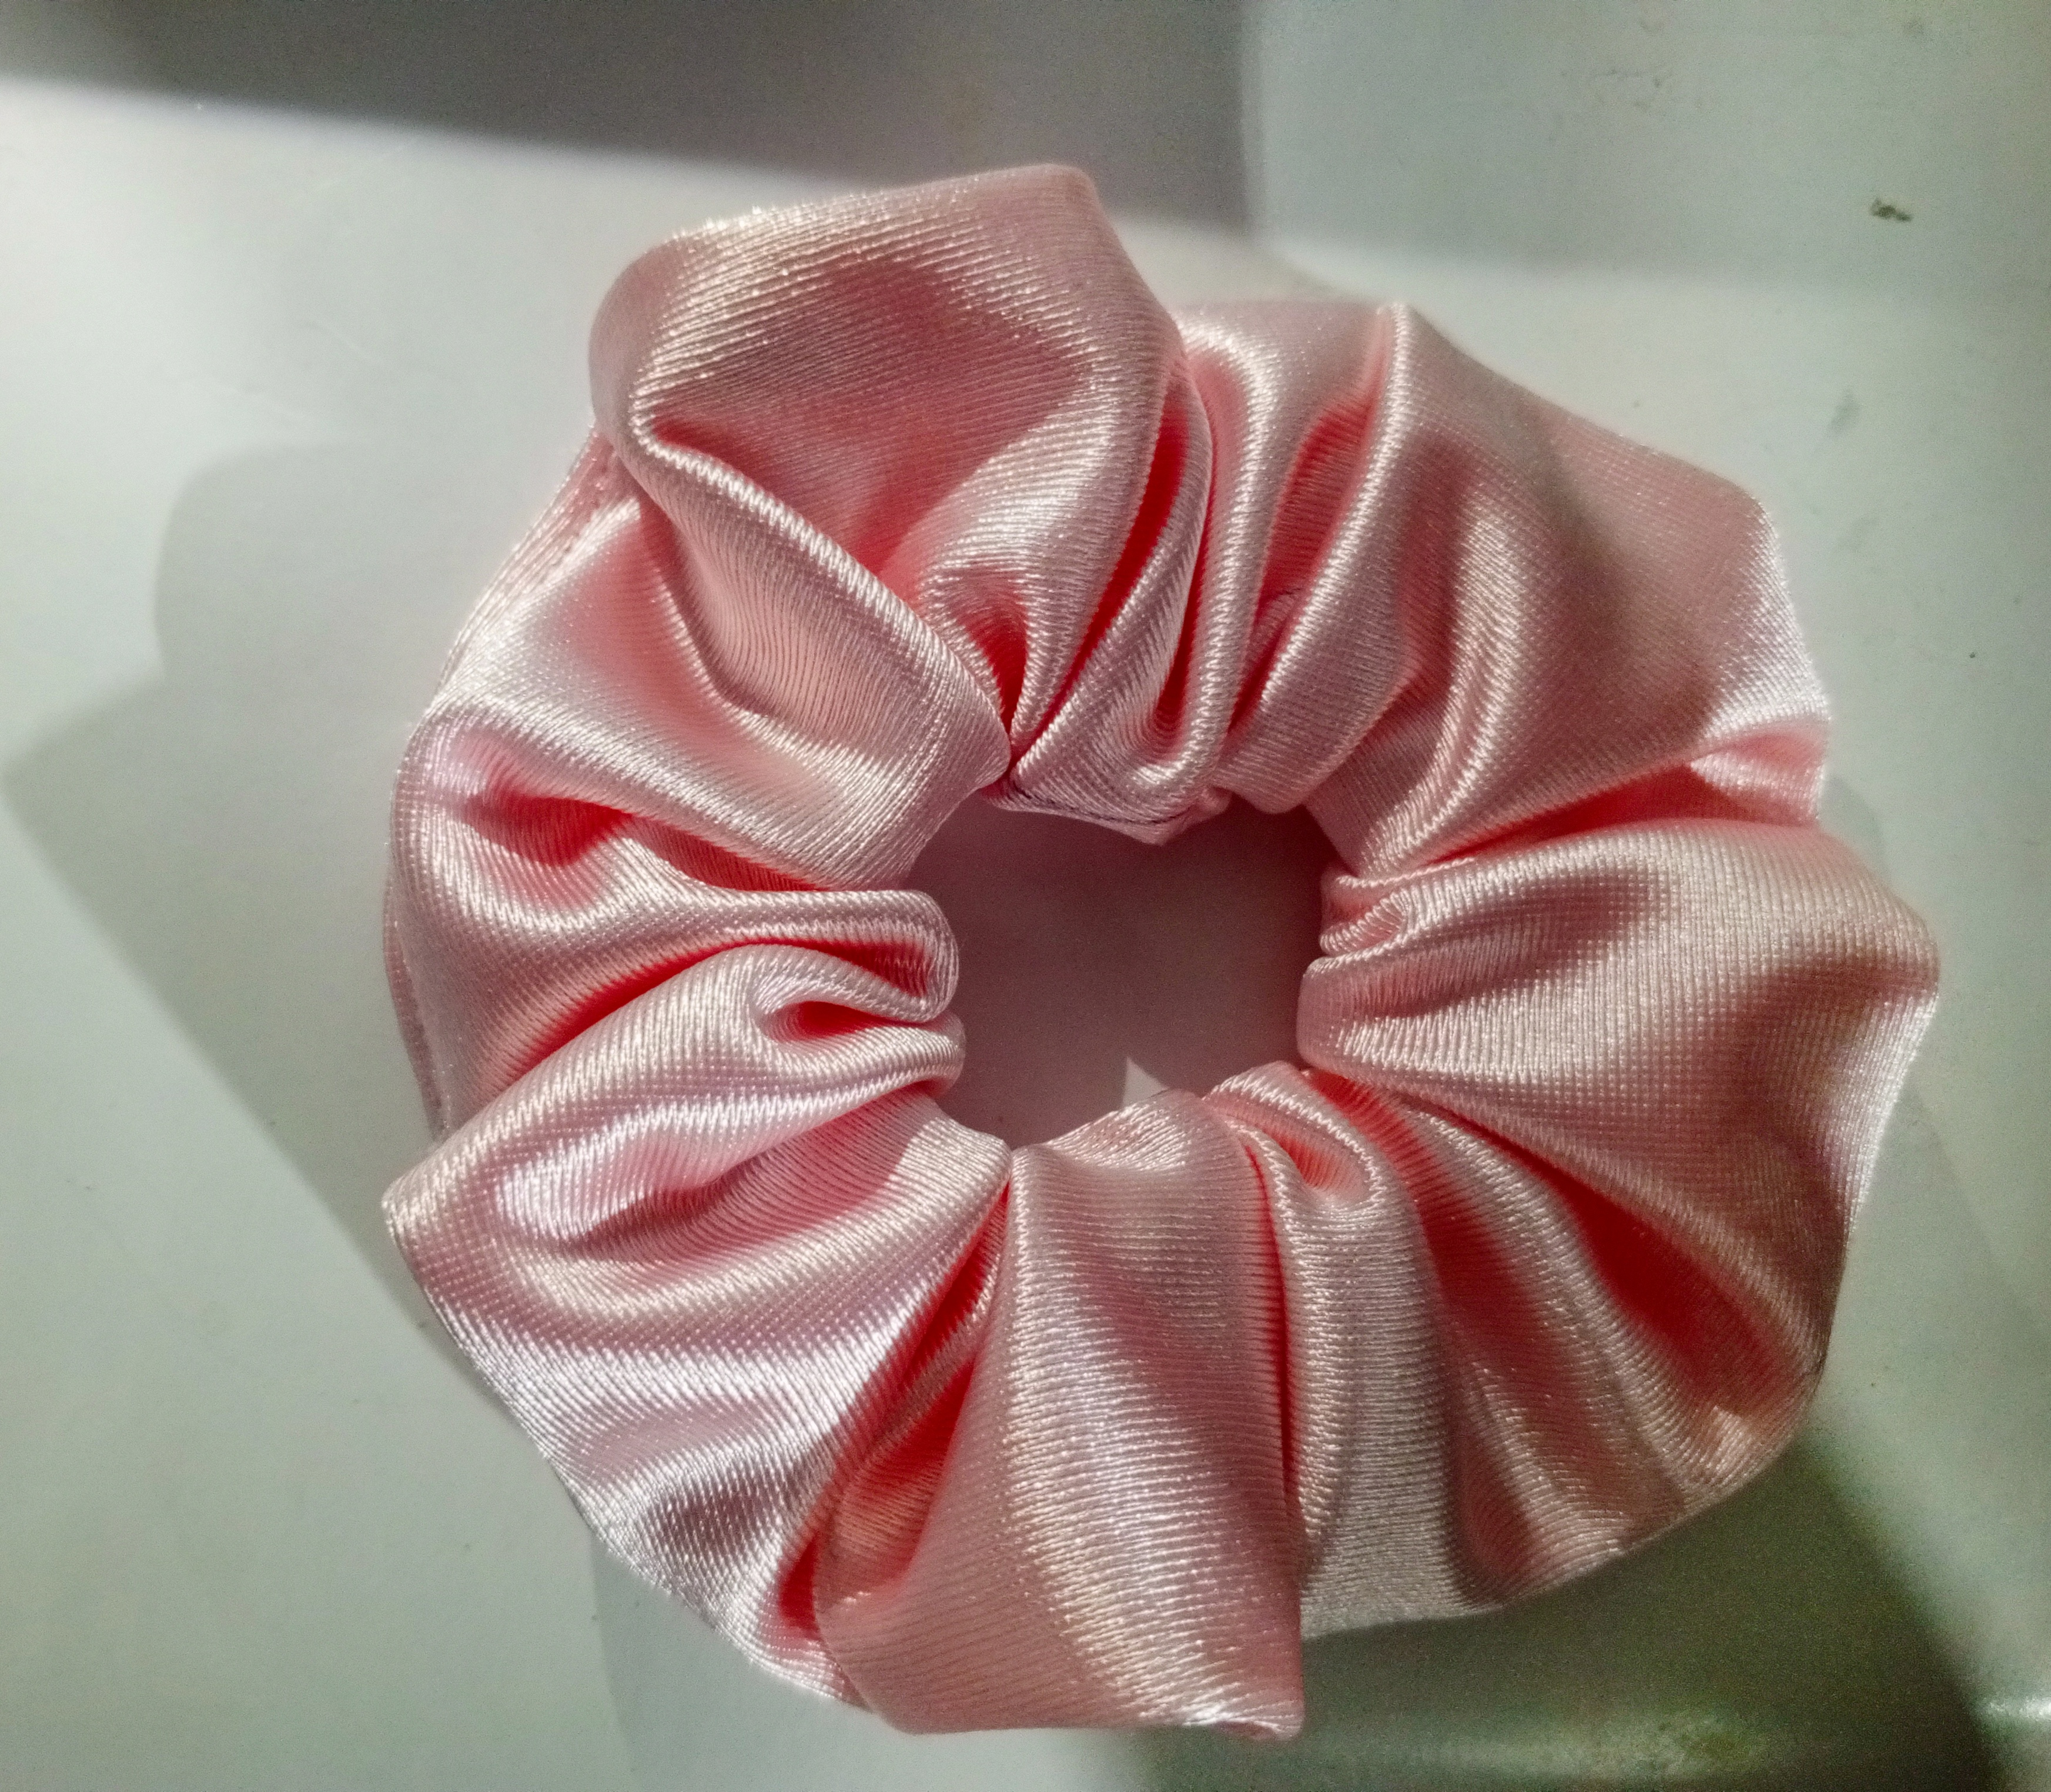
Linda Scrunchie terminada.
Cute Scrunchie finished.

Translated with DeepL.com (free version)
All photographs are my property
Sending Love and Ecency Curation Vote!
 Please Vote for our New Proposal! 🙏
How nice that you have encouraged and achieved something so nice, the process of explanation and the images that accompany them are very well documented.
I appreciate your comment, it's nice to have support
Thank you so much for sharing this beautiful scrunchie with us and for walking us through the creation. We applaud your creativity, well done.
selected by @ibbtammy
Thanks for the support, it encourages me to keep going
Congratulations @dilianny20! You have completed the following achievement on the Hive blockchain And have been rewarded with New badge(s)
Your next target is to reach 1500 upvotes.
You can view your badges on your board and compare yourself to others in the Ranking
If you no longer want to receive notifications, reply to this comment with the word
STOPCheck out our last posts:
Thanks for sharing! - @isaria
