Madcap Magus in 3D // Quilling Technique [Eng-Esp]
Hello everyone... ✨
Hello to my dear Hivers and the dear community of NFTGameLatino, as always very pleased and excited to be here again, showing you my work made with love and especially for you.
Greetings to the Splinterlands community, and everyone who lives there, I'm here to join the Splinterlands Social Media Challenge!
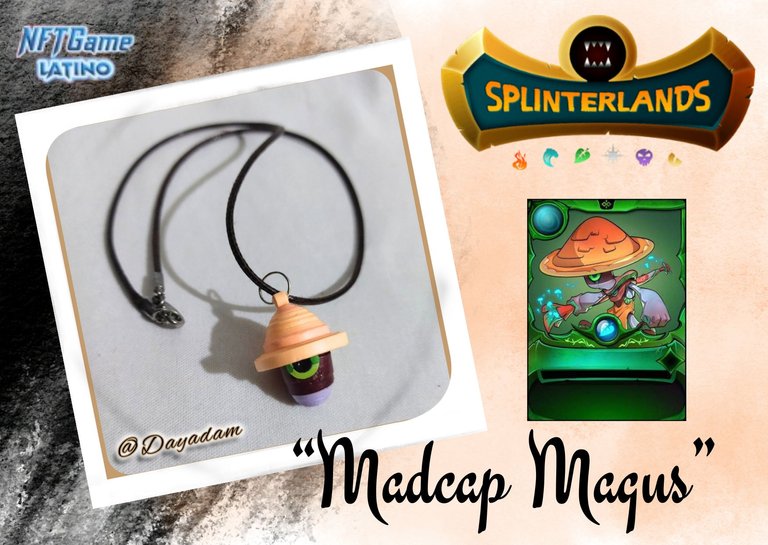
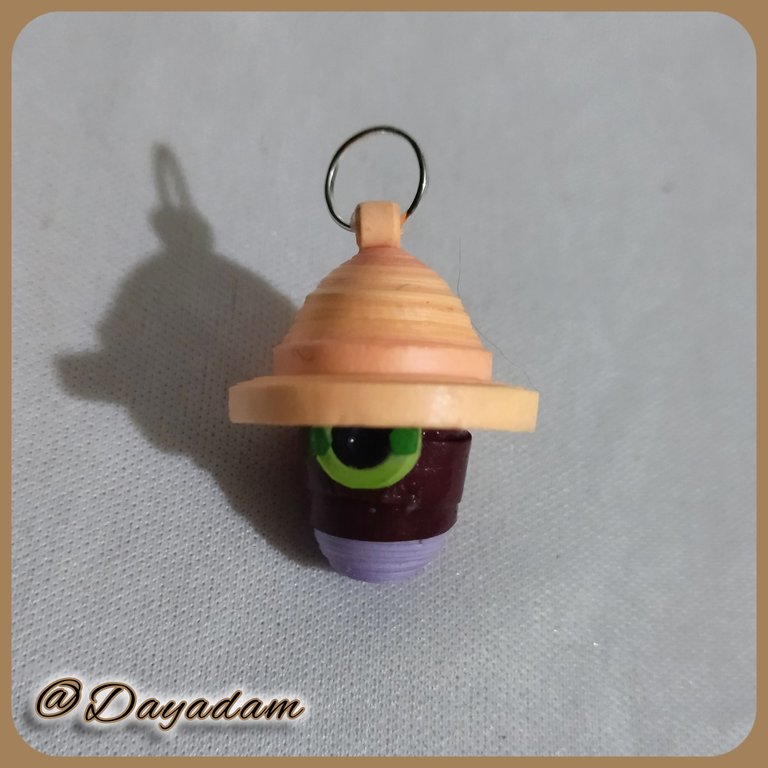
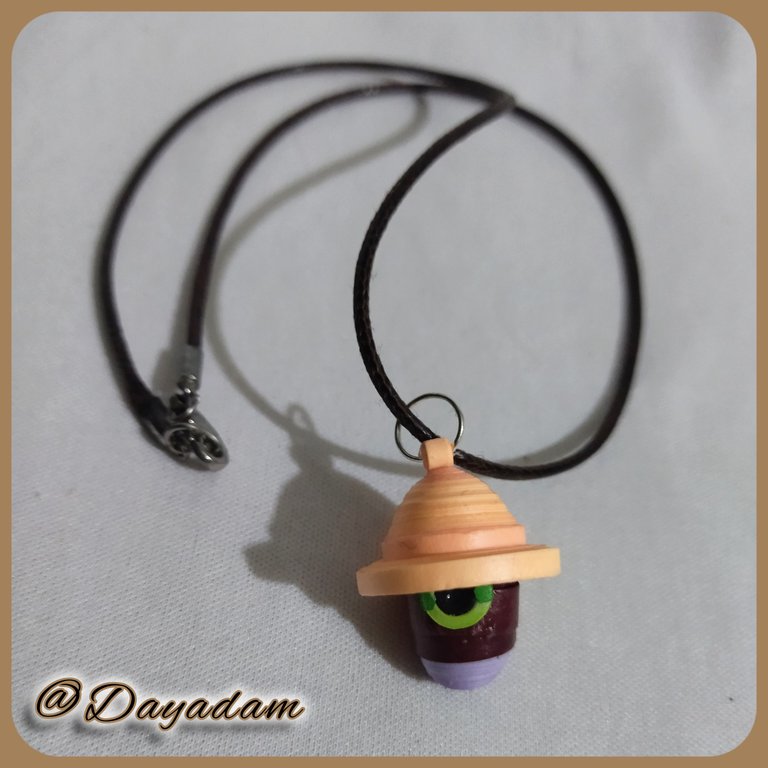
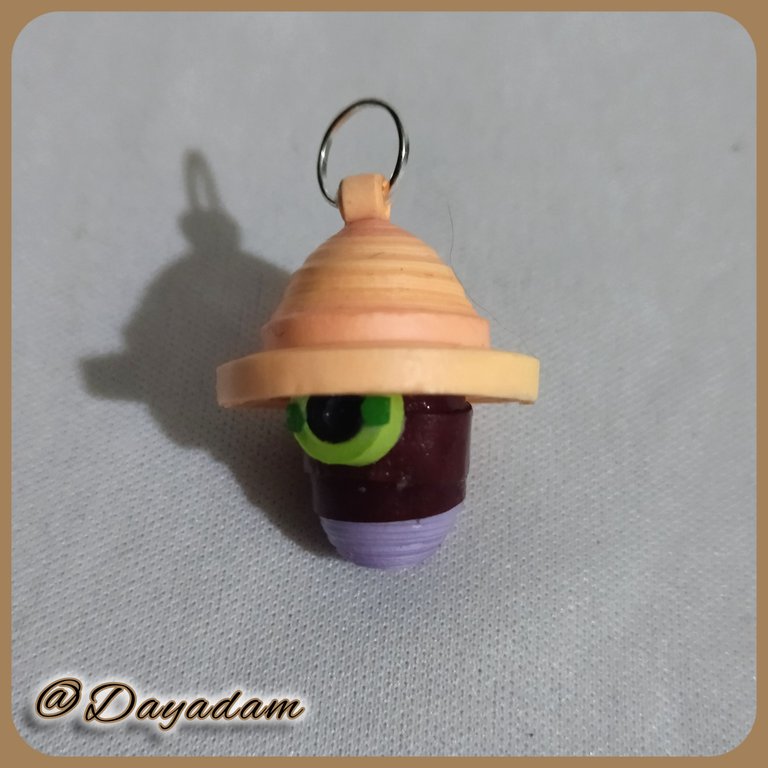
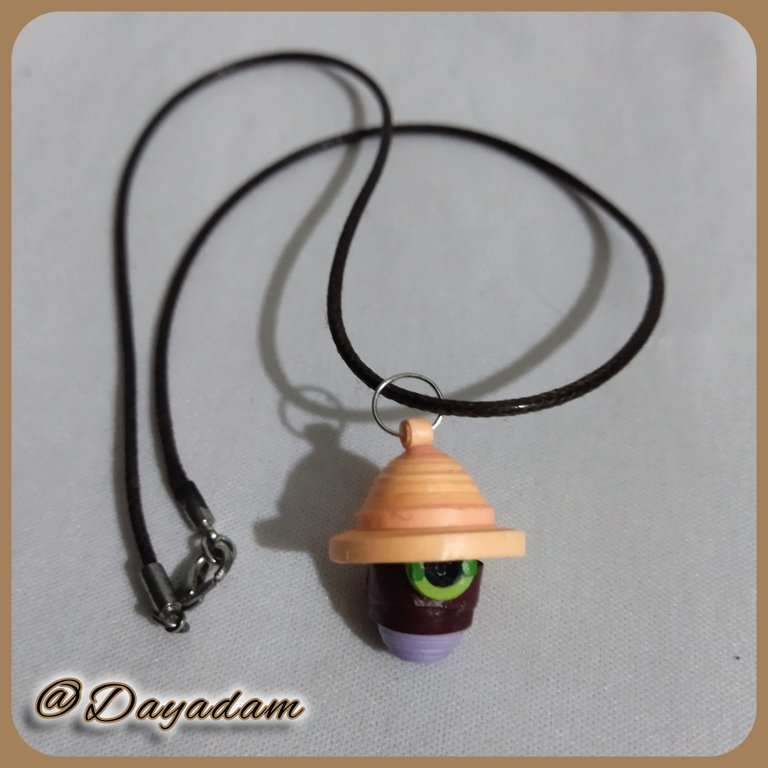
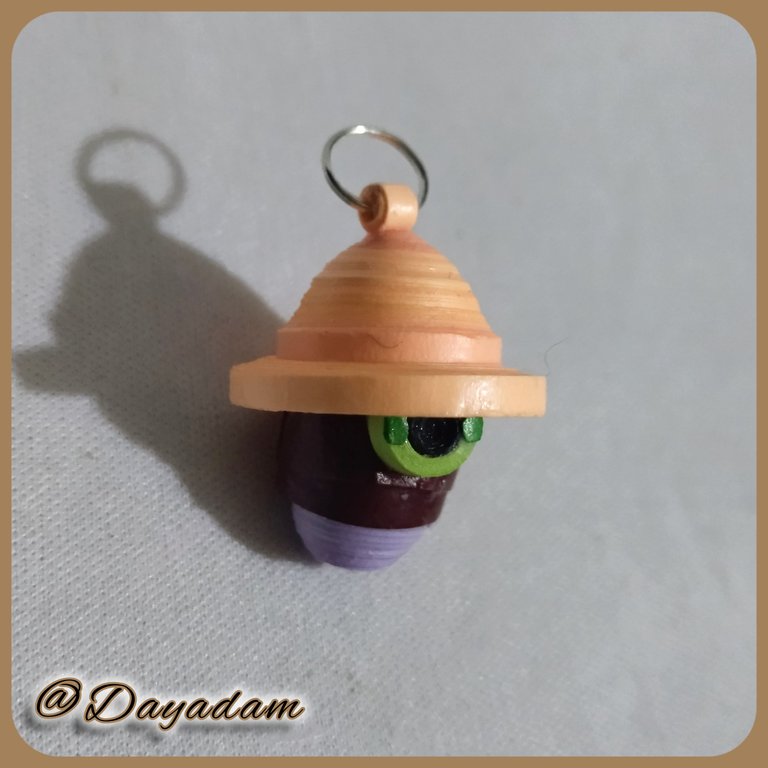
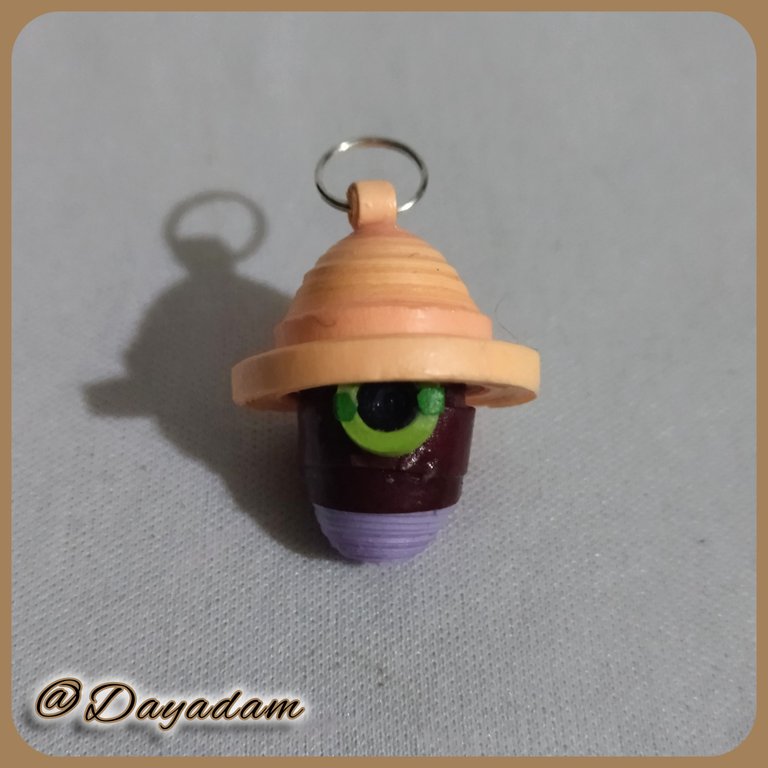
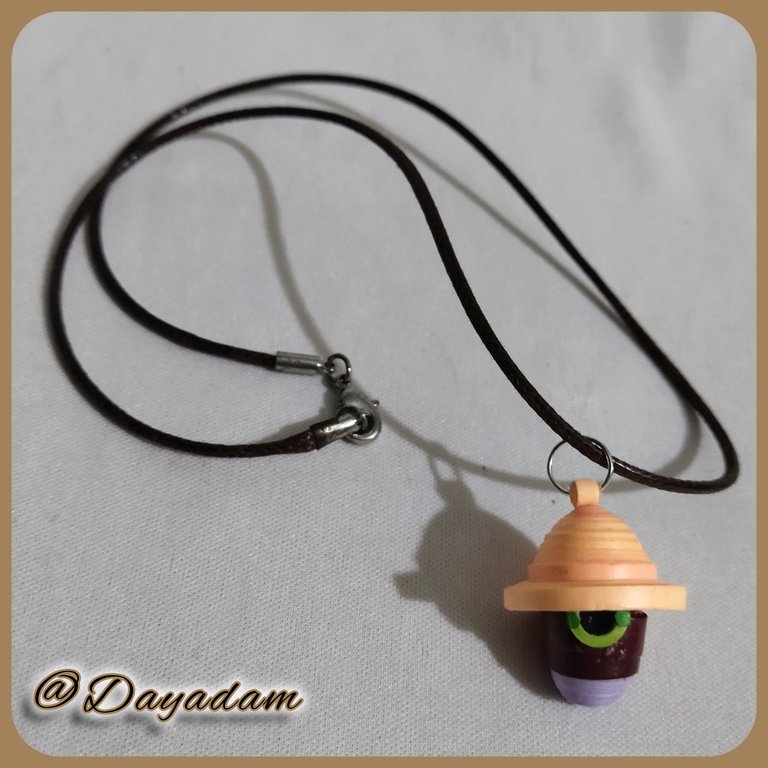
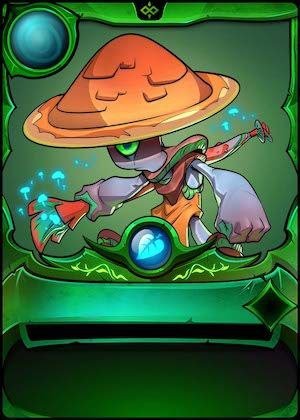
Today I bring you a necklace charm inspired by the Chaos card, Madcap Magus, this time I wanted to materialize its essence in part of the character's face in 3D in the quilling technique.
If you want to know more about the game, I leave you my reference link to enter it and navigate through this wonderful world: https://splinterlands.com?ref=dayadam
Hoping you like my work, without further ado, I leave you with my creative process.
Let's start:😃

Hola a Todos...✨
Hola a mis queridos Hivers y a la querida comunidad de NFTGameLatino, muy complacida y emocionada de encontrarme por acá para mostrárles un trabajo hecho con mucho amor y especialmente para ustedes.
Un saludo para la comunidad de Splinterlands, y todos los que hacen vida por allí, estoy por acá para unirme al reto Splinterlands Social Media Challenge!.
Para hoy les traigo un dije para collar inspirado en la carta de Chaos, Madcap Magus, en esta oportunidad quise materializar su esencia en parte del rostro del personaje en 3D en la técnica de quilling.
Si quieren saber más con respecto al juego les dejo mi enlace de referencia para que ingresen en él, y naveguen por este maravilloso mundo: https://splinterlands.com?ref=dayadam
Esperando les guste mi trabajo, sin más preámbulos, les dejo mi proceso creativo.
Comencemos:😃

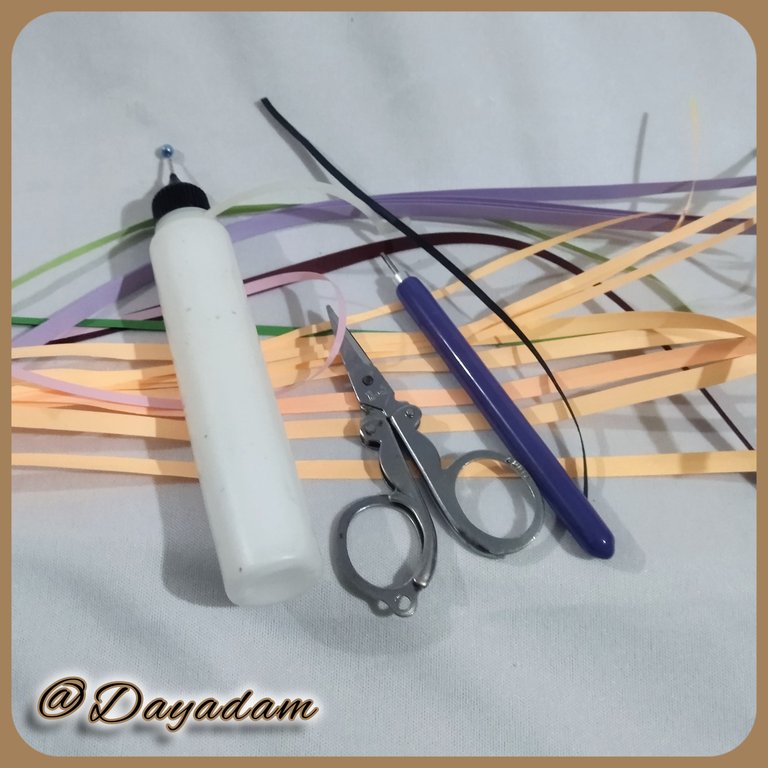
• Cintas de quilling de diversos colores.
• Aguja para quilling.
• Plantilla para círculos.
• Argolla de bisutería mediana.
• Pega blanca extra fuerte (de carpintería).
• Tijera.
• Pincel.
- Quilling ribbons of different colors.
- Quilling needle.
- Template for circles.
- Medium size costume jewelry ring.
- Extra strong white glue (carpentry glue).
- Scissors.
- Paintbrush.

*** Hat:***
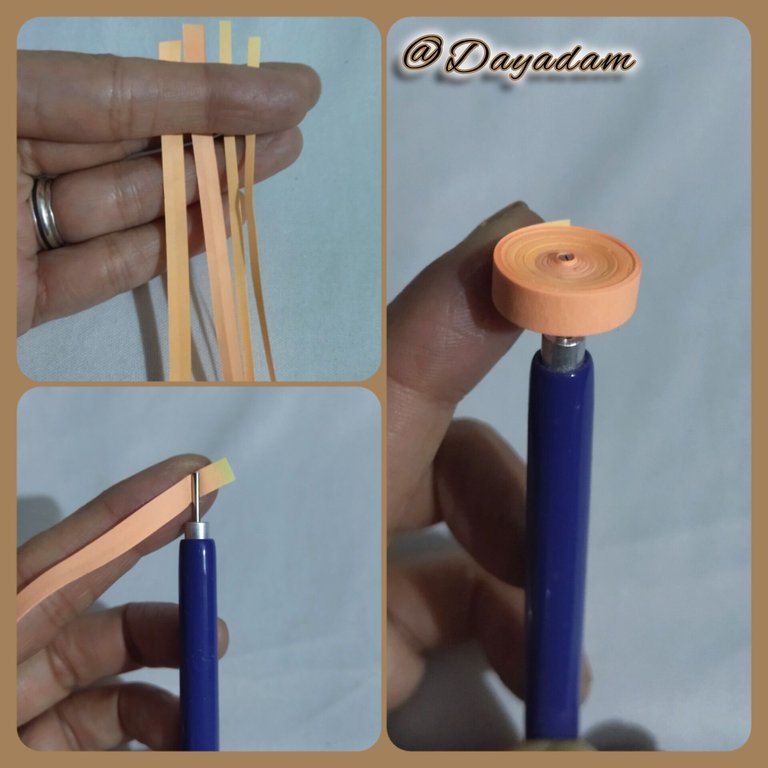
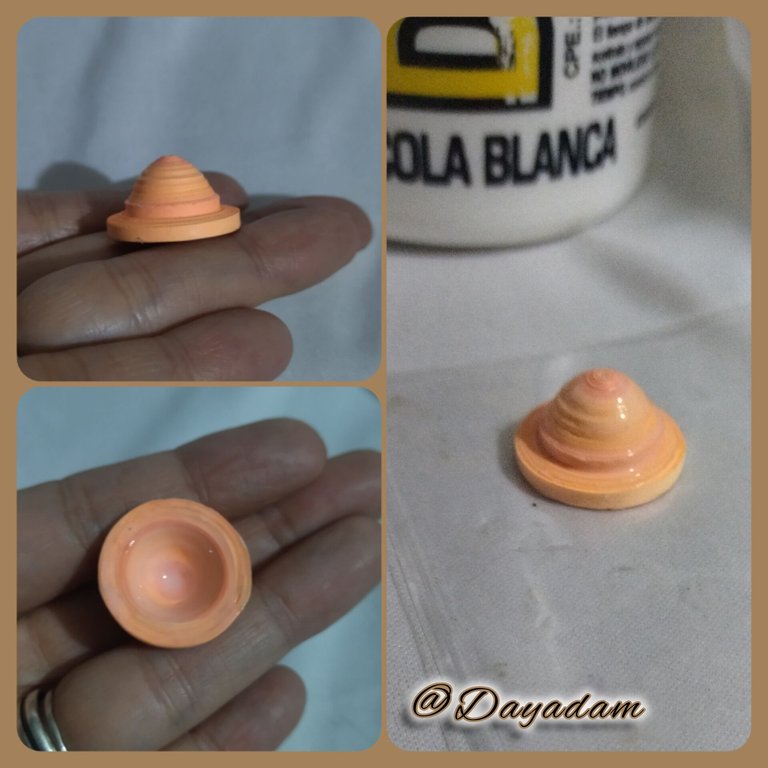
- This we will do it taking quilling tape for salmon color of 3 and 5mm wide x 200cms long, we roll with the needle for quilling until we reach the end of it, we seal with extra strong white glue, we take out of the needle, we will obtain a closed circle.
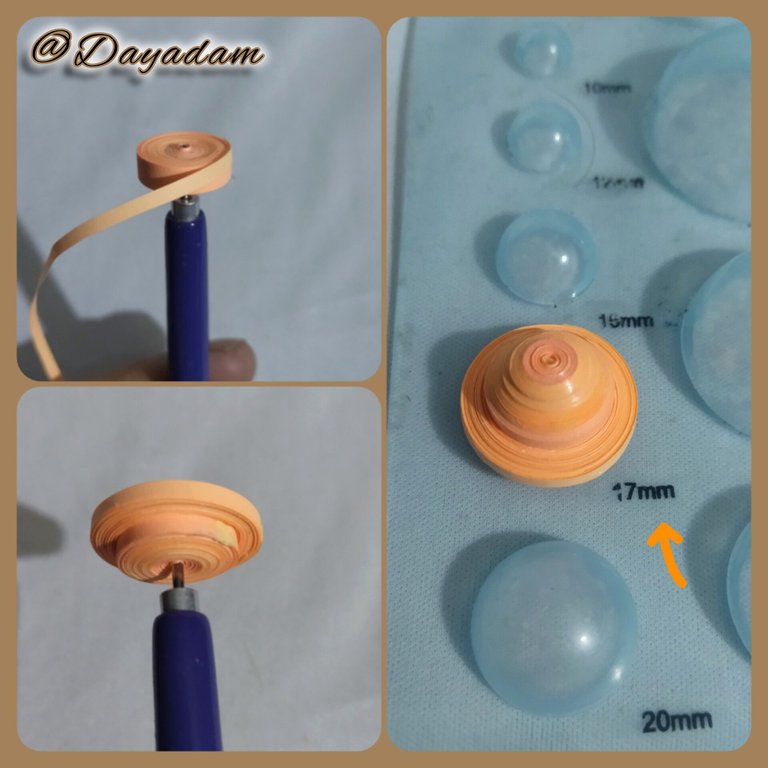
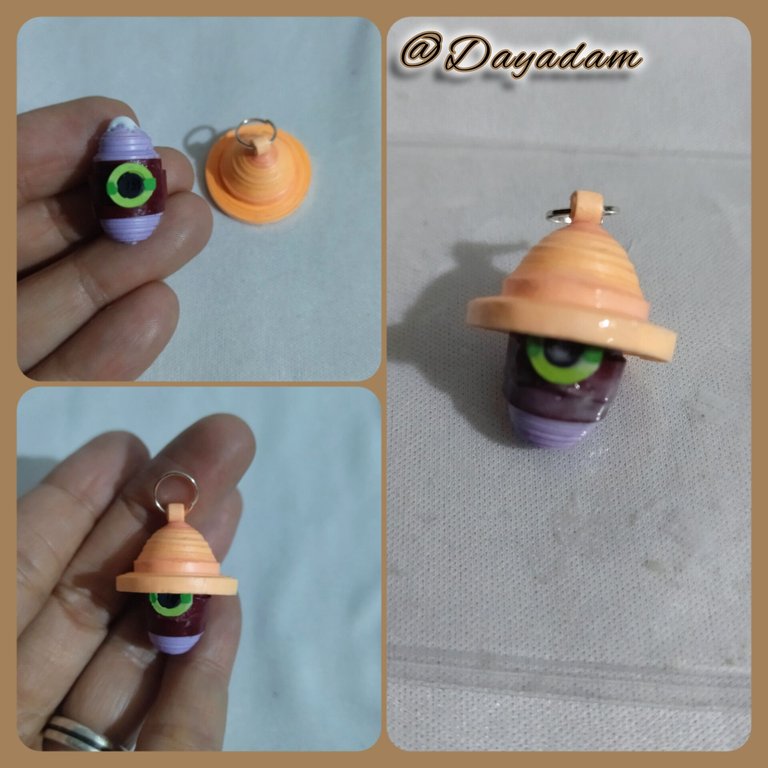
- We are going to mold in the template for circles in the measure 17mm, as you can see there will be a border around, we take out of the template, we will mold in a cone shape the top of the hat, we apply glue on the inside so that it does not deform.
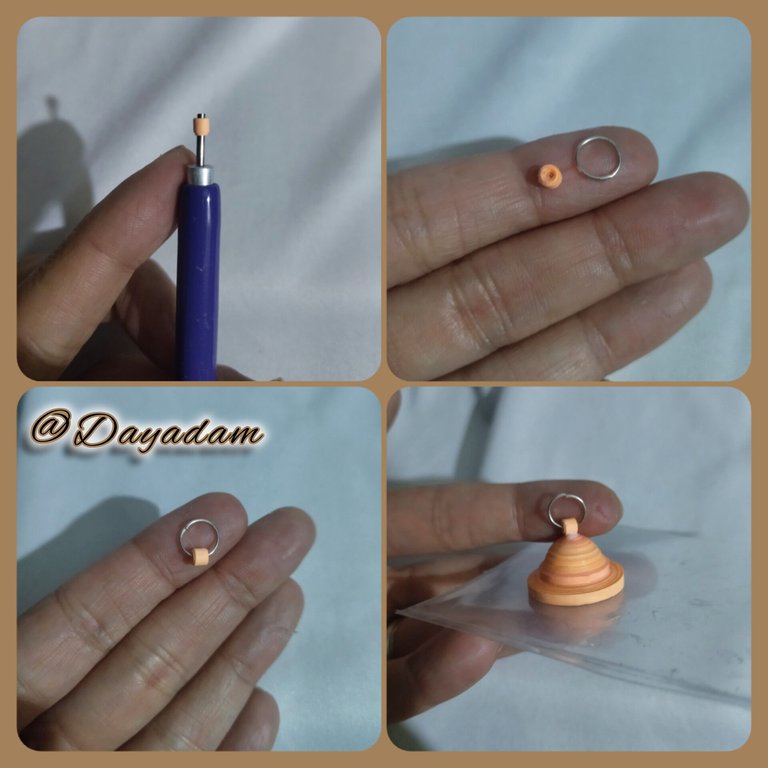
- With a small piece of ribbon of the same color of the hat of 2mm of width, we will make a small closed circle to which we will incorporate a ring of costume jewelry, we will glue at once to the hat so that it dries.

Sombrero:
• Este lo haremos tomando cinta para quilling de color salmon de 3 y 5mm de ancho x 200cms de largo, enrollamos con la aguja para quilling hasta llegar al final de la misma, sellamos con pega blanca extra fuerte, sacamos de la aguja, obtendremos un círculo cerrado.
• Vamos a moldear en la plantilla para círculos en la medida 17mm, como pueden observar quedara un borde alrededor, sacamos de la plantilla, moldearemos en forma de cono la parte de arriba el sombrero, aplicamos pega por su parte interna para que no se deforme.
• Con un pequeño trozo de cinta del mismo color del sombrero de 2mm de ancho, realizaremos un pequeño círculo cerrado al cual le incorporaremos una argolla de bisutería, pegaremos de una vez al sombrero para que se vaya secando.
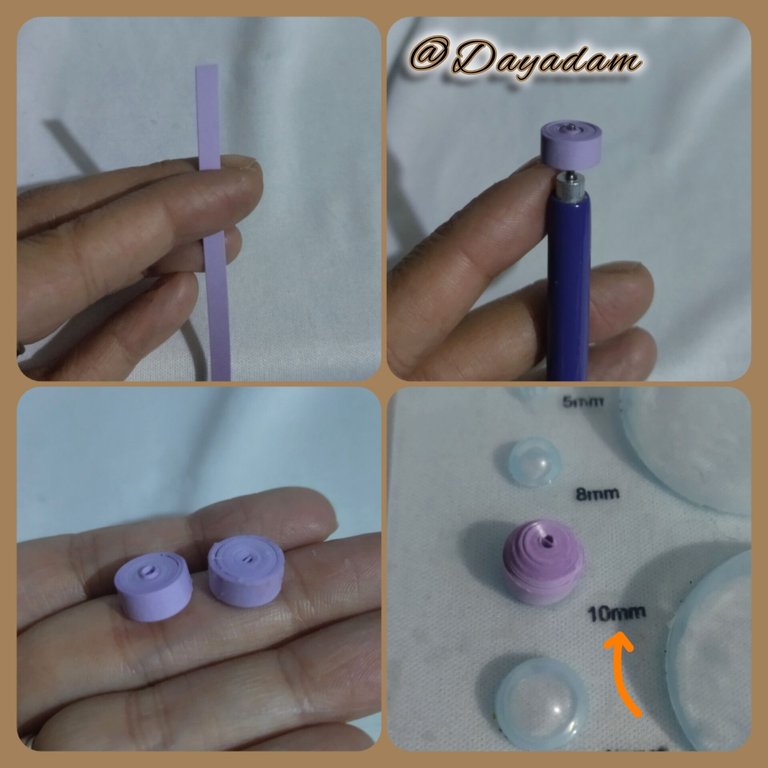
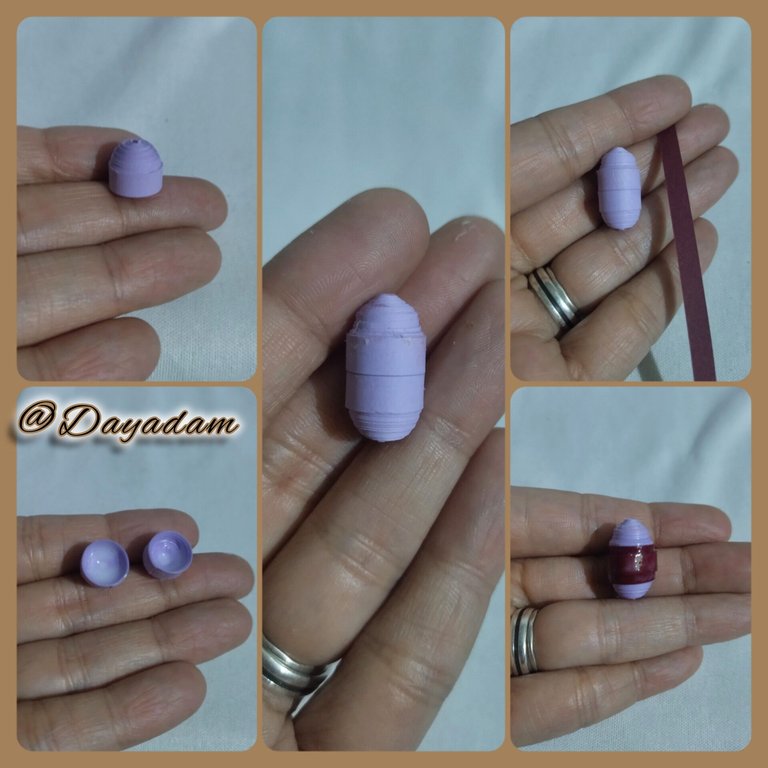
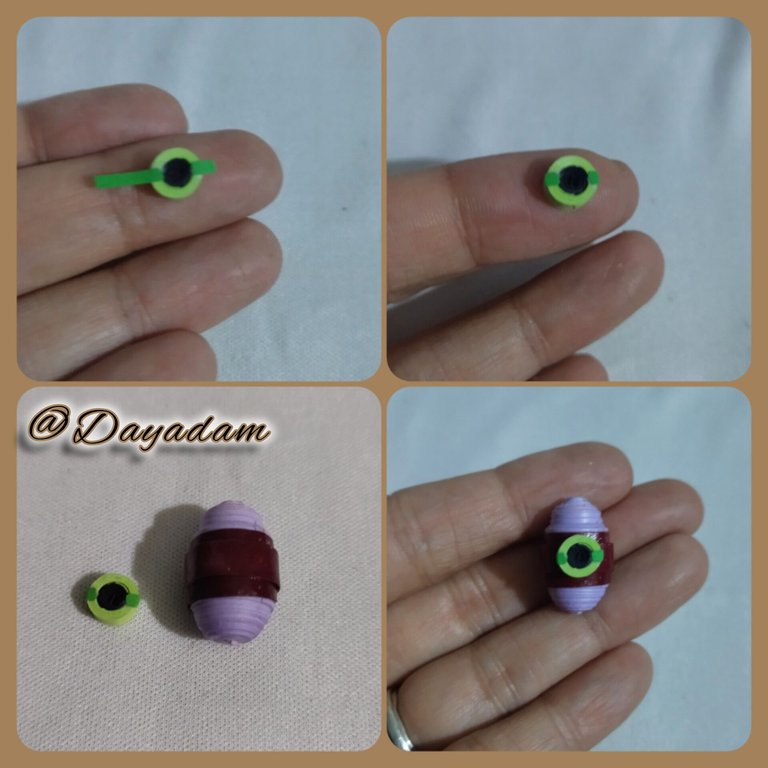
- With 4mm wide purple quilling tape I made two closed circles with the help of the quilling needle, which I molded a little circular at their ends, I used the 10mm circle mold, added glue on the inside so that they would not deform and joined both with extra strong white glue.
- To the purple piece that I made previously, I placed two pieces of red wine colored ribbon around its central part.
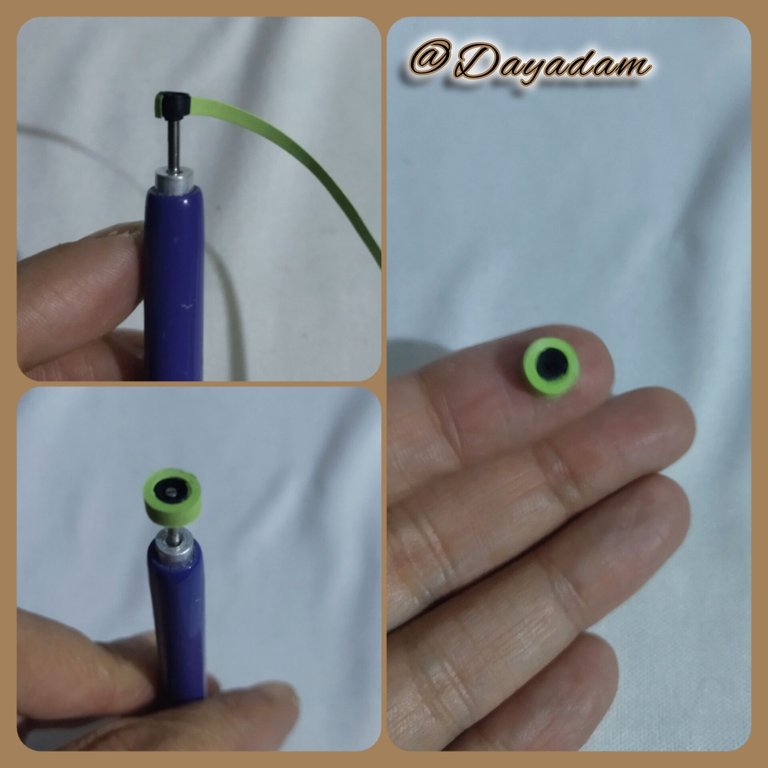
- For the eye, take black and light green quilling tape, roll it up starting with the black color and ending with the green, seal with white glue. Ready, take 2 small strips of dark green color and glue on the sides of the central part of the eye, glue on the piece that I made previously in the center of the red wine ribbon. I proceeded to join the hat.
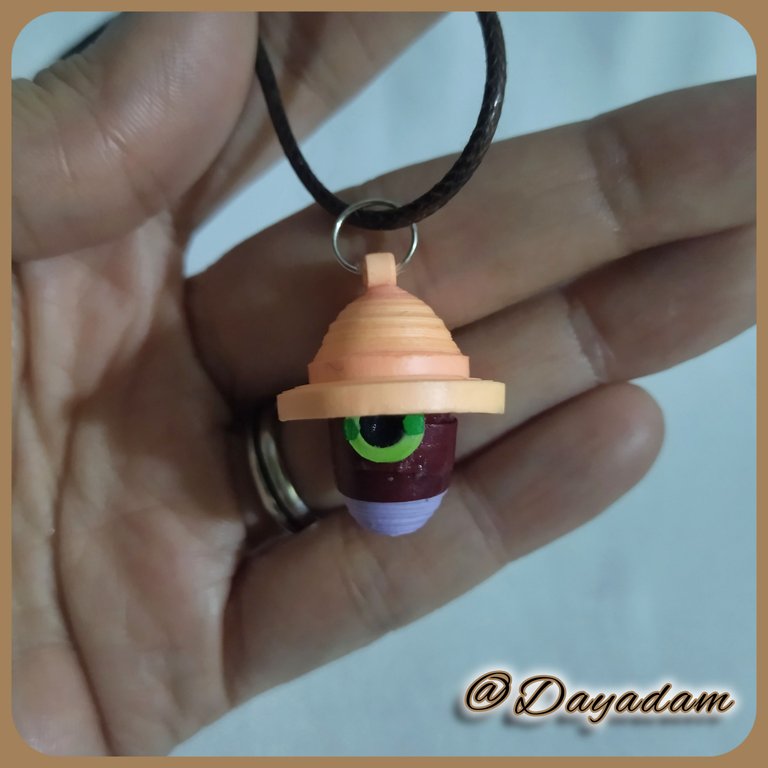
- Finally apply several coats of extra strong white glue, letting dry between one coat and another to give it protection, shine and plasticizing.
*** - In this way we have ready this little pendant for necklace that I materialized inspired in the letter "Madcap Magus ".

• Con cinta para quilling color morado de 4mm de ancho realice dos círculos cerrados con la ayuda de la aguja para quilling, los cuales moldee un poco circulares en sus puntas me ayude con el molde para círculos en la medida numero 10mm, agregue pega en su parte interna para que no se deformaran y uní ambos con pega blanca extra fuerte.
• A la pieza morada que realice con anterioridad le coloque alrededor en su parte central dos trozos de cinta color vino tinto.
• Para el ojo tome cinta para quilling color negro y verde claro, enrolle empezando por el color negro hasta finalizar con e l verde, selle con pega blanca. Listo tome 2 pequeñas tiras de color verde oscuro y pegue a los lados de la parte central de ojo, pegue en la pieza que realice anteriormente en el centro de la cinta vinotinto. Procedí a unir del sombrero.
• Por ultimo aplicamos varias capas de pega blanca extra fuerte dejando secar entre una capa y otra para darle, protección, brillo y plastificado.
• De esta manera tenemos listo este pequeño dije para collar que materialice inspirado en la carta "Madcap Magus".


What did you think, did you like it?
I hope you did, I hope you liked my explanation, procedure and photos, I made them with love for you.
"Let out that muse that inspires you, and let your imagination fly".
Thank you all, see you next time.

¿Que les pareció, les gustó?
Espero que sí, que les haya gustado mi explicación, procedimiento y fotos, los hice con mucho cariño por y para ustedes.
"Deja salir esa musa que te inspira, y deja volar tu imaginación".
Gracias a todos, nos vemos en la próxima.


Posted Using InLeo Alpha
Thanks for the support @splinterboost ✨
From Venezuela, our witness drives decentralization and the adoption of Web3 technology, creating opportunities for the local community and contributing to the global ecosystem. // Desde Venezuela, nuestro testigo impulsa la descentralización y la adopción de la tecnología Web3, generando oportunidades para la comunidad local y contribuyendo al ecosistema global.
Sigue, contacta y se parte del testigo en: // Follow, contact and be part of the witness in:
Gracias por el apoyo @hispapro ✨
Genial! Me gusta mucho los colores que utilizaste en este proyecto, son muy parecidos a los de la carta original. Buen trabajo 👍🏽
!LUV
!VSC
@chacald.dcymt has sent VSC to @dayadam
This post was rewarded with 0.1 VSC to support your work.
Join our photography communityVisual Shots
Check here to view or trade VSC Tokens
Be part of our Curation Trail
@chacald.dcymt ha enviado VSC a @dayadam
Éste post fue recompensado con 0.1 VSC para apoyar tu trabajo.
Únete a nuestra comunidad de fotografía Visual Shots
Consulte aquí para ver o intercambiar VSC Tokens
Se parte de nuestro Trail de Curación
dayadam, chacald.dcymt sent you LUV. 🙂 (1/1) tools | trade | connect | wiki | daily
Made with LUV by crrdlx.
Gracias por el apoyo preciosa y por tus palabras.
Bendiciones @chacald.dcymt ✨
Hey, at first glance the pendant looks like plastic xD, I love it! <3
They are paper tapes but I laminate them with extra strong glue to give them resistance. I'm glad you'll like it. Welcome to my blog. Greetings @fantasmitanc ✨
Thanks for the support @hadianoor ✨
Una vez más, una pieza llena del mas fino arte
Muchísimas gracias amigo ☺️✨
https://inleo.io/threads/dayadam/re-dayadam-jmsxghex
The rewards earned on this comment will go directly to the people ( dayadam ) sharing the post on LeoThreads,LikeTu,dBuzz.
Checkout our BDVoter Daily Hive Showcase & Participate into our Daily giveaway to win various prize.
Thanks for the support @bdvoter.cur ✨
Dios mío, qué hermoso se ve esto, cuando lanzaron las nuevas cartas este fue uno de los personajes que me gustaron, era como ver un hongo mágico jajaj, pero verlo ahora como una manualidad o accesorio de bisutería es una más genial, te felicito por tu creación, es arte puro y es todo un placer ver que lo compartas en la comunidad.
!PIZZA
Ainsss Dios, pero que bellas palabras de tu parte hacia mi trabajo, me encanta la emoción que transmites, es demasiado gratificante para mi, son cosas que me impulsan a crear y mejorar cada día mas. De verdad un placer leerte y hacer este tipo de trabajos especialmente para ustedes los fans y jugadores de splinterlands, y mas aun compartirlo en su comunidad.
Que tengas un hermoso día cariño @zonadigital21
$PIZZA slices delivered:
@zonadigital21(3/5) tipped @dayadam
Thanks for sharing! - @alokkumar121

Thank you very much for your support for my work @alokkumar121 and @steemmonsters, I hope to continue improving every day
Keep up the good work.. Cheers