Grumpy Dwarf // Necklace Pendant Quilling Technique // Splinterlands Art Contest 273 [Eng-Esp]
Hello everyone... ✨
Hello to my dear Hivers and the dear community of artists Jewelry, as always very pleased and excited to be here again, showing you my work made with love and especially for you...
Greetings to the Splinterland community, and everyone who lives there, I am pleased to be here to participate in the Splinterlands Art Contest Week 273.
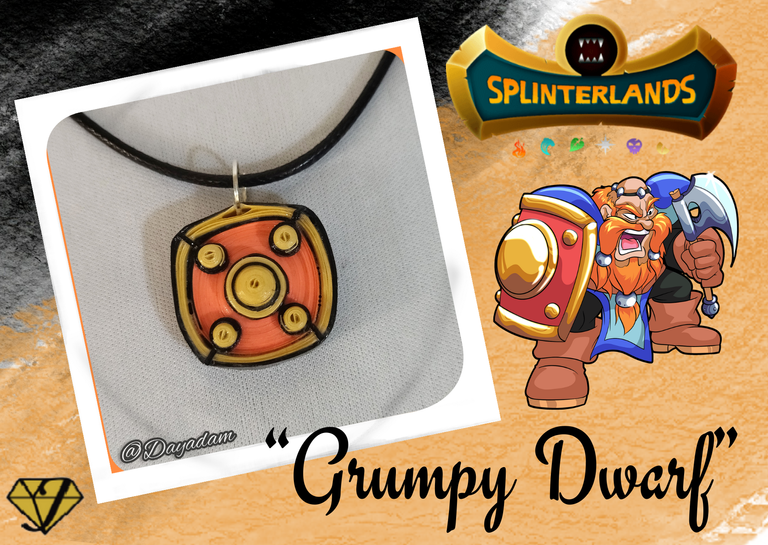
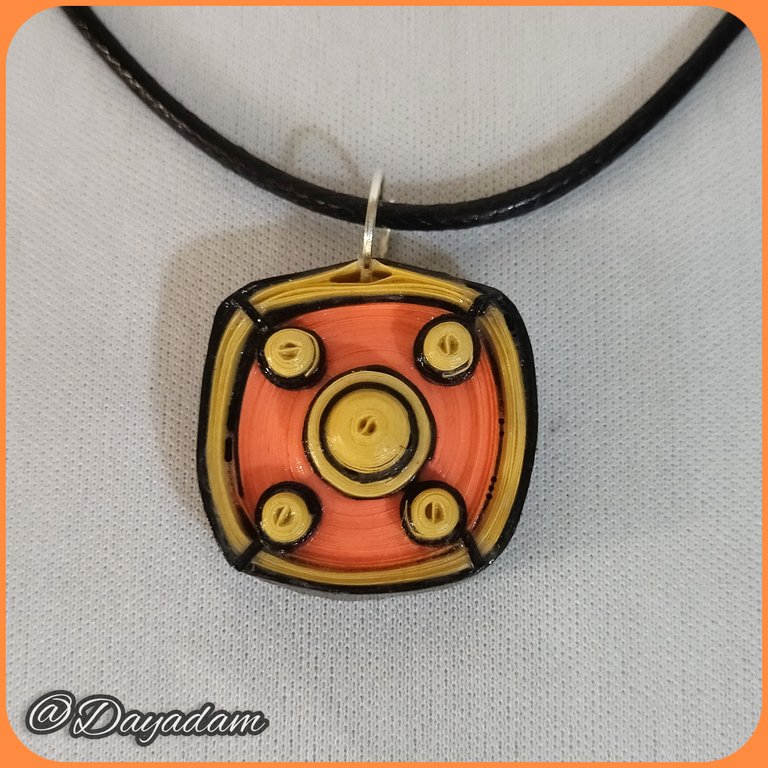
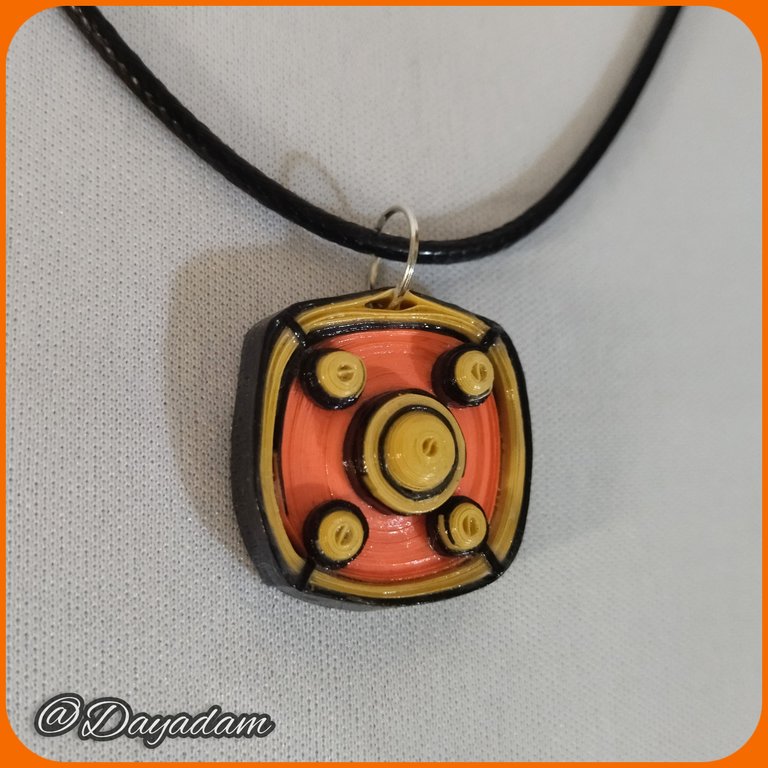
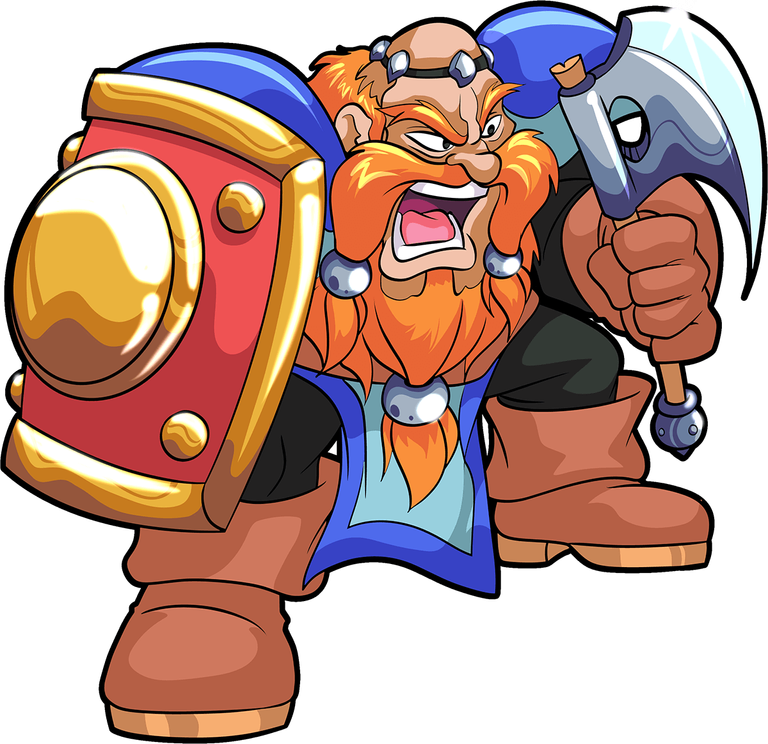
Today I bring you a fan-art of one of the elements of the card "Grumpy Dwarf" of which I decided to make a pendant for necklace in the quilling technique, a little similar to its shield, since they mark an essential characteristic of it.
If you want to know more about the game, I leave you my reference link to enter it and navigate through this wonderful world: https://splinterlands.com?ref=dayadam
Hoping you like my work, without further ado, I leave you with my creative process.
Let's start:😃

Hola a Todos...✨
Hola a mis queridos Hivers y a la querida comunidad de artistas Jewelry, como siempre muy complacida y emocionada de encontrarme por acá nuevamente, mostrándole mi trabajo hecho con mucho amor y especialmente para ustedes.
Un saludo para la comunidad de Splinterland, y todos los que hacen vida por allí, me gratifica estar por acá para participar en el Splinterlands Art Contest Week 273.
Hoy les traigo un fan-art de uno de los elementos de la carta "Grumpy Dwarf" de la cual decidí hacer un dije para collar en la técnica de quilling, un poco semejante a su escudo, ya que marcan una característica esencial del mismo.
Si quieren saber más con respecto al juego les dejo mi enlace de referencia para que ingresen en él, y naveguen por este maravilloso mundo: https://splinterlands.com?ref=dayadam
Esperando les guste mi trabajo, sin más preámbulos, les dejo mi proceso creativo.
Comencemos:😃

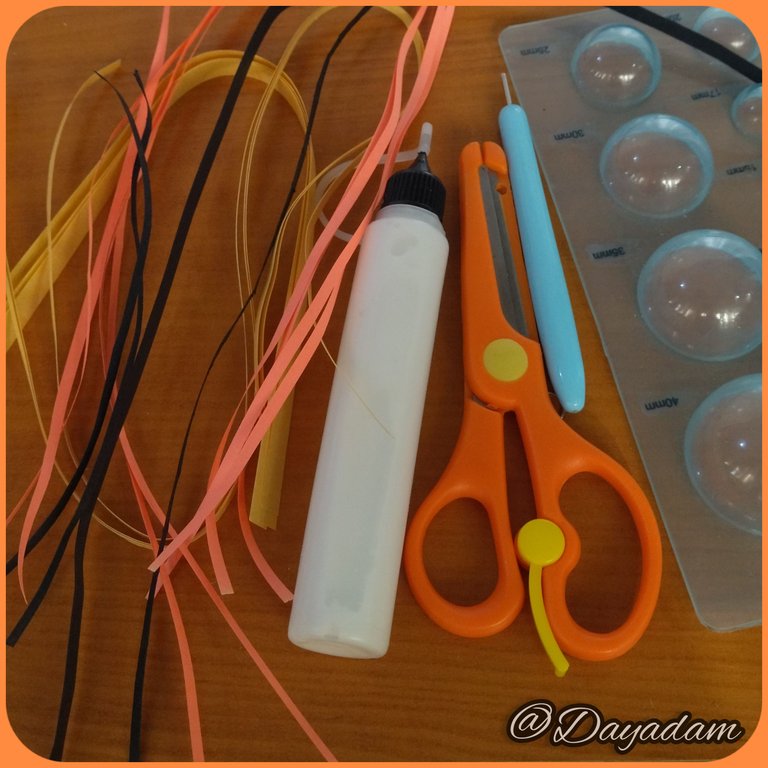
• Cintas de quilling de diversos colores.
• Aguja para quilling.
• Molde para círculos.
• Pega blanca extra fuerte (de carpintería).
• Tijera.
• Pincel.
• Alicate punta fina.
• Argolla mediana de bisutería.
- Quilling ribbons of different colors.
- Quilling needle.
- Mold for circles.
- Extra strong white glue (carpentry glue).
- Scissors.
- Paintbrush.
- Fine-nosed pliers.
- Medium size costume jewelry ring.

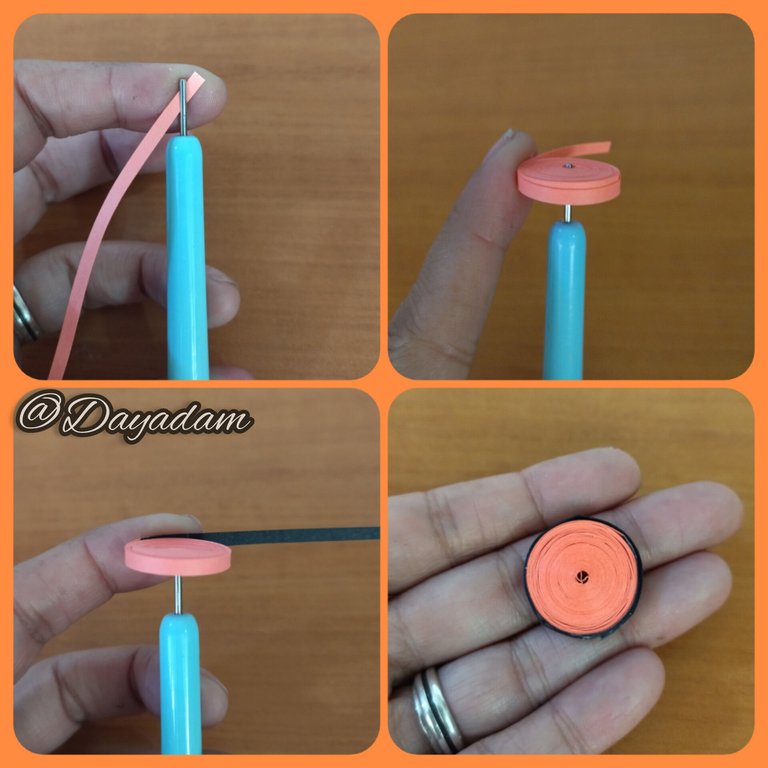
- We are going to start by taking a 3mm wide light pink quilling ribbon, with the quilling needle we will roll it up, then we will add a piece of black ribbon 3mm wide, we will continue rolling until we finish with the ribbon until we form a closed circle.
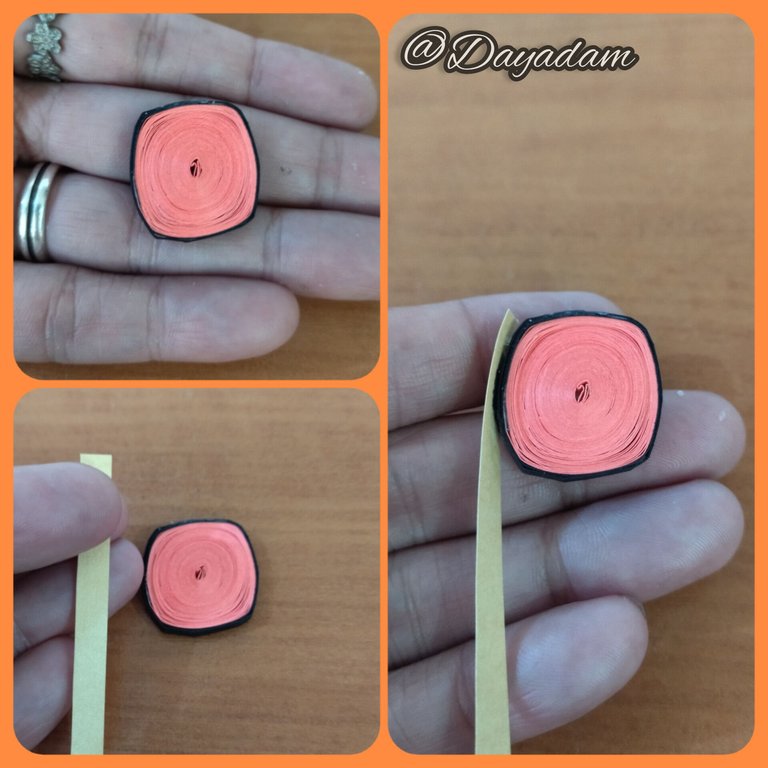
- Once the circle is ready, we will mold it into a kind of square.
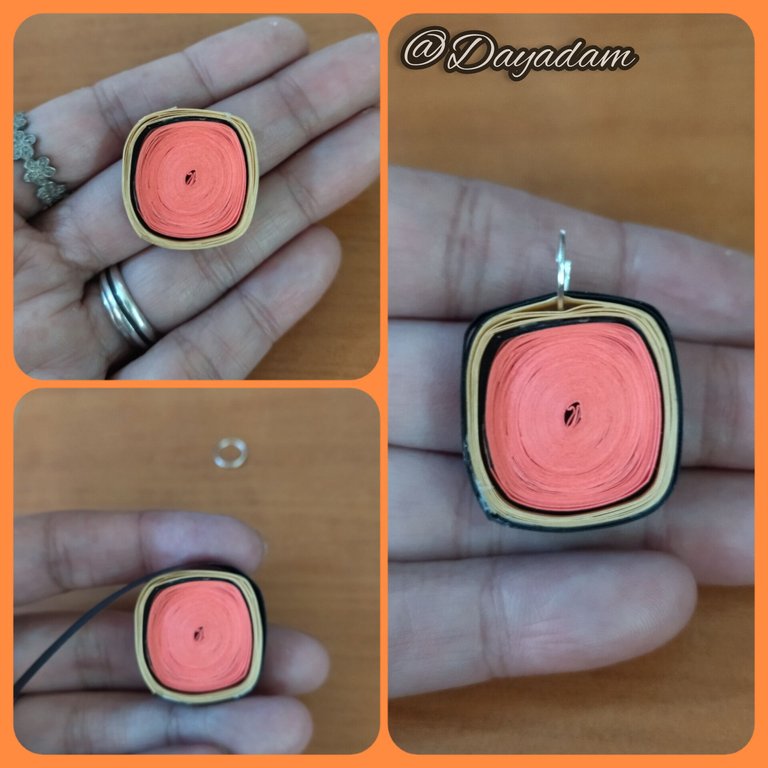
- Now we will take a 6mm wide gold color quilling ribbon, we will begin to pass around the square to form a border, then we will go with a piece of 6mm wide black ribbon, we will continue rolling before finishing with the ribbon we will incorporate a medium size costume jewelry ring, we finish rolling and seal with a touch of extra strong white glue.

• Vamos a comenzar tomando una cinta para quilling de 3mm de ancho color rosa claro, con la aguja para quilling enrollaremos, luego añadiremos un trozo de cinta negra de 3mm de ancho, seguiremos enrollando hasta finalizar con la cinta hasta formar un circulo cerrado.
• Listo el circulo vamos a moldear hasta formar una especie de cuadrado.
• Ahora tomaremos una cinta para quilling color dorado de 6mm de ancho, comenzaremos a pasar alrededor del cuadrado para formar un borde, luego iremos con un trozo de cinta negra de 6mm de ancho seguiremos enrollando antes de finalizar con la cinta incorporaremos una argolla mediana de bisutería, terminamos de enrollar y sellamos con un toque de pega blanca extra fuerte.
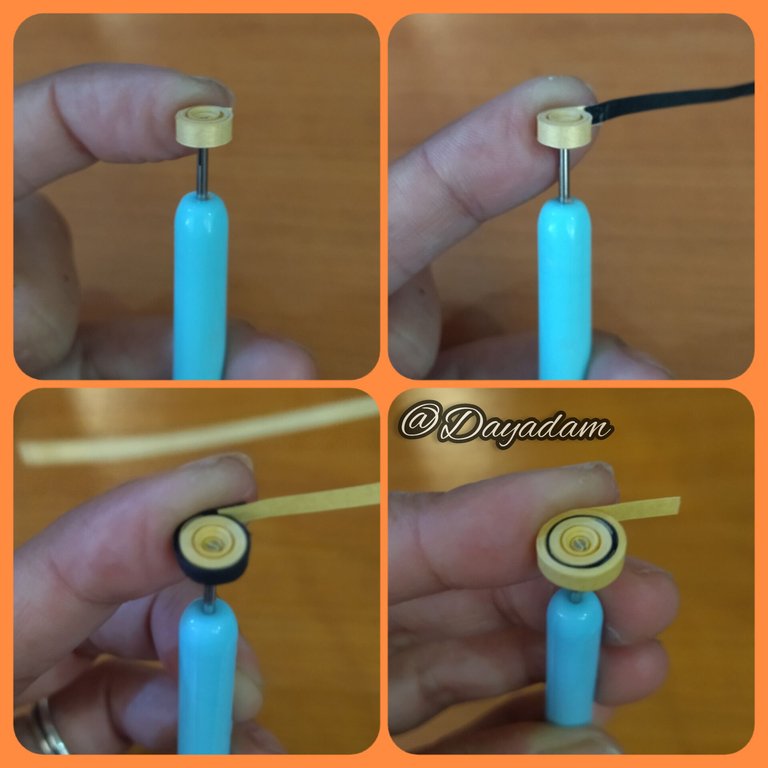
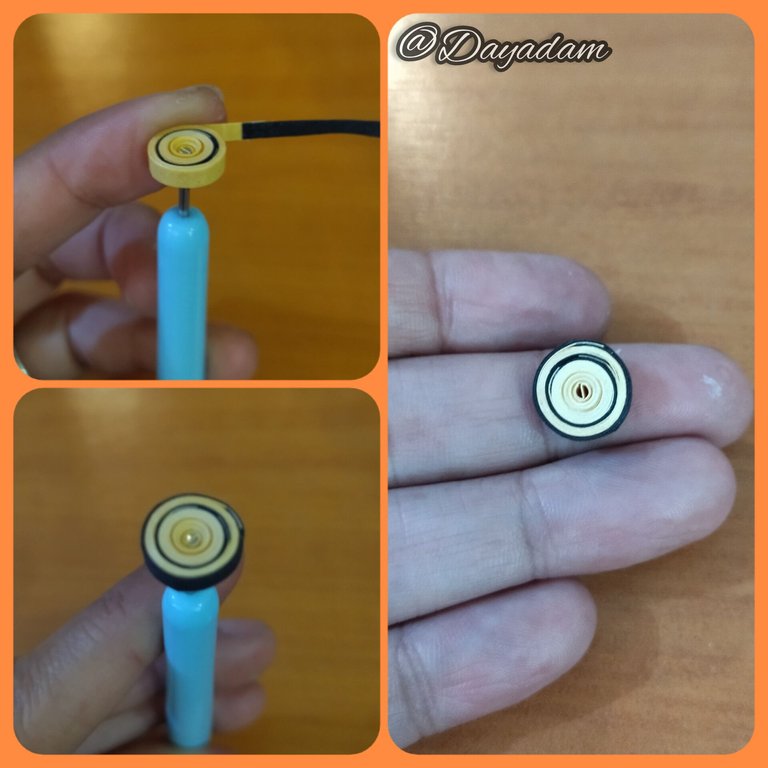
- With 3mm wide golden ribbon we will start to roll with the quilling needle, as we roll we will add a piece of black ribbon, we will continue rolling, then we will continue with golden again, until we finish with a piece of black ribbon.
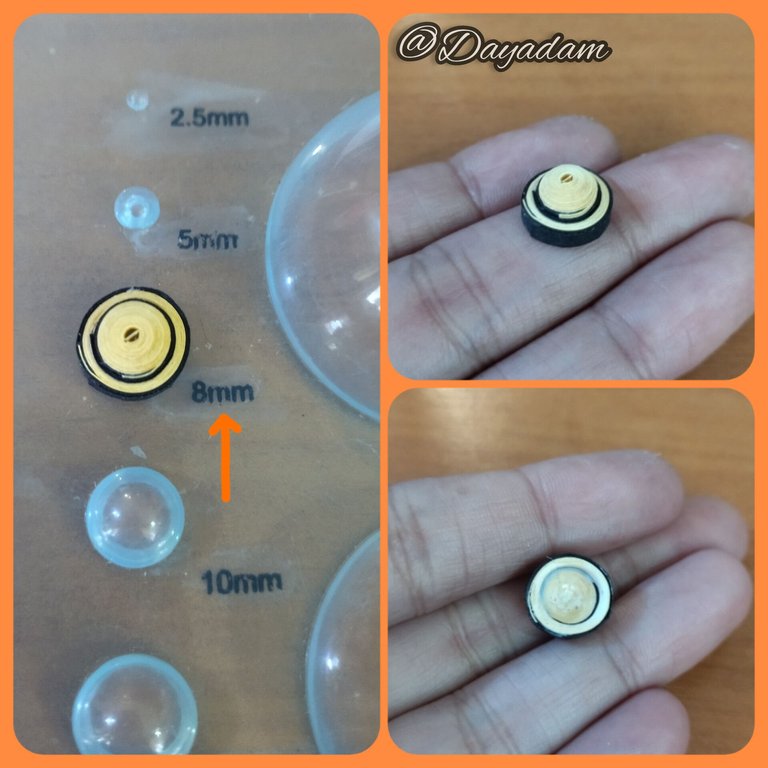
- We will mold this small circle in the template for circles in the 8mm size, to give it a 3D effect, in the back we will add a little glue so that it does not deform.

• Con cinta dorada de 3mm de ancho comenzaremos a enrollar con la aguja para quilling, a medida que enrollamos añadiremos un trozo de cinta negra, continuamos enrollando, luego seguiremos con dorada nuevamente, hasta finalizar con un trozo de negra.
• Moldearemos este pequeño circulo en la plantilla para círculos en la medida 8mm, para darle un efecto 3D, en la parte trasera añadiremos un poco de pega para que no se deforme la misma.
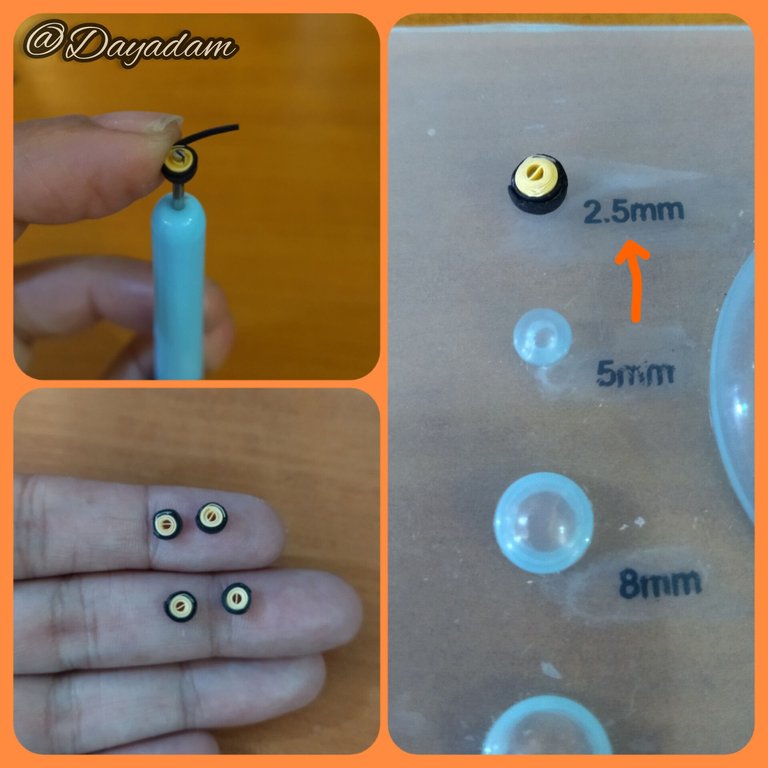
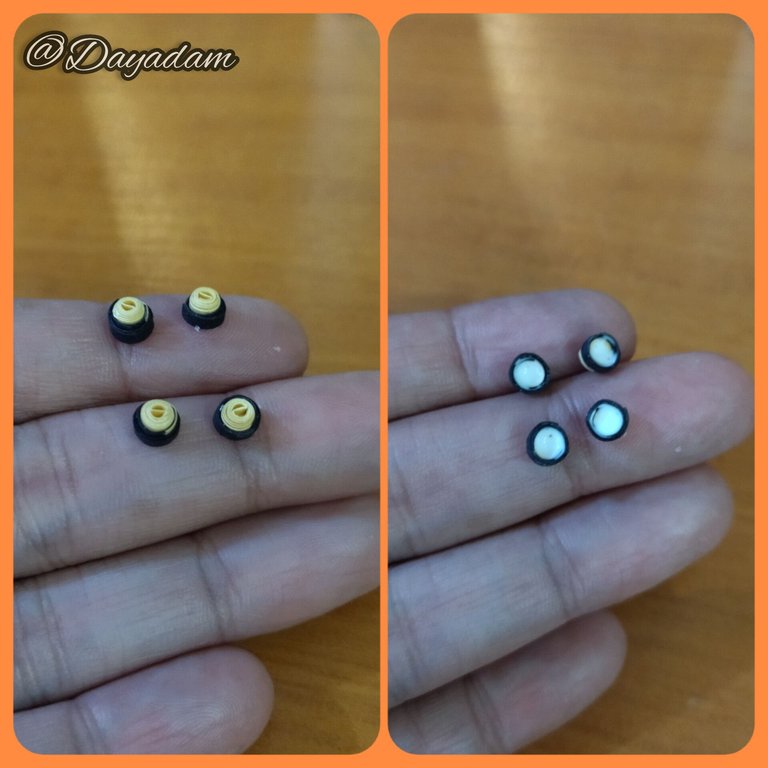
- Finally with 1mm wide tape we will make 4 small circles of gold and black color, we will mold them on the template in the smallest size, we will apply glue on the back so that they do not deform.
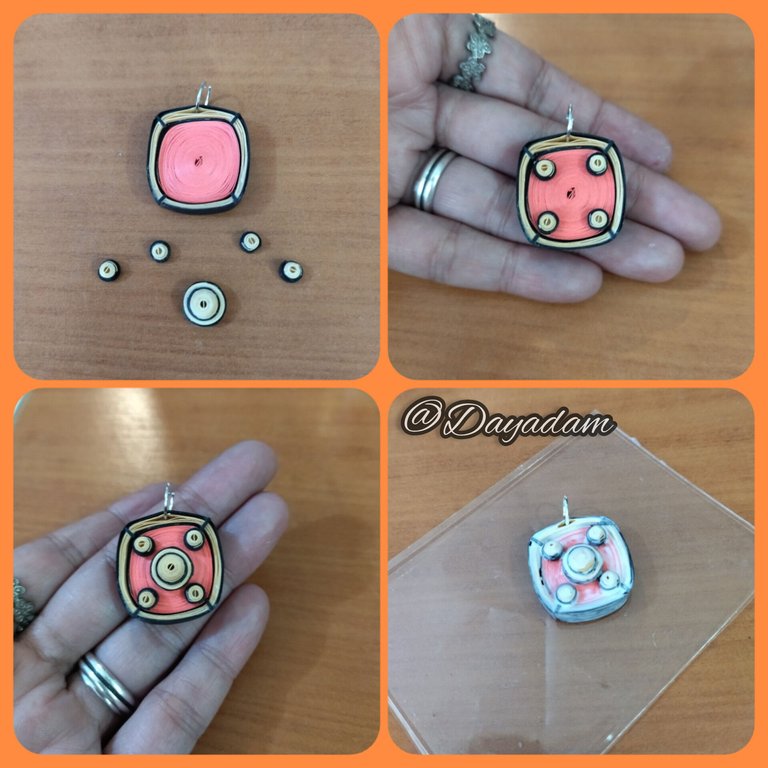
- We will attach all the small elements to the main piece.
- And finally we will apply several coats of extra strong white glue, letting it dry between one coat and another to laminate and protect the charm.
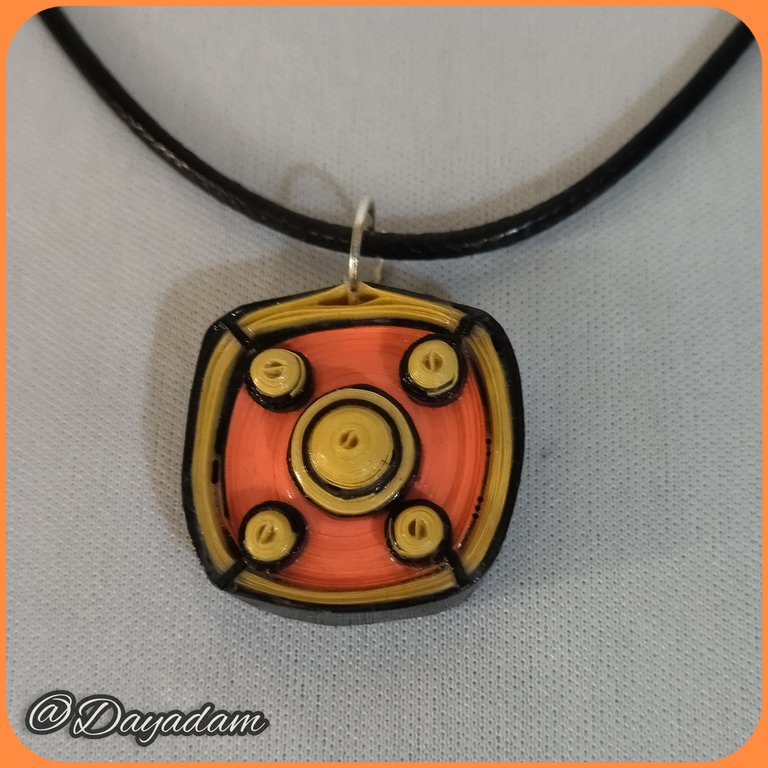
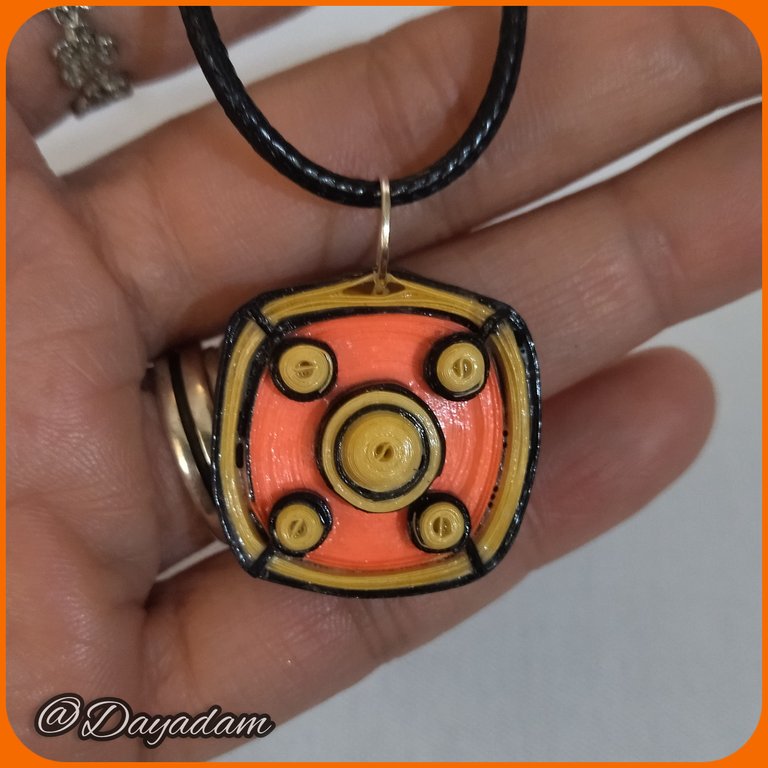
This way this little pendant is ready, which resembles a little bit the elements of the "Grumpy Dwarf" shield.

• Por ultimo con cinta de 1mm de ancho realizaremos 4 pequeños círculos color dorado con negro, estos los moldearemos en la plantilla en la medida mas pequeña, aplicaremos pega en la parte de atrás para que los mismos no se deformen.
• Uniremos todas los elementos pequeños a la pieza principal.
• Y para finalizar aplicaremos varias capas de pega blanca extra fuerte, dejando secar entre una capa y otra para plastificar y proteger el dije.
De esta manera está listo este pequeño dije, que asemeja un poco los elementos del escudo de "Grumpy Dwarf".



What did you think, did you like it?
I hope you did, I hope you liked my explanation, procedure and photos, I made them with love for you.
"Let out that muse that inspires you, and let your imagination fly".
Thank you all, see you next time.

¿Que les pareció, les gustó?
Espero que sí, que les haya gustado mi explicación, procedimiento y fotos, los hice con mucho cariño por y para ustedes.
"Deja salir esa musa que te inspira, y deja volar tu imaginación".
Gracias a todos, nos vemos en la próxima.

Todas las fotos usadas en este post son de mi autoría y han sido sacadas en mi celular personal un Redmi 9T y editadas en Canva y en Inshot Grumpy Dwarf Sourse/ Fuente Banner y separador hecho por mí en Canva Traducido con la ayuda de DeepL

Congratulations, your post has been upvoted by @dsc-r2cornell, which is the curating account for @R2cornell's Discord Community.
Enhorabuena, su "post" ha sido "up-voted" por @dsc-r2cornell, que es la "cuenta curating" de la Comunidad de la Discordia de @R2cornell.
Muchísimas gracias por el apoyo @dsc-r2cornell ✨
Muy bonitos 👍
!DIY
Muchísimas gracias, me alegra que le gustara. Bendiciones...
!DIY
You can query your personal balance by
!DIYSTATSYou can query your personal balance by
!DIYSTATSLo adore!!! Quiero ese dije!!! Te quedo precioso y el paso a paso maravilloso. Un gran trabajo. Saludos y un fuerte abrazo!!!
Gracias hermosa. Ah quieres ese dije, pues es tuyo, hay un encarguito que debo enviar o llevar yo misma y allí estará ese dije para ti, cuenta con ello. Abrazos mi linda @aly.squid ✨
Un bello detalle. Deberías hacer una colección de las armas y escudos de Splinterlands...seguro que es tu plan 😊
Me encantó este trabajo. Un abrazo infinito 😘💜. Felices fiestas
!VSC
!PIZZA 🍕
@chacald.dcymt has sent VSC to @dayadam
This post was rewarded with 0.1 VSC to support your work.
Join our photography communityVisual Shots
Check here to view or trade VSC Tokens
Be part of our Curation Trail
@chacald.dcymt ha enviado VSC a @dayadam
Éste post fue recompensado con 0.1 VSC para apoyar tu trabajo.
Únete a nuestra comunidad de fotografía Visual Shots
Consulte aquí para ver o intercambiar VSC Tokens
Se parte de nuestro Trail de Curación
Gracias por el apoyo @visualbot ✨
Pues no esta mala la idea, gracias por eso hermosa y por tu apoyo incondicional. Abrazotes para ti @chacald.dcymt ✨
!HUG
I sent 1.0 HUG on behalf of @dayadam.
(1/3)
$PIZZA slices delivered:
@chacald.dcymt(1/5) tipped @dayadam
Thanks @pizzabot 🍕