Earth Elemental Decorative Figure in 3D Quilling Technique [Eng/Esp]

Hello to all my Hive friends... 🐱
Today I am with you again to show you my art, I love every week to go through this wonderful world of magic, color, and lots of Splinterlands characters to look for new elements or characters to build different crafts such as jewelry, accessories, 3D figures and other things that motivate me, inspire me and activate my creativity and thus be able to create for you.
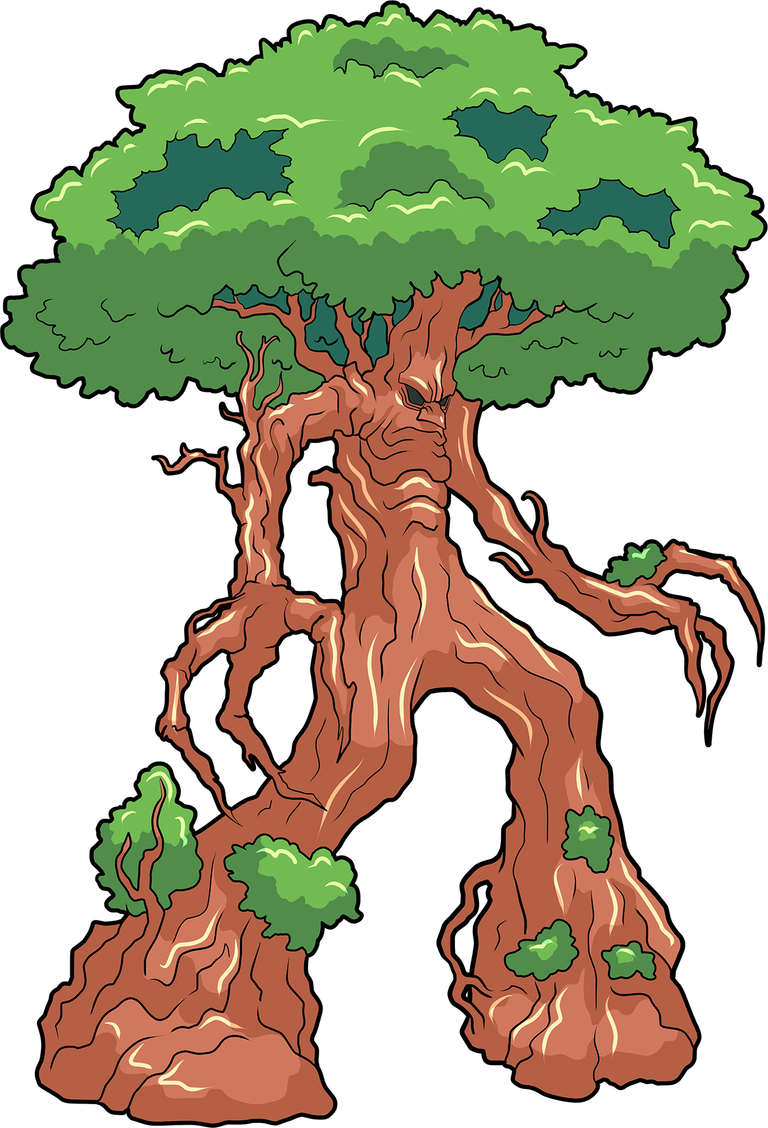
Today I'm joining the Splinterlands Art Contest. I'm bringing you a new piece of art. I wanted to create a decorative 3D character inspired by the card Earth Elemental using the quilling technique.
If you want to know more about the game, I leave you my reference link to enter it and navigate through this wonderful world: https://splinterlands.com?ref=dayadam
Hoping you like my work, without further ado, I leave you with my creative process.
Let's start:😃

Hola a toda mi gente de Hive... 🐱
Hoy estoy con ustedes nuevamente para mostrarles mi arte, me encanta semana a semana pasar por ese maravilloso mundo de magia, color, y muchísimos personajes de Splinterlands para buscar nuevos elementos o personajes para construir diversas manualidades bien sean bisutería, accesorios, figuras en 3D entre otras cosas que me motiven, inspiren y activen mi creatividad y de esa manera poder crear para ustedes.
Para hoy me uno al Splinterlands Art Contest. les traigo un nuevo trabajo de arte, quise realizar un personaje decorativo en 3D inspirado en la carta, Earth Elemental en la técnica de quilling.
Si quieren saber más con respecto al juego les dejo mi enlace de referencia para que ingresen en él, y naveguen por este maravilloso mundo: https://splinterlands.com?ref=dayadam
Esperando les guste mi trabajo, sin más preámbulos, les dejo mi proceso creativo.
Comencemos:😃

 |
 |
 |

• Cintas para quilling.
• Aguja para quilling.
• Cartulinas.
• Guillotina de cortar papel.
• Pintura al frío metalizada color bronce.
• Pintura al frío metalizada color cobrizo.
• Pintura al frío metalizada color perlada.
• Pega blanca extra fuerte (de carpintería).
• Pincel.
• Tijera.
• Quilling strips.
• Quilling needle.
• Cardboard.
• Paper cutter.
• Bronze metallic cold paint.
• Copper metallic cold paint.
• Pearl metallic cold paint.
• Extra strong white glue (carpentry glue).
• Paintbrush.
• Scissors.

• I started by taking a piece of brown cardboard approximately 6 cm wide and rolled it around a paintbrush. When I was done, I sealed it with extra-strong white glue and removed it from the paintbrush until I had a cylinder.
• I took a pair of scissors and made some cuts at the top and bottom to create the details of the trunk.
• On a white sheet of paper, I sketched the top of the tree with a pencil and cut it out of light green cardboard.

• Comencé tomando un trozo de cartulina de color marrón de aproximadamente 6cms de ancho, procedí a enrollar en un pincel, al finalizar sellé con pega blanca extra fuerte, saque del pincel, hasta conseguir un cilindro.
• Tomé una tijera e hice algunos cortes en la parte de arriba y de abajo, para hacer los detalles del tronco.
• En una hoja blanca con un lápiz realicé el boceto de la parte de arriba del árbol, lo recorte en una cartulina de color verde claro.
 |  |
• Using dark green and apple green ribbon 4 mm wide, I made open circles of various sizes.
• Once my circles were ready, I shaped them into different forms and stuck them harmoniously onto the green card I had cut out, to resemble tree leaves.
• Once the piece was ready with its leaves, I glued it to the top of the trunk with extra-strong white glue.
• Con cinta de color verde oscuro y verde manzana de 4mm de ancho, realicé círculos abiertos de varios tamaños
• Listos mis círculos los moldee de diversas formas, estos los fui pegando de manera armónica en la cartulina color verde que recorte, para asemejar hojas del árbol.
• La pieza lista con sus respectivas hojas, las pegué en la parte de arriba del tronco con pega blanca extra fuerte.
 |  |  |
• I cut a straight piece of brown cardstock and made some folds, applying extra-strong white glue to make it thicker. Then I shaped it with my hands and cut out some details with scissors to form a branch that looked like an arm with hands and fingers. I also shaped the fingers by hand to give them a 3D effect.
• I applied a few brushstrokes to the finished tree in various places. I started by applying copper color to the trunk, waited for it to dry, then continued with copper color on the trunk as well. Finally, I took pearl paint and painted some areas at the top of the tree on the cardboard and on the leaves, and finished with a few more strokes on the trunk.
• To finish, I made other open circles with light and dark green tape, shaping them as I did with the leaves of the tree, and placed them in some areas of the trunk.
• In this way, we have finished this decorative 3D character that I created, inspired by the character from the card “Earth Elemental”.
• Recorte un trozo lineal de cartulina de color marrón e hice algunos dobleces a los cuales apliqué pega blanca extra fuerte y uno para hacerla más gruesa, luego moldee con mis manos y recorte con una tijera algunos detalles, para formar una rama como si fuera un brazo con manos y dedos, los dedos también los moldee de manera manual para darle un efecto 3D.
• Apliqué algunas pinceladas al árbol ya listo en diversos puntos del mismo, comencé aplicando color cobre en el tronco espere que secara, luego seguí con color cobrizo también en el tronco, y para finalizar tome pintura perlada y pinte algunas zonas de la parte de arriba del árbol en la cartulina y en las hojas y para finalizar en otros puntos del tronco. .
• Para finalizar realice otros círculos abiertos con cinta verde claras y oscuras los moldee tal cual hice con las hojas del arbol, estás las coloqué en algunos sectores del tronco.
• De esta manera tenemos listo este personaje decorativo en 3D que elabore, inspirado en el personaje de la carta "Earth Elemental".
 |  |  |

 |
 |  |
 |
 |
 |
What did you think, did you like it?
I hope you did, I hope you liked my explanation, procedure and photos, I made them with love for you.
"Let out that muse that inspires you, and let your imagination fly".
Thank you all, see you next time.
¿Que les pareció, les gustó?
Espero que sí, que les haya gustado mi explicación, procedimiento y fotos, los hice con mucho cariño por y para ustedes.
"Deja salir esa musa que te inspira, y deja volar tu imaginación".
Gracias a todos, nos vemos en la próxima.
Banner y separador hecho por mí en Canva

Congratulations @dayadam! You have completed the following achievement on the Hive blockchain And have been rewarded with New badge(s)
Your next target is to reach 650 posts.
You can view your badges on your board and compare yourself to others in the Ranking
If you no longer want to receive notifications, reply to this comment with the word
STOPCheck out our last posts:
https://www.reddit.com/r/quilling/comments/1pb59a8/decorative_3d_tree_figure/
This post has been shared on Reddit by @dayadam through the HivePosh initiative.
very cool. Really like this one.
Delegate Tokens and HP to Fallen Angels to earn weekly rewards!
Delegate | Join to the guild
está fenomenal, es un trabajo estupendo!
It's phenomenal, it's great work!
An impressive, beautiful, and always rewarding piece of work. I admire the artistry you can achieve by combining so many materials. Thank you for sharing it with our DIYHub community.
selected by @jesuslnrs
It's truly impressive how you achieve the shapes; they're both correct and very eye-catching.
Espectacular, como siempre realizando un hermoso trabajo 🫶🏽