How to create Cinella from Holozing using moldable foam
Hola comunidad de Hive. Para aquellos que aman los trabajos manuales y la creatividad hoy creare el personaje Cinella del ecosistema @holozing con foami moldeable
Hello Hive community! For all the craft lovers and creative minds out there – today I'll be sculpting Cinella from the @holozing ecosystem using moldable foam. Stay tuned for this hands-on adventure


A continuación les mostré paso a paso la realización de mi trabajo. Comenzaré mostrando los materiales
Next, I'll show you step by step how I made my project. I'll start by displaying the materials.

MATERIALES/ MATERIALS
Step / Paso 1
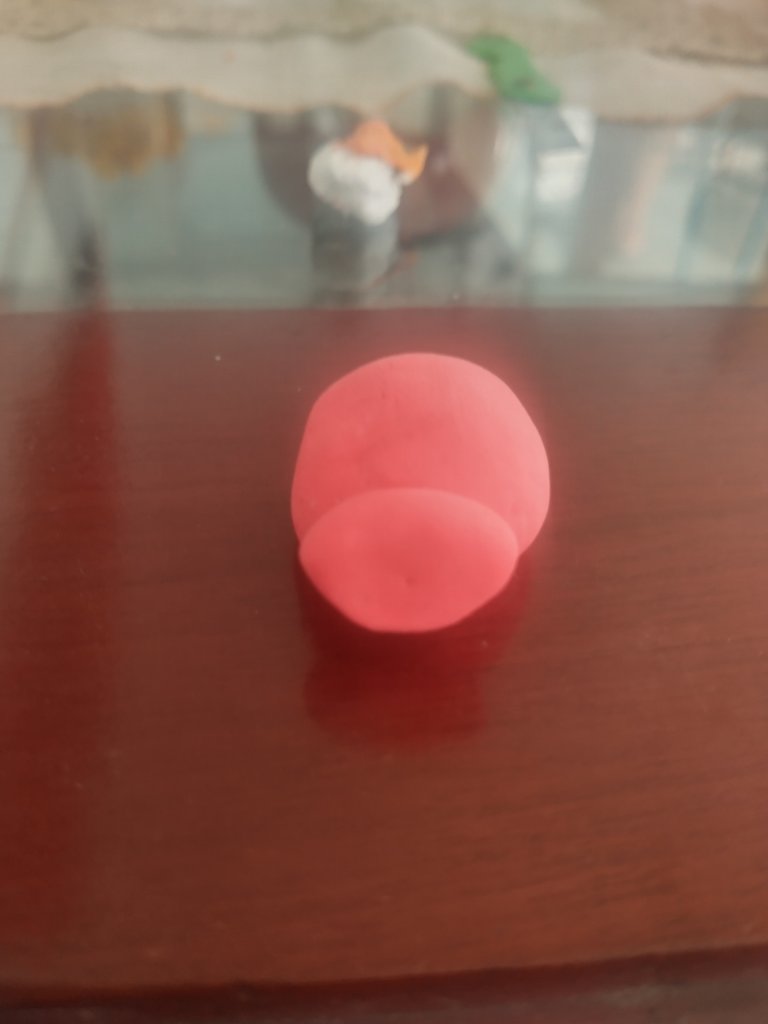
Para este personaje comenzamos por el cuerpo, daremos forma de esfera y luego la aplanaremos por un lado. Colocaremos sobre la parte aplanada una base beige y para la cabeza haremos un pequeño óvalo
For this character, we'll start with the body. We'll shape it like a sphere and then flatten one side. Next, we'll place a beige base on the flattened part. For the head, we'll make a small oval.


Step / Paso 2
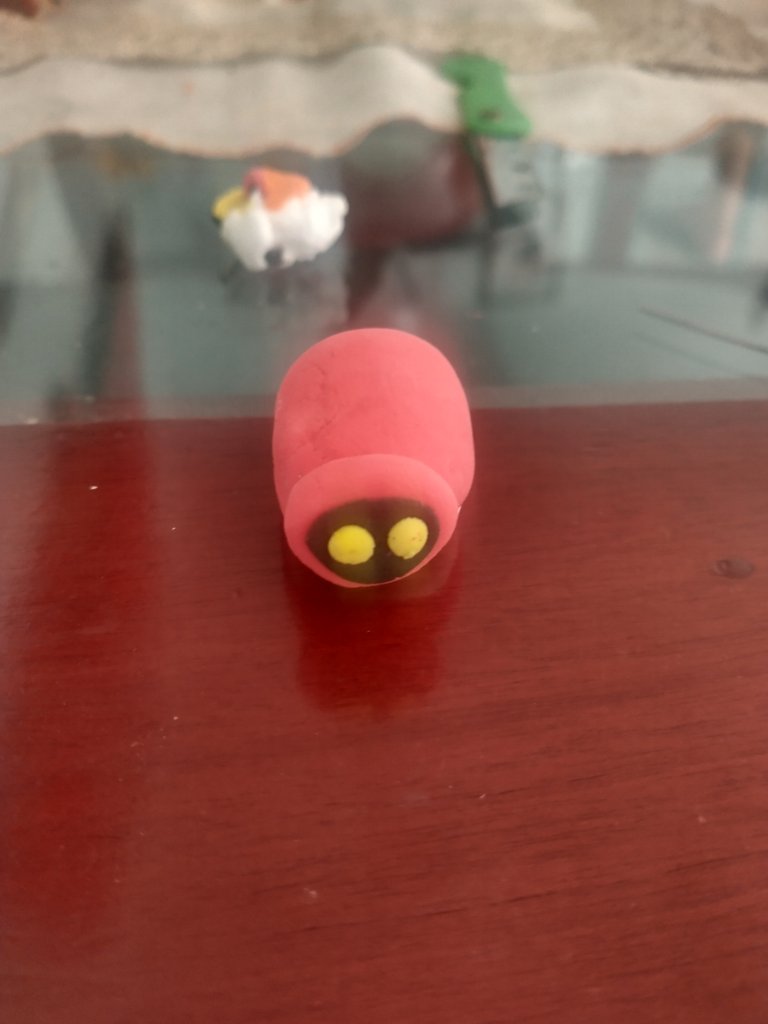
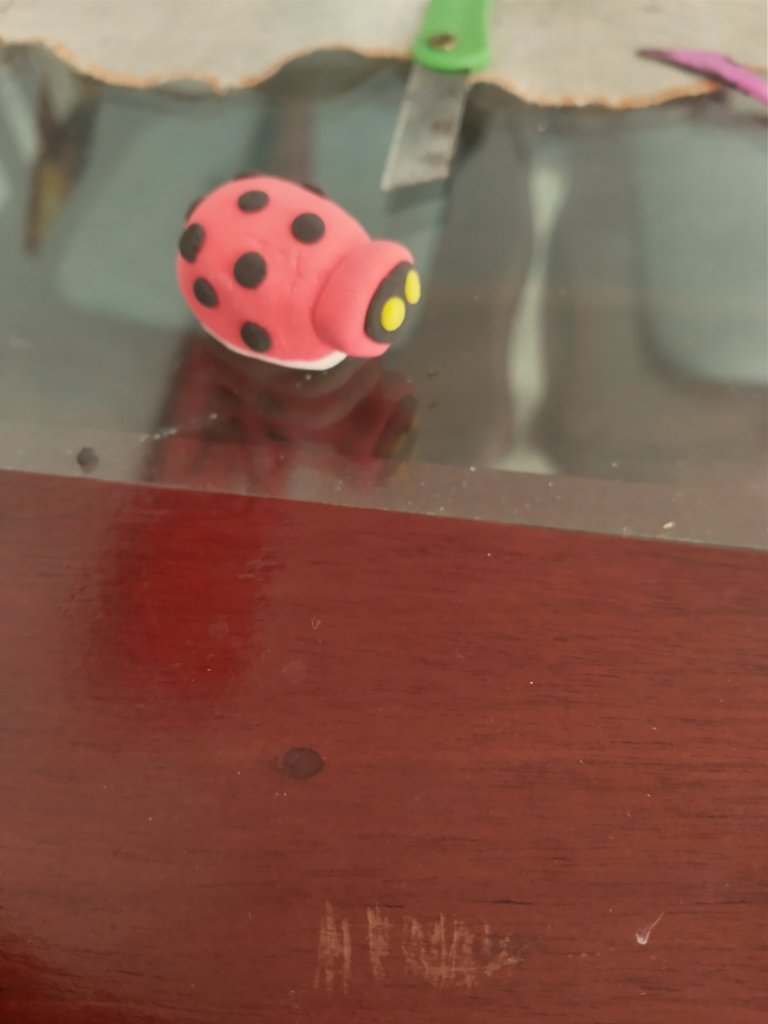
Continuaremos con los detalles de nuestro personaje, comenzando por el rostro. Sobre la superficie de rostro colocaremos una base negra pero sin cubrirlo todo, debemos dejar un margen donde se vea el color rojo de la cabeza y los ojos los haremos con dos pequeños círculos amarillos. Continuaremos haciendo los puntos negros del caparazón, para los cuales haremos barias pelotitas pequeñas negras y las colocaremos sobre el caparazón.
We'll continue with the details of our character, starting with the face. On the face's surface, we'll place a black base but without covering it completely—we need to leave a margin where the red color of the head is visible. For the eyes, we'll make two small yellow circles. Next, we'll create the black dots on the shell by making several small black balls and placing them on the shell
Step / Paso 3
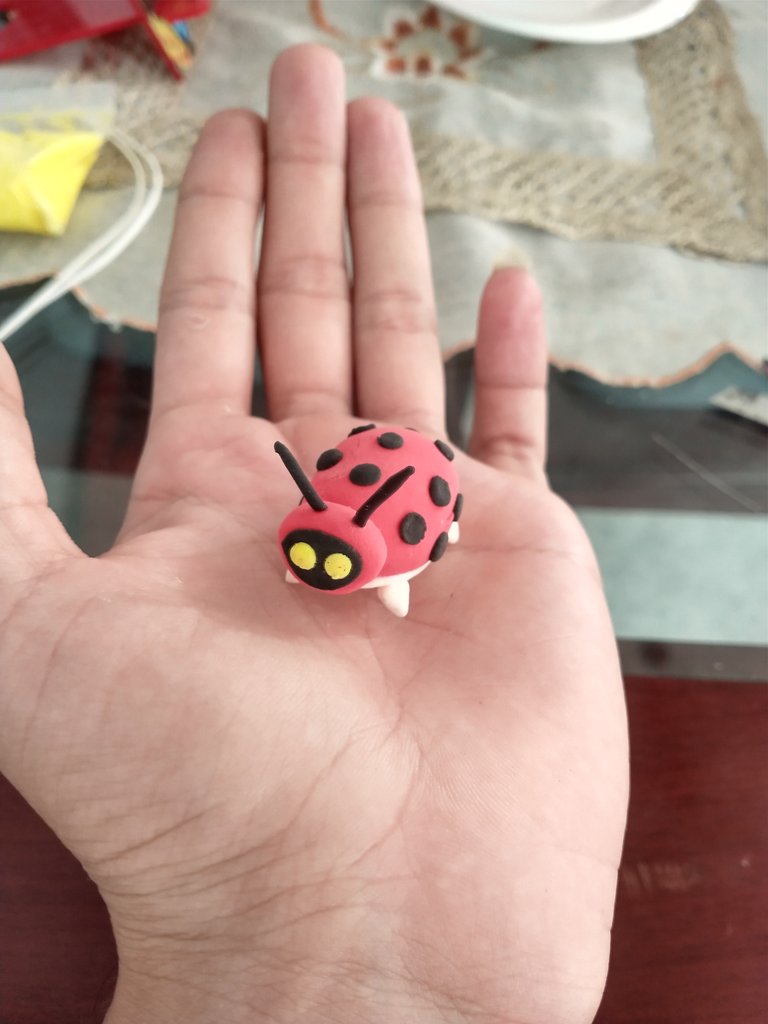
Por último haremos las patitas y las antenas. Para esto haremos cuatro pequeño conos beige y para las antenas dos finos segmentos de negro. Luego de colocar las patitas lo dejaremos endurecer un poco para cuando lo voltiemos para colocar las antenas no pierdan su forma
Finally, we'll make the legs and antennae. For this, we'll create four small beige cones for the legs and two thin black segments for the antennae. After attaching the legs, we'll let them harden slightly so that when we flip the piece to attach the antennae, they don’t lose their shape.

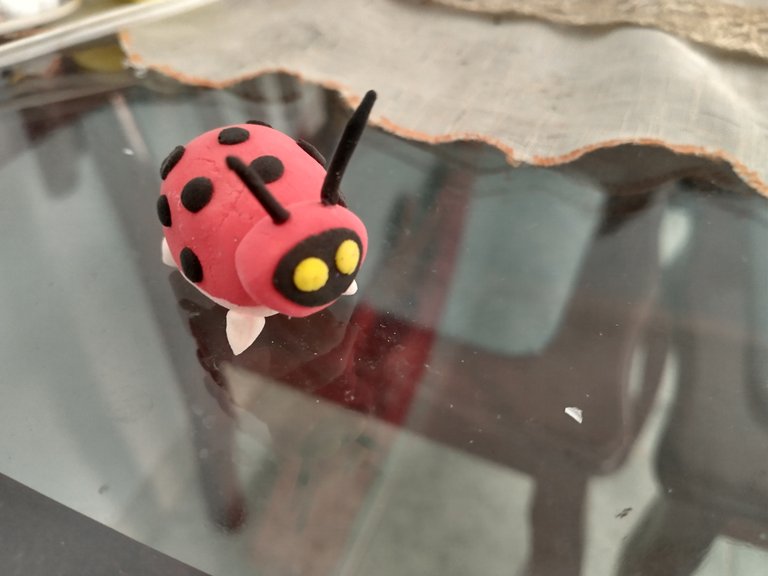
Resultado / Result


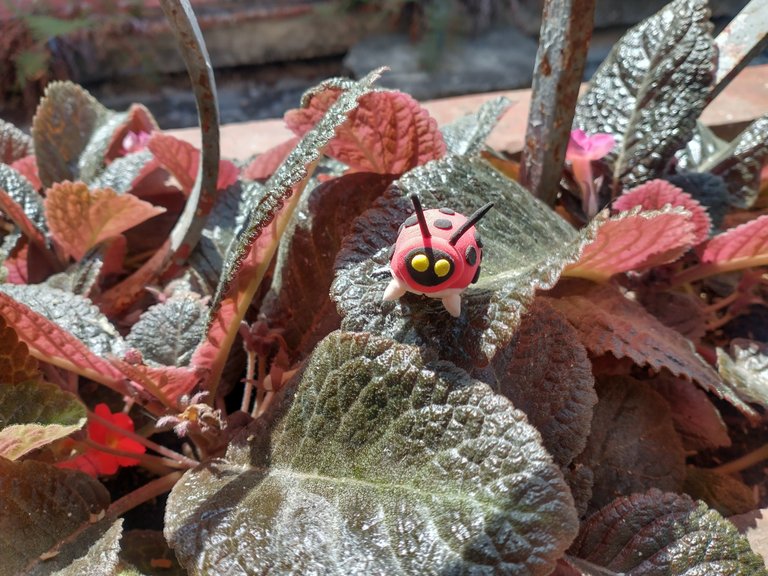
El diseño fue buscado en la comunidad de holozing, pero la creación de la figura y fotos del proceso fueron realizados por mi
The design was sourced from the Holozing community, but the figure's creation and process photos were made by me
Si te ha gustado el post, no olvides dejar tu comentario y seguirme para próximas publicaciones. Me encantaría saber tu opinión e ideas para el siguiente. Saludos 😊
If you liked the post, don't forget to leave a comment and follow me for future posts. I'd love to know your opinion and ideas for the next one. Regards
Thank you so much for showing us how to make Cinella with moldable foam. Cinella looks good and we applaud your creativity. Well done.
selected by @ibbtammy
Que
Bonito quedo 😉👌!!
Gracias
¡Enhorabuena!
✅ Has hecho un buen trabajo, por lo cual tu publicación ha sido valorada y ha recibido el apoyo de parte de CHESS BROTHERS ♔ 💪
♟ Te invitamos a usar nuestra etiqueta #chessbrothers y a que aprendas más sobre nosotros.
♟♟ También puedes contactarnos en nuestro servidor de Discord y promocionar allí tus publicaciones.
♟♟♟ Considera unirte a nuestro trail de curación para que trabajemos en equipo y recibas recompensas automáticamente.
♞♟ Echa un vistazo a nuestra cuenta @chessbrotherspro para que te informes sobre el proceso de curación llevado a diario por nuestro equipo.
🥇 Si quieres obtener ganancias con tu delegacion de HP y apoyar a nuestro proyecto, te invitamos a unirte al plan Master Investor. Aquí puedes aprender cómo hacerlo.
Cordialmente
El equipo de CHESS BROTHERS