Bunny Pumpkin Surprise: Halloween Foam Craft with Magical Hat
Manos a la obra, crafters!🌟 En este tutorial crearemos un conejo disfrazado de calabaza de Halloween, completo con su sombrero de bruja en foami y esos detalles que lo hacen ¡absolutamente encantador!
Let's get to work, crafters!🌟 In this tutorial, we'll create a rabbit dressed as a Halloween pumpkin, complete with its witch hat made of foam and those charming details that make it absolutely adorable!

A continuación les mostré paso a paso la realización de mi trabajo. Comenzaré mostrando los materiales
Next, I'll show you step by step how I made my project. I'll start by displaying the materials.
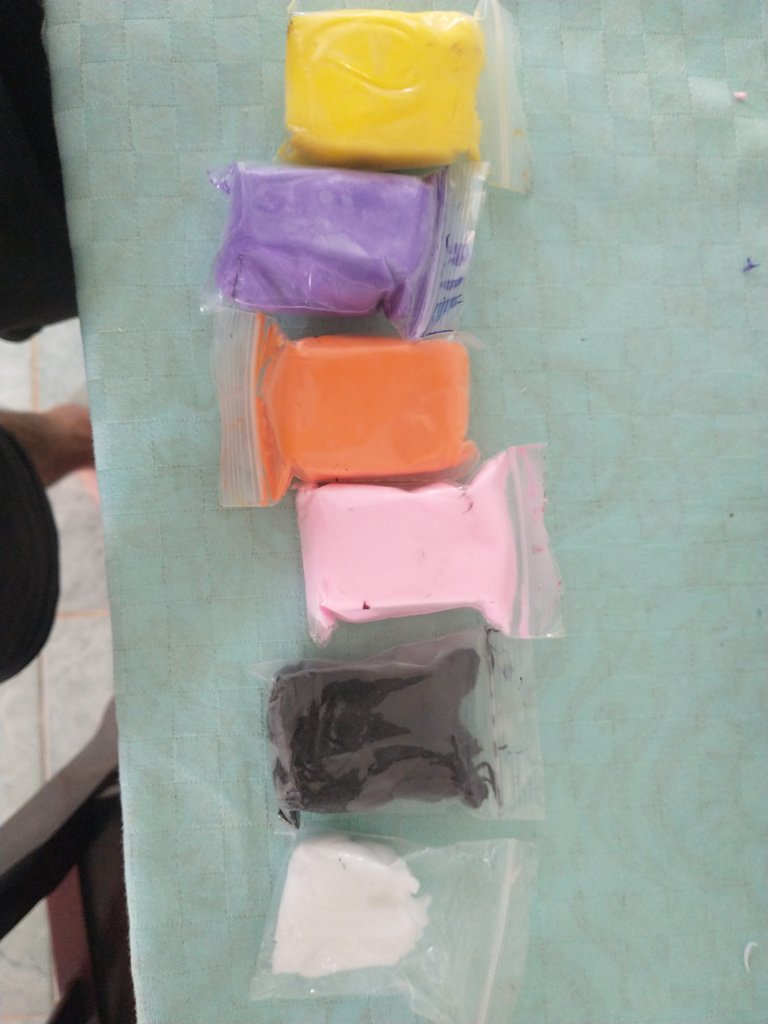
MATERIALES/ MATERIALS
Step / Paso 1
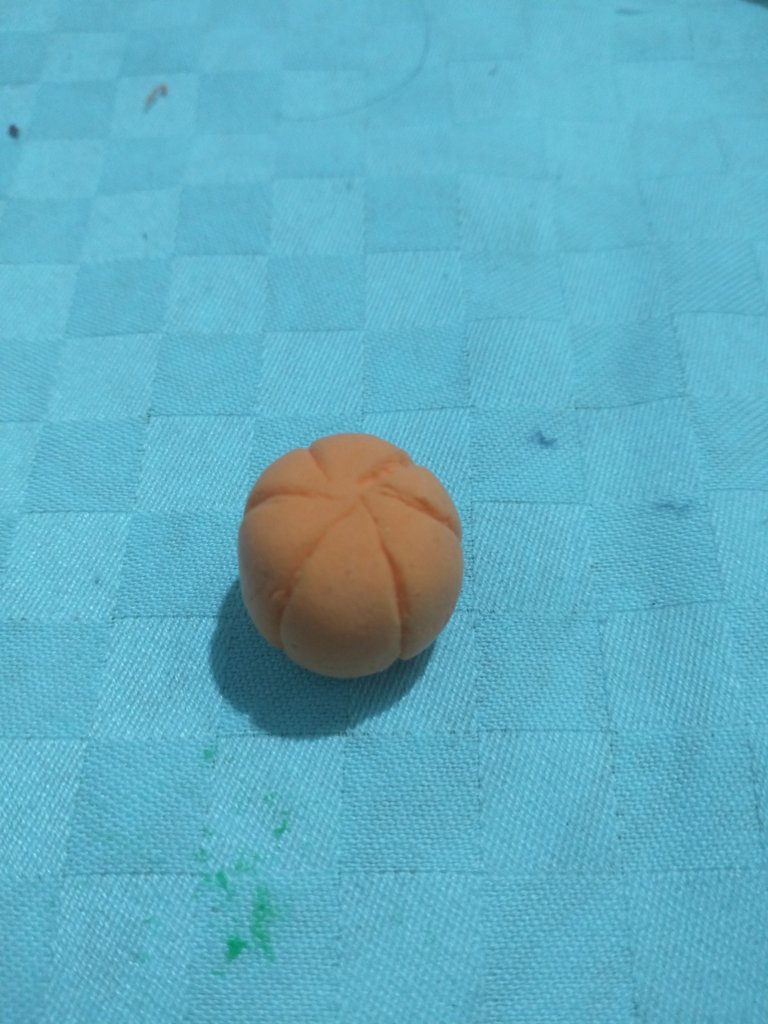
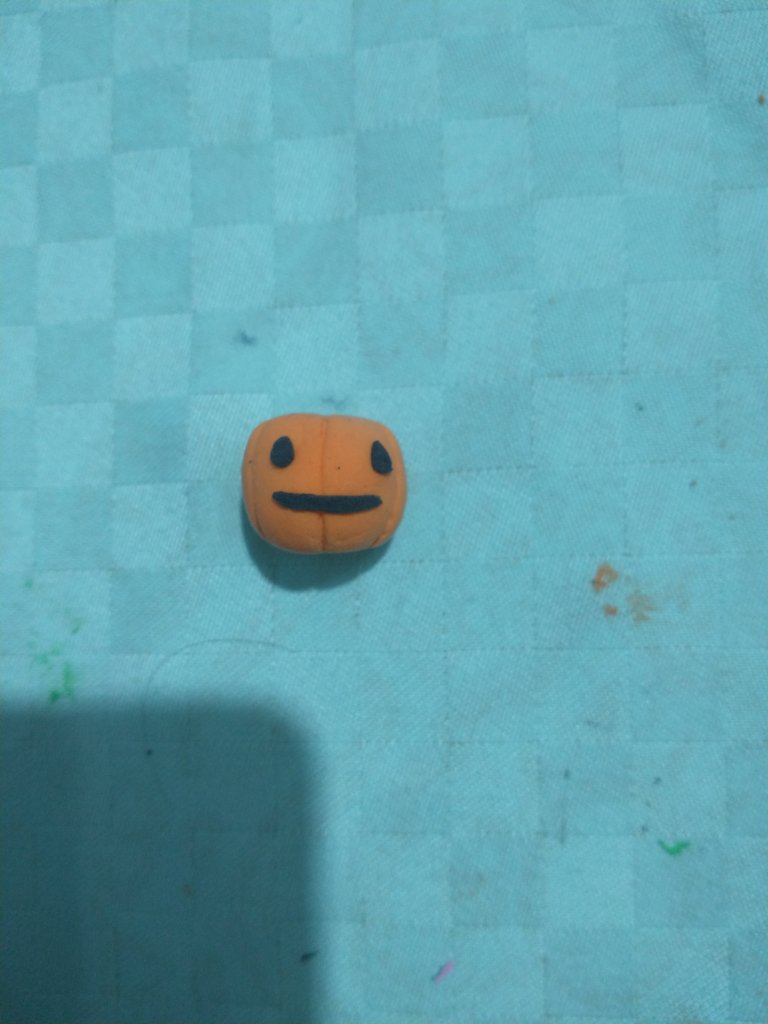
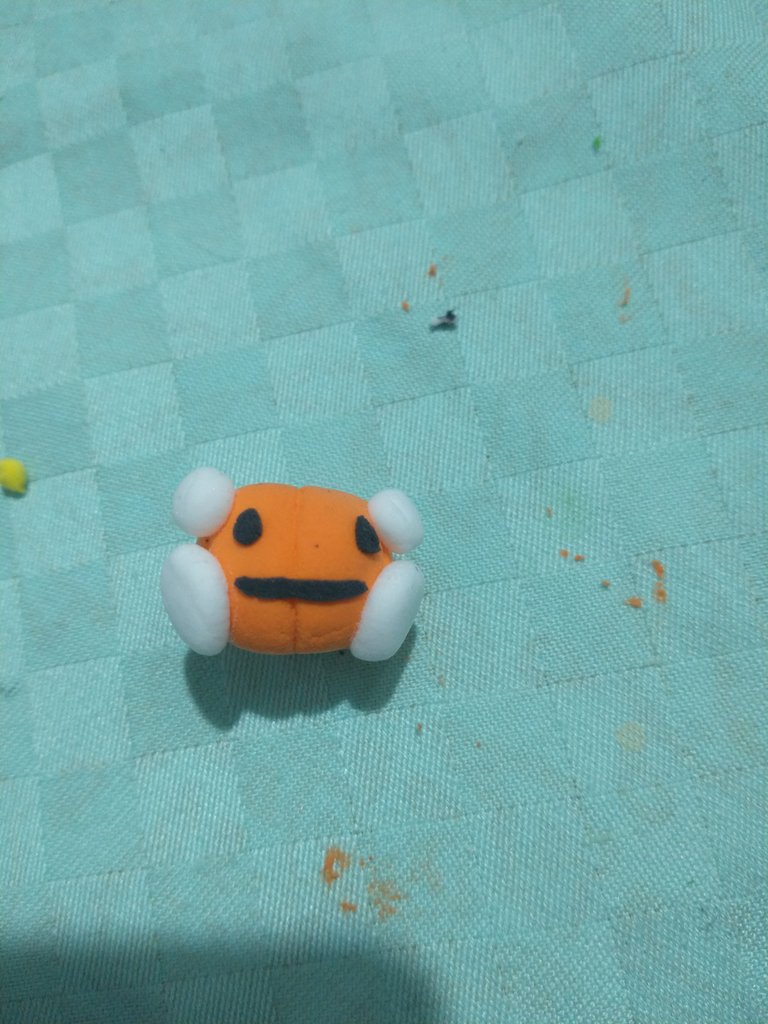
Comenzaremos por el cuerpo. Tomamos foami moldeable naranja y hacemos una esfera. Luego, achatamos ligeramente la parte superior e inferior. Con ayuda de una herramienta, marcamos líneas verticales alrededor de la esfera. Para crear los ojos y la boca de la calabaza, colocamos dos pequeños triángulos y una línea negra.
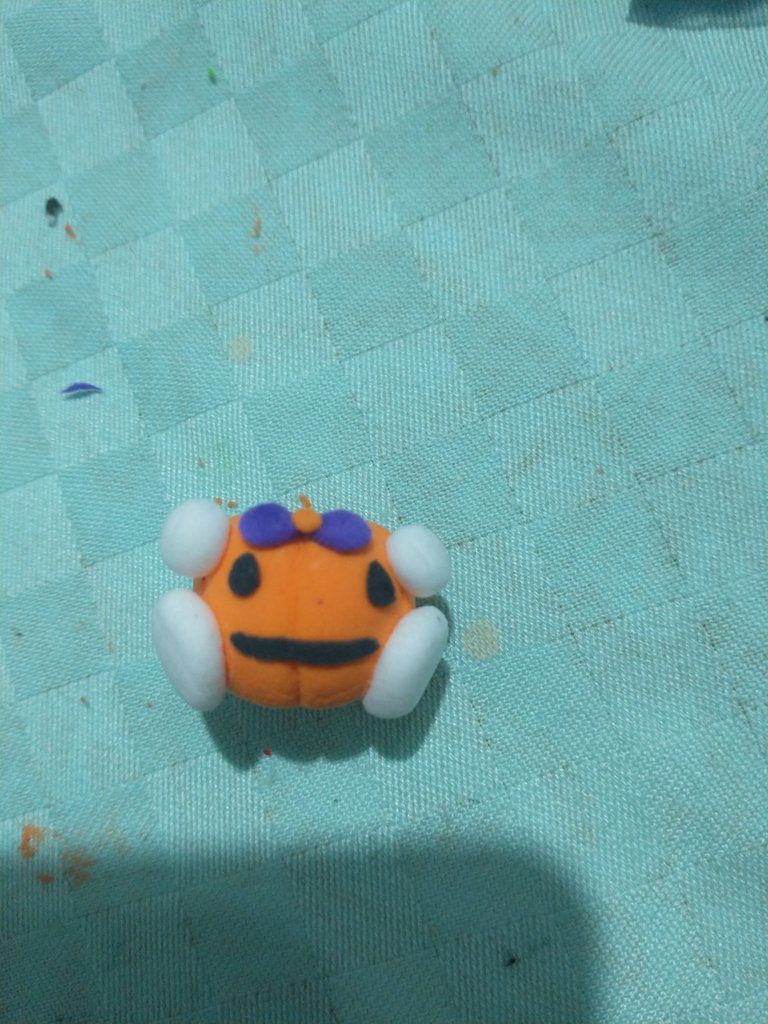
Las patitas las haremos con dos piezas en forma de lágrima, y las manos con dos círculos. Finalmente, en la parte superior, colocamos dos triángulos violeta y, en medio, un círculo naranja para formar el lazo
Let's start with the body. Take orange moldable foam and form it into a sphere. Gently flatten the top and bottom. Using a tool, carve vertical lines around the sphere. To create the pumpkin's face, attach two small triangles for eyes and a short black line for the mouth.
Make the legs using two teardrop-shaped pieces, and the hands with two circles. For the final touch, place two violet triangles on top with an orange circle between them to form the bow."

Step / Paso 2
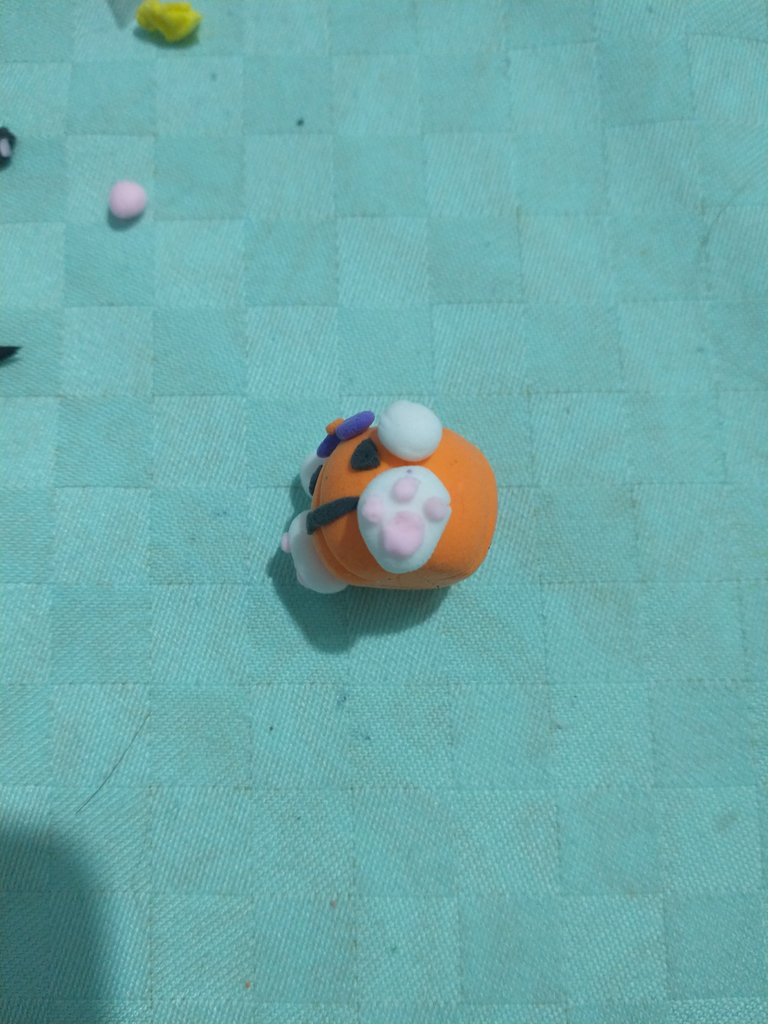
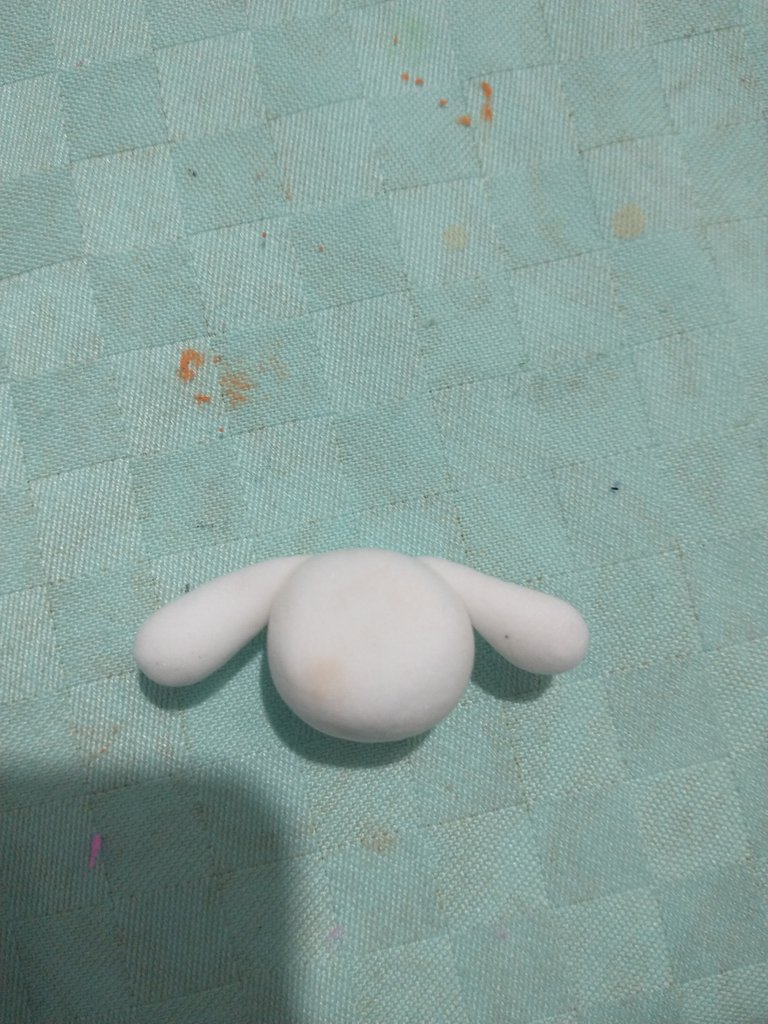
A continuación, haremos la cabeza. Tomamos foami blanco y la moldeamos en forma esférica. Para las orejas, damos forma de lágrima a dos trozos de foami blanco y las pegamos a los lados.
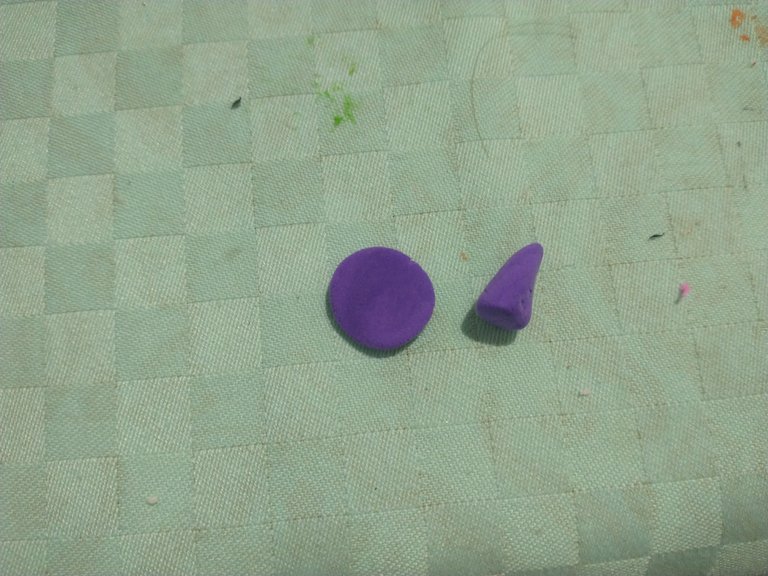
El sombrero lo creamos con un círculo violeta como base y un cono del mismo color encima. Alrededor de la base del cono, colocamos una cinta negra y, con un poco de foami amarillo, formamos la hebilla.
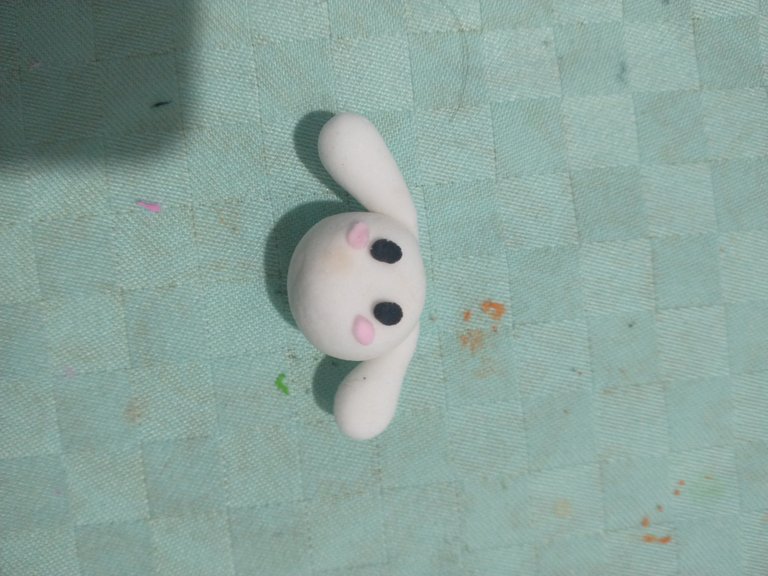
Para el rostro, usamos dos óvalos negros como ojos y, debajo, colocamos dos formas rosas en posición horizontal para simular el sonrojo de las mejillas
Next we'll make the head. Shape white foam into a spherical form. For the ears, create two white teardrop-shaped pieces and attach them to the sides.
The hat is made with a violet circle as its base and a cone of the same color on top. Wrap a black ribbon around the cone's base and add a small yellow foam piece as the buckle.
For the face, use two black ovals for eyes. Below them, place two horizontal pink shapes to create cheek blushes."
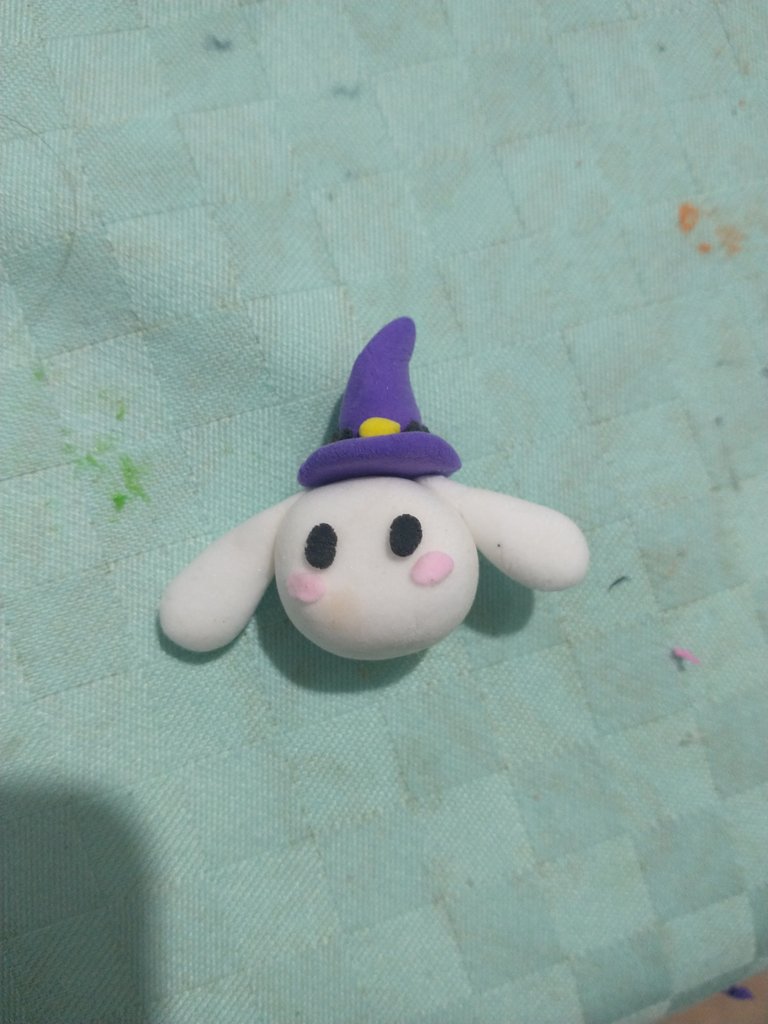
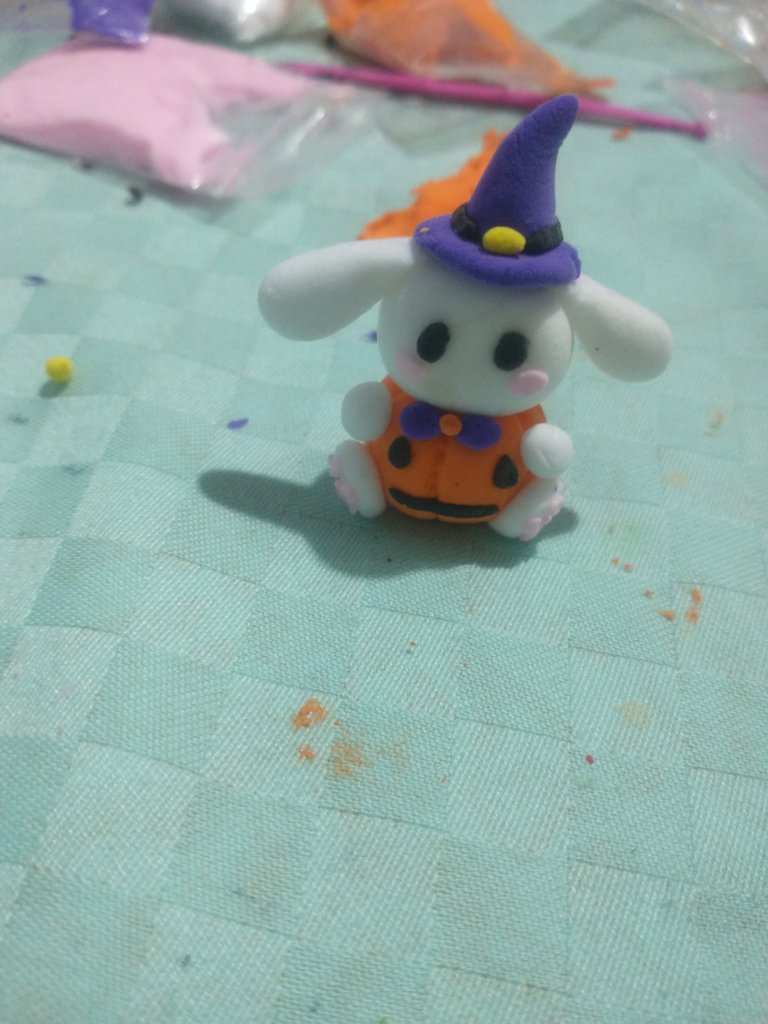
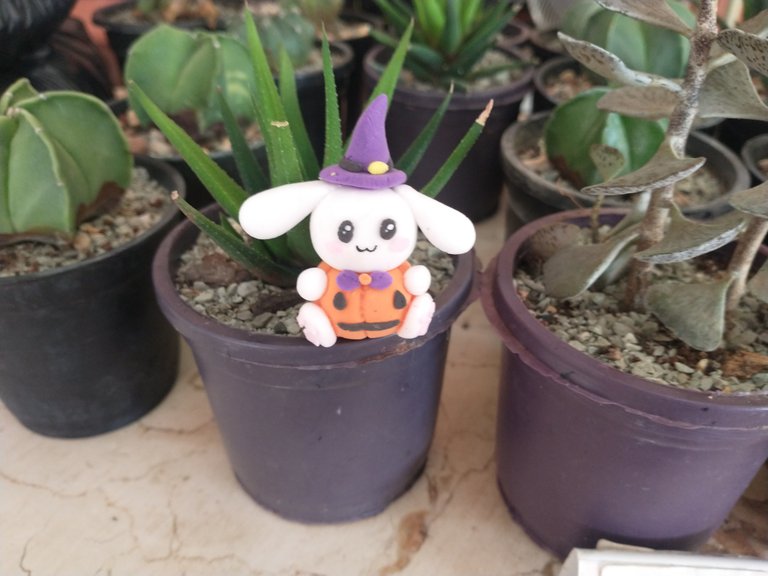
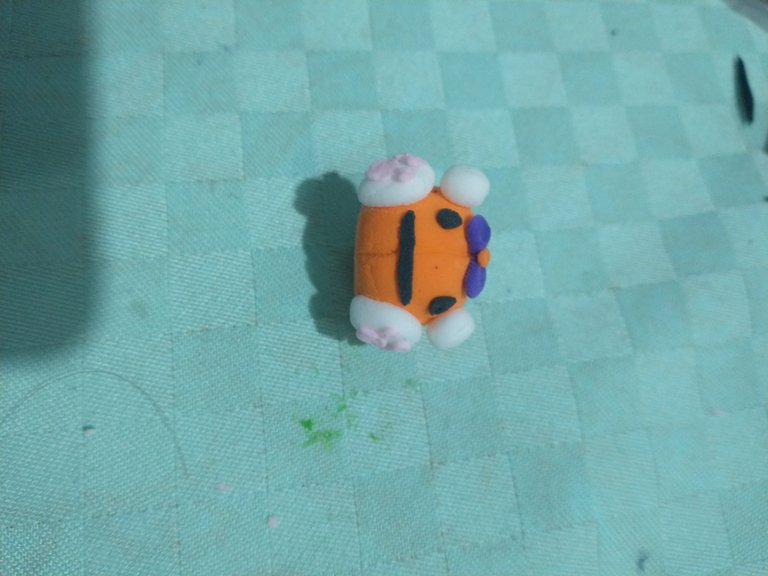
Resultado / Result
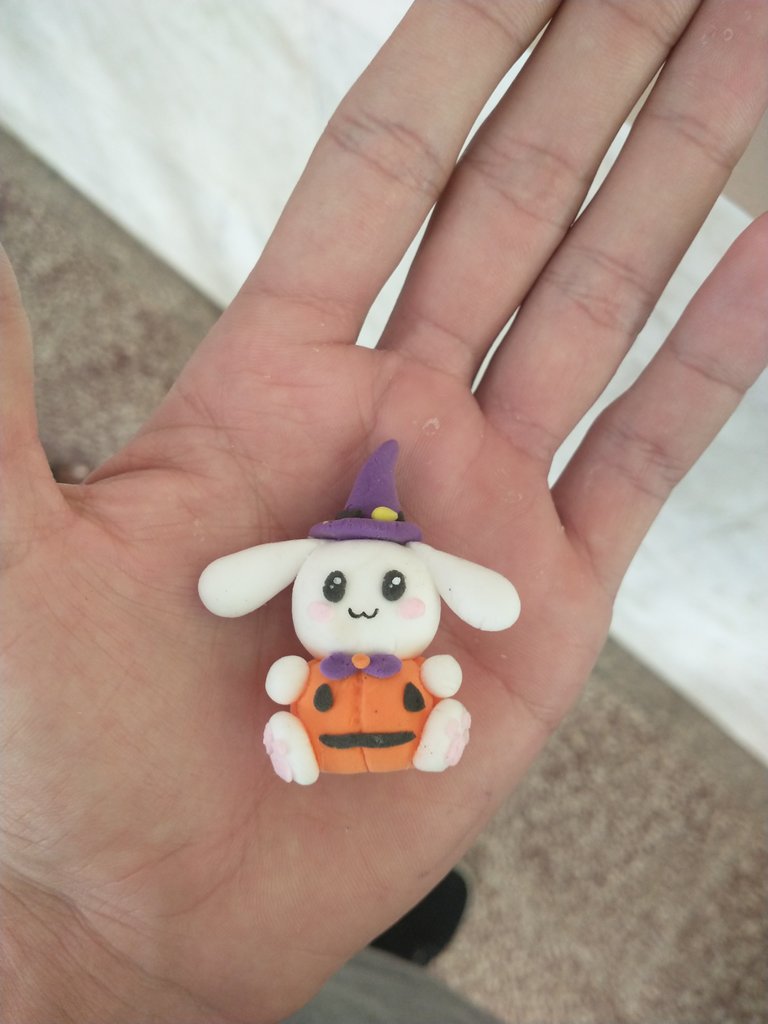
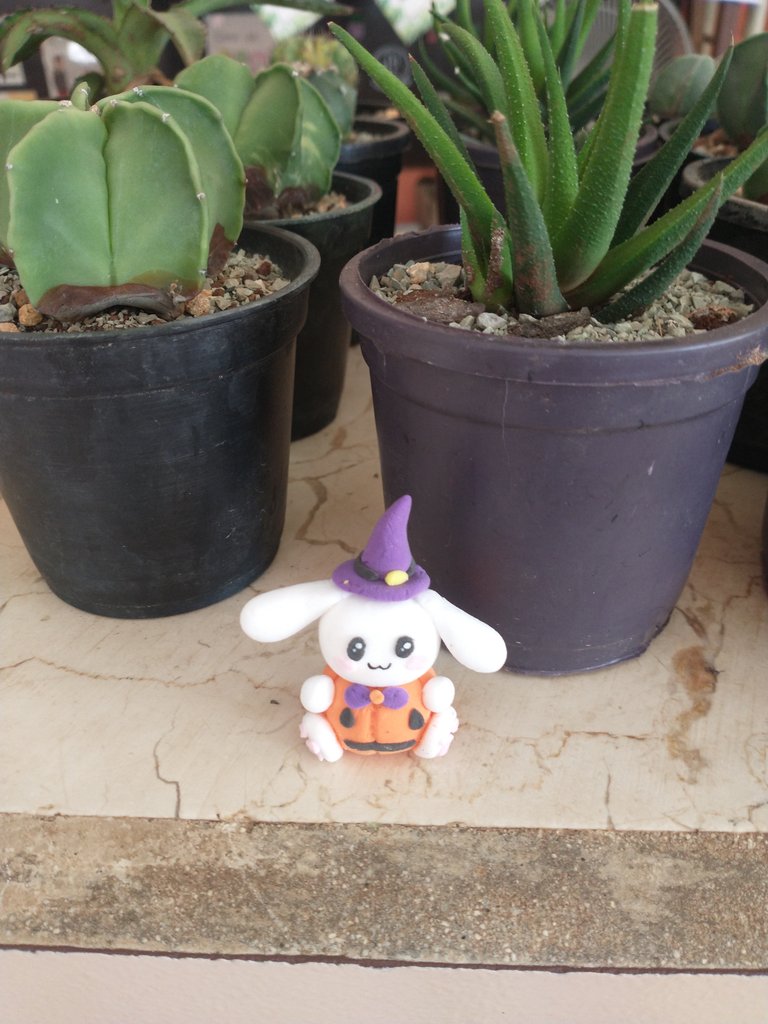
El diseño, creación de la figura y fotos del proceso fueron realizados por mi
The design, sculpting, and process photos were all my work
Si te ha gustado el post, no olvides dejar tu comentario y seguirme para próximas publicaciones. Me encantaría saber tu opinión e ideas para el siguiente. Saludos 😊
If you liked the post, don't forget to leave a comment and follow me for future posts. I'd love to know your opinion and ideas for the next one. Regards
The final result is great. It looks pretty cool. It is so cute and beautiful. Great to see how you made it. Well done!
selected by @rezoanulvibes