TORTISIAN FIGHTER🌊 Social Media Challenge Splinterlands SPT
Hola amigos! Bienvenidos! 😄👋❤️💕😊 Esperando se encuentren muy bien.!
Hello friends! Welcome! 😄👋❤️💕😊 Hoping you are very well.!
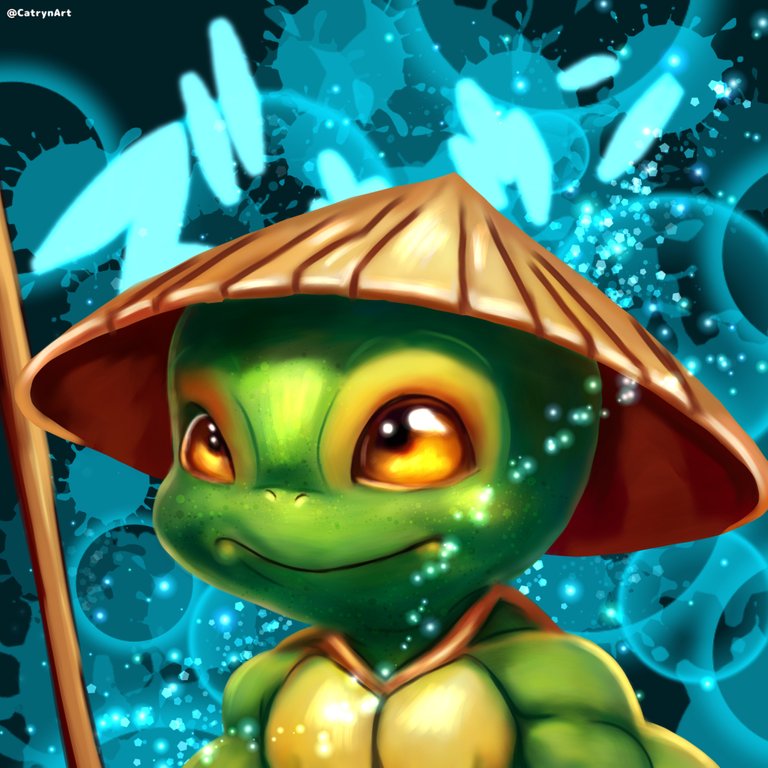

Les deseo un feliz domingo a todos. Y hoy vengo a compartir mi entrada al Social Media de esta semana para@splinterlands, con una carta del elemento agua, representando a TORTISIAN FIGHTER a un estilo tierno, me gusta el resultado que he tenido últimamente con una versión del personaje en su infancia. Y en el fondo hice alusión a lo que es su elemento, con el pincel de salpicadura y usando estos tonos turquesas para representar el mar. Espero disfruten de este proceso! Siempre agradeciéndoles su presencia aquí! 🙂💞🌹
I wish you all a happy Sunday. And today I come to share my Social Media entry this week for @splinterlands, with a letter of the water element, representing TORTISIAN FIGHTER in a cute style, I like the result I've had lately with a version of the character in his childhood. And in the background I alluded to what his element is, with the splash brush and using these turquoise tones to represent the sea. I hope you enjoy this process! Always thanking you for his presence here! 🙂💞🌹
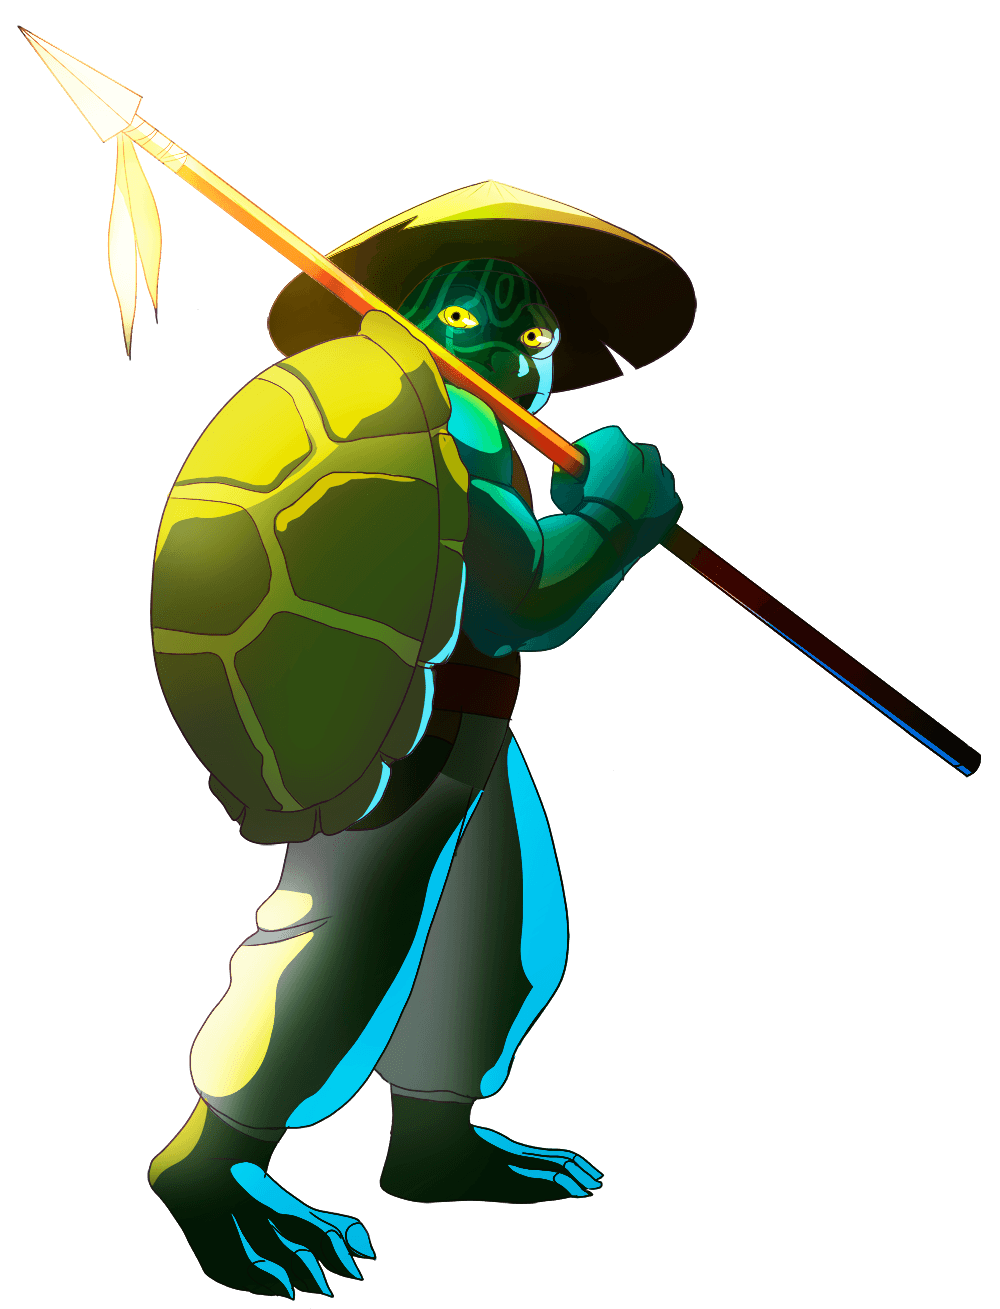
Link de la Imagen de Referencia/Reference Image Link
Etapas del Dibujo/Drawing Stages
Realice en una capa el delineado usando la brocha tipo lápiz y seguí en una nueva capa con la aplicación de un tono verde como fondo, donde después fui pincelando con varios tonos para iluminar he ir definiendo, difuminando un poco para luego endurecer algunas zonas on más pinceladas y así definir. Pase a usar el difumino como acostumbro para mezclar y suavizar y después borre el delineado de su cuerpo en la capa del delineado.
I made the outline in one layer using the pencil-type brush and I continued in a new layer with the application of a green tone as a background, where later I brushed with various tones to illuminate and define, blurring a little and then hardening some areas on more brushstrokes and thus define. Move on to using the smudger as usual to blend and smooth and then erase her body liner on the liner layer.
 |  |
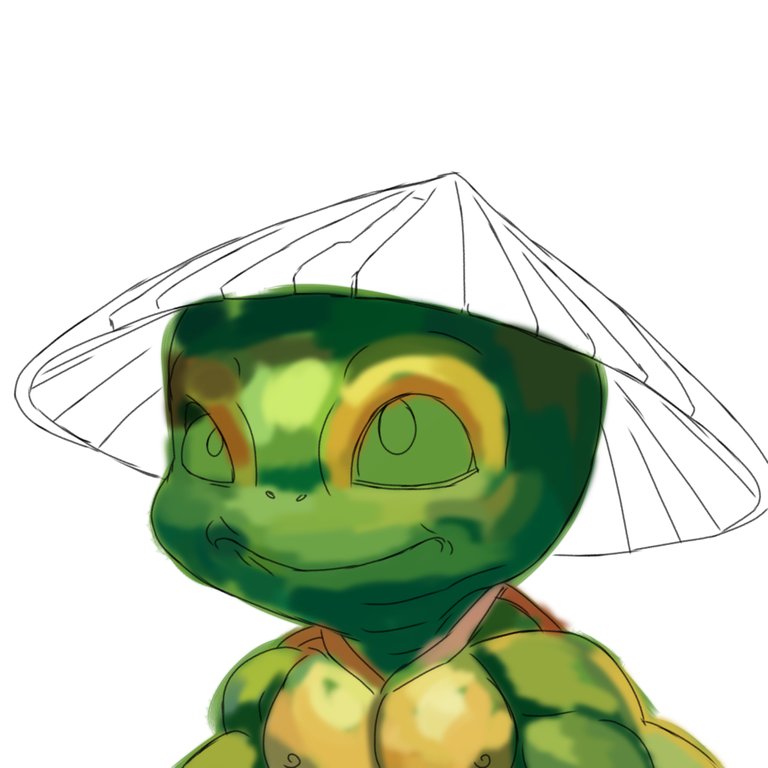 | 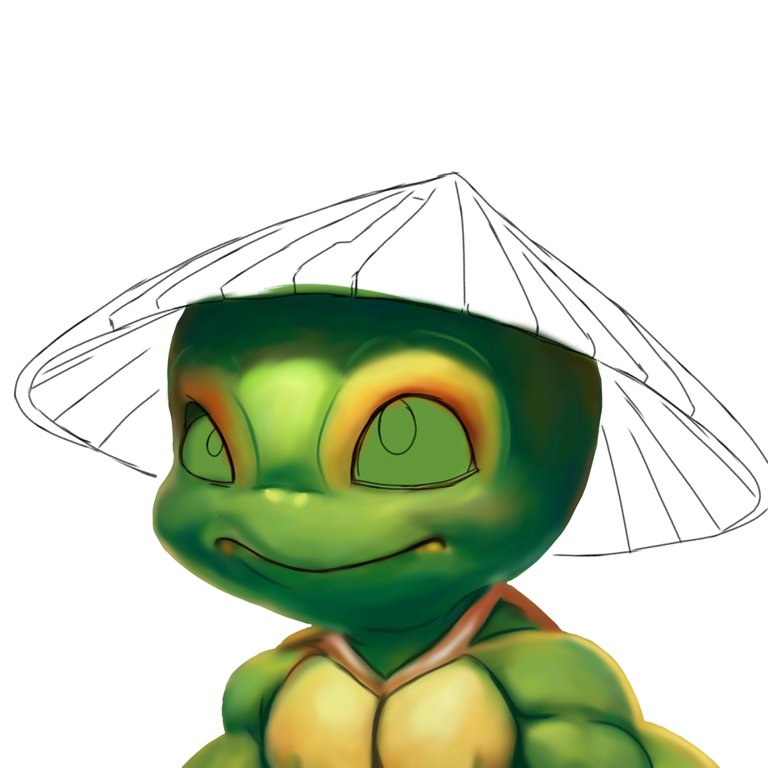 |
Luego, seguí con un color base para el sombrero en una nueva capa y para esto seguí con el método de mezcla normal y con la brocha plano real. Seguí matizando con tonos más oscuros para definir, agregando también tonos claros de iluminación, y de esta forma seguí y definime para luego ir borrando lo excedente, pasando luego a borrar el delineado del sombrero en la capa del mismo delineado. Después de terminar todos los elementos del personaje empecé oscureciendo el fondo para comenzar a recrearlo.
I then followed up with a base color for the hat on a new layer and for this I continued with the normal blending method and the real flat brush. I continued tinting with darker tones to define, also adding light lighting tones, and in this way I continued and defined to later erase the excess, then proceeding to erase the outline of the hat on the layer of the same outline. After finishing all the elements of the character I started darkening the background to start recreating it.
 |  |
 |  |
Para esta etapa comencé a aplicar otras capas con métodos de mezcla diferente, y use el de superposición para resaltar algunos colores y también darle ese brillo propio del color. Para esto trabaje con la misma brocha en opacidad baja, y con una brocha tipo pulverizador fui dando un poco de textura a su piel usando la misma capa pero con una opacidad media alta variando los tonos. Seguí con el cambio de color del fondo a un turquesa oscuro para luego ir dandole textura con el pincel tipo salpicadura, el de burbujas y también purpurina pero aquí agregué estos últimos pinceles en una capa de añadir para darle ese brillo destellante. Agregué algunas letras y comillas y resalte los brillos en una capa añadir terminando con mi pincel preferido que es el punto de brillo. Espero lo hayan disfrutado y con esto me despido hasta el próximo post! 👋😊🙂💞🌹🌷❤️
For this stage I started to apply other layers with different blending methods, and I used the overlay method to bring out some colors and also give it that color shine. For this I worked with the same brush at low opacity, and with a spray type brush I was giving a bit of texture to her skin using the same layer but with a medium high opacity varying the tones. I continued with the color change of the background to a dark turquoise and then I added texture with the splatter brush, the bubble brush and also glitter but here I added these last brushes in an add layer to give it that sparkling shine. I added some letters and quotes and highlight the glitters on an add layer finishing with my favorite brush which is the glitter dot. I hope you enjoyed it and with this I say goodbye until the next post! 👋😊🙂💞🌹🌷❤️
 |  |
 | 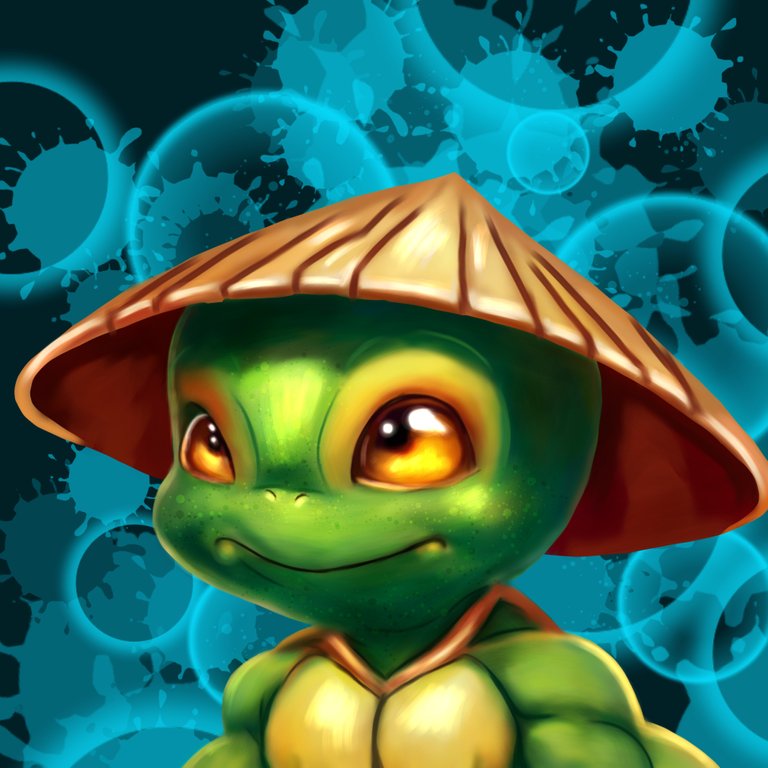 |
ILUSTRACIÓN FINAL/ End Illustration
Redes Sociales/ Social Networks
Sigueme en/ Follow me in:
👉Instagram: @catrynart
👉 Twitter: @catrynart
Herramientas Usadas/Used Tools
- Tablet Android/ Android Tablet
- Programa Ibis Paint X/ Ibis Paint X Program
- Traductor Deepl/ Deelp Translator
- Servidor de Imagenes Imgbb/ Imgbb Image Server
- Dactilopintura Digital/ Digital Fingerprint Painting
🌺¡HASTA EL PRÓXIMO POST!🌺

Detenerse es Retroceder
To Stop is to go Backwards
</center
Mori de ternura con lo lindo y los colores, sencillamente espectacular.
Gracias querida @equipodelta 😘🥰
https://twitter.com/cbit_roxana_mdh/status/1693346541992325391?t=Rq4b2L1yfcoNX_8iiWHIjA&s=19
¡Felicidades! Esta publicación obtuvo upvote y fue compartido por @la-colmena, un proyecto de Curación Manual para la comunidad hispana de Hive que cuenta con el respaldo de @curie.
Si te gusta el trabajo que hacemos, te invitamos a darle tu voto a este comentario y a votar como testigo por La Colmena.
Si quieres saber más sobre nuestro proyecto, te invitamos a acompañarnos en nuestro servidor de Discord.
Gracias querido equipo de @la-colmena 🥰♥️🤗
Thanks so team @curangel and @curie🤗♥️🥰🌷
Quedó demasiado Cuchi
Gracias querida @jorgelissanchez ☺️😊
I love itttt 😍
Thank You 🥰
!PGM
!PIZZA
!CTP
Thanks so so @bdvoter and @bdvoter.cur 🥰💗❤️
Contáctenos para saber más del proyecto a nuestro servidor de Discord.
Si deseas delegar HP al proyecto: Delegue 5 HP - Delegue 10 HP - Delegue 20 HP - Delegue 30 HP - Delegue 50 HP - Delegue 100 HP.
Thanks so 🤗🥰
Thanks for sharing! - @alokkumar121

Congratulations @catrynart! You have completed the following achievement on the Hive blockchain And have been rewarded with New badge(s)
Your next target is to reach 20000 upvotes.
You can view your badges on your board and compare yourself to others in the Ranking
If you no longer want to receive notifications, reply to this comment with the word
STOPCheck out our last posts: