[Eng/Esp] CREATION OF A WALL PENDANT, BEAUTIFUL BIRDS IN A COUPLE.
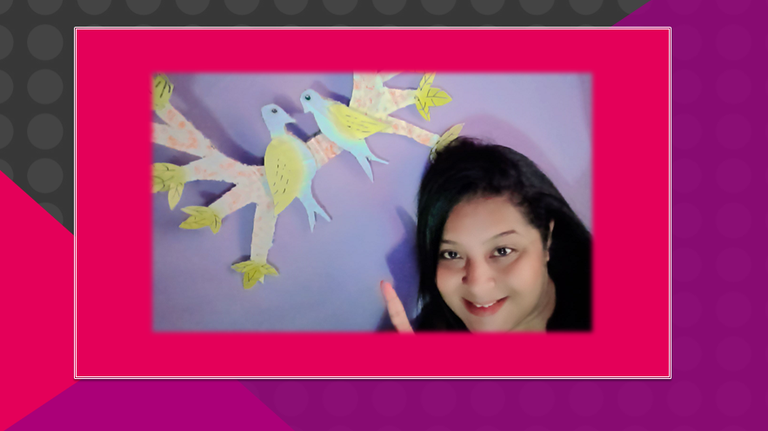
Saludos, mi querida Comunidad, es un agrado pertenecer a esta Hermosa familia, en este día les traigo la creación de un colgante de pared, idea para adornar nuestros hogares y sobre todo utilizando material reciclaje, como también es una magnífica idea para realizarle a sus hijos si en la escuela le manda a hacer una actividad con material reciclaje. Idea principal: un lindo araguaney y los pájaros, unos turpiales.
Espero que les guste a todos.
WE BEGIN - COMENZAMOS
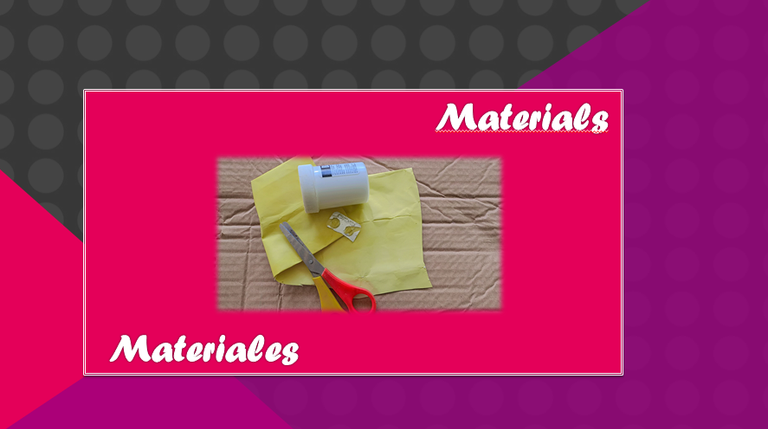
Materials:
Graphite pencil.
Silicon and scissors.
Draft.
Black marker.
Cardboard.
Yellow cardboard.
White cold paint.
Pill blister.
Orange cold paint.
Brush.
Lápiz grafito.
Silicon y tijera.
Borrador.
Marcador negro.
Cartón.
Cartulina amarilla.
Pintura al frío blanco.
Blíster de pastilla.
Pintura al frío anaranjado.
Pincel.
Paso 1:
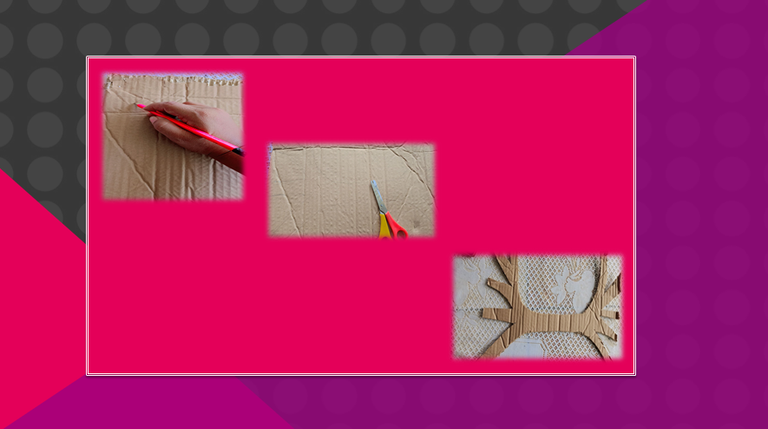
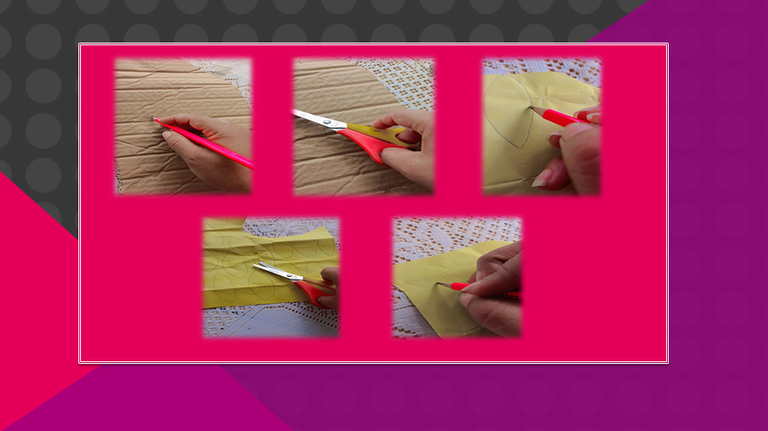
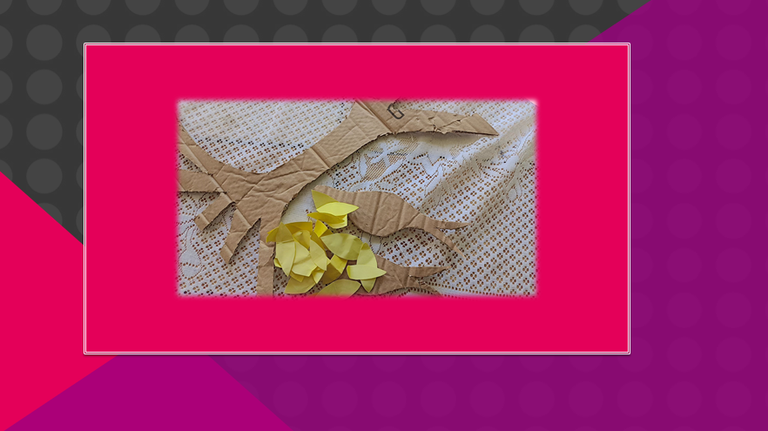
We started Friends and Friends, the first step I started to draw with my graphite pencil what will be the branch where my beautiful birds will be, I used cardboard, I reused a box that I had saved, this time I used disposable materials, as I was explaining, I marked the branches and Then I cut out, I also drew the two birds on the cardboard and with the yellow cardboard I made the leaves of the araguaney and the wings of the birds, having everything marked I cut out each of them. they.
Comenzamos Amigos y Amigas, el primer paso empecé a dibujar con mi lápiz grafito lo que será el ramal donde estarán mis lindos pájaros utilice cartón lo reutilice una caja que tenía guardada, en esta oportunidad utilicé materiales desechables, como les estaba explicando marque las ramas y luego recorté, asimismo, dibuje en el cartón los dos pájaros y con la cartulina amarilla realice las hojas del araguaney y las alas de los pájaros, al tener todo marcado recorté cada una de ellas.
Paso 2:
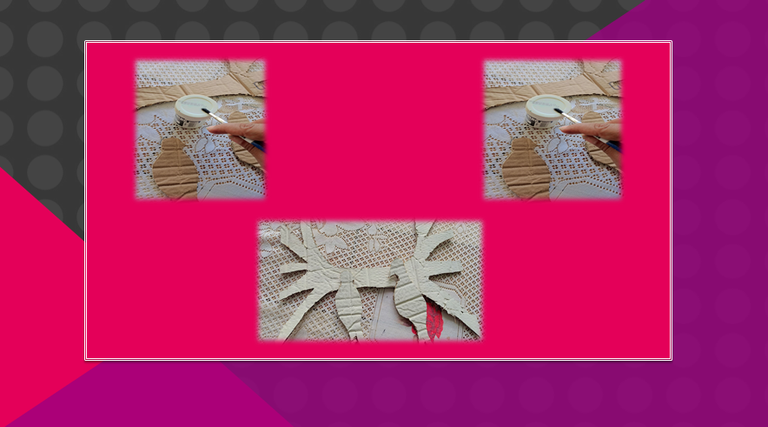
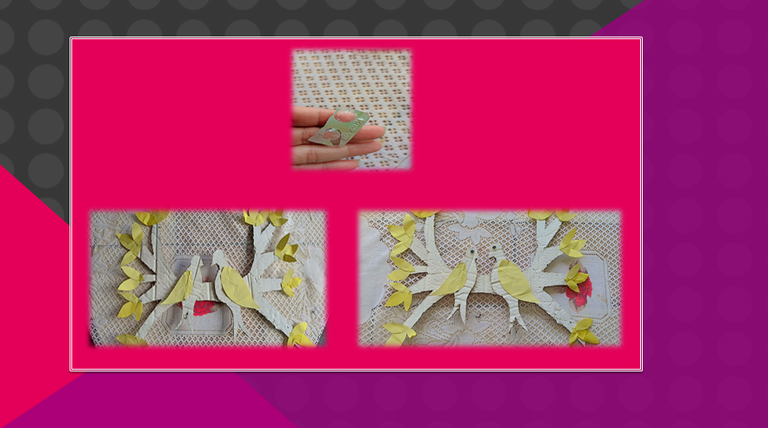
As a second step, having all my parts ready, with the cold paint and a brush, I painted my cardboard figures, when finished, I let it dry and then I assembled my art by placing the leaves, its wings and with the blister of tablets I made it. his eyes.
Como segundo paso, al tener todas mis partes listas, con la pintura al frío y un pincel, pinté mis figuras de cartón, al terminar, dejé secar y luego armé mi arte colocando las hojas, sus alas y con el blíster de pastilla le realice sus ojos.
Paso 3:
As a third step, with the black marker I made a mark on all the edges of my figures, with the orange cold paint I made that effect with the sponge, I did it by soaking the sponge in water and then in paint to give small touches on the cardboard until you get this more striking and shiny appearance,
Enjoy it.
Como tercer paso, con el marcador negro le realice un marcado por todas las orillas de mis figuras, con la pintura al frío anaranjada le hice ese efecto con la esponja, lo hice moje la esponja en agua y posteriormente en pintura para dar pequeños toque en el cartón hasta conseguir este aspecto más llamativo y reluciente,
Disfrútenlo.
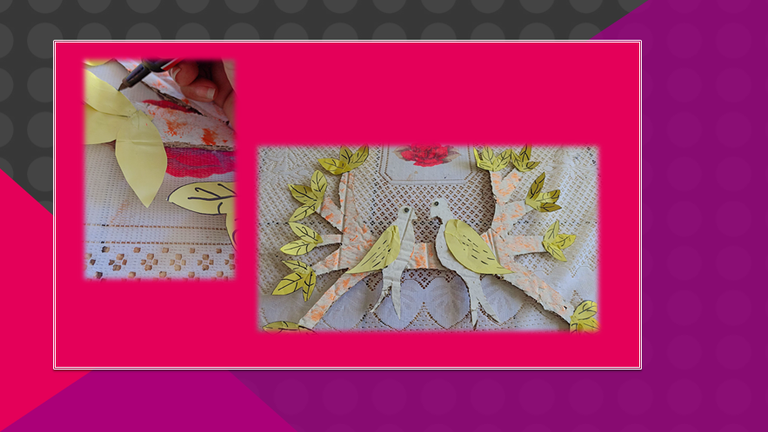
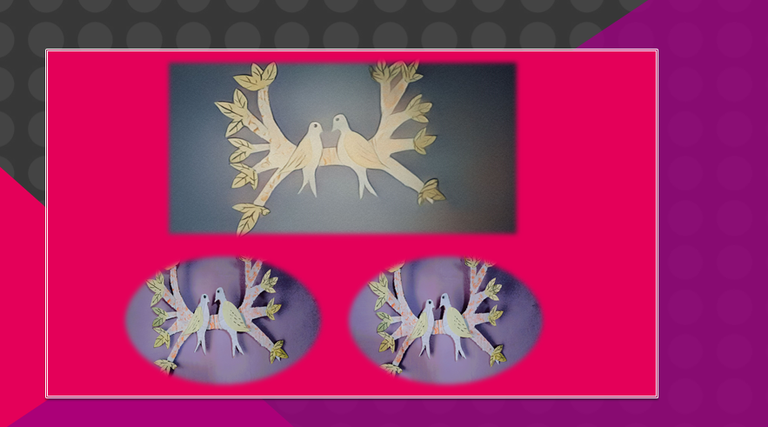
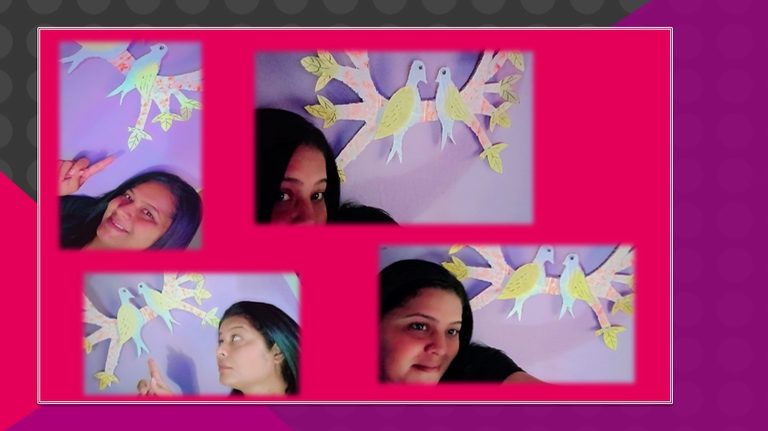
Último paso, guinde mi arte en la pared de mi casa, aquí les muestro las imágenes. Trabajo finalizado.
Fuente / Source:
Traductor
All photos are my property taken with my Oscal c70 Smartphone..📷
🌺 My name is @Brindyschi 🌺

Until a future opportunity
Success for all 👊
WOW! It looks pretty cool. Love its design. It shows your creativity. Good to see each step of making this. Well done!
Gracias por el apoyo
It's a really good decoration, I love it well done!
Gracias corazón