DIY: Two-tone holster inspired by Madcap Magus (Eng - Esp)
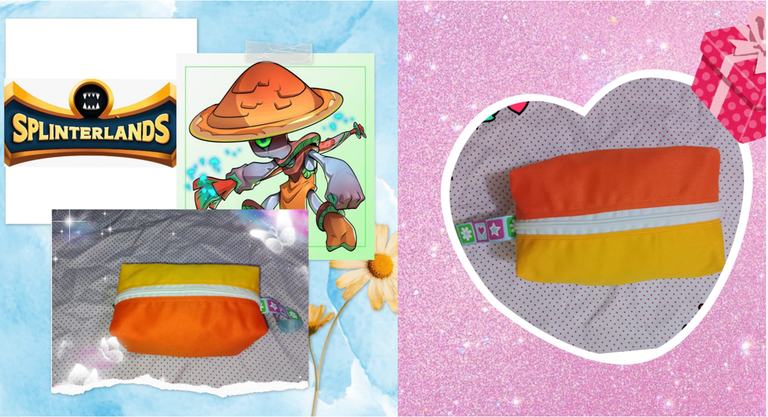

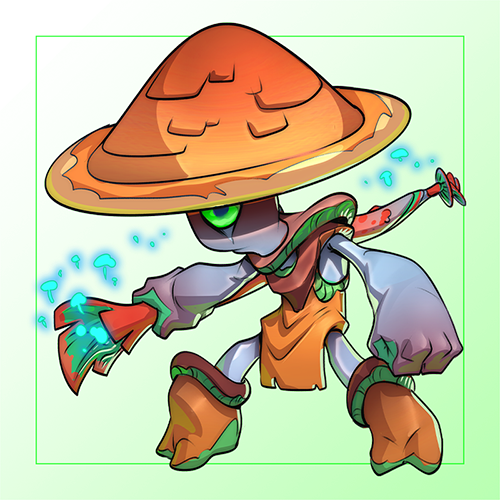
Hello, hello sewing lovers friends, it is a pleasure to greet you and share a new creative project, the school year is ending and it is an opportune time to give gifts to students who were promoted to the next grade, a cousin of my friend, who like her works in a school and at the end of the school year usually gives gifts to children and placed an order for several pencil cases to give to her students, in various colors, after seeing the fabrics she selected several colors including orange and yellow and I made a two-tone pencil case inspired by the character of Splinterlands Madcap Magus, who wears the colors orange and yellow on his hat, this pencil case is wide and large with enough space to carry the colors, glue and supplies needed to work in class. I invite you to join me in the making process.

Hola, hola amigos amantes de la costura, es un placer saludarles y compartir un nuevo proyecto creativo, ya está terminando el año escolar y es una época propicia para dar obsequios a los estudiantes que fueron promovidos de grado, una prima de mi amiga, la cual al igual que ella trabaja en una escuela y al finalizar el año escolar acostumbra a darle regalos a los niños, me hizo un pedido de varias cartucheras para obsequiar a sus estudiantes, en colores variados, luego de ver las telas seleccionó varios colores entre ellos naranja y amarillo y elaboré una cartuchera bicolor inspirada en el personajes de Splinterlands Madcap Magus, que lleva en su sombrero los colores naranja y amarillo, esta cartuchera es amplia y grande con suficiente espacio para llevar los colores, pegamento y útiles necesarios para trabajar en clase. Les invito me acompañen en el proceso de elaboración.


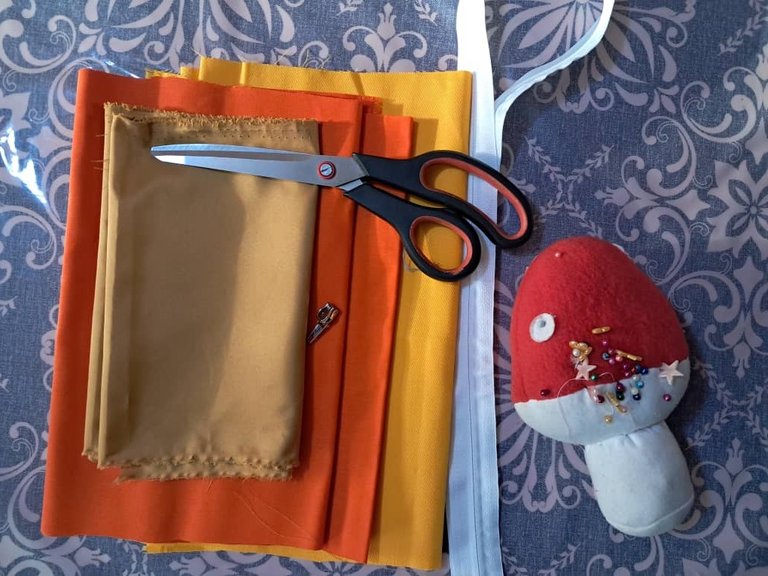
Drill fabric (orange and yellow)
Sewing machine
Pattern
Tape
Zipper
Slider
Scissors
Pins

Tela drill (naranja y amarilla)
Máquina de coser
Molde
Cinta
Cierre
Slaider
Tijera
Alfileres

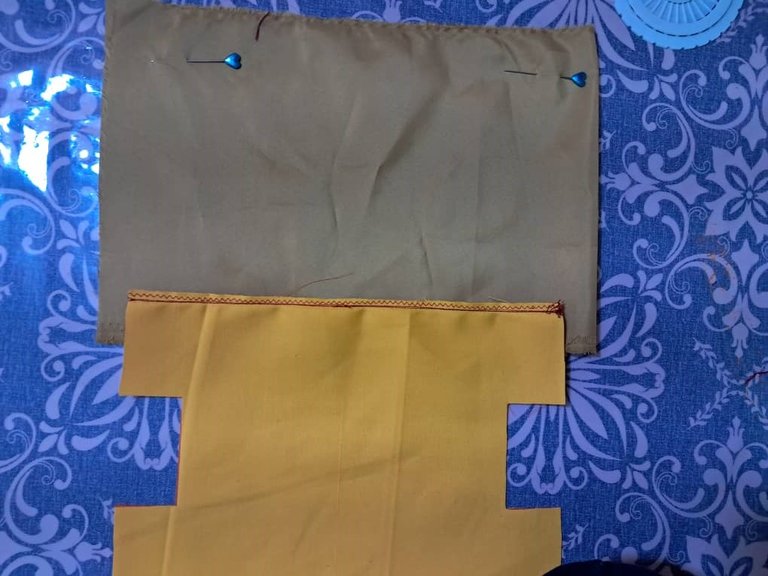
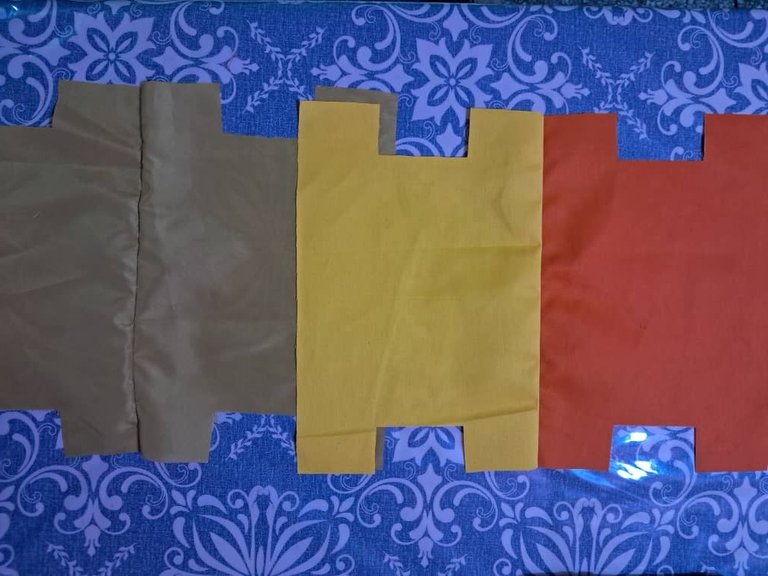
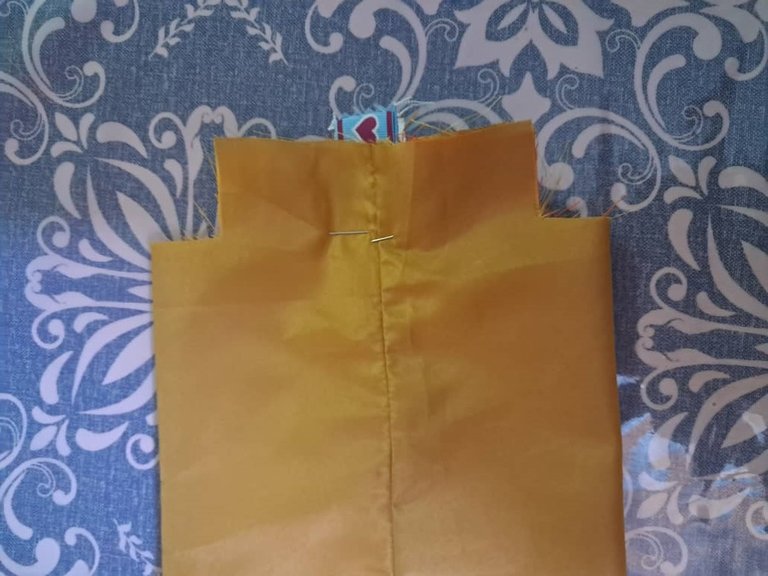
The first step in making the pencil case was to mark the pieces. I folded the fabric in half, placed the pattern facing the wrong side of the fabric, marked it using soap, and then cut out the main piece and the lining. I then joined the two pieces together at the bottom center.

El primer paso para la elaboración de la cartuchera fue marcar las piezas, doblé la tela por la mitad, coloqué el molde enfrentando por el revés de la tela, marqué usando jaboncillo y luego corté la pieza principal y forro, seguidamente uní ambas piezas en el centro inferior.
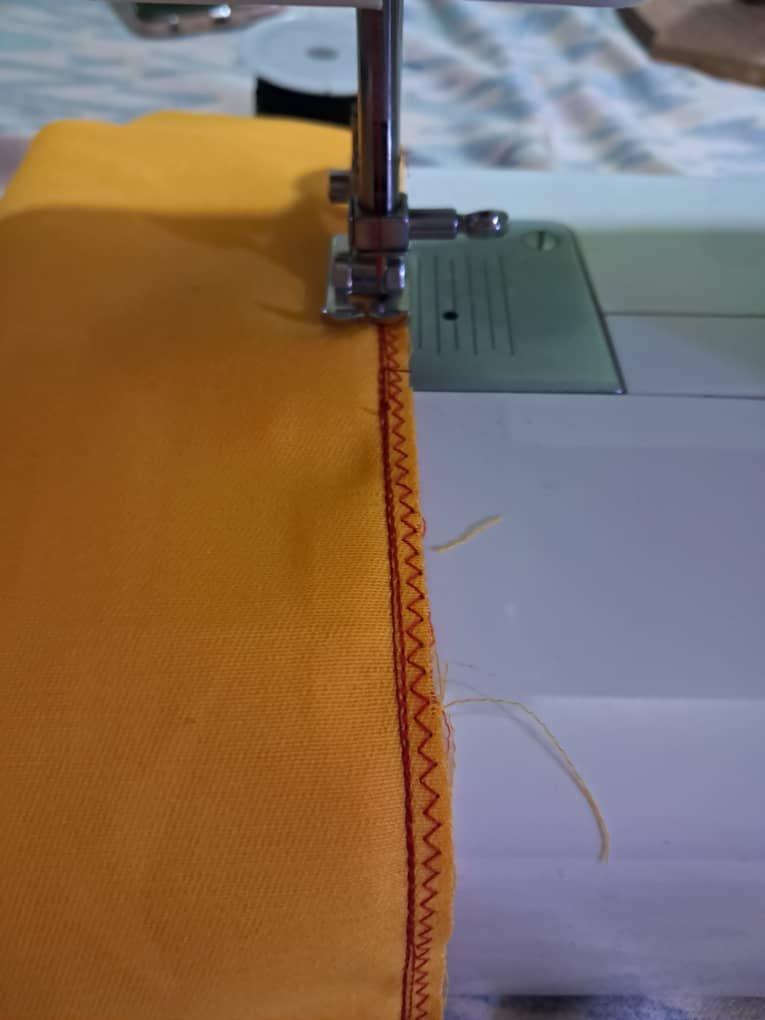
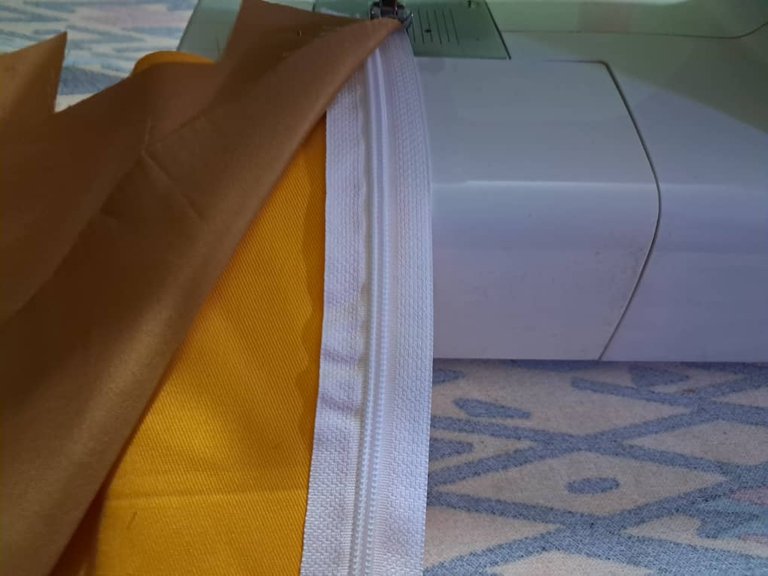
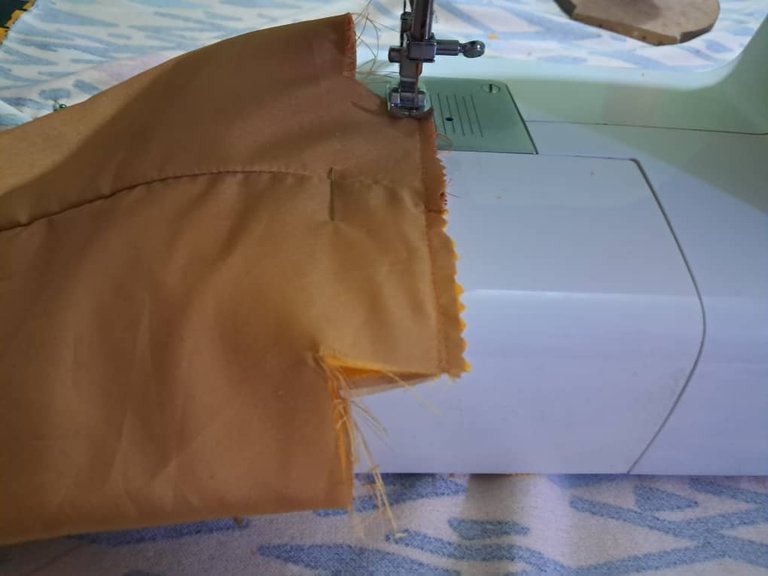
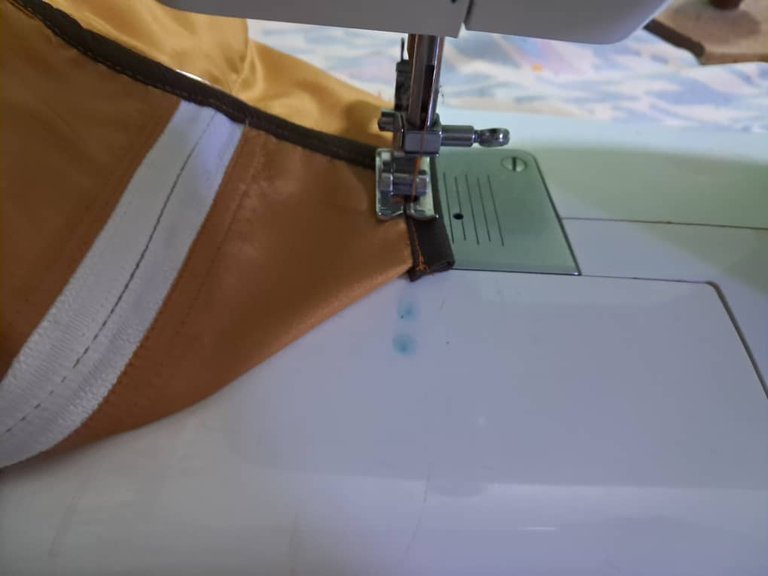
Then I glued the closure, for this I faced the closure and the fabric right sides together, on top I put the lining and sewed with a straight stitch, then I passed the lining to the back and re-edged on both sides, so the seam is hidden, I sewed the closures one at each end and after re-edging I placed the slider, the purpose of re-edging is to reinforce the seams and give firmness to the closure.
Luego pegué el cierre, para ello enfrenté por el derecho el cierre y la tela, encima puse el forro y cosí con puntada recta, luego pasé el forro hacia atrás y repisé en ambos lados, así la costura queda oculta, cosí los cierres uno en cada extremo y después de repisar coloqué el slider, el repisado tiene como objetivo reforzar las costuras y darle firmeza al cierre.
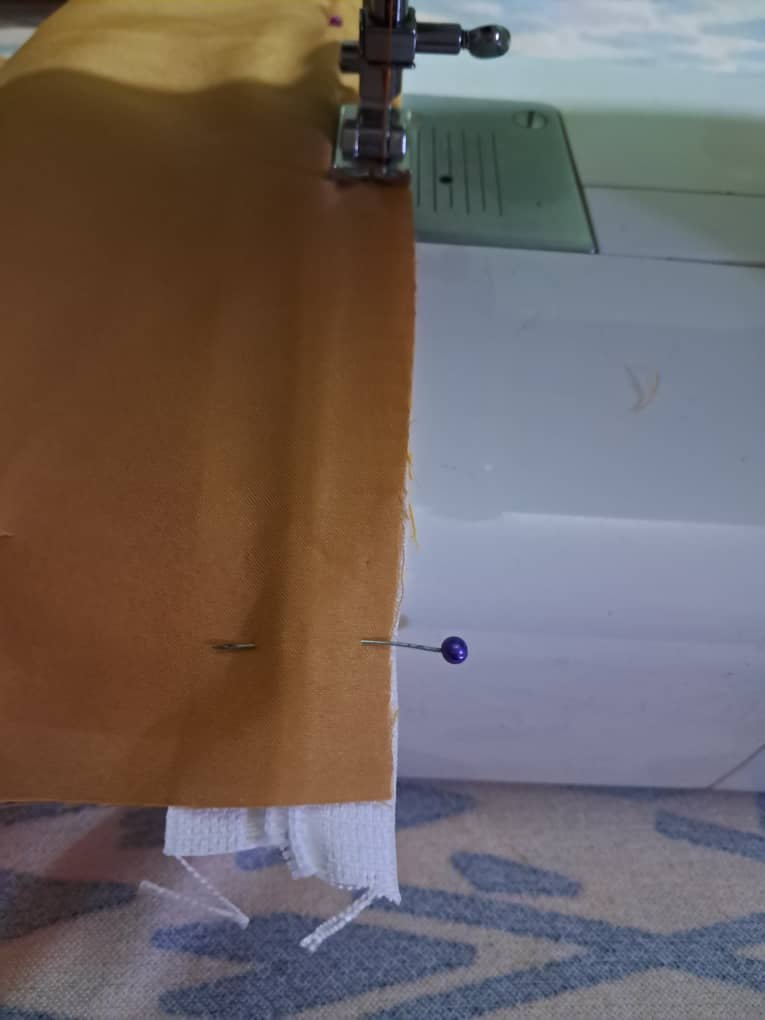
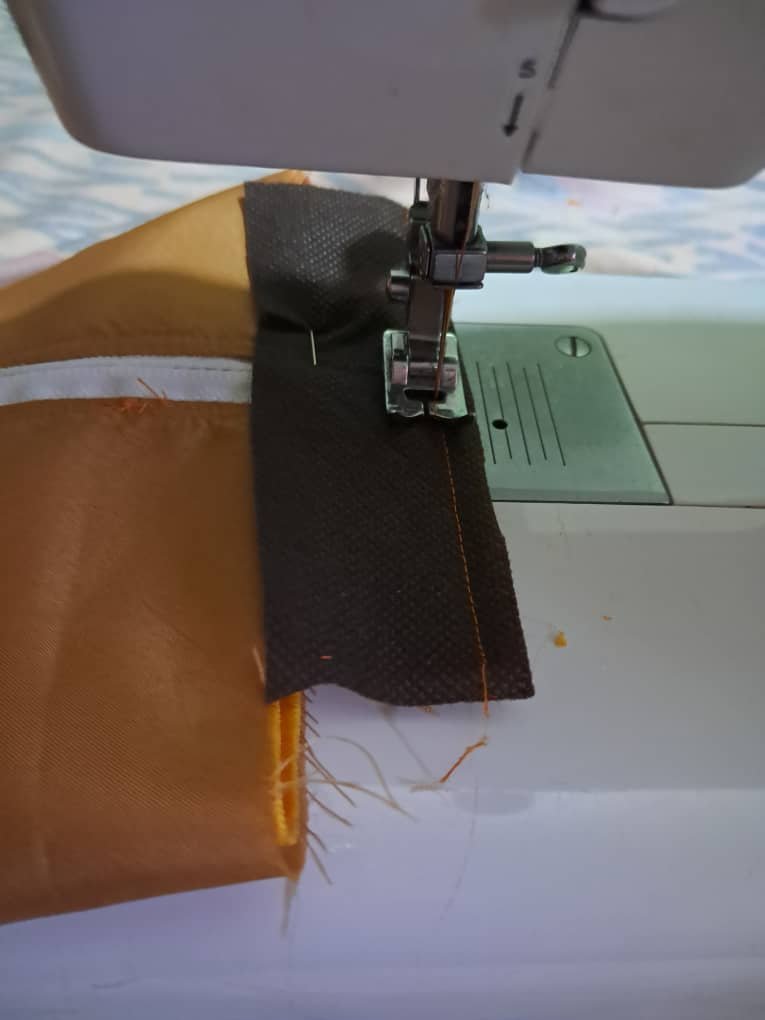
The next step was to turn the pencil case inside out, cut the tape, the seam cover and on one of the ends I placed the tape that will serve as support when opening the pencil case, then I faced the center of the closure with the lower center and fastened it with pins.
El siguiente paso fue voltear la cartuchera por el revés, cortar la cinta, el tapa costuras y en uno de los extremos coloqué la cinta que servirá de soporte al momento de abrir la cartuchera, luego enfrente el centro del cierre con el centro inferior y sujeté con alfileres.
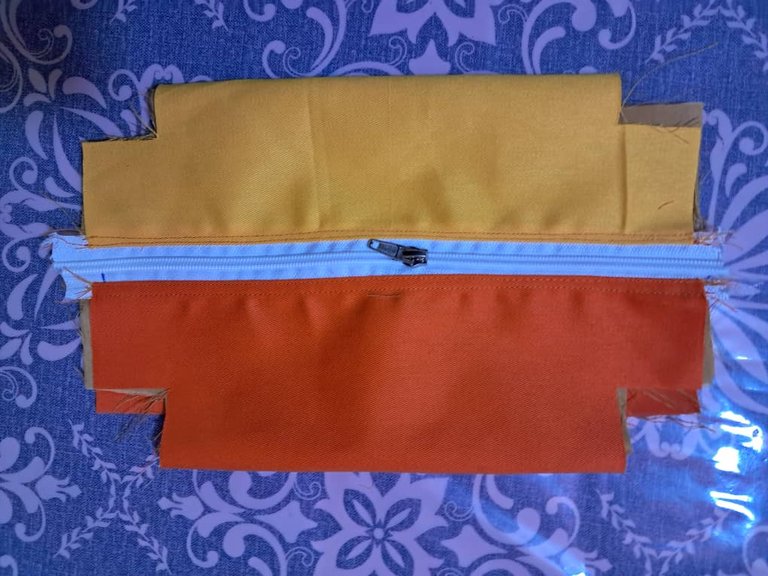
With a straight stitch I sewed the center of the pencil case, overlaying the closure and the ribbon.
Con puntada recta cosí centro de la cartuchera, repisando el cierre y la cinta
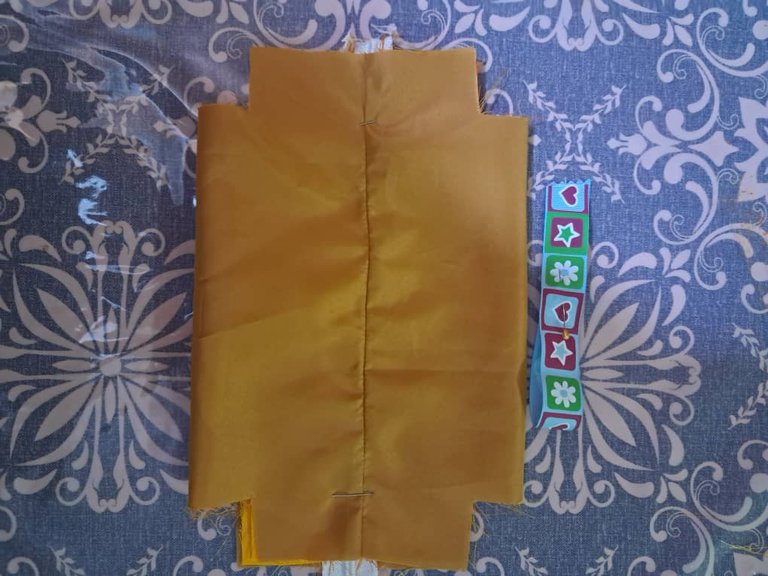
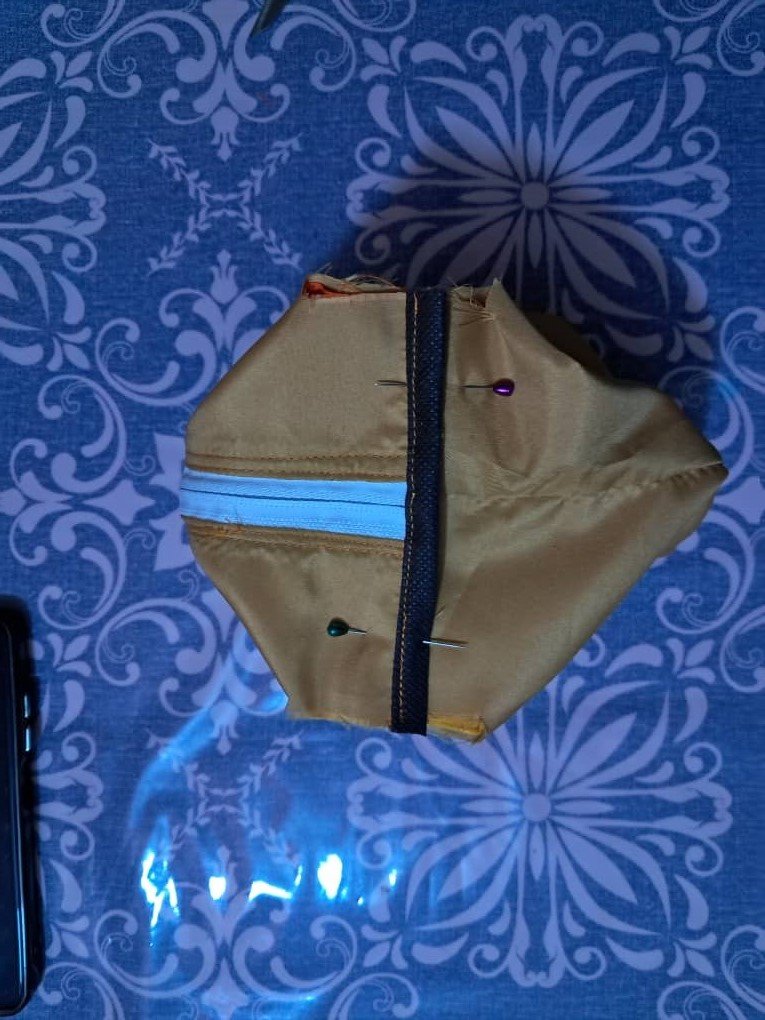
To finish, I glued the seam cover. I placed it first in the center, facing the right side of the zipper. I joined it with a straight stitch. Then, I folded the seam cover and sewed it again on top of the previous seam. Then, I pinned the corners so that the horizontal and vertical edges matched. I sewed with a straight stitch and glued the seam cover as I did in the center. With these simple steps, the two-tone pencil case inspired by the Madcap Magus is finished.
Para finalizar pegué el tapa costuras, lo coloqué primero en la parte central, enfrentado con el derecho del cierre, unÍ con puntada recta, luego doble el tapa costura y cosí nuevamente encima de la costura anterior, luego sujeté con alfileres las esquinas, de tal forma que coincidan los bordes horizontales y verticales, cosí con puntada recta y pegué el tapa costura como lo hice en la parte central, con estossencillos pasos está terminada la cartuchera bicolor inspirada en el Madcap Magus

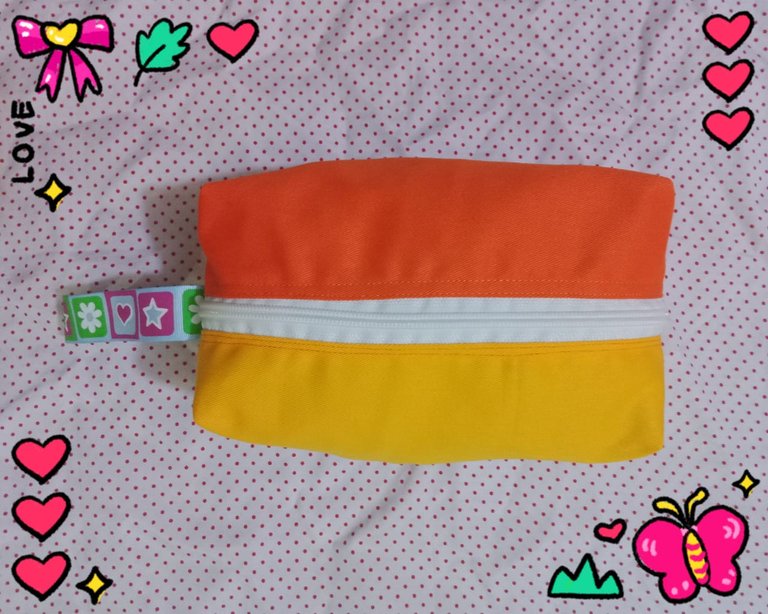
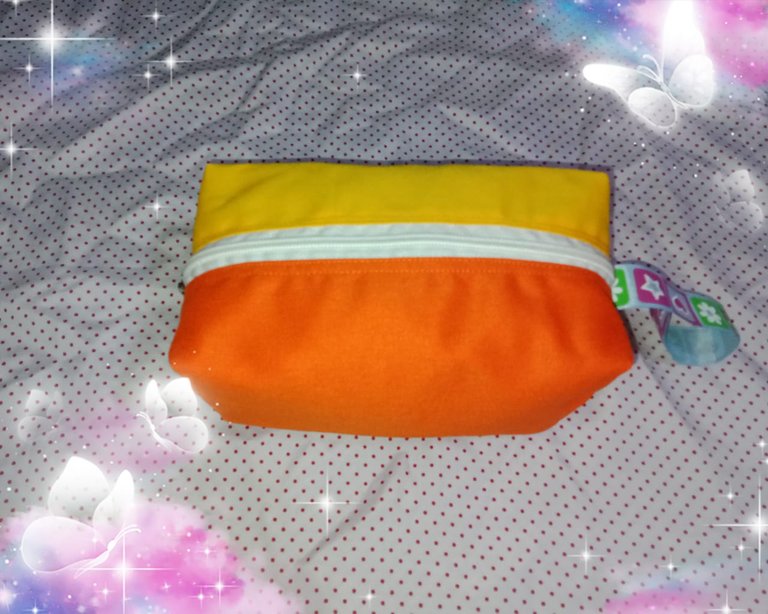
The result of the pencil case looks very good, since both colors stand out, I hope this tutorial is useful and you are encouraged to make it, it is a simple project to make and very useful to carry colors, pencils, also makeup and personal use products, when using very thin fabrics it is advisable to add a lining to give it firmness, this depends on the taste of each person.

El resultado de la cartuchera se ve muy bien, pues ambos colores resaltan, espero este tutorial sea de utilidad y se animen a realizarla es un proyecto sencillo de hacer y muy útil para llevar los colores, lápices, también el maquillaje y productos de uso personal, cuando se usan telas muy delgadas es recomendable colocarle un forro para darle firmeza, esto depende del gusto de cada persona.
Hasta luego!
Translated with https://www.deepl.com/translator
              All images are my own.

   Todas las imágenes son de mi autoría.
Thanks for the support
Love the color combination, it's bright and really pretty. I think you can also keep other things in there no aside from pencil and ballpen.
Hi @ruffatotmeee, I also like the color combination; it's beautiful and youthful. It can also be used to store things other than pencils, such as makeup, small pieces of clothing, and more. It's practical and easy to make. 🌸❤️
Best regards!
We appreciate your work and your publication has been hand selected by the geography curation team on behalf of the Amazing Nature AN Community. Keep up the good work!
Greetings @hive-174680 and @jlufer, thank you so much for the support 🌸🤗
It was fun to create an amazing bag out of fabric by dressing up the unique character of the game with great skill. It looks great in combination with the animal. Thanks for sharing this amazing skill.
The color combination looks great and I like it. It's elegant and eye-catching. The pencil case can be used to carry pencils, makeup, and personal items. 🤗
Best regards!
Yes my pleasure you are most welcome
Thank you so much
You received an upvote ecency
Thank you very much for the support
It is colorful, shining, and beautiful. Its design and color make it more special. It looks fabulous. Well done!
selected by @rezoanulvibes
Greetings @diyhub, I like the color combination, plus it's roomy and ideal for carrying crayons and small items.
Saludos amiga, es una linda iniciativa que tu amiga le deje un regalo de fin de año a sus alumnos, y que mejor que un estuche, con colores tan lindos, de tu inspiración, con este lindo personaje.
Feliz noche, muchos abrazos.
Hola amiga, me alegra que te haya gustado, los colores combinan muy bien, seguro los chicos estrán felices al recibir su obsequio.
Saludos y bendiciones!
Thanks for sharing! - @cieliss

Thank you for your support
Greetings!