DIY: Gray and blue tablecloth inspired by Grumpy Dwarf (Eng - Esp)
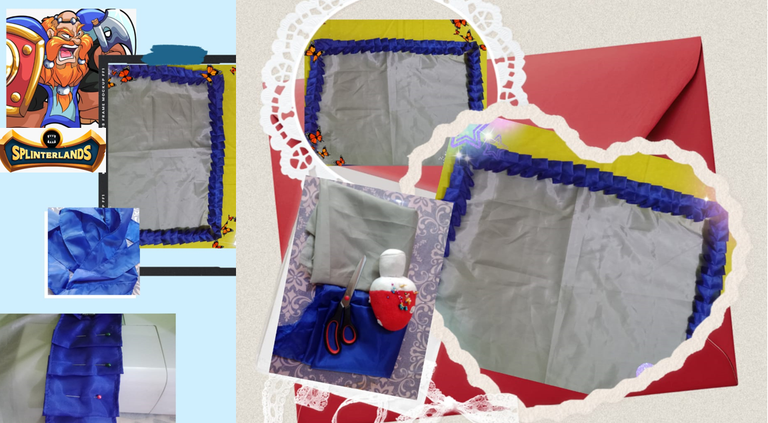

Greetings, fellow needle and thread lovers! I hope you have a wonderful week and that the month of July brings success and many blessings to every home. This time, I'm sharing a project inspired by the Splinterlands character Grumpy Dwarf, Using the gray and royal blue colors worn by this character as a reference, it's a tablecloth with blue ruffles on the edges. It's a simple project to make and ideal for covering and decorating your table. I invite you to join me in the making process.

Saludos amigos amantes de los hilos y las agujas, deseo que tengan una excelente semana y que el mes de julio venga cargado de éxito y muchas bendiciones para cada hogar, en esta ocasión comparto un proyecto inspirado en el personaje de Splinterlands Grumpy Dwarf, tomando como referencia los colores gris y azul rey que lleva este personaje, se trata de un mantel con ruffles azules en los bordes, es un proyecto sencillo de hacer de hacer e ideal para cubrir y decorar la mesa, les invito me acompañen el proceso de elaboración.


The materials used were:
Taffeta fabric (royal blue and gray)
Scissors
Pins
Sewing machine
Los materiales usados fueron:
Tela tafeta (azul rey y gris)
Tijera
Alileres
Máquina de coser

Elaboration
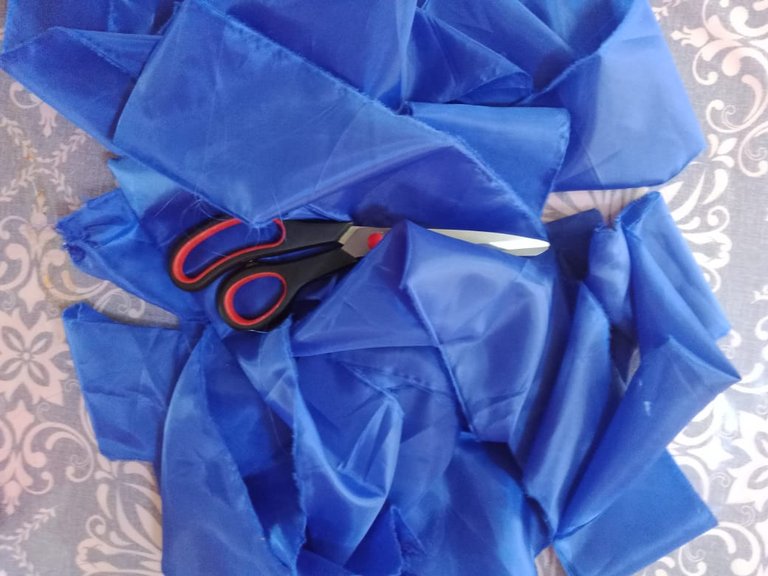
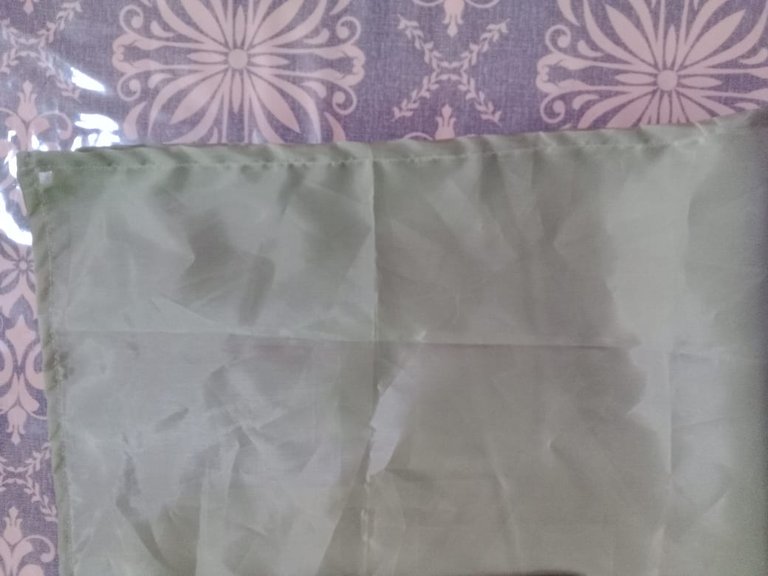
The first step in making this tablecloth was to match the gray fabric so that it was a rectangle with equal horizontal and vertical measurements. I also cut several 10-centimeter-wide strips from the royal blue fabric, ironed them, and joined them with a straight stitch, until I had 12 meters of ribbon to make the ruffles.
Elaboración
El primer paso para la elaboración de este mantel, fue emparejar la tela de color gris de tal forma que quedara un rectángulo con iguales medidas en la parte horizontal y vertical, también corté varias tiras de 10 centímetros de ancho, en la tela azul rey, las planché y uní con puntada recta, hasta obtener 12 metros de cinta para hacer los ruffles.
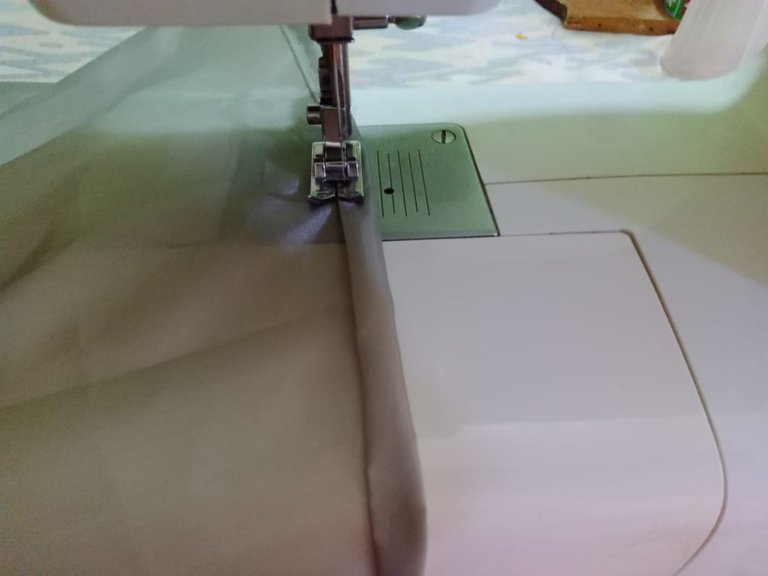
Once the strips were joined, I sewed a hem at the top and bottom of the ribbon, also using a straight stitch. The hem is approximately 0.2 millimeters.
Unidas las tiras, cosí un dobladillo en la parte superior e inferior de la cinta, para ello utilicé también puntada recta, el dobladillo es de aproximadamente 0,2 milímetros.
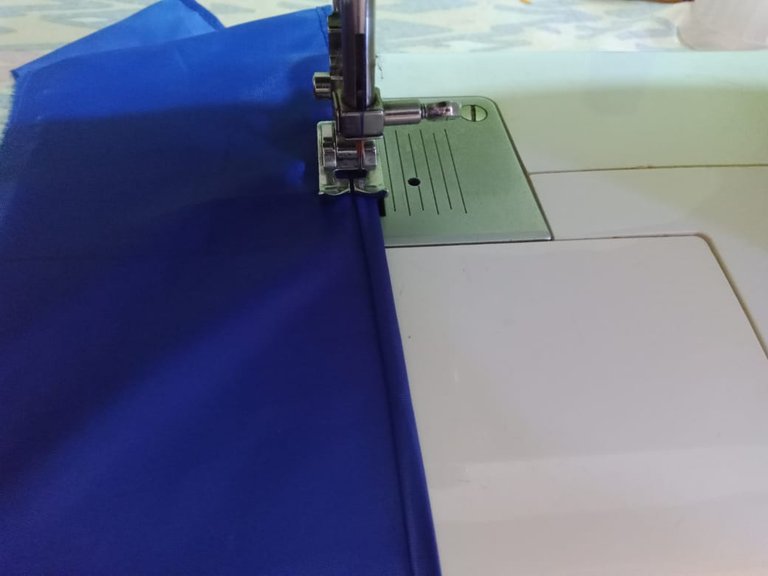

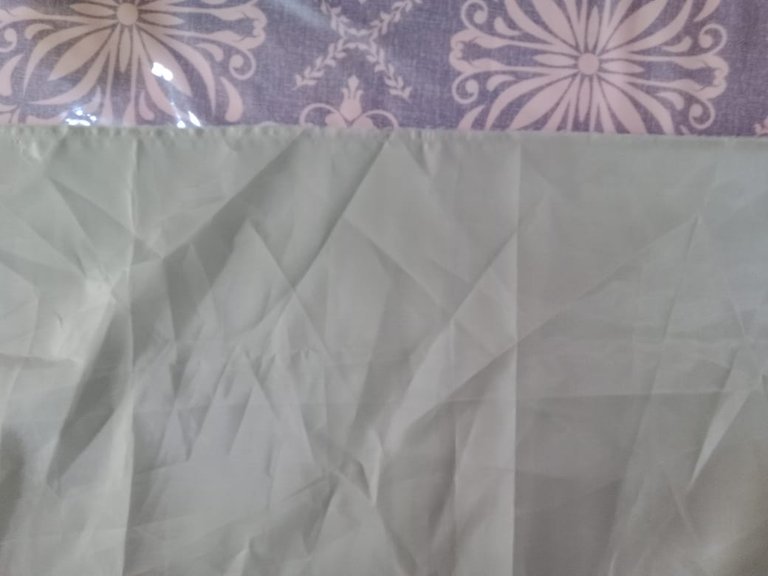
The next step was to sew a hem about one centimeter wide, all the way around the gray fabric, just like in the previous step, I used a straight stitch.
El siguiente paso fue coser un dobladillo de aproximadamente un centímetro de ancho, por todo el contorno de la tela gris, al igual que en el paso anterior, usé puntada recta.
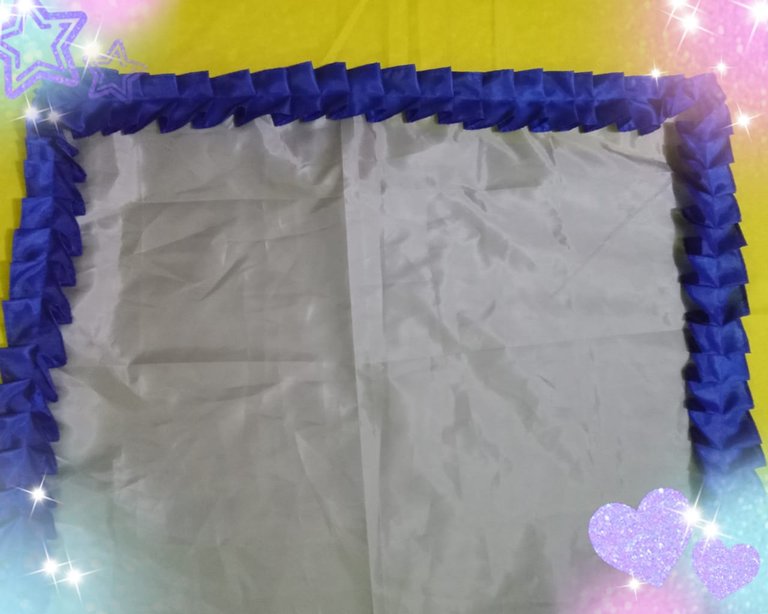
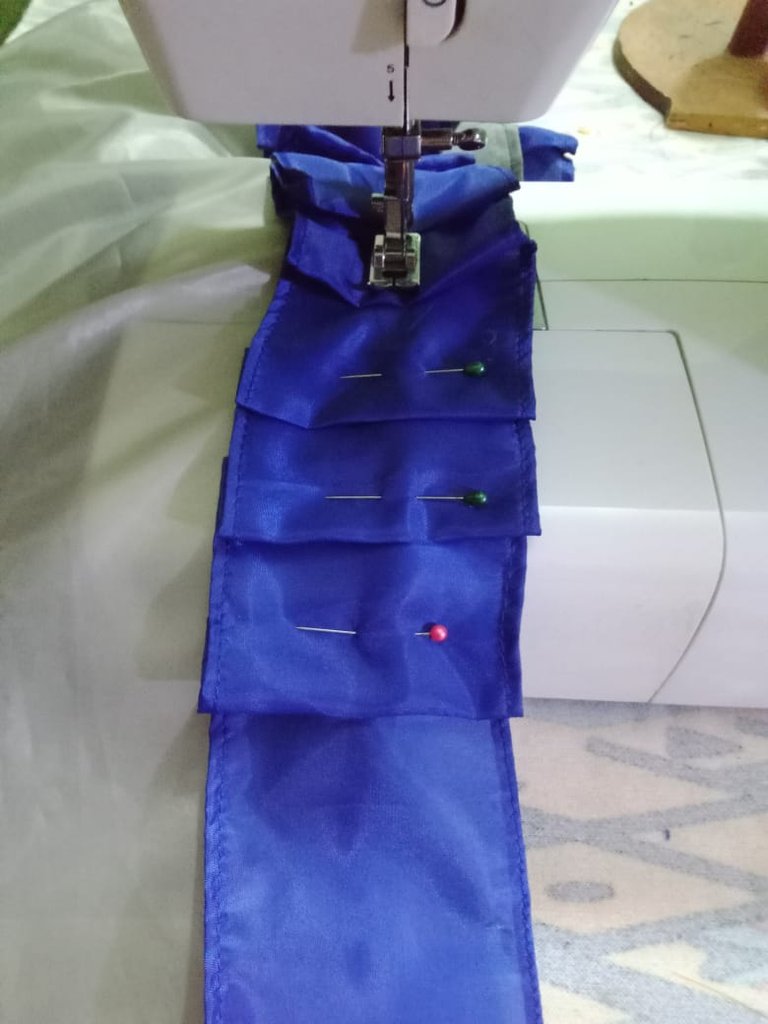
To finish, I glued the blue ribbon, forming panels approximately 3 centimeters wide, and sewing with a straight stitch until the entire outline was covered with ruffles. With these simple steps, a beautiful tablecloth inspired by the Splinterlands characters is finished.
Para finalizar, pegué la cinta azul formando tablas de aproximadamente 3 centímetros de ancho y cosiendo con puntada recta, hasta cubrir todo el contorno con los ruffles, con estos sencillos pasos está terminado un lindo mantel inspirado en los personajes de splinterlands.
I hope this tutorial is very useful for making tablecloths and decorating your table. Depending on your taste, you can make the tablecloth reversible. Instead of placing the ruffles on the front, place them in the center with the right sides of both fabrics facing each other, leaving an opening for turning. You can also combine the colors of your choice. It is easy to make and requires few materials.
Espero este tutorial le sea de gran utilidad para elaborar manteles y adornar la mesa, de acuerdo al gusto de cada persona se puede hacer el mantel reversible y en lugar de colocar los ruffles en la parte delantera, se colocan en el centro enfrentando los derechos de ambas telas, dejando una abertura para voltear, también se pueden combinar los colores de nuestra preferencia, essencilo de hacer y requiere pocos materiales.
Blessings!
Bendiciones!
Hasta luego!
Translated with https://www.deepl.com/translator
              All images are my own.


   Todas las imágenes son de mi autoría.
Thanks for the support.
Te quedo bien lindo este mantel amiga, buen trabajo, me encanto el paso a paso para hacerlo, y el lindo volante que le pusiste en las orillas ✨
Saludos amiga, agradecida por tu visita y comentario, es sencillo de hacer, los volantes le dan un estilo diferente y elegante, se ve muy bien. 😍❤️
Feliz jueves!
Congratulations @belkyscabrera! You have completed the following achievement on the Hive blockchain And have been rewarded with New badge(s)
You can view your badges on your board and compare yourself to others in the Ranking
If you no longer want to receive notifications, reply to this comment with the word
STOPCheck out our last posts:
Wow! Thank you so much!
Well-deserved @belkyscabrera! Your commitment to daily blogging is a shining example of what it means to be a dedicated Hive user.
Above all, with great skill, using these wonderful fabrics, today's sewing method has prepared a tablecloth that looks very beautiful and attractive. Thank you very much for sharing this interesting art of sewing with all of us.
I'm glad you liked it. It's a simple project to make and useful for protecting and decorating your table.
Best regards!
You are most welcome thank you so much for you
Have a great day!
Delegate Tokens and HP to Fallen Angels to earn weekly rewards!
Delegate | Join to the guild
Thank you so much