Ability strategy analysis: Rust
Introduction
Let’s Talk About Rust!
We’re back again this week, diving into another Splinterlands ability: Rust. Honestly, I’m having so much fun writing these ability-focused blogs. Every time I take a closer look at an ability, I end up learning something new—even about ones I thought I knew inside and out! I hope you’re enjoying these posts as much as I am, and who knows? Maybe you’ll pick up a new trick or two along the way.
My goal is to eventually cover every ability in the game. Once I finish this list, I plan to circle back and write about the missing or newly added abilities. The Splinterlands team has been on fire lately, adding so many abilities that it’s almost impossible to keep up! Not that I’m complaining—it’s part of what keeps the game fresh and exciting.
As for Rust, it’s a pretty straightforward ability: it reduces enemy armor by 2. Simple, right? But as we all know in Splinterlands, even the simplest abilities can have a massive impact on strategy.

Ability

-2 armor to all enemy units.
Notes:
- Multiple Units with Rust can be in play - this ability stacks
- When the Unit with Rust dies, opposing Units will regain their armor (unless it was reduced by Corrosive Ward).
- Rust can be Cleansed.
Official ability information from splinterlands: List abilities
Synergies / strategy
Abilities benefits
 Corrosive ward - Combine Corrosive Ward and rust to further reduce the max armor of an opponent. So repair would have less impact
 Inspire - all friendly Units receive +1 Melee attack. Combined with rust you might strike quicker to their health in stead of the armor.
 Protect - Protect can give your own units an extra boot in armor. If your opponent plays a Unit with protect, their team is granted +2 armor. Rust will negate this. Combine this with
  Dispel and the additional armor is then removed
Be aware of abilities

 Cleanse/Cleanse Rearguard - Your rust can be cleanse now with the also reargaurd cleanse this can be cleansed on two unit in one turn.
Ruleset benefits
![]() Armored Up - All unit will gain +2 armor, with this ruleset you for sure make the most of the -2 armor of your rust unit.
Armored Up - All unit will gain +2 armor, with this ruleset you for sure make the most of the -2 armor of your rust unit.
![]() Corrosive Fog - When this ruleset is in play, all Units take 1 armor damage and lose 1 maximum armor each round. Consider whether additional reduction of armor is needed.
Corrosive Fog - When this ruleset is in play, all Units take 1 armor damage and lose 1 maximum armor each round. Consider whether additional reduction of armor is needed.
Be aware of rulesets
![]() Unprotected - When there is no armor rust is useles.
Unprotected - When there is no armor rust is useles.
There are three summoner that have similar ability as rust. Note these will never be removed. When a rust unit dies the enemy unit regains the armor.
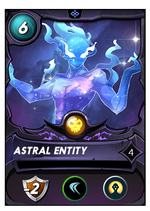
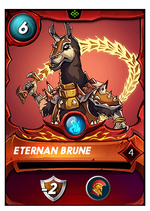
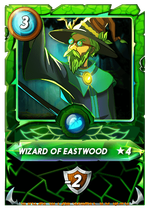
Select / favorite
Here are mine rust units:
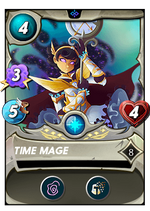
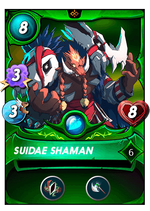
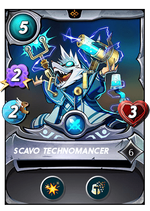
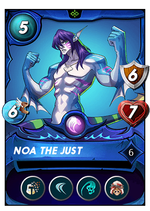
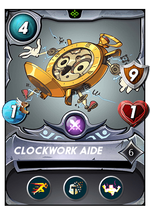
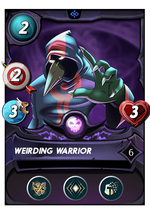
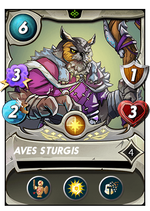
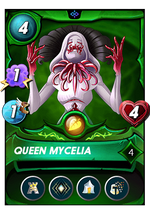
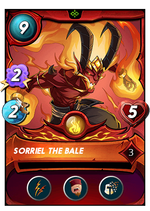
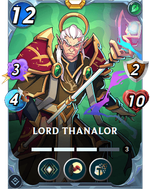
This are my current stats on the rust units:
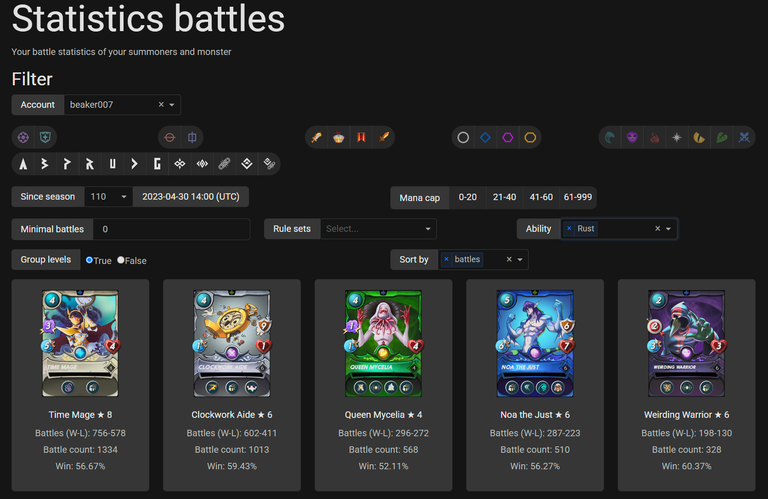
In the lower mana cap matched i often us the Time Mage and its a great unit but my favorite is definitely Noa the just. Not only for its rust but it synergies so well with the other abilities like the dodge backfire. When it dies it give you own adjacent units an nice buff. This would not have been my pick when there was no weapon training unit because this unit often needs to be paired with a weapon training to make really lethal.
Lets have a look on it specific stats:
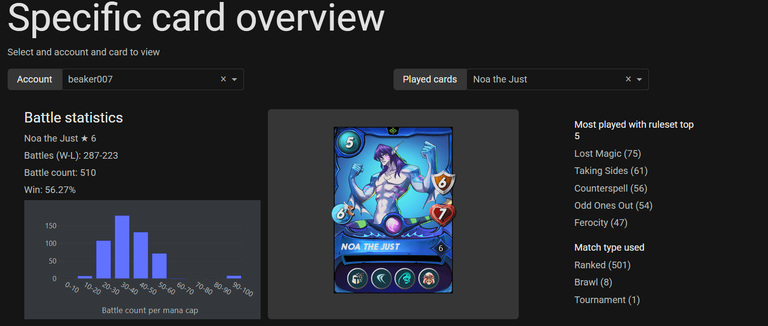
Lets continue on a example battle where Noa shines.

Strategy

Medium mana match where no magic units are allowed is a nice bonus for Noa because it has dodge and a high speed, a will try to build around that.
Rulesets
![]()
Lost Magic:
No magic units are allowed.

The Lineup
Summoner
| Card | Reason |
|---|---|
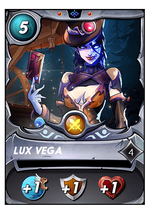 | To increase the speed and the extra armor is good in a no magic battles. |
Units Lineup
| #1 | #2 | #3 | #4 | #5 | #6 |
|---|---|---|---|---|---|
 |  |  |  |  |  |
Noa the Just (lvl 6)
Star of this week. Remove the shiels with rust and the rest try to get some missed so the backfire can do some damage.
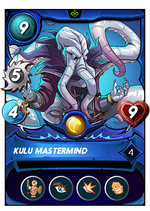
Its buffed by Kulu Mastermind with its weapon training gaining 3 melee damage. This one of my preferred combos in the water team with Noa the Just.
Kulu Mastermind (lvl 4)
Very strong water unit that can attack from any position with 5 damage. Most important in this match to buff my adjacent non attacking unit with its weapon training.
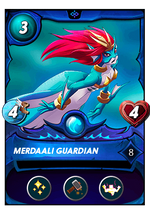
Merdaali Guardian (lvl 8)
A Healer so when my Noa is hit it can be healed. This unit is buff with melee attack from Kulu but cannot attack unit its in the front.
Futhermore when some armor is lost on Noa this unit can repair it with 1 every round.
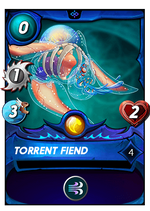
Torrent Fiend (lvl 4)
Meat shield so my Gladius unit is not getting that fast in the font. The headwind will lead to -1 ranged damage for my enemy, so nice its at max level.
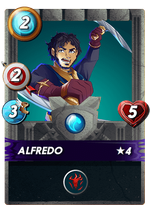
Alfredo (lvl 4)
Low level cost bloodlust unit, not the most important unit in this lineup. But when it get a few kills it can shift the battle in my favor.
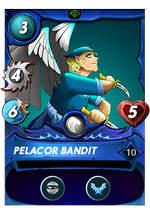
Pelacor Bandit (lvl 10)
Backline protector again with a high speed and the flying also increases the change to miss with another 25%. I do not have to fear that any magic unit will neglect this miss change.

The Battle
Reference
Link to the battle:
Link to battle

Rounds
Start :
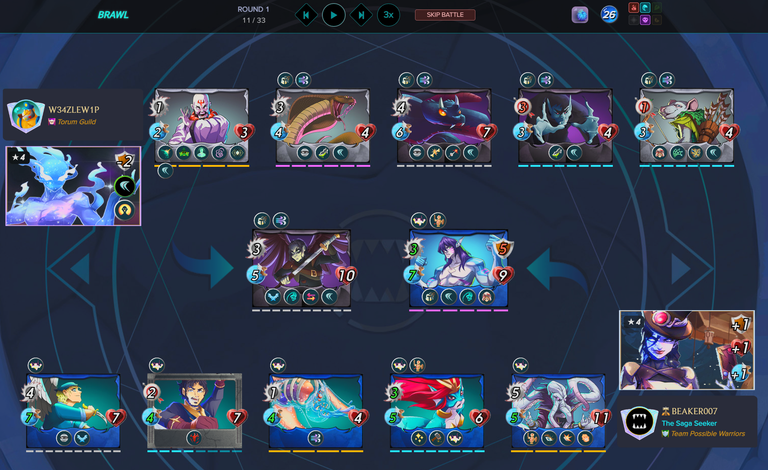
Let’s dive into this battle and break down the lineup! My opponent went with a summoner that reduces armor by 2—clearly aiming to strip my team of any defensive edge. I countered this by bringing Noa the Just, who comes equipped with the Rust ability to even the playing field.
Looking at the lineup, most of my opponent’s units are on the slower side. That’s a big plus for me because it gives me the edge when it comes to miscalculation mechanics—every missed hit could work in my favor.
However, their front unit is no joke. It’s a tanky beast with Retaliate and Backfire, so whether I hit it with melee or miss entirely, I’ll still take damage. Talk about a tricky opener!
Let’s see how this battle unfolds. Will my strategy pay off, or will my opponent’s resilience be too much to handle?
Round 1:
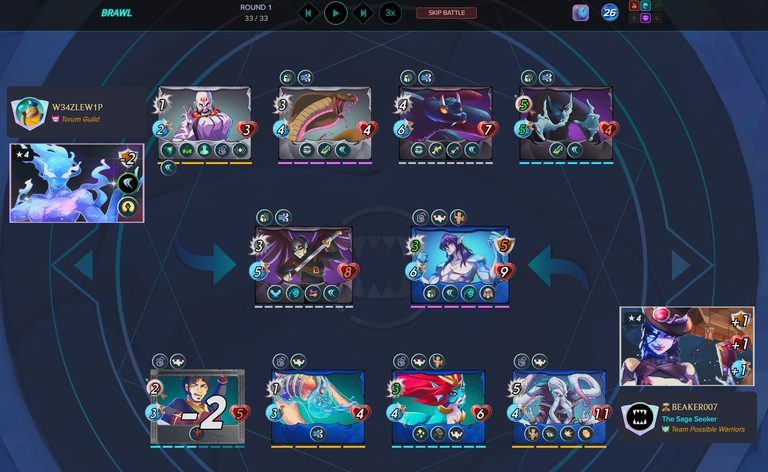
What a chaotic first round! In total 4 misses already, and every single one triggered Backfire, chipping away at my health with some unexpected damage.
My opponent’s strategy is starting to show its synergy. Their Resurrect ability, paired with the Venari Marksrat, gave a double boost to their Soul Strangler, keeping it alive and dangerous for longer. However, my Kulu Mastermind will step up and made quick work of Uraeus next round.
As for Noa the Just, she’s holding the front line like a champ, with her health completely intact—a reassuring sign that this battle might still swing in my favor.
Round 2:
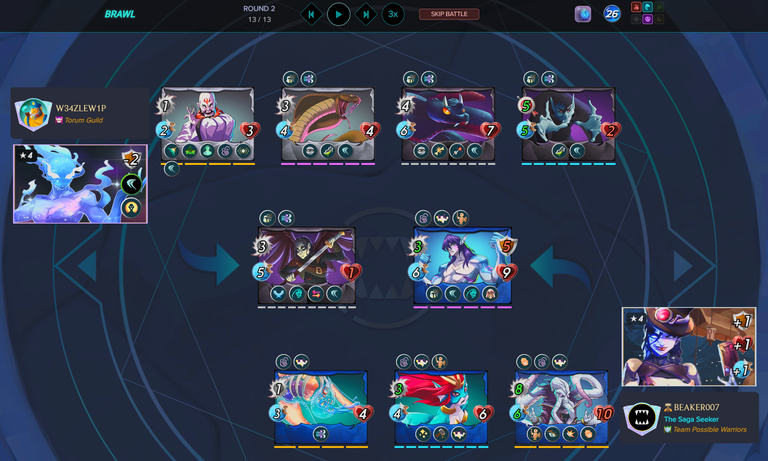
This round was hilarious to watch! My Noa the Just landed a hit on Riftwing, triggering Retaliate—but the Retaliate missed, leading to yet another Backfire. The result? Double damage to Riftwing! 🤣
Meanwhile, my opponent’s Soul Strangler tried to attack but missed, triggering yet another Backfire. This is where my strategy really starts to shine. Thanks to Rust, all of this backfire damage is going straight to my opponent’s health instead of getting absorbed by armor—exactly as planned!
Then, as if things couldn’t get better, Riftwing took its turn to attack… and missed again! You guessed it: another Backfire. Things are definitely looking good on my side of the battlefield right now.
On the downside, my Gladius unit fell to Uraeus. It’s a bit of a pity, but honestly, I expected that outcome. The momentum still feels in my favor, so let’s see if this streak continues into the next round!
Round 3:
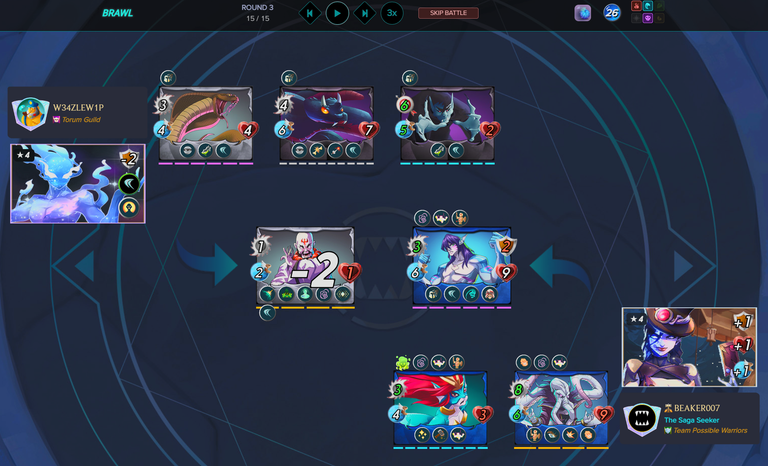
This round had its ups and downs! My Kulu Mastermind missed Riftwing for the second turn in a row, which was frustrating since it could’ve done massive damage with its 8 attack. Still, the battle went my way soon after.
In a familiar (but hilarious) pattern, Noa the Just hit Riftwing, finishing it off, but not before it attempted Retaliate—which missed, triggering yet another Backfire. The best part? The Backfire damage landed after Riftwing was already dead! 🤣 You love to see it.
Meanwhile, my meat shield in the back line went down. I’m not too concerned, though—I’ve still got plenty of health and attack power to keep the momentum going.
But here’s where things took a turn I didn’t expect: Uraeus poisoned my healer! That was a real gut punch since I hadn’t planned for that.
Round 4:
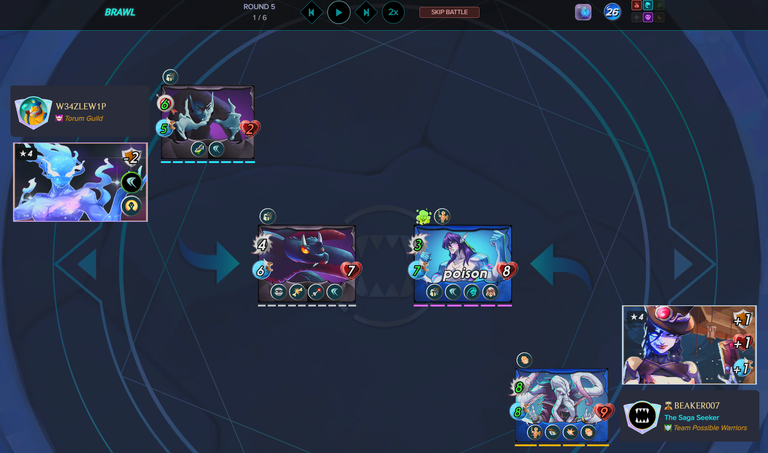
Things are getting intense! I’m not thrilled that Noa the Just is now poisoned—it’s only a matter of time before that takes its toll. Meanwhile, my opponent’s Soul Strangler is still dishing out 6 damage per turn, keeping the pressure on.
But here’s the bright side: my Kulu Mastermind is proving to be the MVP. At this point, I’m confident it’ll carry me to victory, even though this battle has been way closer than I expected.
The turning point is clear: once Silent Sha-vi is taken down, it’s game over. With a ranged unit stuck in the front, my opponent won’t be able to attack anymore, sealing the win for my side.
Round 5:
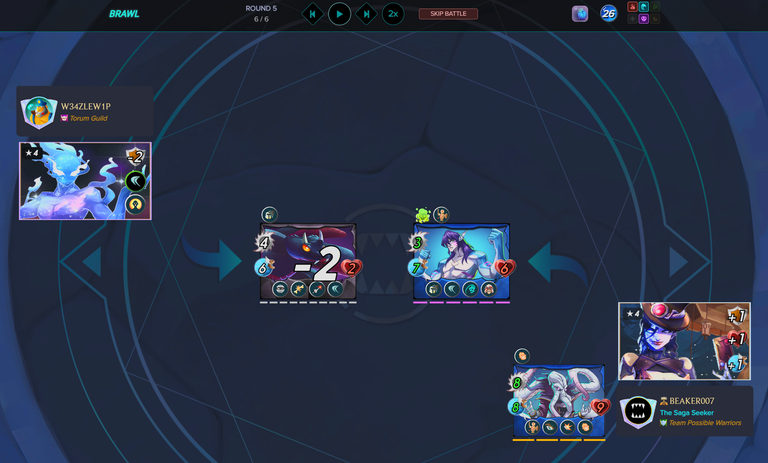
My Kulu Mastermind continued to dominate with its Opportunity ability, taking out the Soul Strangler with precision. Meanwhile, Silent Sha-vi couldn’t land a hit, leading to yet another miss and some bonus Backfire damage—every little bit counts!
With just one unit left on my opponent’s side, the outcome is decided. This battle is wrapping up, and victory is just around the corner!
Round 6:

This round threw me for a loop! Both of my units missed their attacks, and Silent Sha-vi capitalized on the opportunity, landing a hit that took out my Noa the Just. 😢 Definitely not what I was hoping for!
But there’s a silver lining: Noa’s death activated the Martyr ability, giving my Kulu Mastermind a massive boost. With its health now at 10 and the ability to deal 9 damage per turn, the odds are still in my favor—as long as it doesn’t miss three times in a row!
It all comes down to this. Let’s see if Kulu can seal the deal in the next round!
Round 7:

WHAT?! Another miss from my Kulu Mastermind, even with 9 speed! This is getting ridiculous. Silent Sha-vi’s 25% dodge chance is working overtime, keeping it alive when it absolutely shouldn’t be. It’s both frustrating and hilarious at this point.
Looks like we’ll have to wait for another round to see if Kulu can finally land the hit and finish this battle. Fingers crossed it doesn’t miss again! 😂
Round 8:

Finally! My Kulu Mastermind landed the hit, dealing a massive 9 damage and ending the battle in style (though only 2 damage was needed). Talk about overkill!

Conclusion
What a rollercoaster of a match! From unexpected twists to nail-biting moments, this battle had it all. But in the end, strategy and persistence paid off, securing another win for the books! 🎉
I absolutely loved seeing the Rust ability in action, especially with Noa the Just leading the charge. With her high speed, Dodge, and Backfire, she proved to be an incredibly versatile and valuable unit in my deck. Matches like this remind me why I enjoy experimenting with different abilities and strategies—it’s always a learning experience!
Here’s to more battles like this and more opportunities to refine the art of Splinterlands strategy!

Previous ability strategy posts
Below you will find references to the other ability strategies / analysis posts.
That's all for this week hope you enjoyed reading this ability strategy/analysis. See you all on the battlefield.
Do you also want to be part of this amazing play to earn game consider using my referral link.
 Affliction
 Amplify
 Backfire
 Blast
Blast Blind
Blind Bloodlust
 Camouflage
 Conscript
 Close Range
 Cripple
 Deathblow
 Demoralize
 Dispel
 Divine Shield
 Dodge
Dodge Double Strike
 Enrage
 Flying
 Forcefield
 Fury
Fury Giant Killer
 Halving
 Headwinds
 Heal
Heal Tank Heal
 Immunity
 Knock Out
 Last Stand
 Life Leech
 Magic Reflect
 Martyr
 Opportunity
 Oppress
 Phase
Phase Piercing
 Poison
 Reach
Reach Recharge
 Redemption
 Reflection Shield
 Repair
 Resurrect
 Retaliate
 Return Fire
 Rust
Rust