Ability strategy analysis: Return Fire
Introduction
Yes, yes, we’re back again this week with another Splinterlands strategy deep dive! This time, we’re taking a closer look at the Return Fire ability. If you love seeing your opponents take a taste of their own medicine, this one’s for you. Pair it with the return damage abilities like thorns and magic reflect, and you’ve got a near-guaranteed way to deal some payback, no matter what comes your way.
Sure, it can be countered with abilities like Reflection Shield, but don’t let that stop you from exploring the full potential of this sneaky and satisfying mechanic. So, without further ado, let’s dive into the ins and outs of Return Fire and how to use it to your advantage!

Ability

Returns 50% of damage to attacker (rounded up) when hit by a ranged attack.
Note: Blast is not triggered when Return Fire hits your opponent.
However, When your hit with blast damage you will do return damage.
Official ability information from splinterlands: List abilities
Synergies / strategy
Abilities benefits
 Amplify - Amplify increases the return dagames dealt with +1. One unit should be enough it does not stack. When the amplify unit is killed this buff is removed.

 Thorns/Magic reflect - Combined with these two it can happen that all attacks do return damage.
Be aware of abilities
 Reflection shield - This will reduce the return damage or your unit to 0.
 Shield - Shield reduces Melee and Ranged attacks by 50%, rounded up. If played by your opponent, Shield will reduce damage returned from Return Fire.
Ruleset benefits
![]()
![]() Counterspell/Briar Patch - I like it when one or both of these are in the mix to also bring a return fire unit so it has more change to reflect any damage.
Counterspell/Briar Patch - I like it when one or both of these are in the mix to also bring a return fire unit so it has more change to reflect any damage.
![]() Up to Eleven - All unit gaining the amplify unit so all return damage is increase by +1
Up to Eleven - All unit gaining the amplify unit so all return damage is increase by +1
 Going the Distance - Only ranged unit your are allowed so return fire is really handy here, also bring your own reflection shield unit with you.
Be aware of rulesets
![]() Broken Arrows - No ranged units are allowed so return fire is useless in this match.
Broken Arrows - No ranged units are allowed so return fire is useless in this match.
![]() Fire & Regret - All unit already have return fire so no need to bring a unit specifically with the return fire ability.
Fire & Regret - All unit already have return fire so no need to bring a unit specifically with the return fire ability.
Select / favorite
Here are mine return fire units:
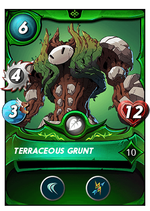
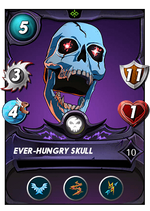
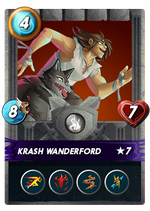
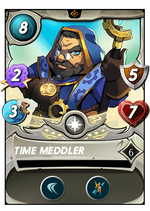
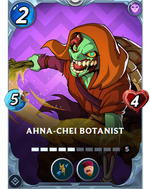
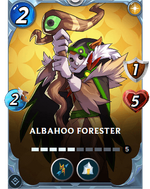
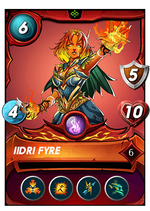
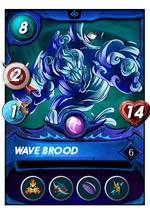
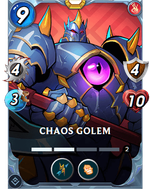
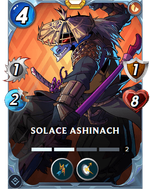
Current stast on my top 5 return fire units:
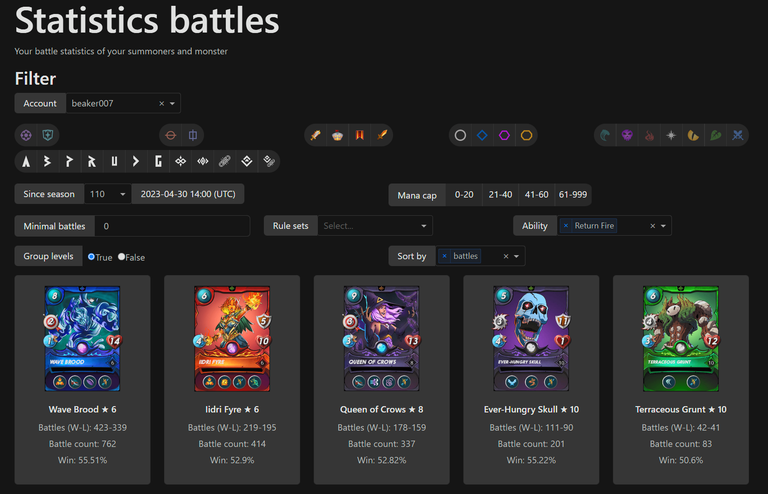
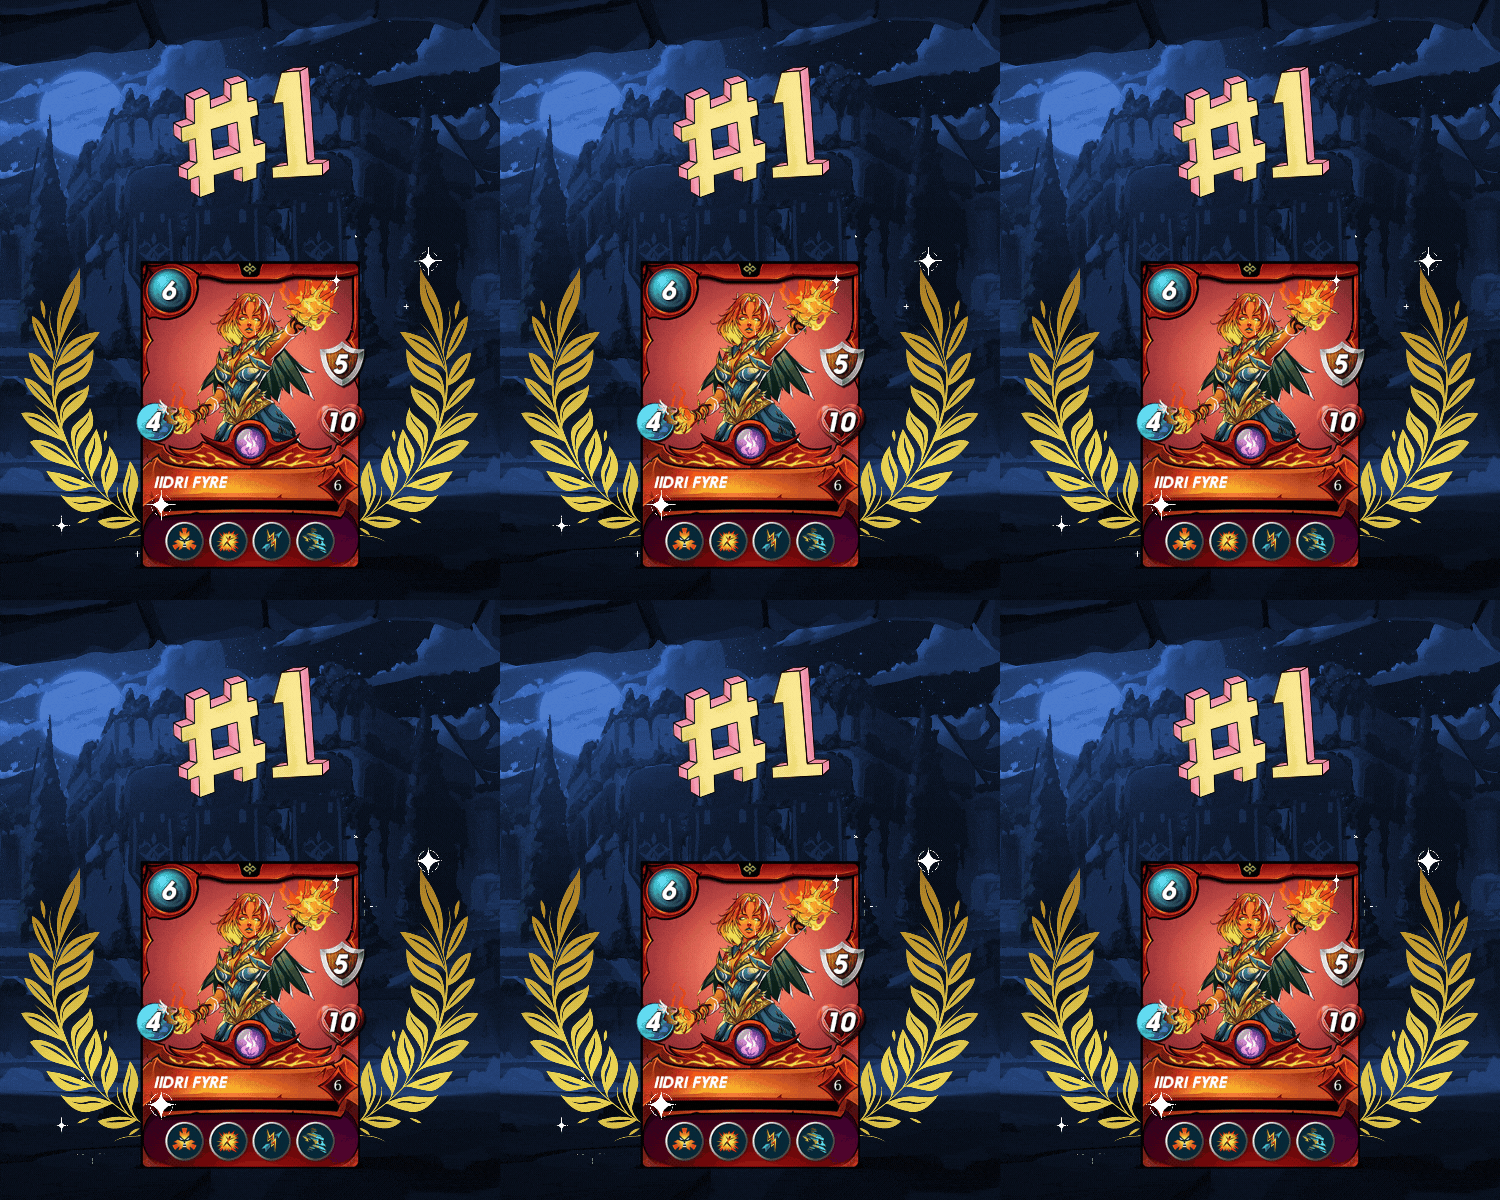
Both top unit have taunt but i just like Iidri Fyre a bit more mainly because of the redemtion.
the return fire in combination with taunt is pretty strong. It has decent speed so can be used in a evasive strategy with its phase.
Lets have a look to a battle where she shines.

Strategy

Medium mana match with the extra counterspell ruleset make it more favorable to select a return fire unit.
I do not expect a magic because of this rule set so i want to go for a evasive play with high speed
Rulesets
![]()
Heavy Hitters:
All unit will gain the knock-out ability. This mean when a unit gets stunned every unit does double damage. So watch out for stun units and see if you can bring you own
![]()
Counterspell:
All unit will gain the magic reflect ability. So every magic attack does return damage.
![]()
Stampede:
All unit will gain the trample ability. Meaning that all melee unit might have another attack when it kills an opponent.

The Lineup
Summoner
| Card | Reason |
|---|---|
 | As mention i want to go for evasive strategy so the +2 speed is the main driver for this summoner today. |
Units Lineup
| #1 | #2 | #3 | #4 | #5 | #6 |
|---|---|---|---|---|---|
 |  |  |  |  |  |
Iidri Fyre (lvl 6)
Here it is directly in the front with the high health it should hold for a while. It now has 9 health (+2 of Jacek, +1 Clockwork ade, +1 Supply runner and +1 of Countess Sinash).
When it not missed but attack by range it will also do some return damage.
And with these rulesets i expect ranged or melee units.
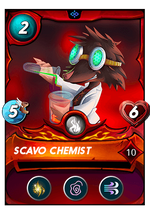
Scavo Chemist (lvl 10)
I slows the enemy so another higher change to evade other. It reduced the enemy ranged damage by 1. Also important if my opponent has poisoned Iidri fyre this unit or some other negative ability it will cleansed.
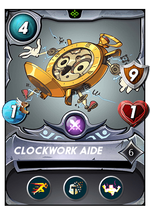
Clockwork Aide (lvl 6)
The extra health and another speed buff are the reason this unit is chosen. Note that i do not expect any magic units so do not mind the 1 health.
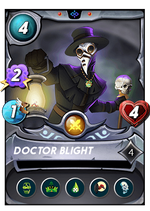
Doctor Blight (lvl 4)
Risky magic unit, my team needs to kill some units first so that it can gain some health to be able to withstand the magic reflect damage. but its such a strong unit with the poisen.
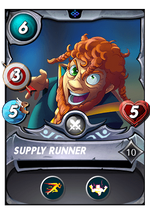
Supply Runner (lvl 10)
Yet another speed buff and 3 damage unit. As you can see this my second strengten unit so +2 health for all units also.
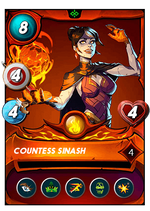
Countess Sinash (lvl 4)
Important finisher that needs to kill the weakest unit one by one with the opportunity. Its a bit unprotected for sneak attackers. But hope because of my high speed i can attack first and there are no opponent left to do any damage anymore.

The Battle
Reference
Link to the battle:
Link to battle

Rounds
Start :
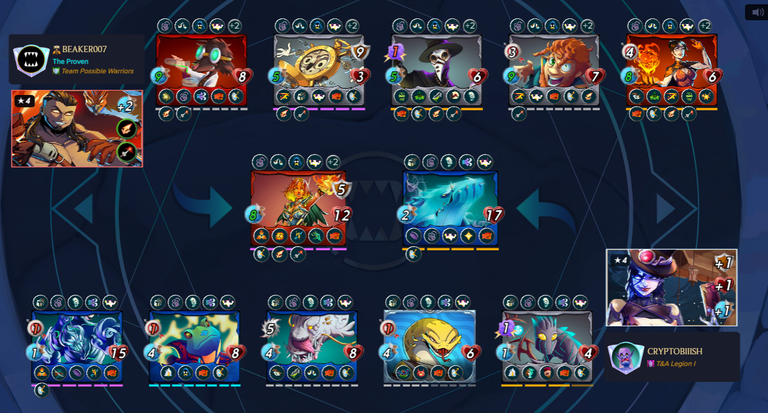
As expected, my opponent brought a strong team to the battlefield. They leaned heavily on ranged units, which is where my Iidri Fyre really shines thanks to Return Fire. It’s always satisfying to have a counter for those pesky sharpshooters!
That said, I’ve got mixed feelings about seeing the Deeplurker on their side. With its high melee attack, Opportunity, and Poison, this creature is no joke. Fortunately, its first target will be Clockwork Ade, which isn’t the worst outcome. As long as the poison doesn’t hit me early, I can manage.
On the defensive side, my Iidri Fyre has some solid evasion potential. Against ranged and magic attackers, the lowest chance to miss is 40%, and it goes up to 70%—not bad at all. And thanks to the Phase ability, even those magic units might struggle to land a hit. It’s always satisfying to watch a spellcaster whiff their shot!
Round 0 (ambush):
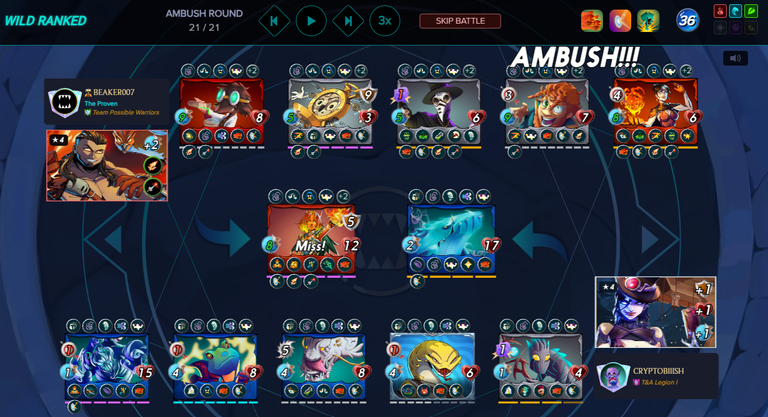
Just one attack that missed, so great start 🤣
Round 1:
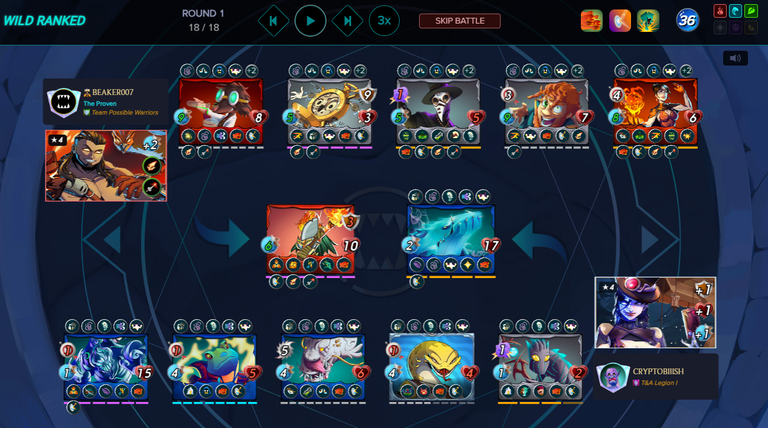
I completely forgot that my Iidri Fyre has Taunt, which means every enemy unit is targeting it—including the dreaded Deeplurker. But guess what? It missed! No chance to poison me, and that’s a huge relief. What a great start to the first round! My Iidri Fyre fired back with Return Fire, landing 3 solid hits, while two other attacks missed. Not bad at all.
On the downside, the opponent’s Spirit Hoarder came through and Dispelled all the buffs on Iidri Fyre. Now, it’s stuck with just 6 speed. That’s a bit of a bummer, but we’re still in a good position overall.
Round 2:
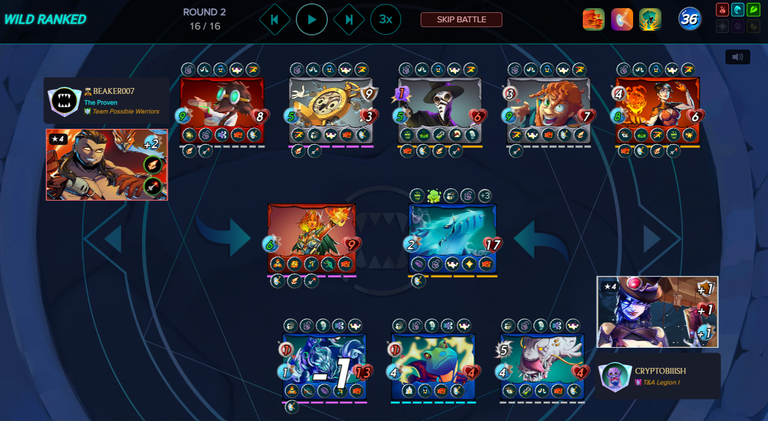
Scattershot came through clutch this round, landing a lucky hit that wiped out both Sultry Barmaid and Spirit Hoarder. Speed once again proves why it’s so important—taking out your opponent’s units before they even get a chance to attack is a massive advantage. Talk about momentum swinging in my favor!
With Spirit Hoarder gone, that’s one less healer to worry about for my opponent. Now the real focus is on their Deeplurker. It’s the only heavy-hitting unit left on their side, and once that’s taken care of, the match is pretty much sealed. Until then, staying cautious is key.
Round 3:
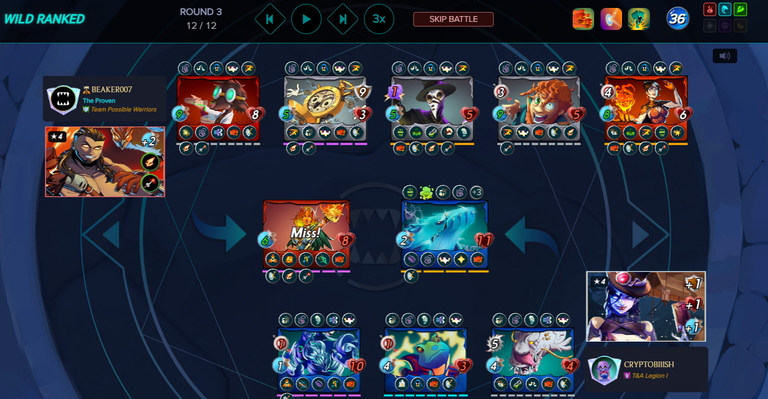
This round saw two misses, and one of them was a crucial dodge against the Deeplurker—a definite highlight! There was also one solid hit that triggered some Return Fire, chipping away at their offense. With these plays, the match feels like it’s tilting strongly in my favor.
At this point, things are looking good. As long as my strategy holds up, victory seems within reach!
Round 4:
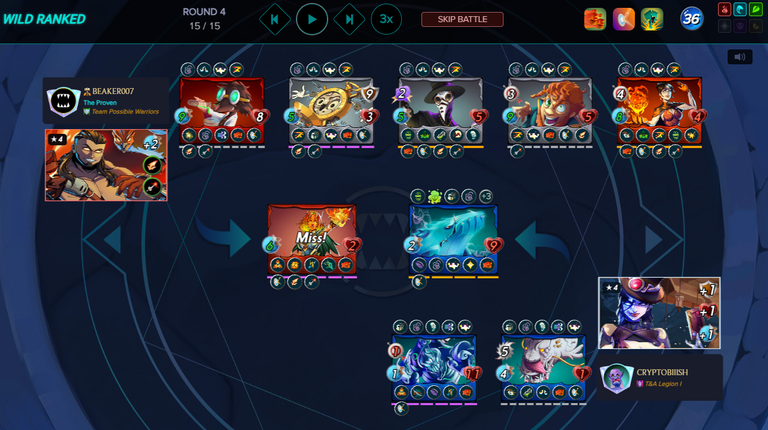
This round brought a satisfying moment—my opponent’s last healer went down, taken out by Return Fire. There’s nothing better than watching an enemy unit essentially defeat itself by attacking. It’s always such a sweet payoff!
That said, the Deeplurker did land a heavy hit for 5 damage, leaving my Iidri Fyre hanging on by a thread with just 2 health. Talk about a close call! Thankfully, my opponent’s Wavebrood missed its attack, keeping the match firmly in my control. Onward to the finish line!
Round 5:
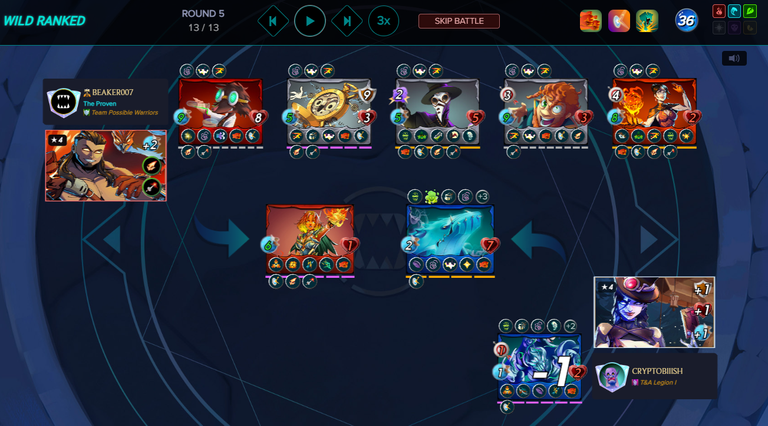
And there it is—the Deeplurker is finally down, courtesy of the Blast damage from Countess Sinash. What a satisfying moment! With that heavy hitter out of the picture, my path to victory is clear.
Now, my opponent is down to just two units, and only one of them can even attack—and it’s only dealing 1 damage. With most of my team still standing strong, this is definitely a win. Time to wrap things up in style!
Round 6:
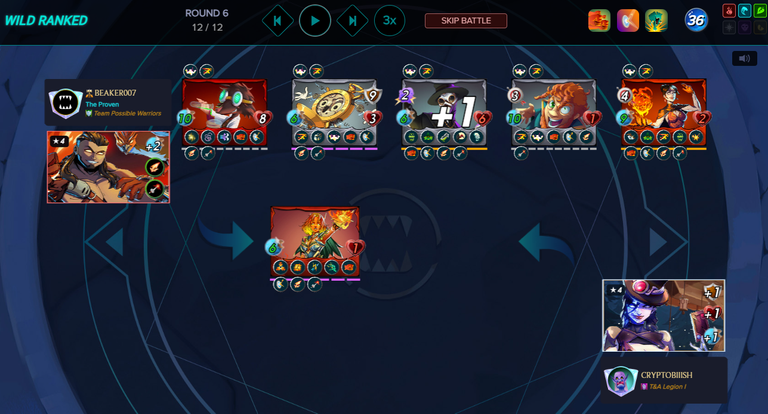
Victory!

Conclusion
This match was a great showcase of two of my top Return Fire units: Iidri Fyre and Wavebrood. While my Iidri Fyre stood its ground the entire match, absorbing attacks with Taunt and dealing consistent return damage, my opponent’s Wavebrood also made an impact with its own Return Fire ability.
What ultimately secured the win was outmaneuvering my opponent’s strategy. Their two Triage units were focused on keeping Wavebrood alive, but my summoner Jacek's Scattershot disrupted that plan beautifully, picking off key support units and shifting the momentum in my favor.
As I’ve said in many of my strategy posts, speed is everything in Splinterlands. If your opponent can’t hit you, you’ve already won half the battle. This match was a perfect example of how speed can turn the tide, allowing me to dodge critical attacks and maintain control throughout.

Previous ability strategy posts
Below you will find references to the other ability strategies / analysis posts.
That's all for this week hope you enjoyed reading this ability strategy/analysis. See you all on the battlefield.
Do you also want to be part of this amazing play to earn game consider using my referral link.
 Affliction
 Backfire
 Blast
Blast Blind
Blind Bloodlust
 Camouflage
 Conscript
 Close Range
 Cleanse
 Cripple
 Deathblow
 Demoralize
 Dispel
 Divine Shield
 Dodge
Dodge Double Strike
 Enrage
 Flying
 Forcefield
 Fury
Fury Giant Killer
 Halving
 Headwinds
 Heal
Heal Tank Heal
 Immunity
 Inspire
 Knock Out
 Last Stand
 Life Leech
 Martyr
 Opportunity
 Oppress
 Phase
Phase Piercing
 Poison
 Protect
 Reach
Reach Recharge
 Redemption
 Repair
 Resurrect
 Retaliate
 Return Fire
Delegate Tokens and HP to Fallen Angels to earn weekly rewards!
Delegate | Join to the guild
Thanks for sharing! - @yonilkar
