EQUALIZER, Splinterlands Battle Mage Secrets!
Hello Guys!
Yeeeeeeey I'm back again with my Splinterlands post to take a part of Battle Mage Secrets Weekly Challenge. Well, because I'm absent from the Social Media Challenge for this week, so I'll be sending 2 battle Mage Secrets. The theme for this week is Equalizer rulesets. These rulesets are certainly familiar, and if you've followed my previous posts, you'll know I've discussed the battle strategies I used for these rulesets several times.
Well, I'm neither a proplayer nor a tournament hero. I just enjoys sharing strategy and battles that I find interesting in my own view. I played on modern and wild battles on Gold leagues, and maybe the battle strategies I'd share weren't suitable to apply in other leagues because the differences in ability that open up are different from each league.
Ok guys, without further ado, let's get straight to the heart of this post!

BATTLE PREPARATION
Challenge Rules

RULESET: Equalizer
Description:
All units start with the same health, based on the highest health on either team.
Buffs and debuffs are done afterward - this impacts base health.

Battle Rulesets
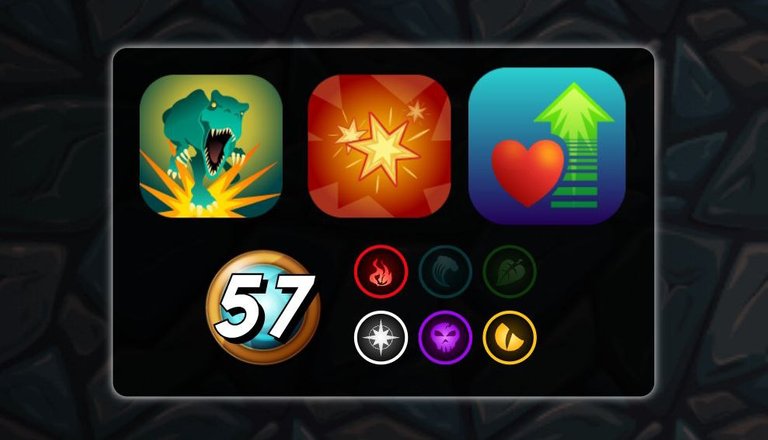
The rulesets in this battle are:
- Stampede (The Trample ability can trigger multiple times per attackif the trampled Monsters is killed)
- Explosive Weaponry (All Monsters have the Blast ability)
- Equalizer (The initial Heath of all Monsters is equal to that of the mosnteron either team with the highest base Health)
- Mana Capacity 57
- Active Element Fire, Life, Death and Dragon.

Line Up and Strategy
The strategies I will implement include:
- Using a combination of Taunt and Reflection Shield, so that the Blast from the attack does not spread in all directions.
- Use a Support monster that has the Thank Heal ability, to restore the main tabk.
- Other monster support such as Repair and Triage also need to be considered for use
- Using Resurrect Monsters
- Use monster Affliction to prevent Heal on enemy tanks
You can see the strategy of each monster that I chose in the table below.
| Monster | Position | Abilities | Strategy |
|---|---|---|---|
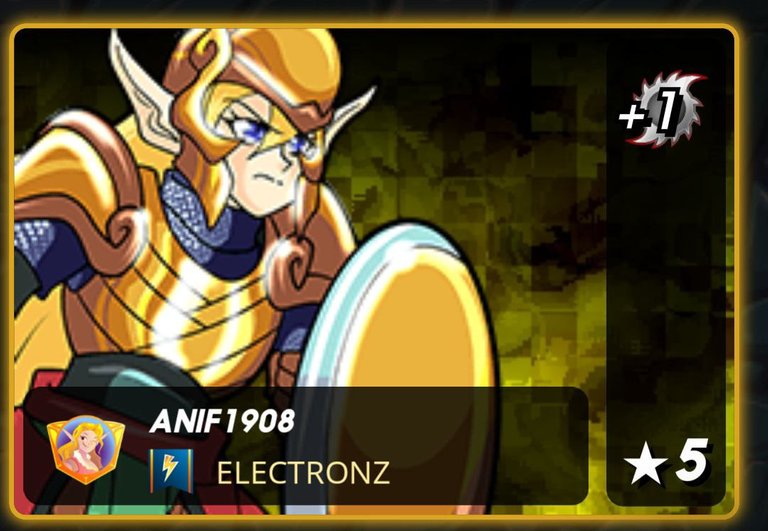 Daria Dragonscale Daria Dragonscale | Summoner | +1 Melee | I chose to use Daria Dragonscale who has a +1 melee buff as a summoner to attract other monsters with the Gold League level, and deal additional damage to melee monsters. |
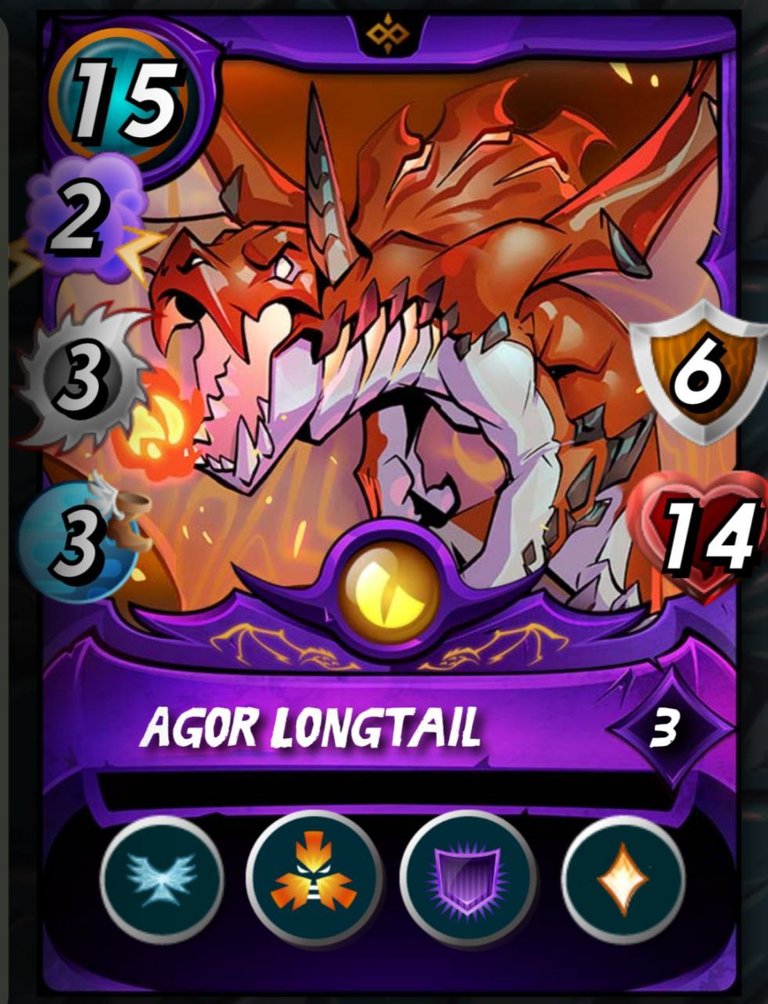 Agor Longtail Agor Longtail | First, Main Tank | Flying, Taunt, Void Armor, Heal | I chose Agor Longtail as the main tank, with the ability of this monster to maintain defense very strongly, especially if it is equipped with other monster support. In addition, this monster also has 2 melee damage and magic, which if combined in one attack will produce considerable damage |
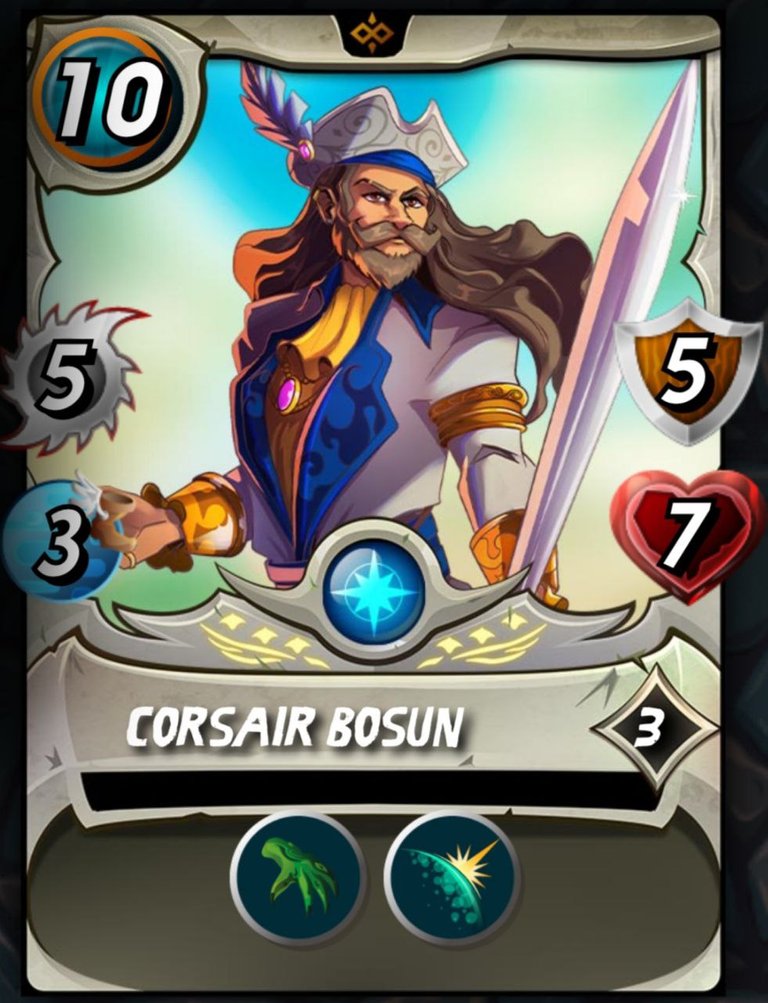 Consair Bosun Consair Bosun | Second, Second Tank | Reach, Reflection Shield | Even though my Consair Bosun is low level, I chose this monster because it has the Reflection Shield ability, as a companion to Taunt monsters so that the Blast produced by the opponent's attack does not spread to other monsters. Well, as you know that monsters with Reflection Shield are immune to Blast. The Melee attack possessed by this monster is also quite large, and the attack will increase after getting a buff from Daria Dragonscale. |
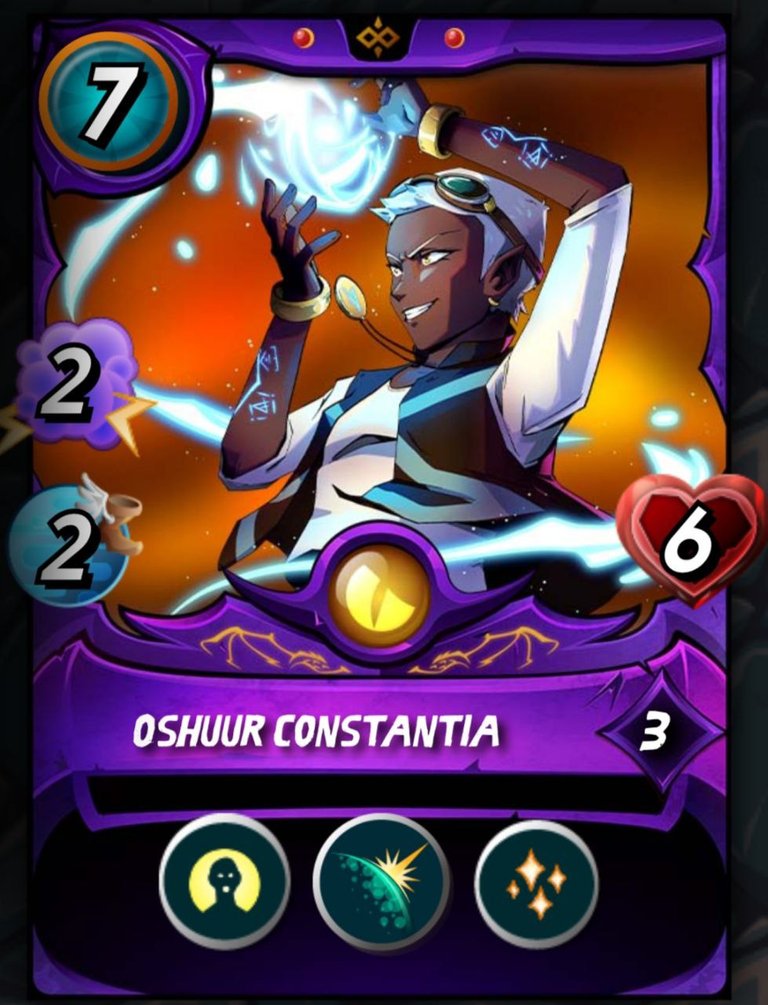 Oshuur Constantia Oshuur Constantia | Third, Third Tank, Support, Attacker | Resurrect, Reflection Shield, Thank Heal | The second monster with the Reflection Shield in this formation, and if the main tank dies and is replaced by a monster in the second position, this monster will replace the second tank and the Reflecton Shield of this monster will dispel the Blast from the attack received by the monster in the first position. In addition, Oshuur Constantia also has Resurrect and Thank Heal as Support to maintain defense |
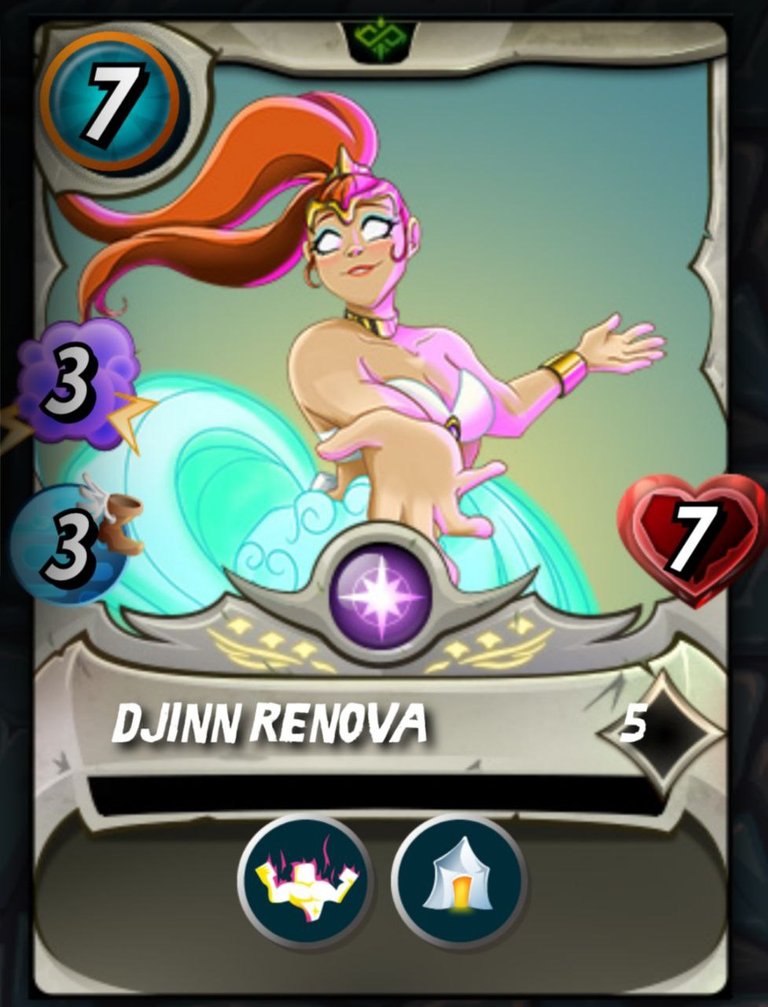 Djinn Renova Djinn Renova | Fourth, Attacker, Support | Strengthen, Triage | Djinn Renova as the main attacker has 3 magic damage. As a support, it has a Strengthen ability that will increase the mana of all friendly monsters, and also has a Triage ability that will restore the HP of other monsters that are not in the first position. This will be especially useful if the opponent uses a Scattershot monster that is not tied to the Taunt monster. |
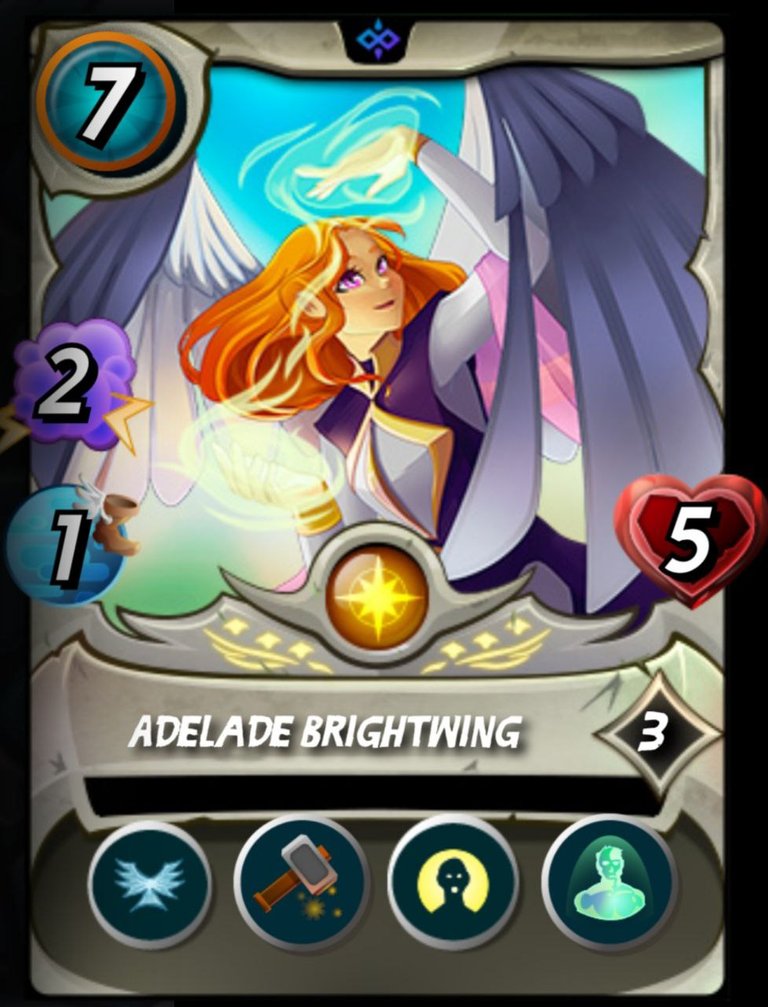 Adelade Brightwing Adelade Brightwing | Fifth, Attacker, Suport | Flying, Repair, Resurrect Immunity | This monster is the best support in this formation because of its repair Armor damaged by friendly monsters will get repair from this monster. In addition, the Resurrect ability will awaken the first dead monster, and if it suits my scenario, Agor Longtail will resurrect two time by Oshuur Constantia and Adelade Brightwing . |
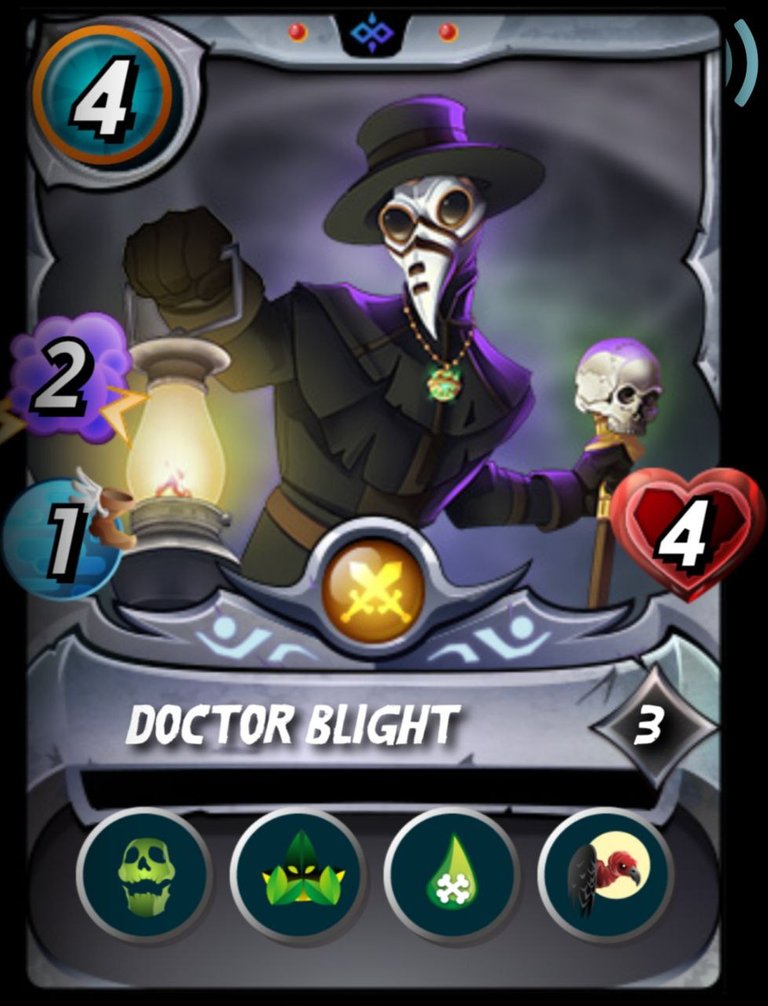 Doctor Blight Doctor Blight | Last, Attacker, Support | Affliction, Camouflage, Poison, Scavenger | Doctor Blight with Poison ability is also the Core in this battle. It could be this monster that will determine victory. This is because this monster has some very useful ability. Affliction that hits the target makes the target no longer able to heal, and Scavenger ability that will increase HP every time another monster dies, by having the same initial HP as other monsters and will continue to increase if another monster dies, it will make this monster likely to have a very large HP. Camouflage ability makes this monster invisible to Snipe, Sneak, and Opportunity monsters. |
You can see the line-up of both teams in the picture below. Opponents use Summoner Quix the Devious with a combination of monsters from the Dragon and Fire elements. At first glance, the difference in Speed from the two teams is quite large. I'm not sure if I'm going to win this game myself.
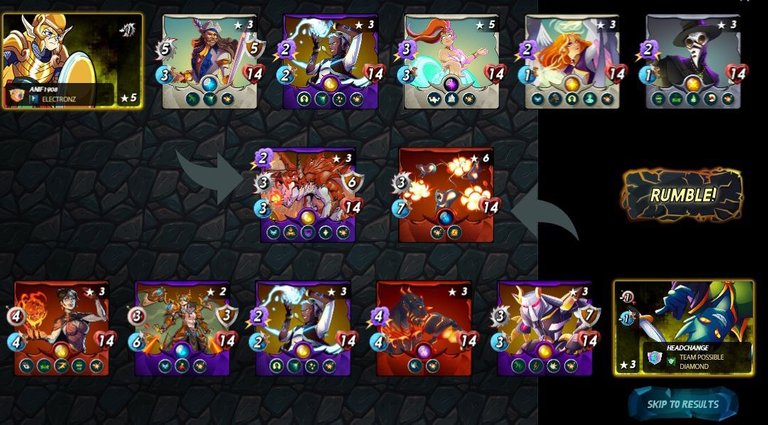

BATTLEFIELD ARENA
I've also included a youtube video of this battle that you can play right away.
This battle runs quite long, this is because the two teams have a balanced strength. The difference in speed between the two teams is really far, even I get a barrage of attacks without being able to retaliate before all the opponent's monsters finish attacking.
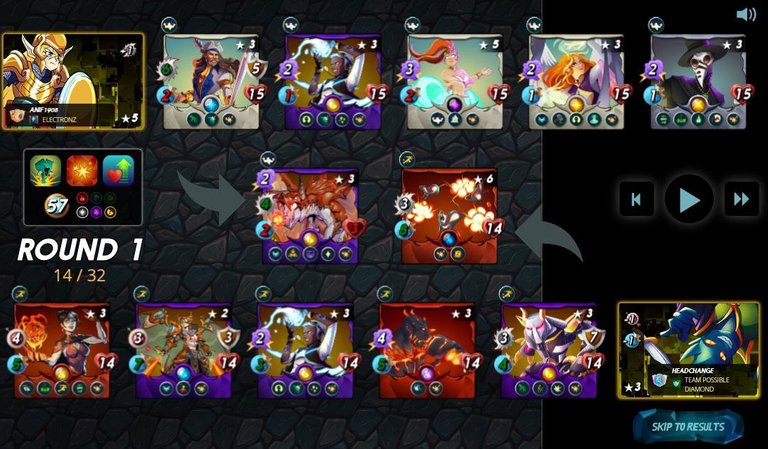
As usual, the first round begins with buffs and debuff parties from all summoners and monsters. Unfortunately, my Agor Longtail died at the beginning of the round, even before my monster attacked. Luckily I brought 2 Resurrect monsters, so Agor Longtail was able to survive until the first round ended. Unfortunately, because of the large speed difference and Agor, which has a very large mana, was hit by an attack from the Giant Killer, so the damage received was 2x the initial damage. Until the first round ends, no monsters die.
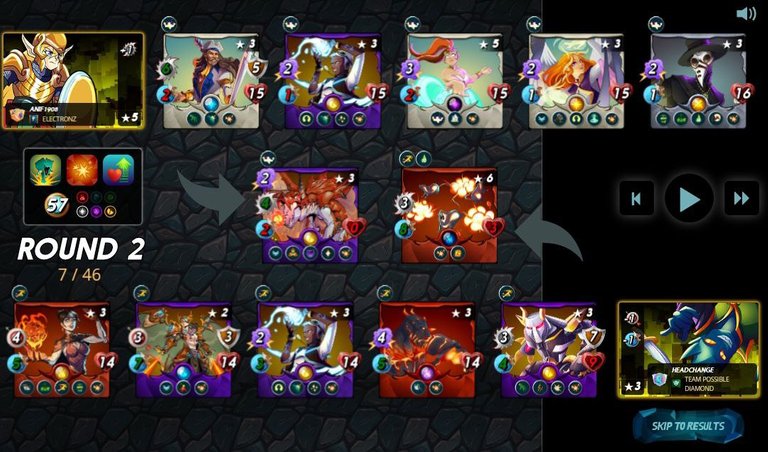
Not long after the second round began, Agor Longtail died again due to being hit by the Giant Killer from Djinn Inferni. Even though he came back to life because of Resurrect by Adelade Brihtwing, it didn't take long until finally Agor died again due to the Carnage Titan attack. The opponent, Exploding Rats also died and Resurrect and then died again in this second round. Until the second round ended, each team had 5 monsters left.
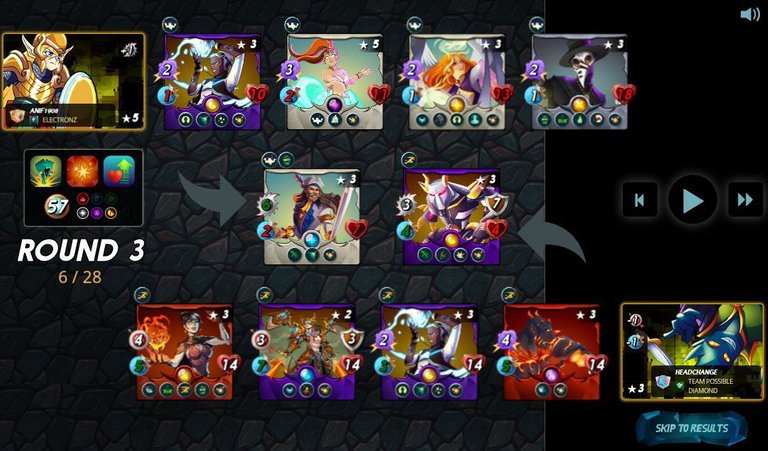
In this third round, attacks from enemy monsters spread in all directions because I no longer have Taunt monsters, while opponents have Opportunity and Snipe Monsters. Unfortunately, the current Consair Bosun in first place got Affliction from Countess Sinash, so he couldn't heal anymore and even died not long after. At the end of the third round, the Carnage Titan died from Doctor Blight's attack. Each team has 4 monsters left.
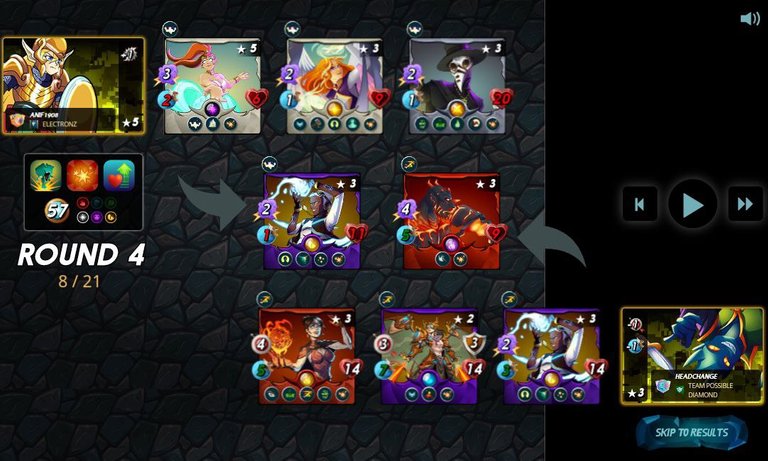
No monsters died in the fourth round. Up to this point, the opponent still looks superior.
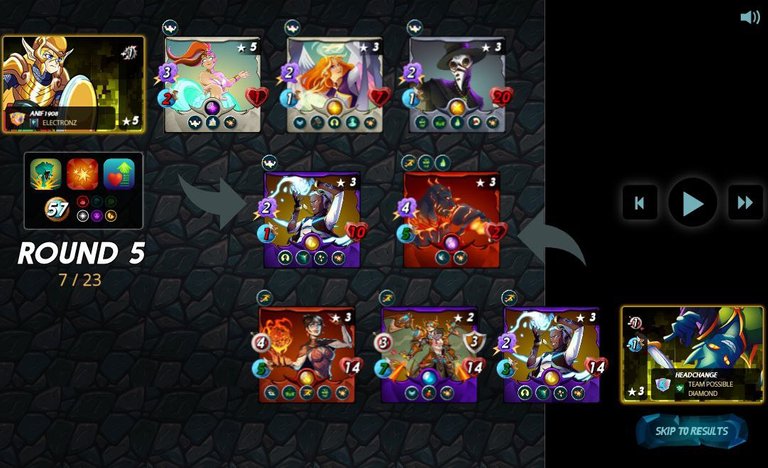
Djinn Renova died in the fifth round due to multiple blasts. Djinn Inferni also died in this round. I think this is like a reversal for me because now the opponent only has 1 magic monster and 2 rage monsters where the Range monster cannot attack if it is in the first position. Just need to make Oshuur Constantia who is in the first position die, then victory will be seen immediately.
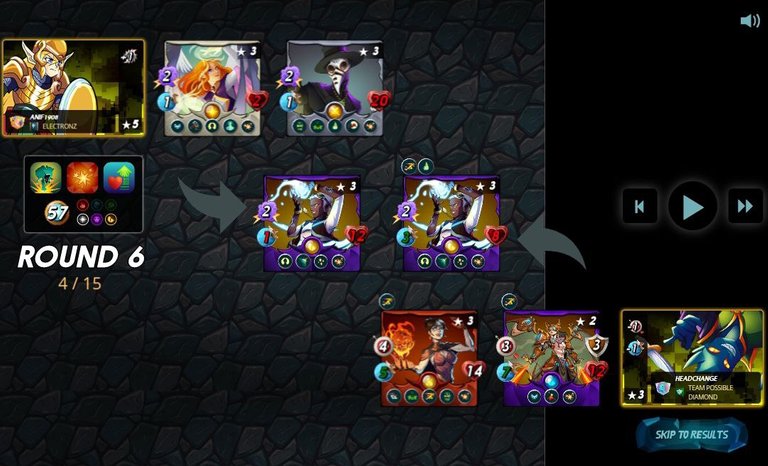
In the sixth round, no monsters died, but the HP of each tank was getting lower.
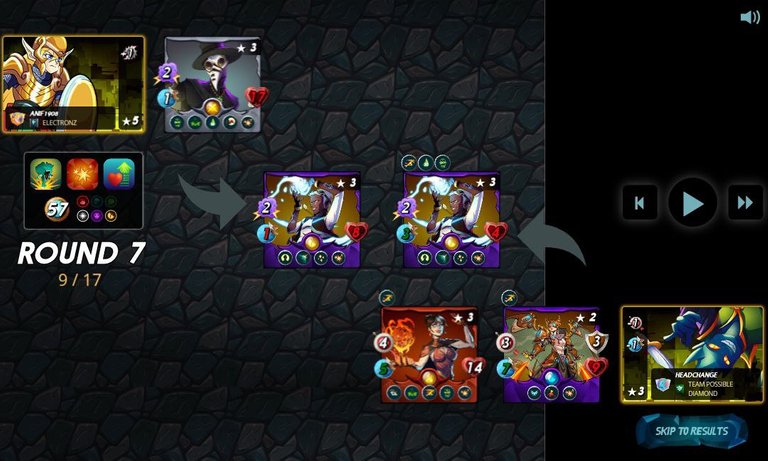
Adelade Brightwing died in the round. The opponent's tank, Oshuur Constantia also died at the end of the seventh round.
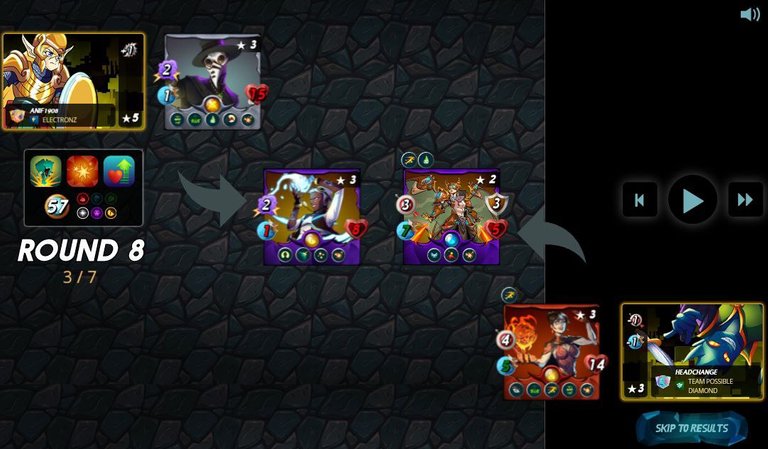
Although both have 2 monsters left, the opposing party only has a range of monsters left so that I have 2 magic monsters. Only 1 monster on the opponent's side can attack, so the opponent's defeat has become more visible. Just a matter of time.
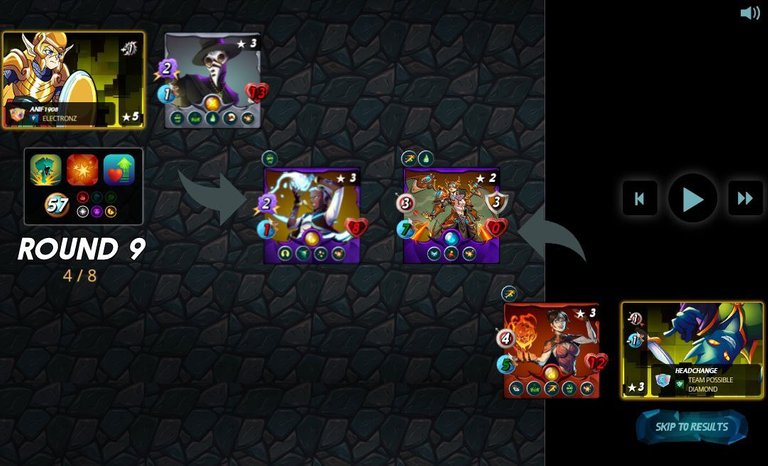
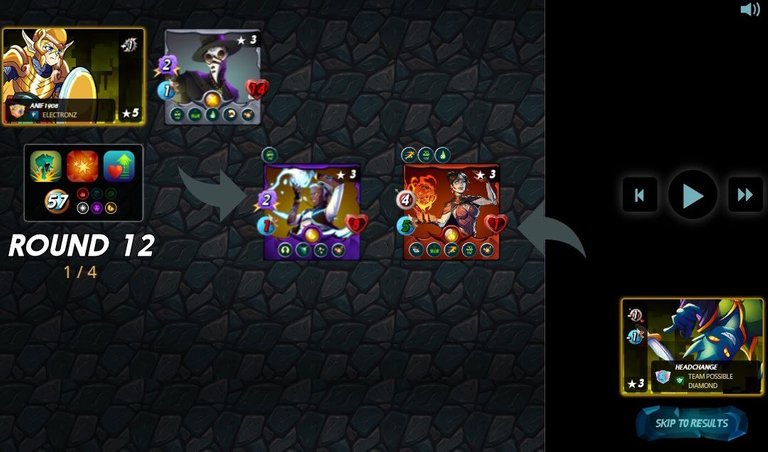
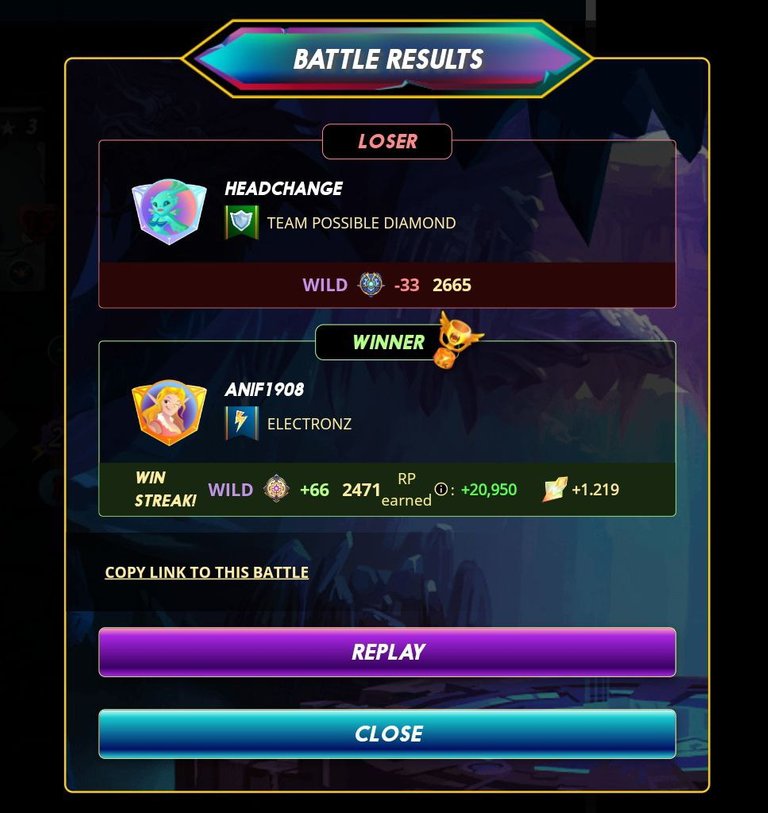
Finally, I won this battle in the 12th round with 2 monsters left, namely Oshuur Constantia and Doctor Blight who still have 15 HP. You can see the final result of this battle in the picture below.

Ok guys, I think my post is enough here, thank you for visiting my blog, don't forget to upvote and leave a comment. If you want to start playing Splinterlands and don't have an account yet, don't hesitate to use my referral:
https://splinterlands.com?ref=anif1908
Credits:
The wonderful divider by kyo-gaming
Thumbnail created using canva
All images taken from Splinterlands website

Yay! 🤗
Your content has been boosted with Ecency Points, by @anif1908.
Use Ecency daily to boost your growth on platform!
Support Ecency
Vote for new Proposal
Delegate HP and earn more
Do you know you can win a Chaos Legion pack and many other things just by following some simple steps ?? Check out our Latest Daily Showcase and Participate our latest Giveaway. Thanks
Thanks for sharing! - @alokkumar121

Equalizer needs a highly strategized card formation in order to win. Players must select cards with strong damages but lack life. Commonly, the strongest cards in Splinterlands have low life so this is the perfect ruleset to use them.
Posted using Splintertalk